I made a box from old closet slats for a friend.
After redoing the closet, I disassembled and recovered whatever I thought would be worthwhile to recover from the old accordion style closet doors (you can see them here in my previous post)
I packed up the closet slats in saran wrapped parcels of 10 slats each, in total I had around 250. This project would consume around 100, give or take a couple.

So, here’s Joe’s gift! Some exotic hardwoods that he can use to make some classy knife handles. He’s getting into knife making. This post is about making the box that I put these pieces of hardwood in, and the box could later serve as a portable storage case for all of his knife-making files.

Okay, here’s the plan for each of the layers I drew out (mostly) to-scale. The bottom is just horizontal slats, and the top will get some length-wise reinforcing pieces.

Initially I thought I’d just screw it all together, as this isn’t even the gift, this is just the wrapping paper, but I ended up deciding to do a slightly nicer job, and sanded them all down and prepped them for gluing.

Here’s the quick scrap-MDF frame I constructed to help keep everything straight. (Man I love these bessey clamps)

Laying out the bottom layer, yay for fitting the first time!

Layering. Gluing. Cleaning fingers.

Finished the frame. The pieces laid across it are just to spread the weight for the weights I threw on top.

Mostly dry, holding itself together enough that I can continue working.

Flipped it over, glued the bottom frame on, and spread the weight out using the length-wise laid pieces (they’re not glued)

And let it sit like this overnight to fully dry. Added the quick clamp to squeeze in the sides a little, it was bowing out just a tad but this clamp got everything nice and perfect.

Took apart the frame, some glue seep made that a little more fun than expected, but it’s looking pretty good so far!

Nice and smooth.

And more importantly, nice and straight!

Here’s what the bottom actually looks like:

And I couldn’t help myself. We made this screen print, and I just had to throw it onto the underside of the box too.

Okay, here’s the underside of the lid, the top side of the lid just looks like the bottom of the box. The sort of flattened out H shape the longer pieces make will keep the lid centered on the box when closed by fitting exactly in the recesses of the “log cabin” gaps.

Maybe this picture helps explain that last sentence a little better. The handle’s first piece is on.

I used just one piece for the handle to get it nice and centered, and once that was mostly dry, I built it up, and then carved it to a nice, more ergonomic shape.

Stained

Finished

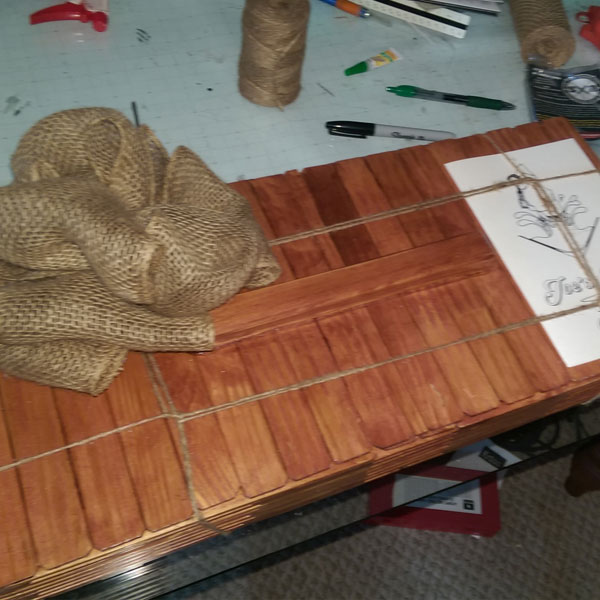
Strung and Bowed

And with his card inserted
