I promised Umur I’d post something this week, so here’s something I’ve been holding until I got the last completed photo in, but said screw it.
So, we first tried mod podging some random magazine clippings, get an idea of how it all works, how much to use, all that.
My only major tip is mod podge light, even coats, and after it semi dries, go over it again on top to really penetrate through the paper. Glossy and other impenetrable media are a bit more difficult to work with, but light even coats is the only way to avoid rippling with that as well.
on to the process!
First, we built a table. It’s crude, made with home depot posts, 2×4, and particle board. We sanded the table top itself to give a smooth finish for the comics, but we didn’t sand anything else really. Light sanding for a good painting surface, but that was it, only the table top got a good sanding treatment with a belt and hand sanding.
I was really bad with taking process photos, so it’s a bit jumpy.
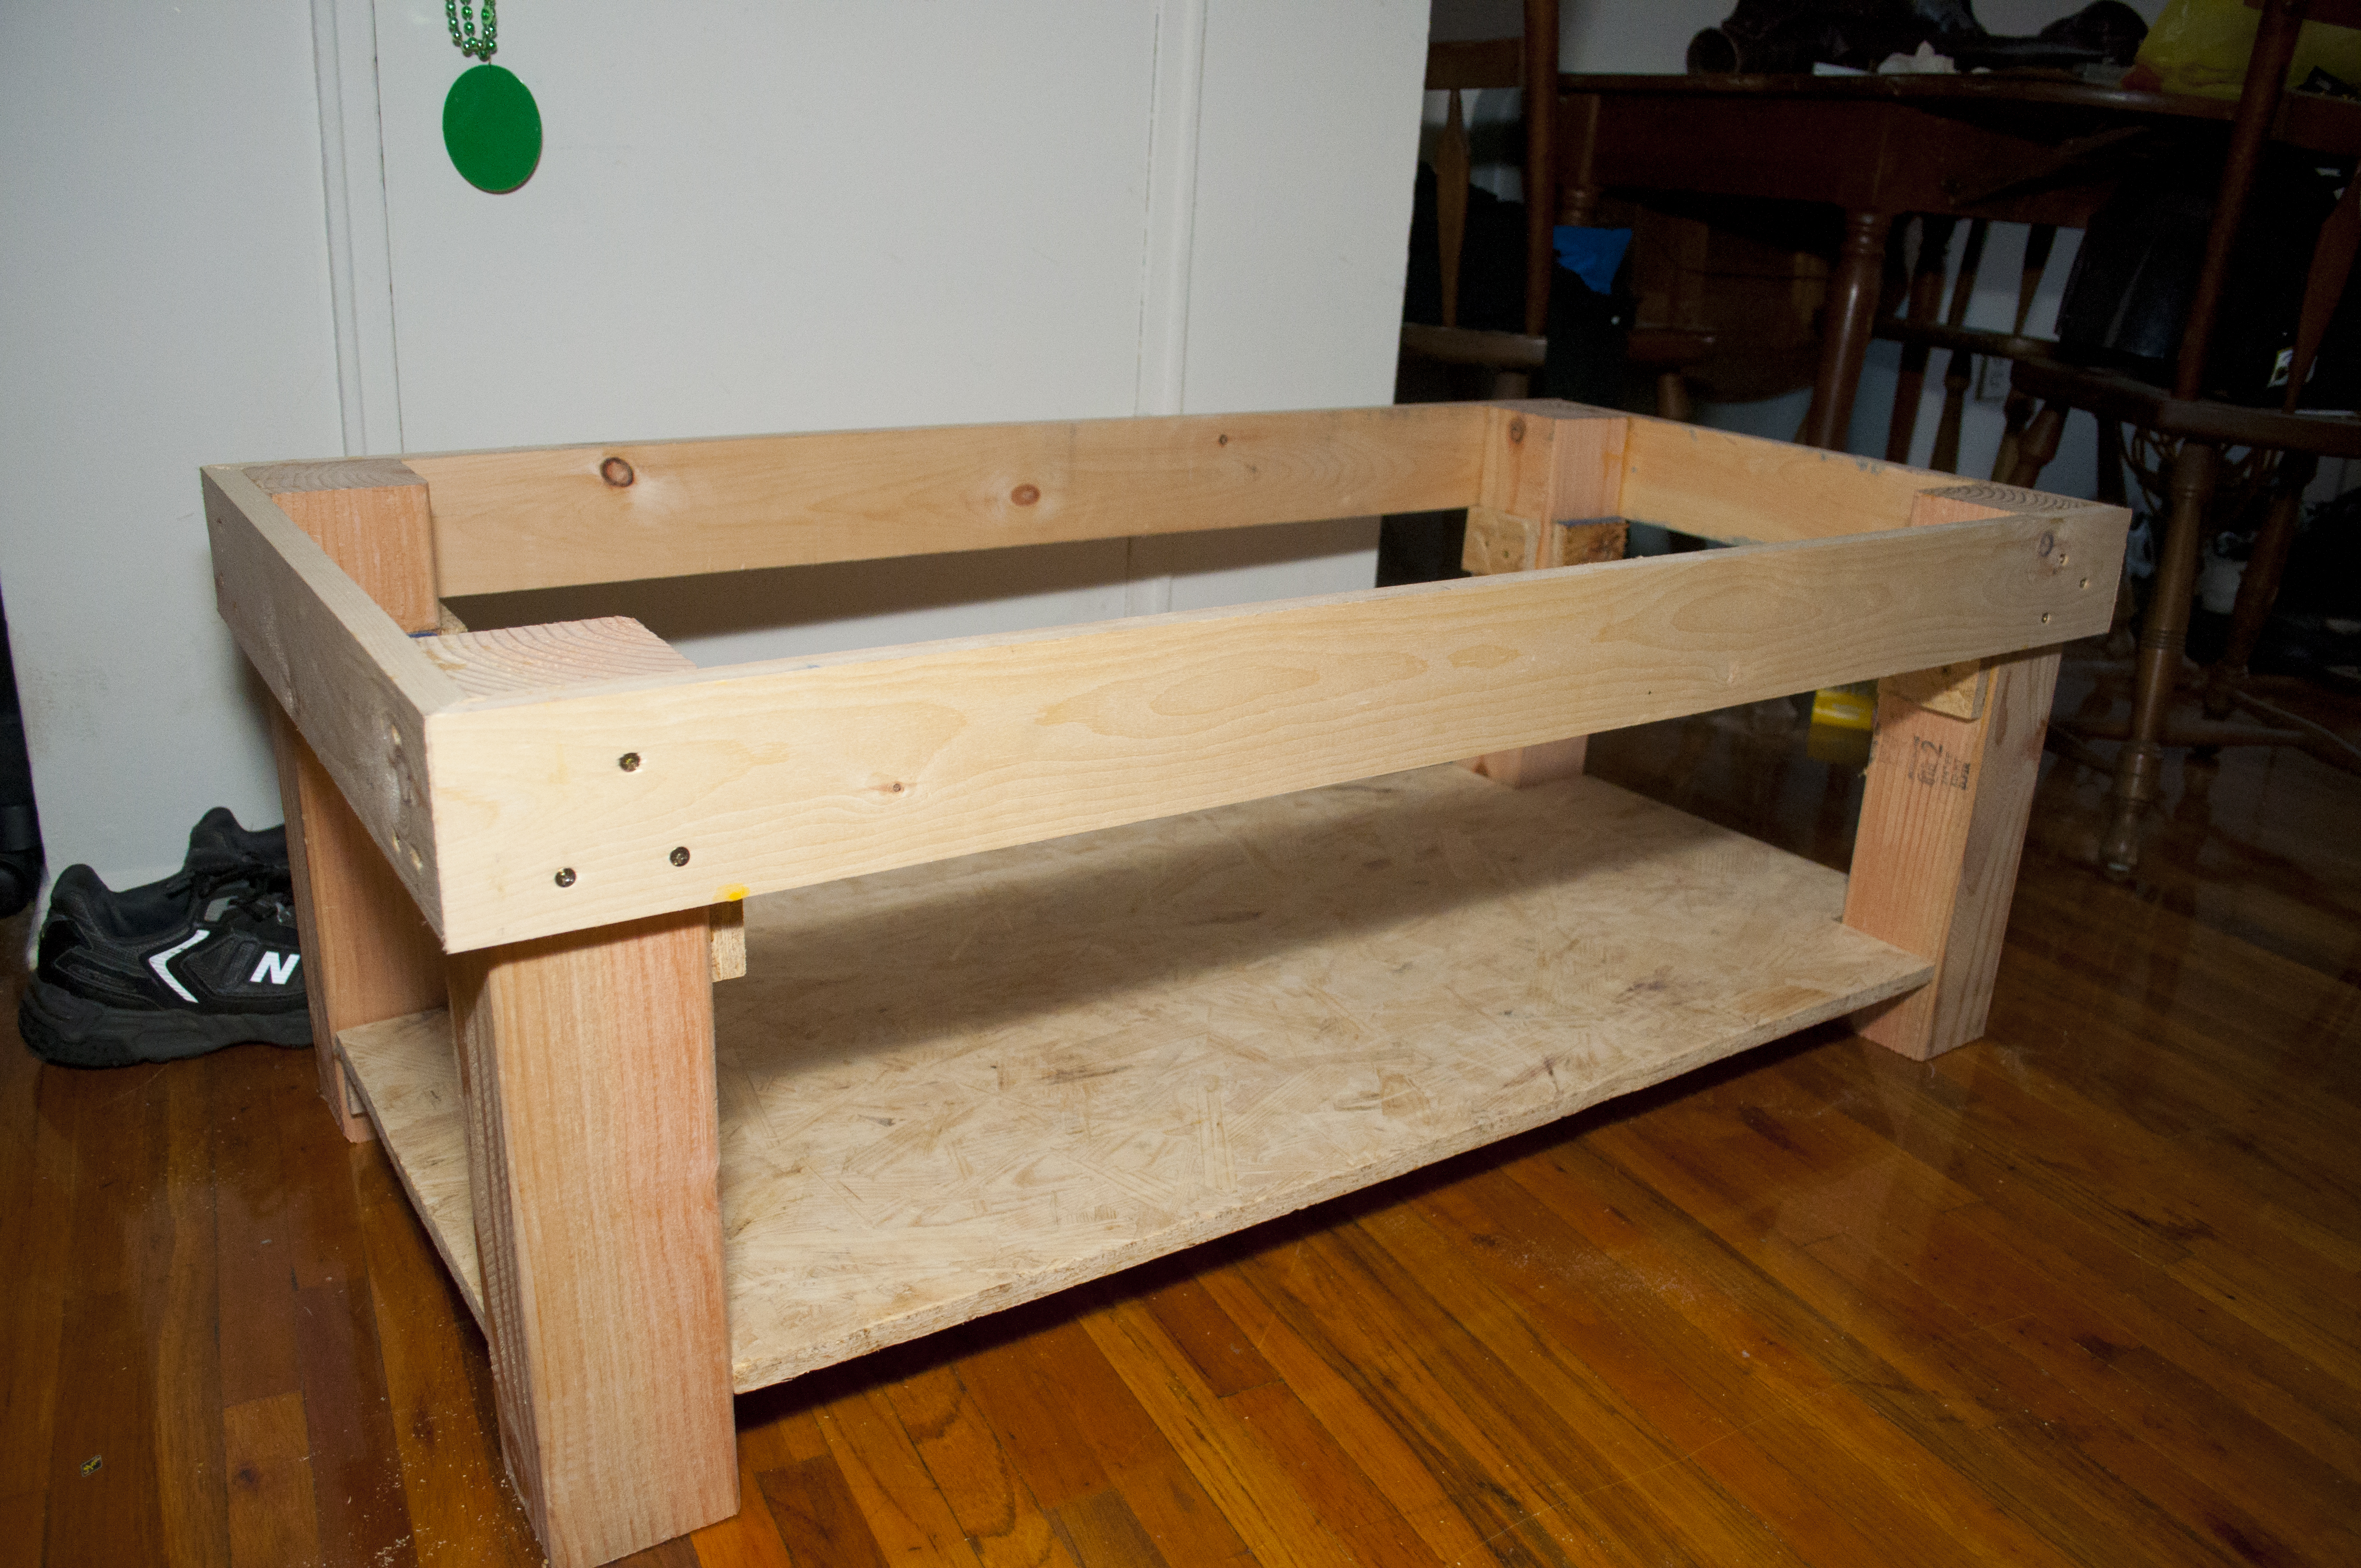 Here’s the table assembled
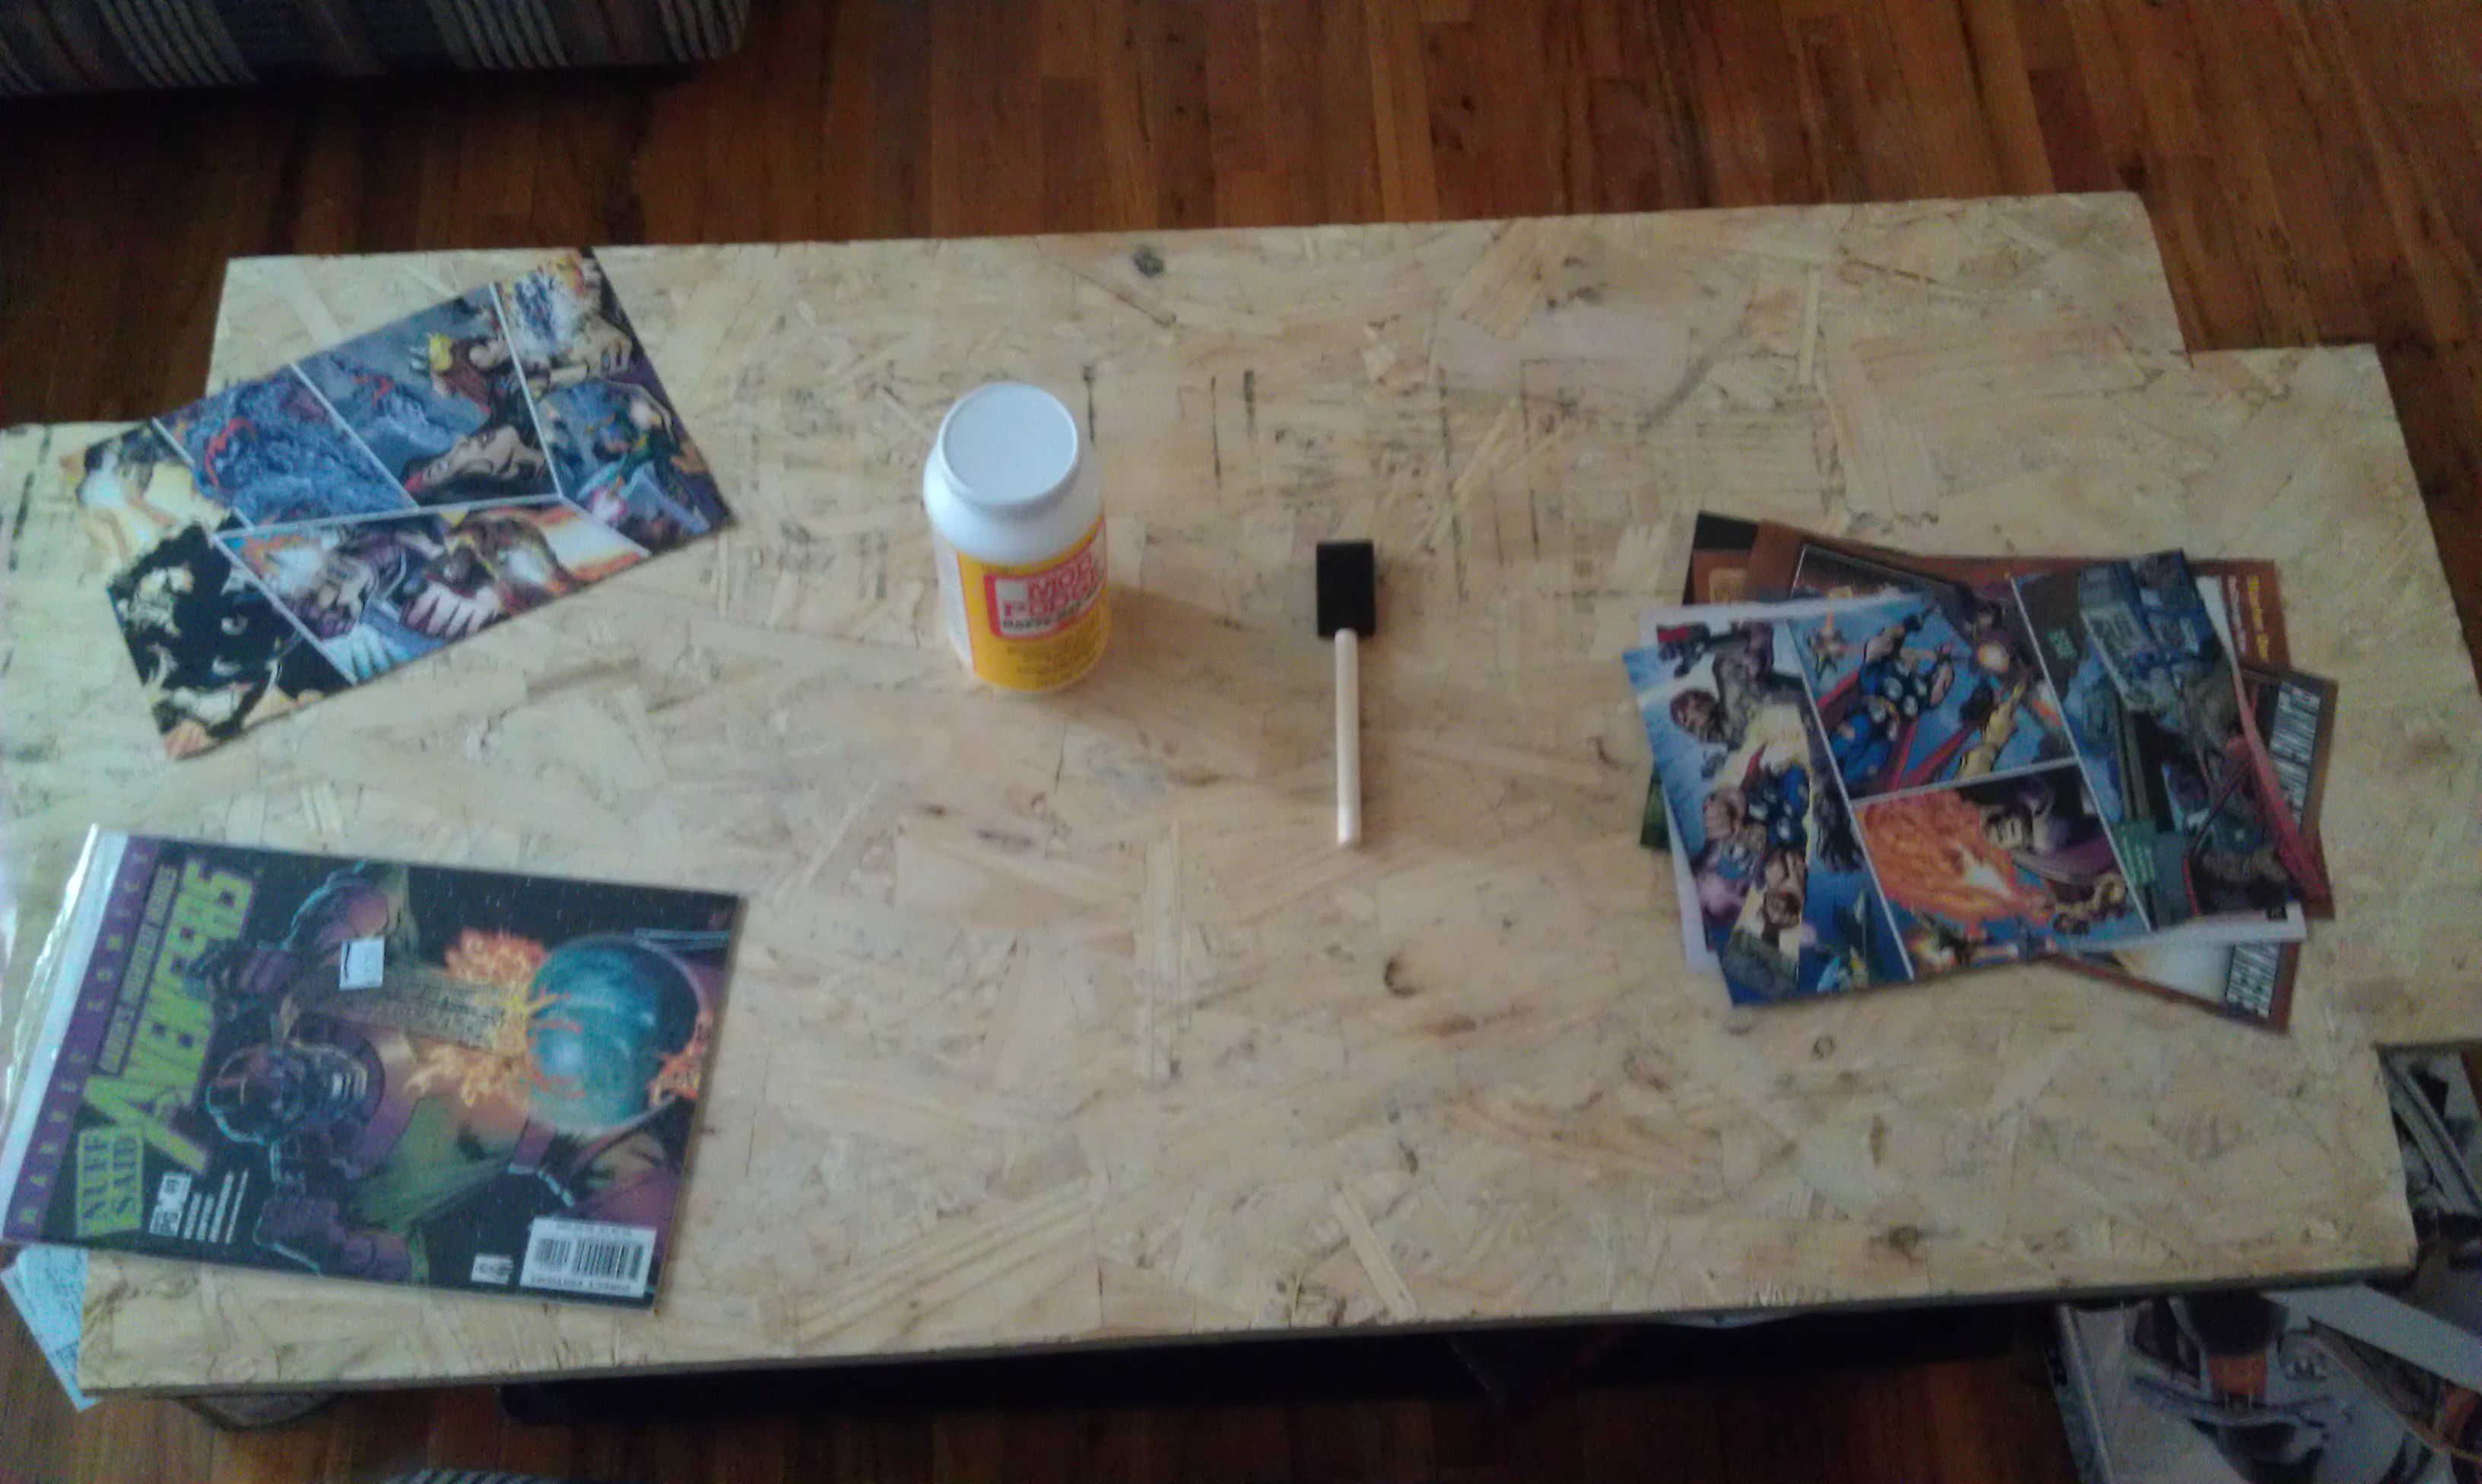 Getting the Table Top ready
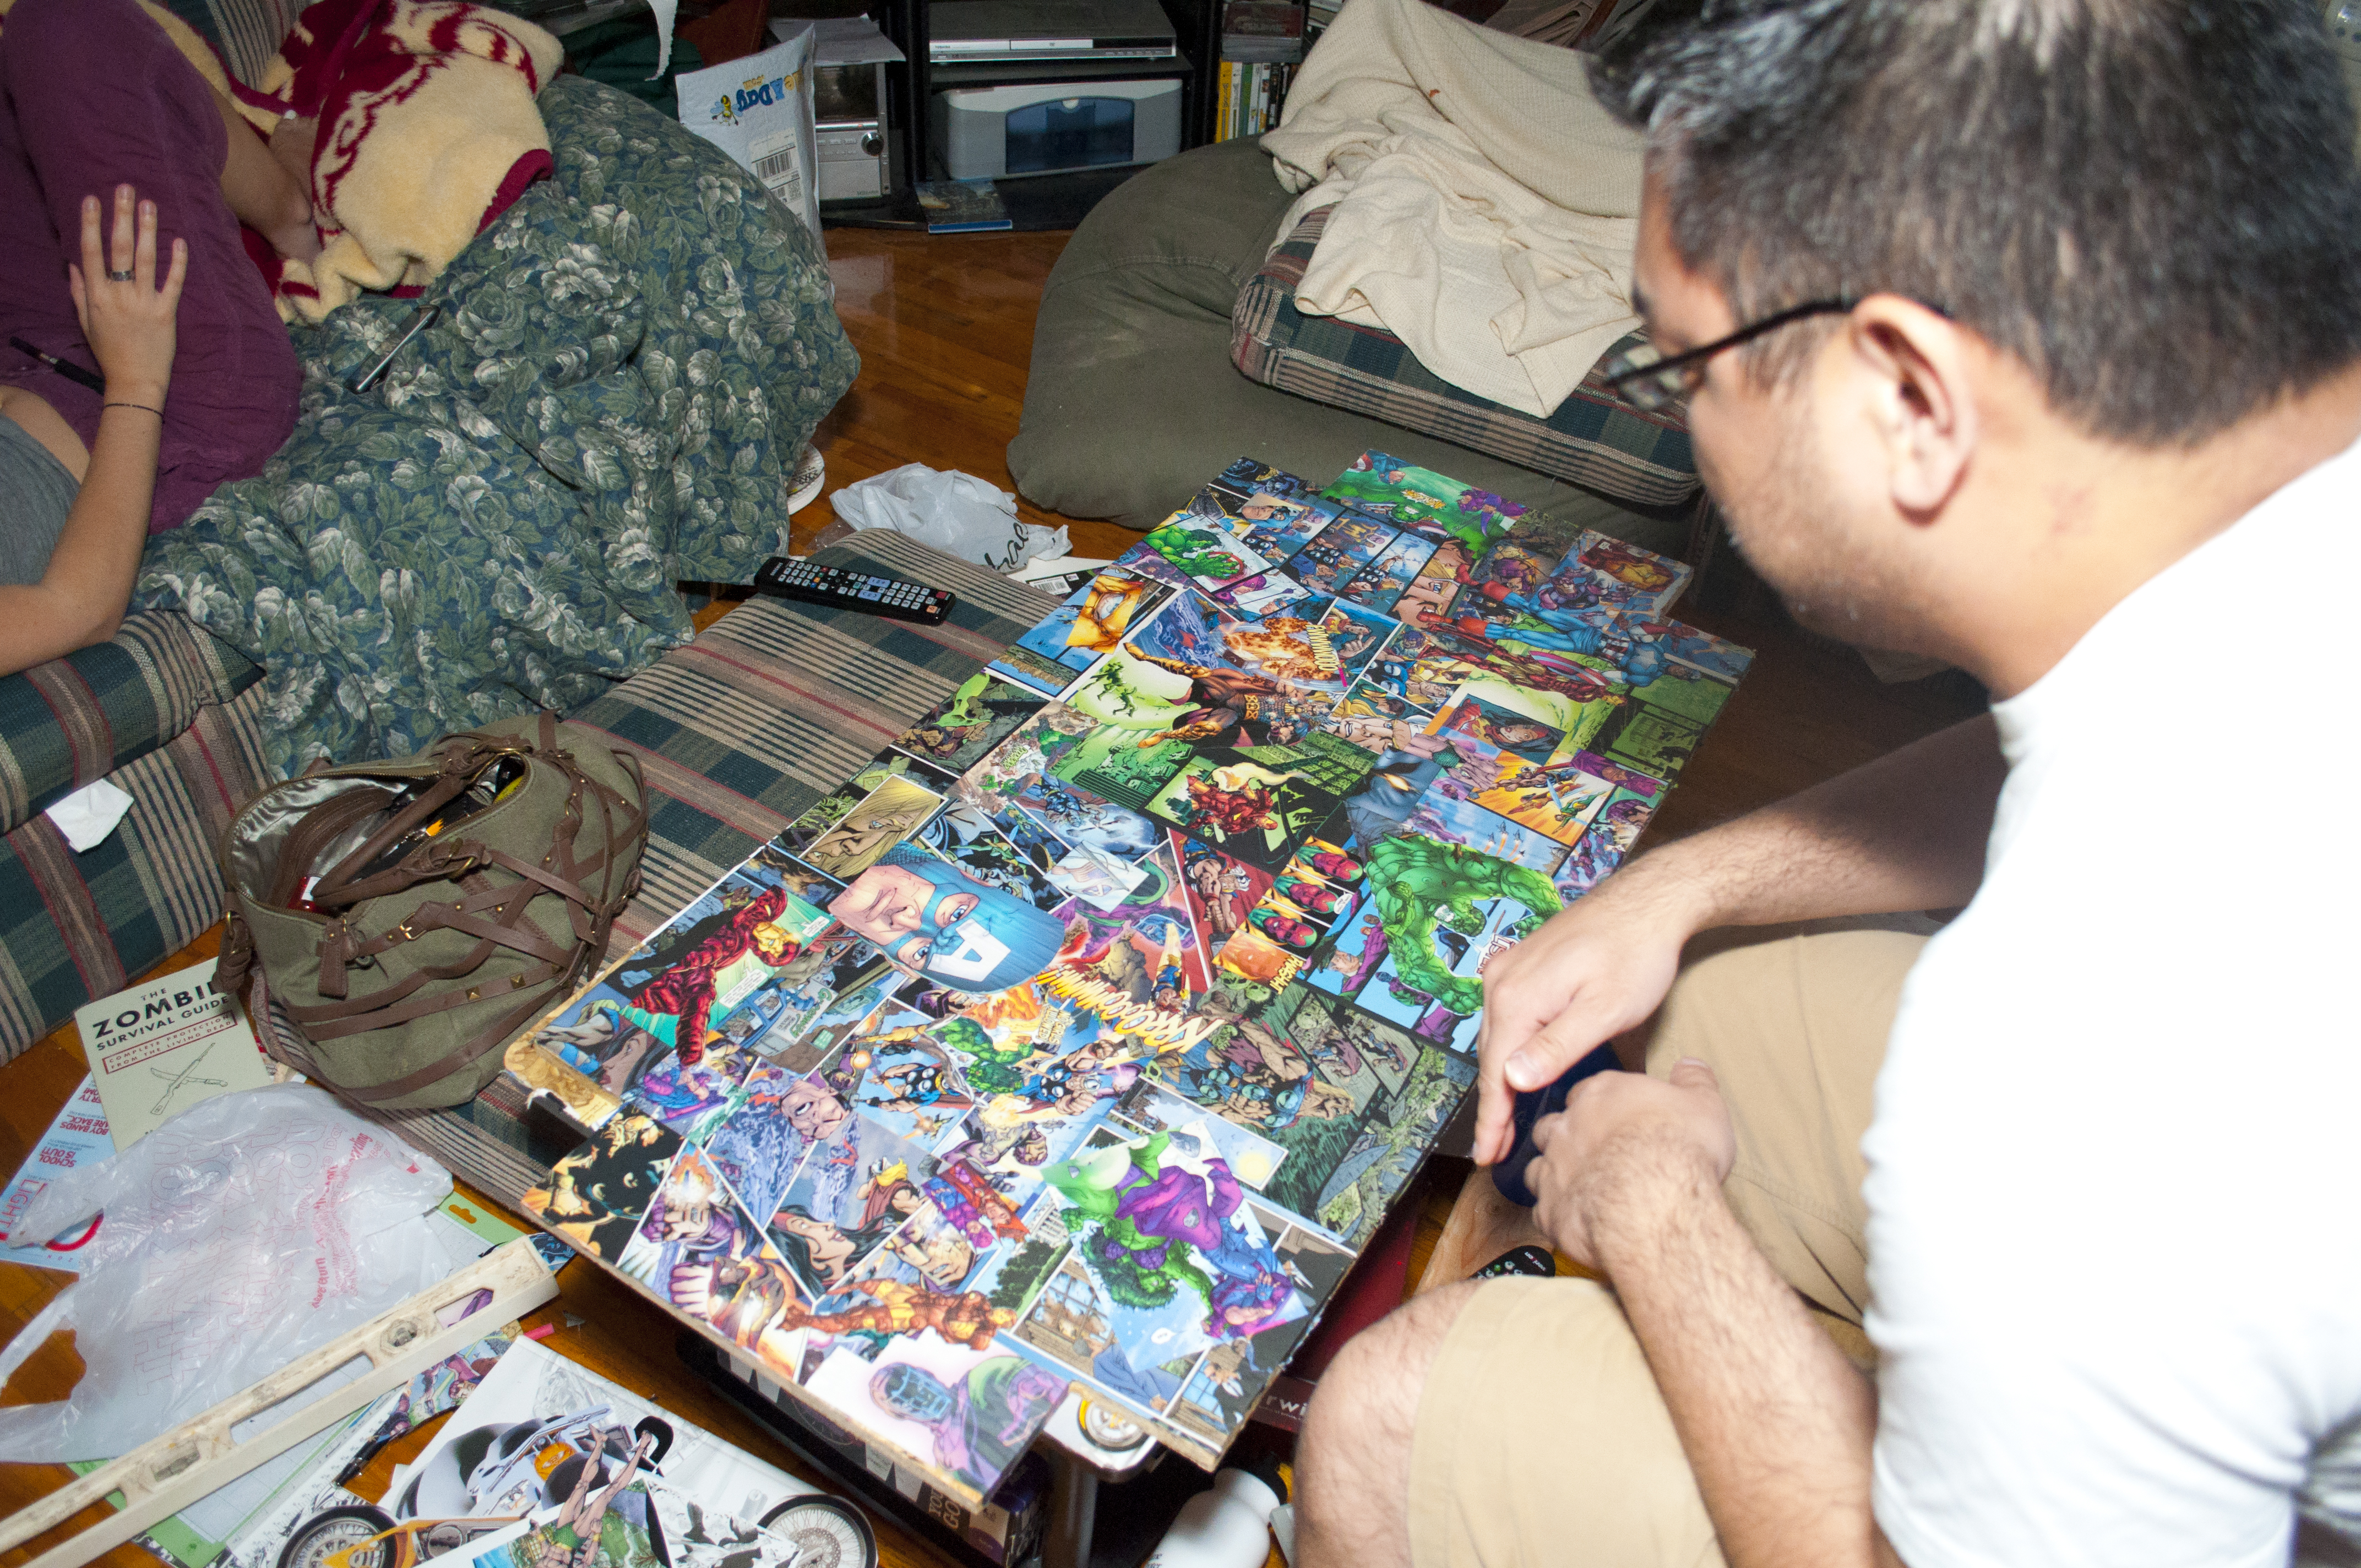 Table Top done!
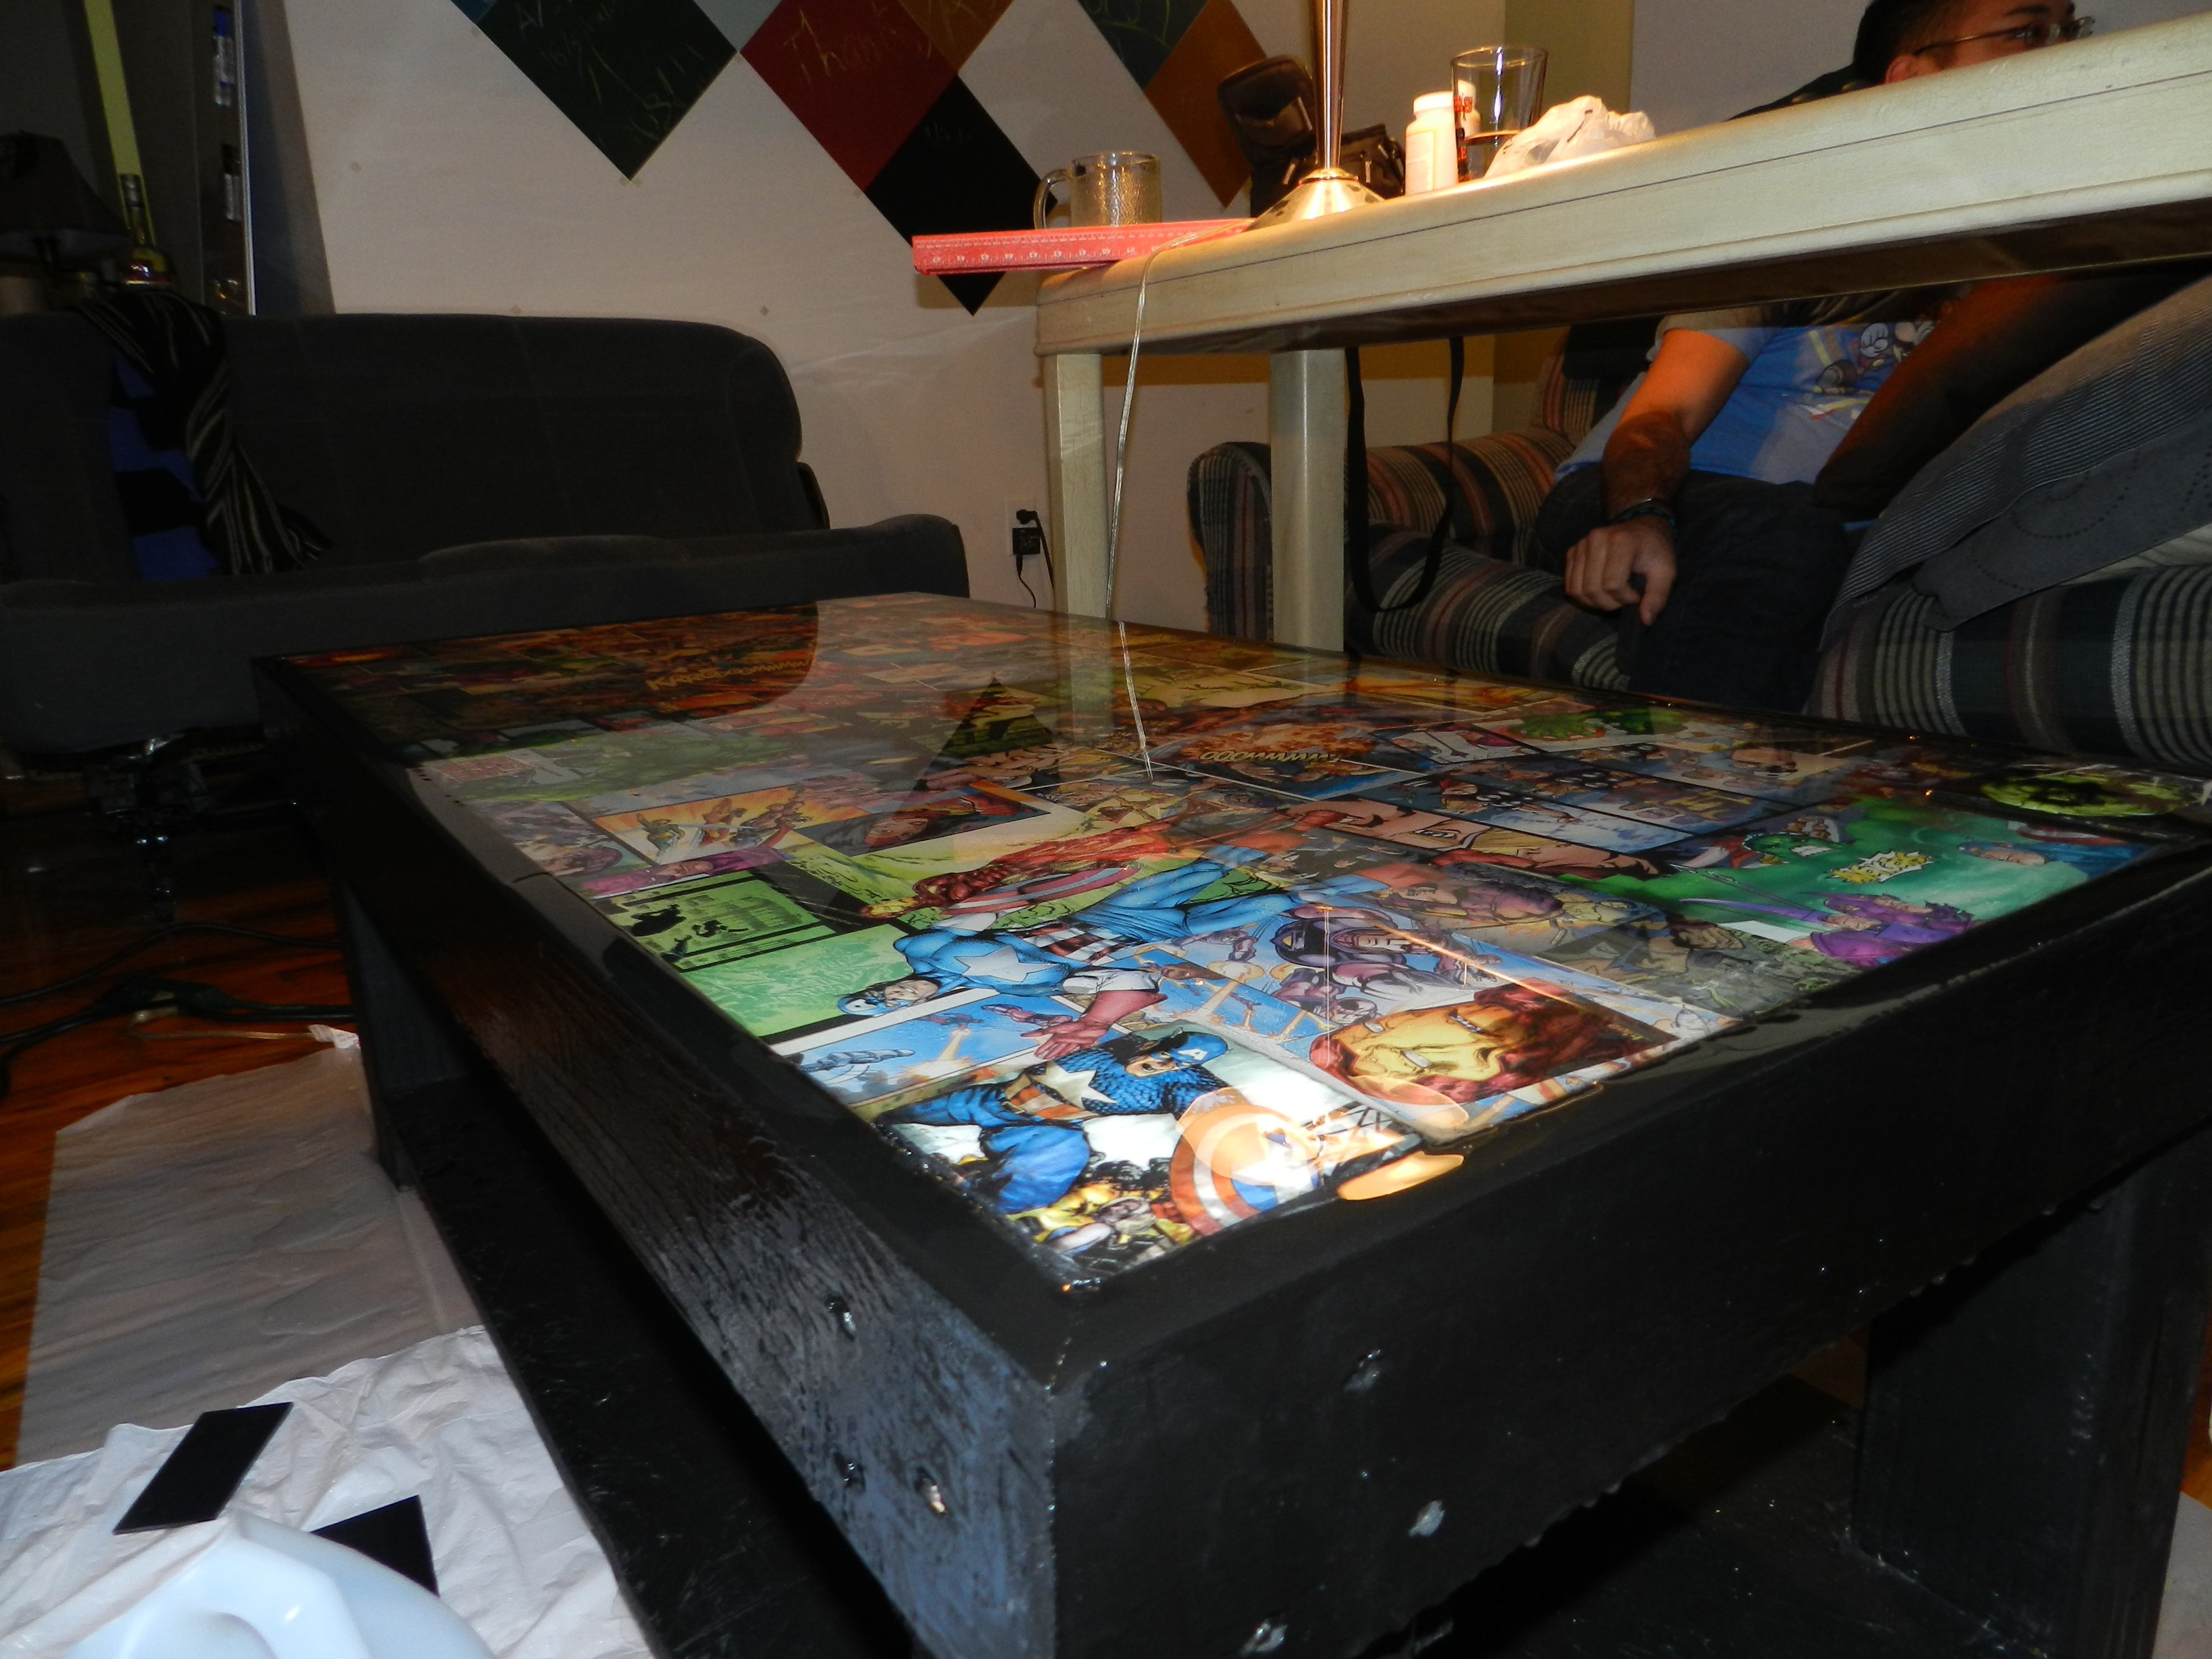
 Table Top close up
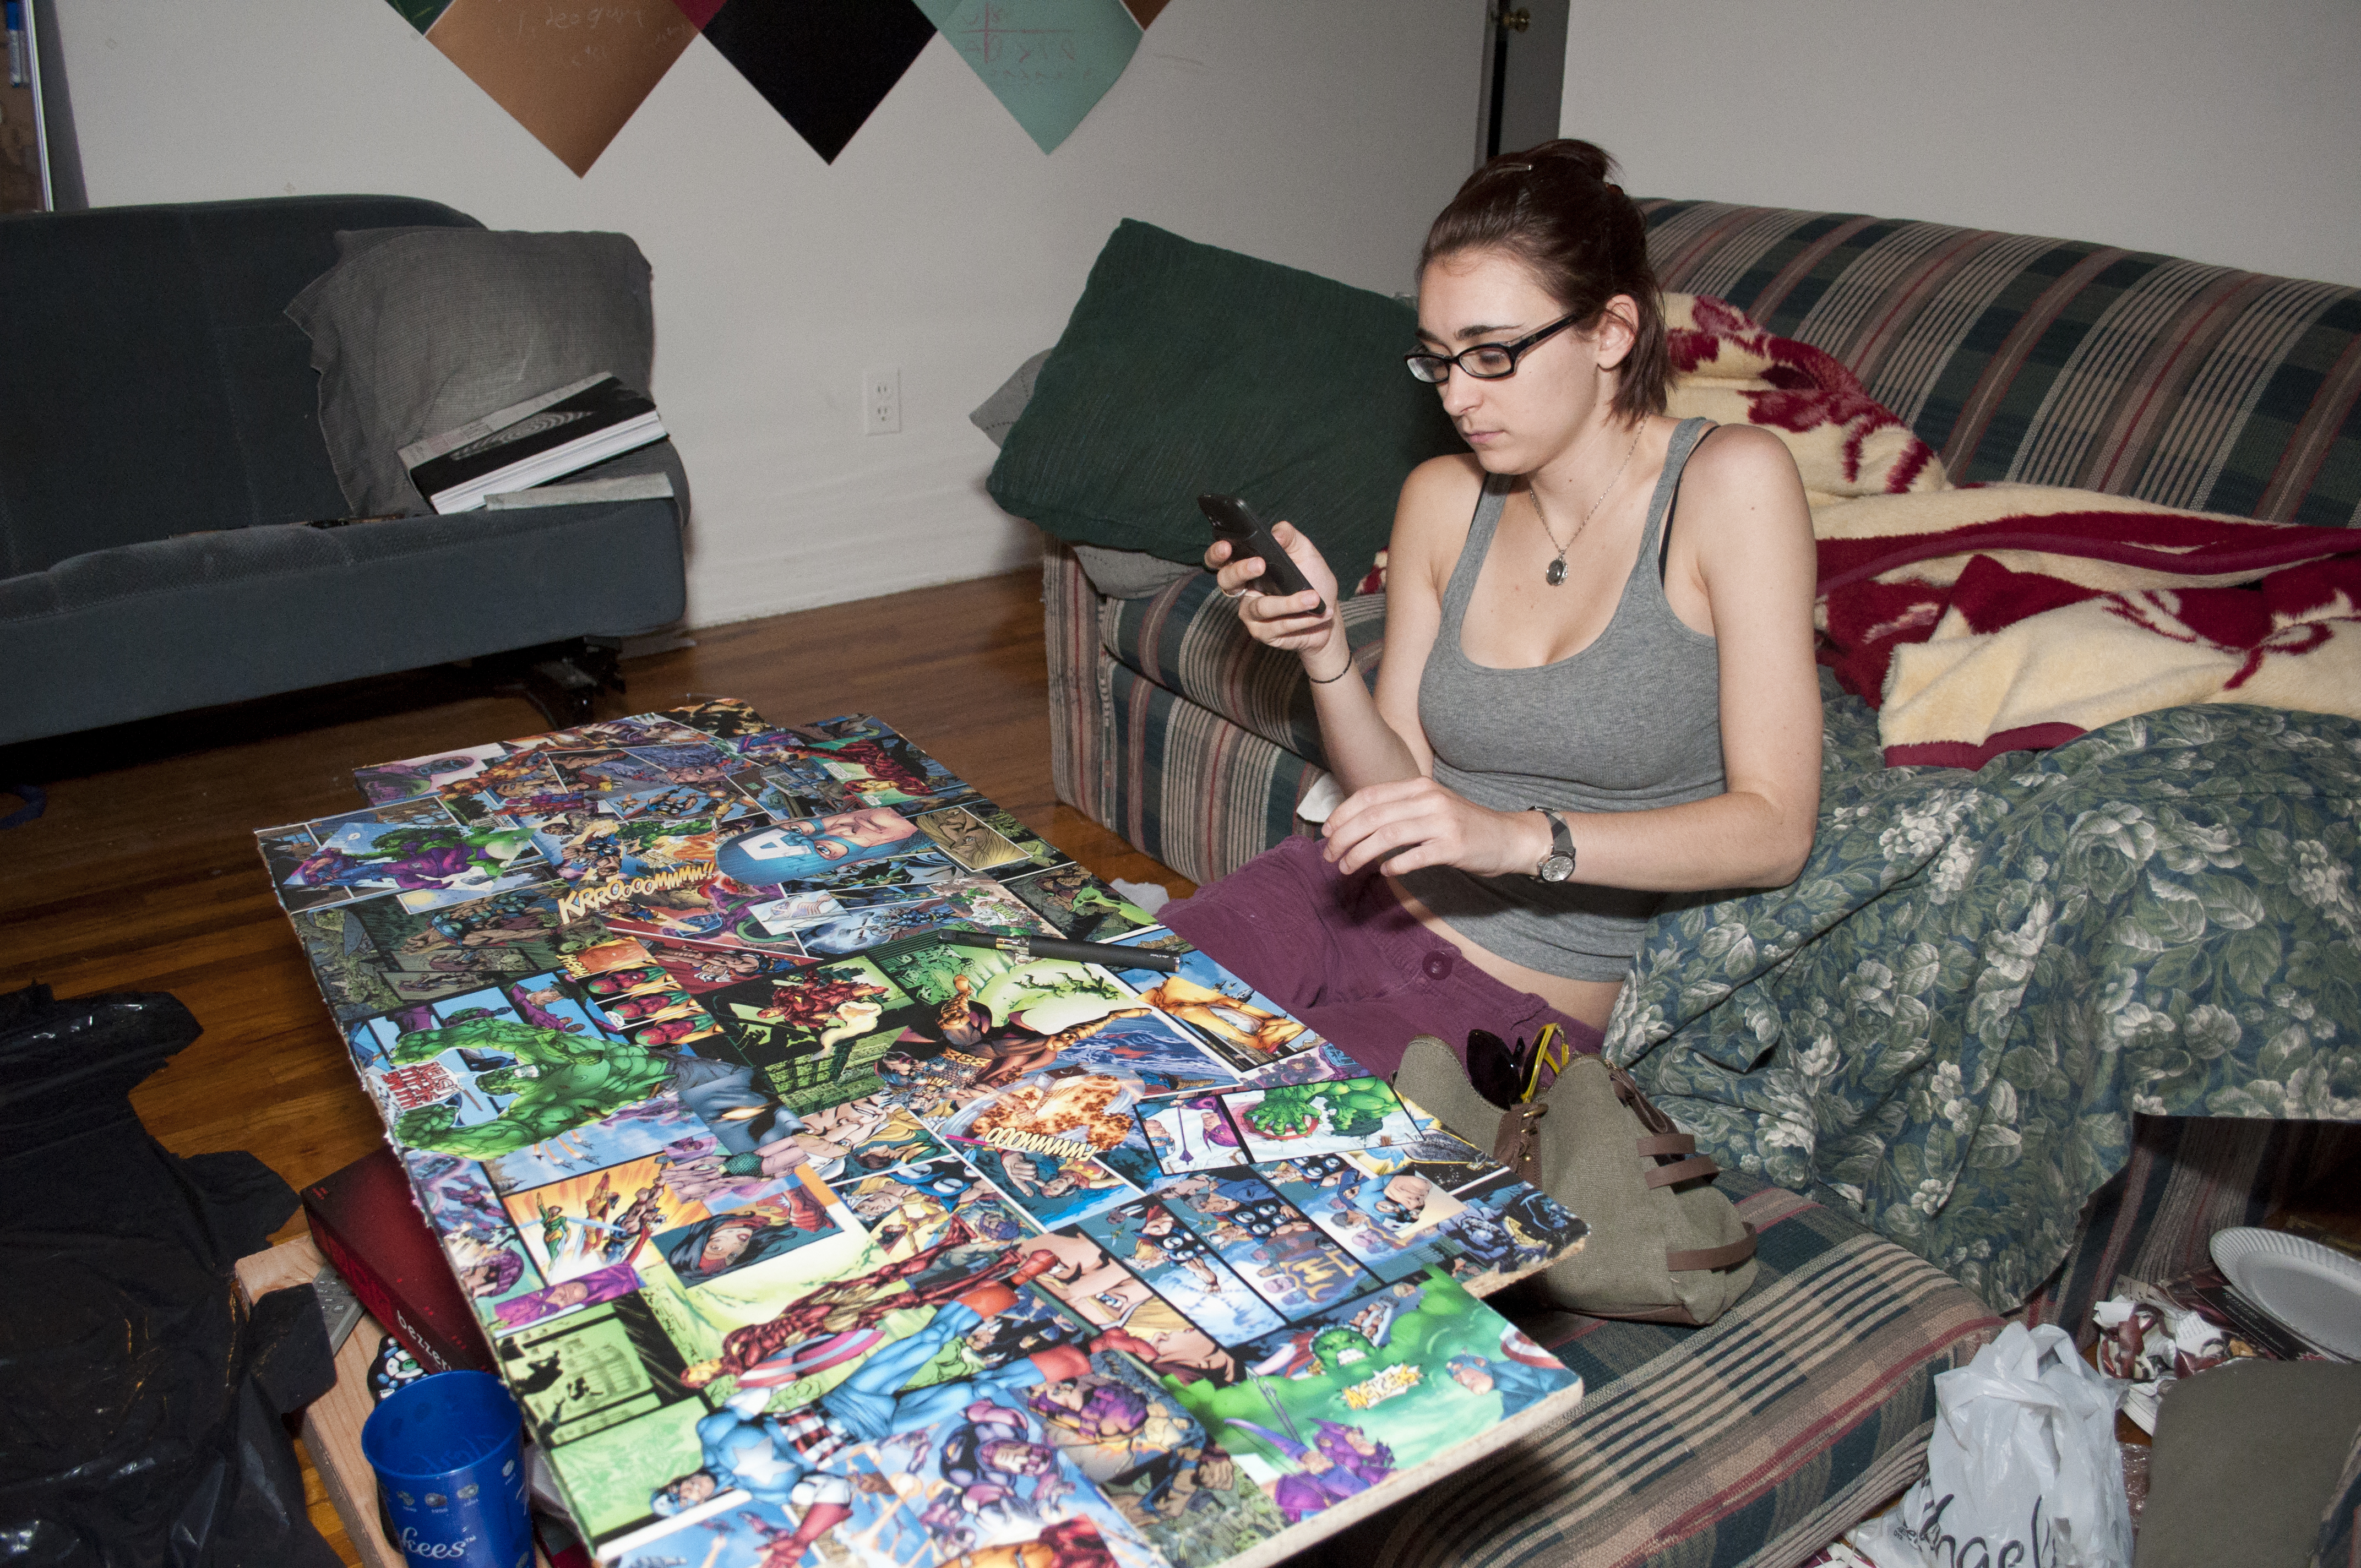 Robin finally taking a moment’s rest to share photos and read some reddit
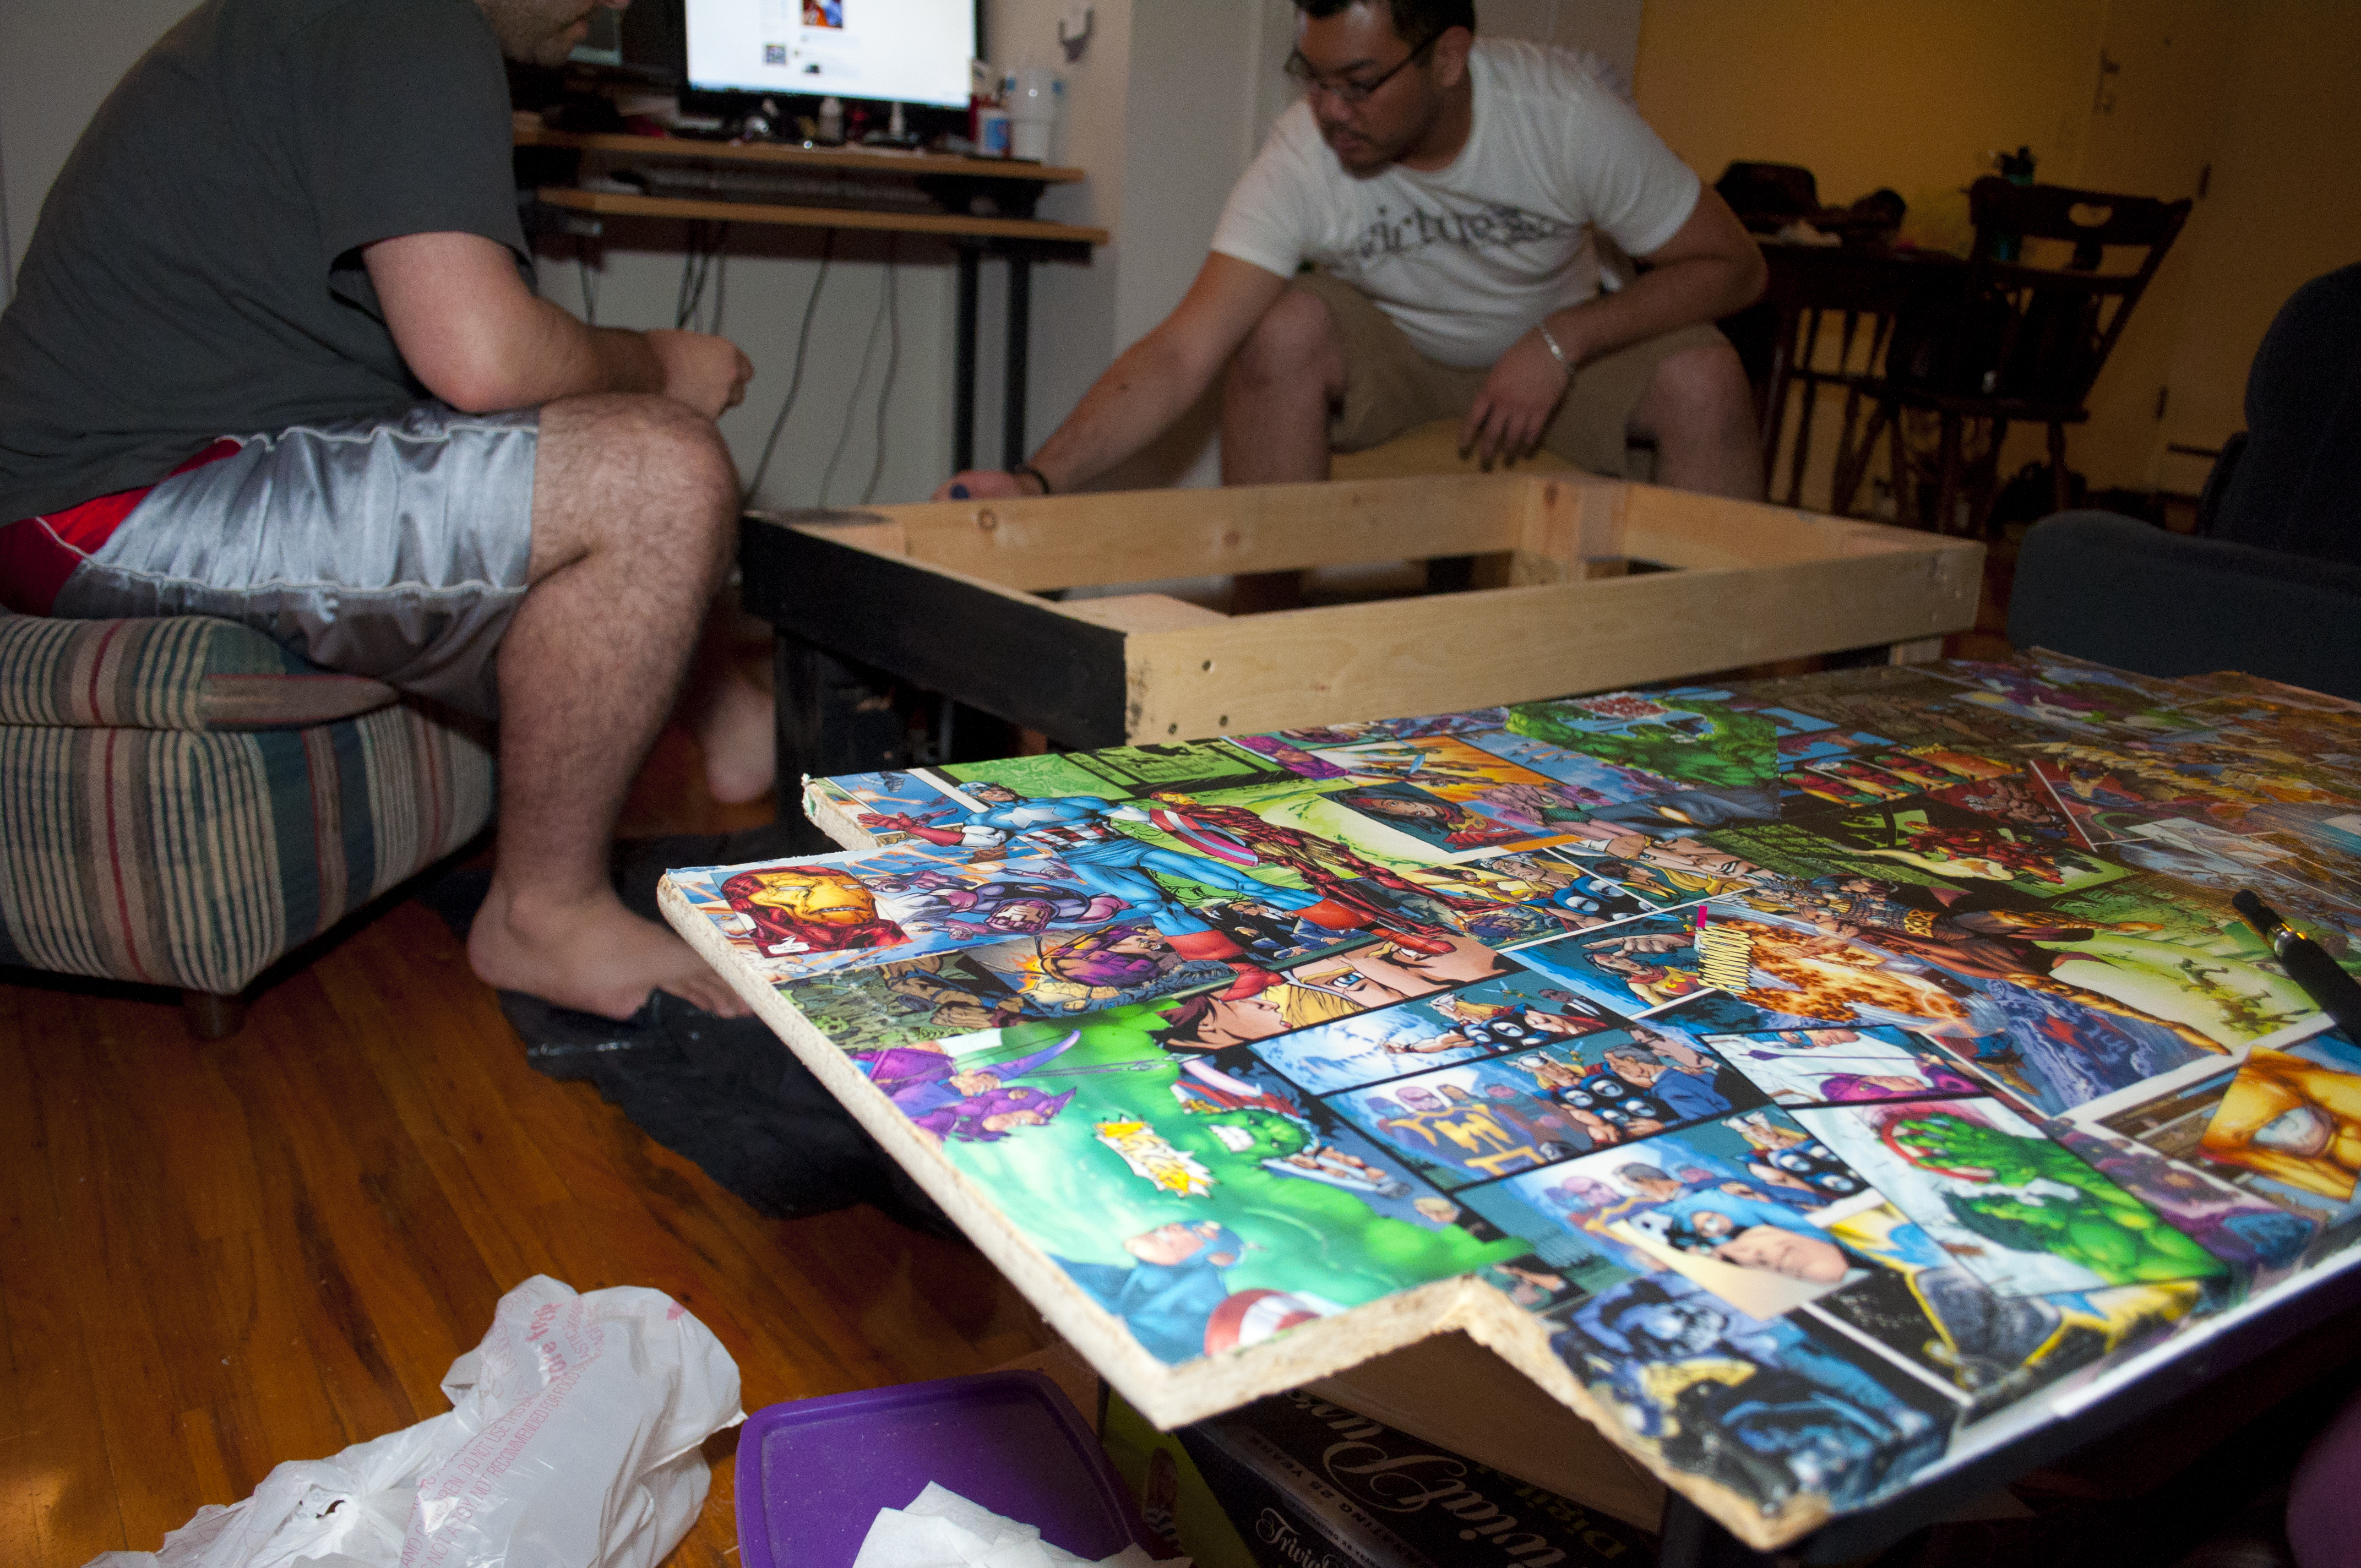 Getting ready for assembly and epoxy!
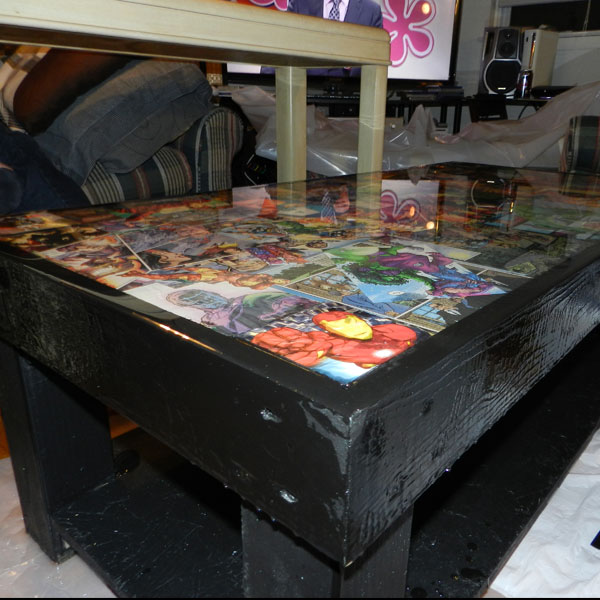
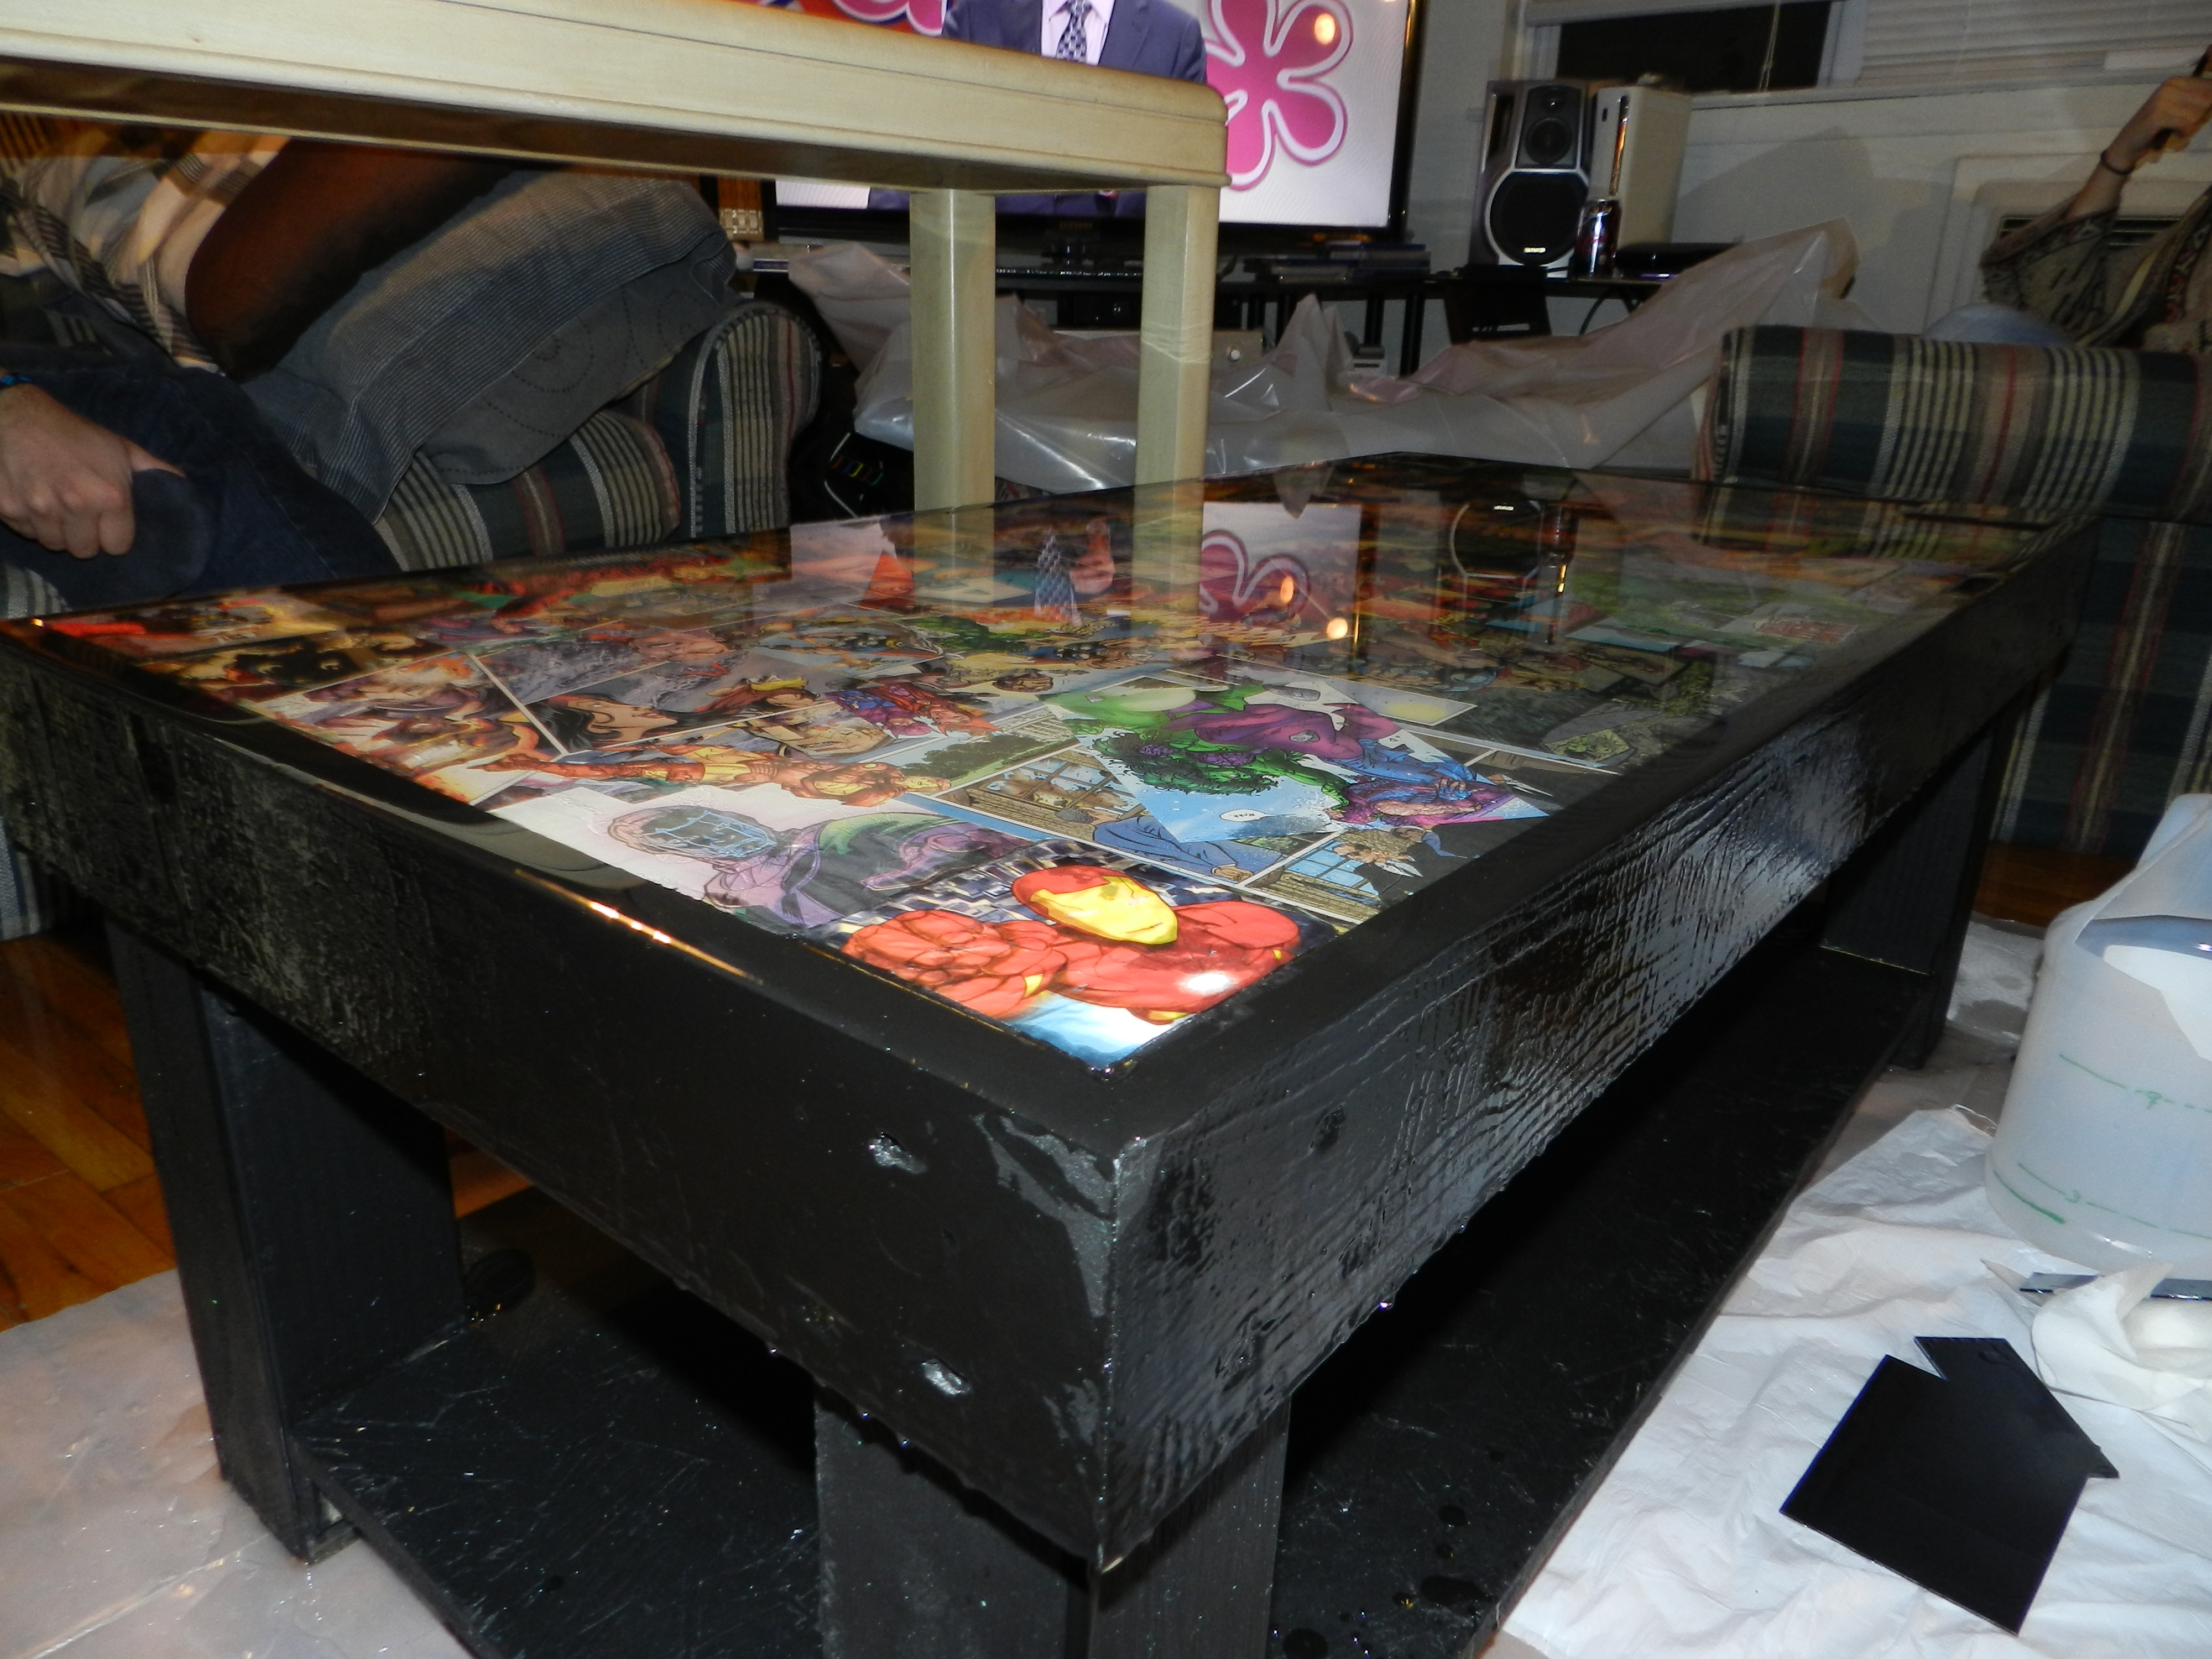
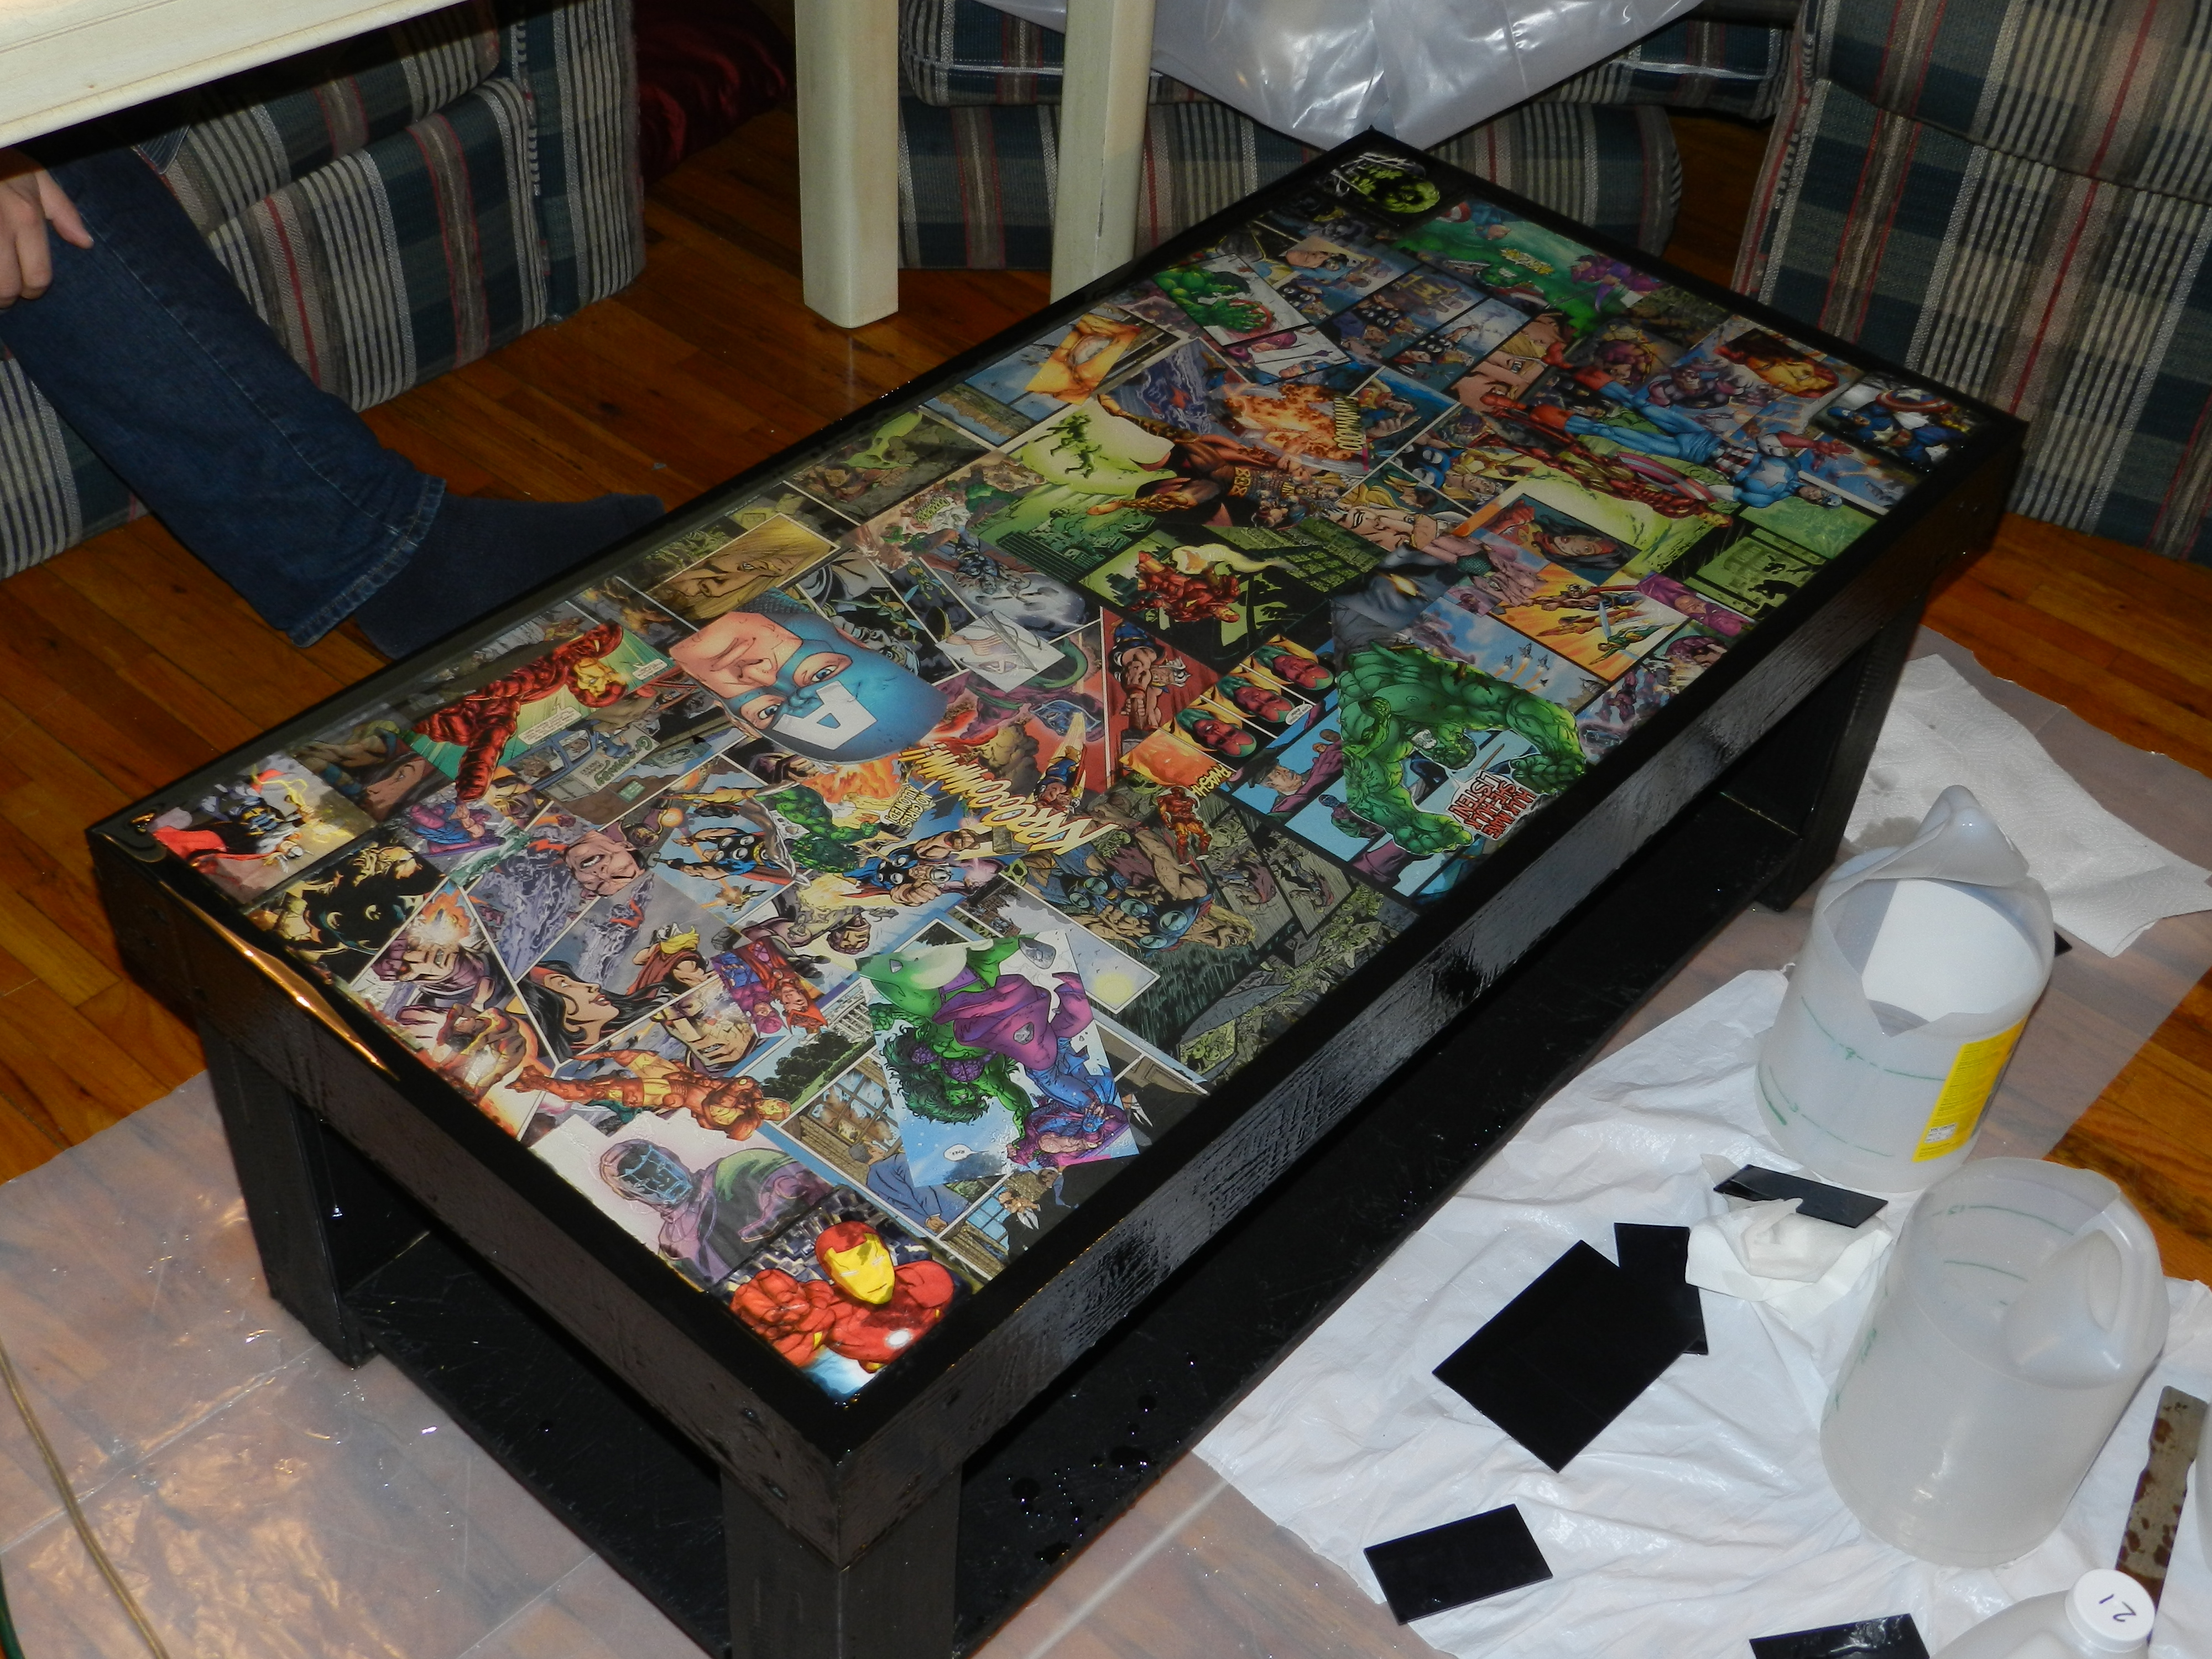 I suck at in process photos, so here’s the table after finishing paint, assembly, sealing, and epoxy pouring.

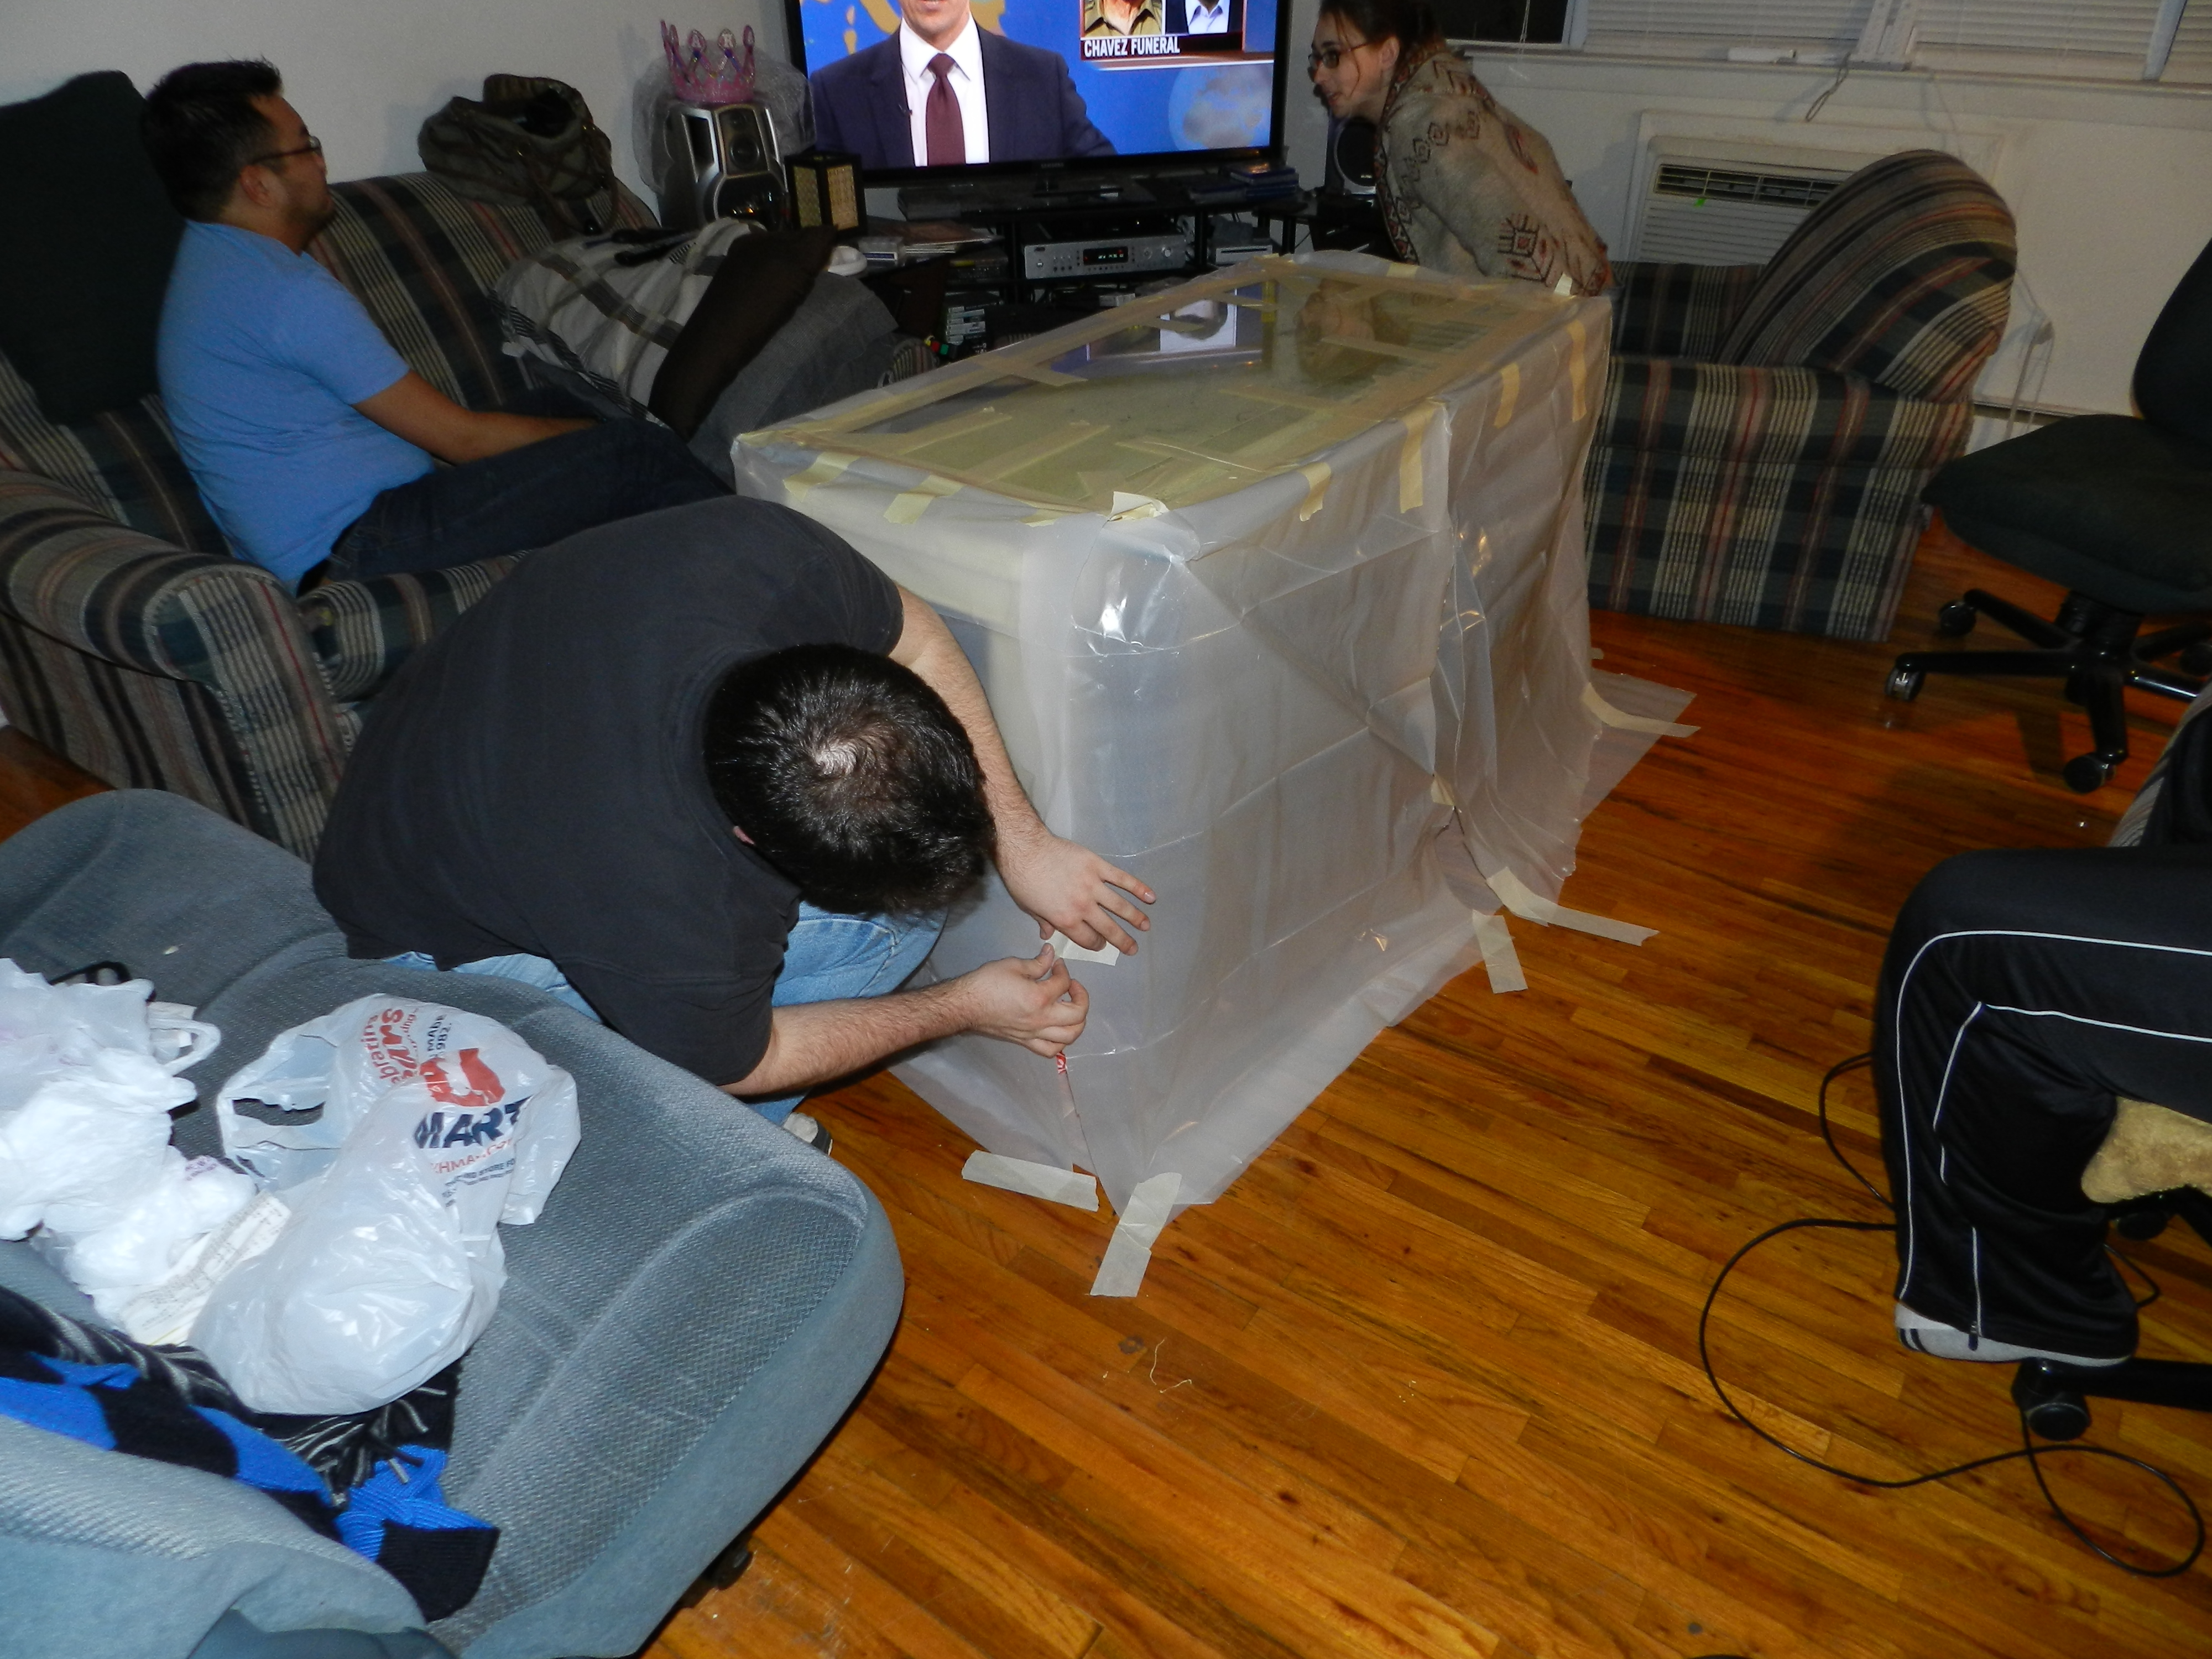 It was winter, so we did this indoors with the windows open.
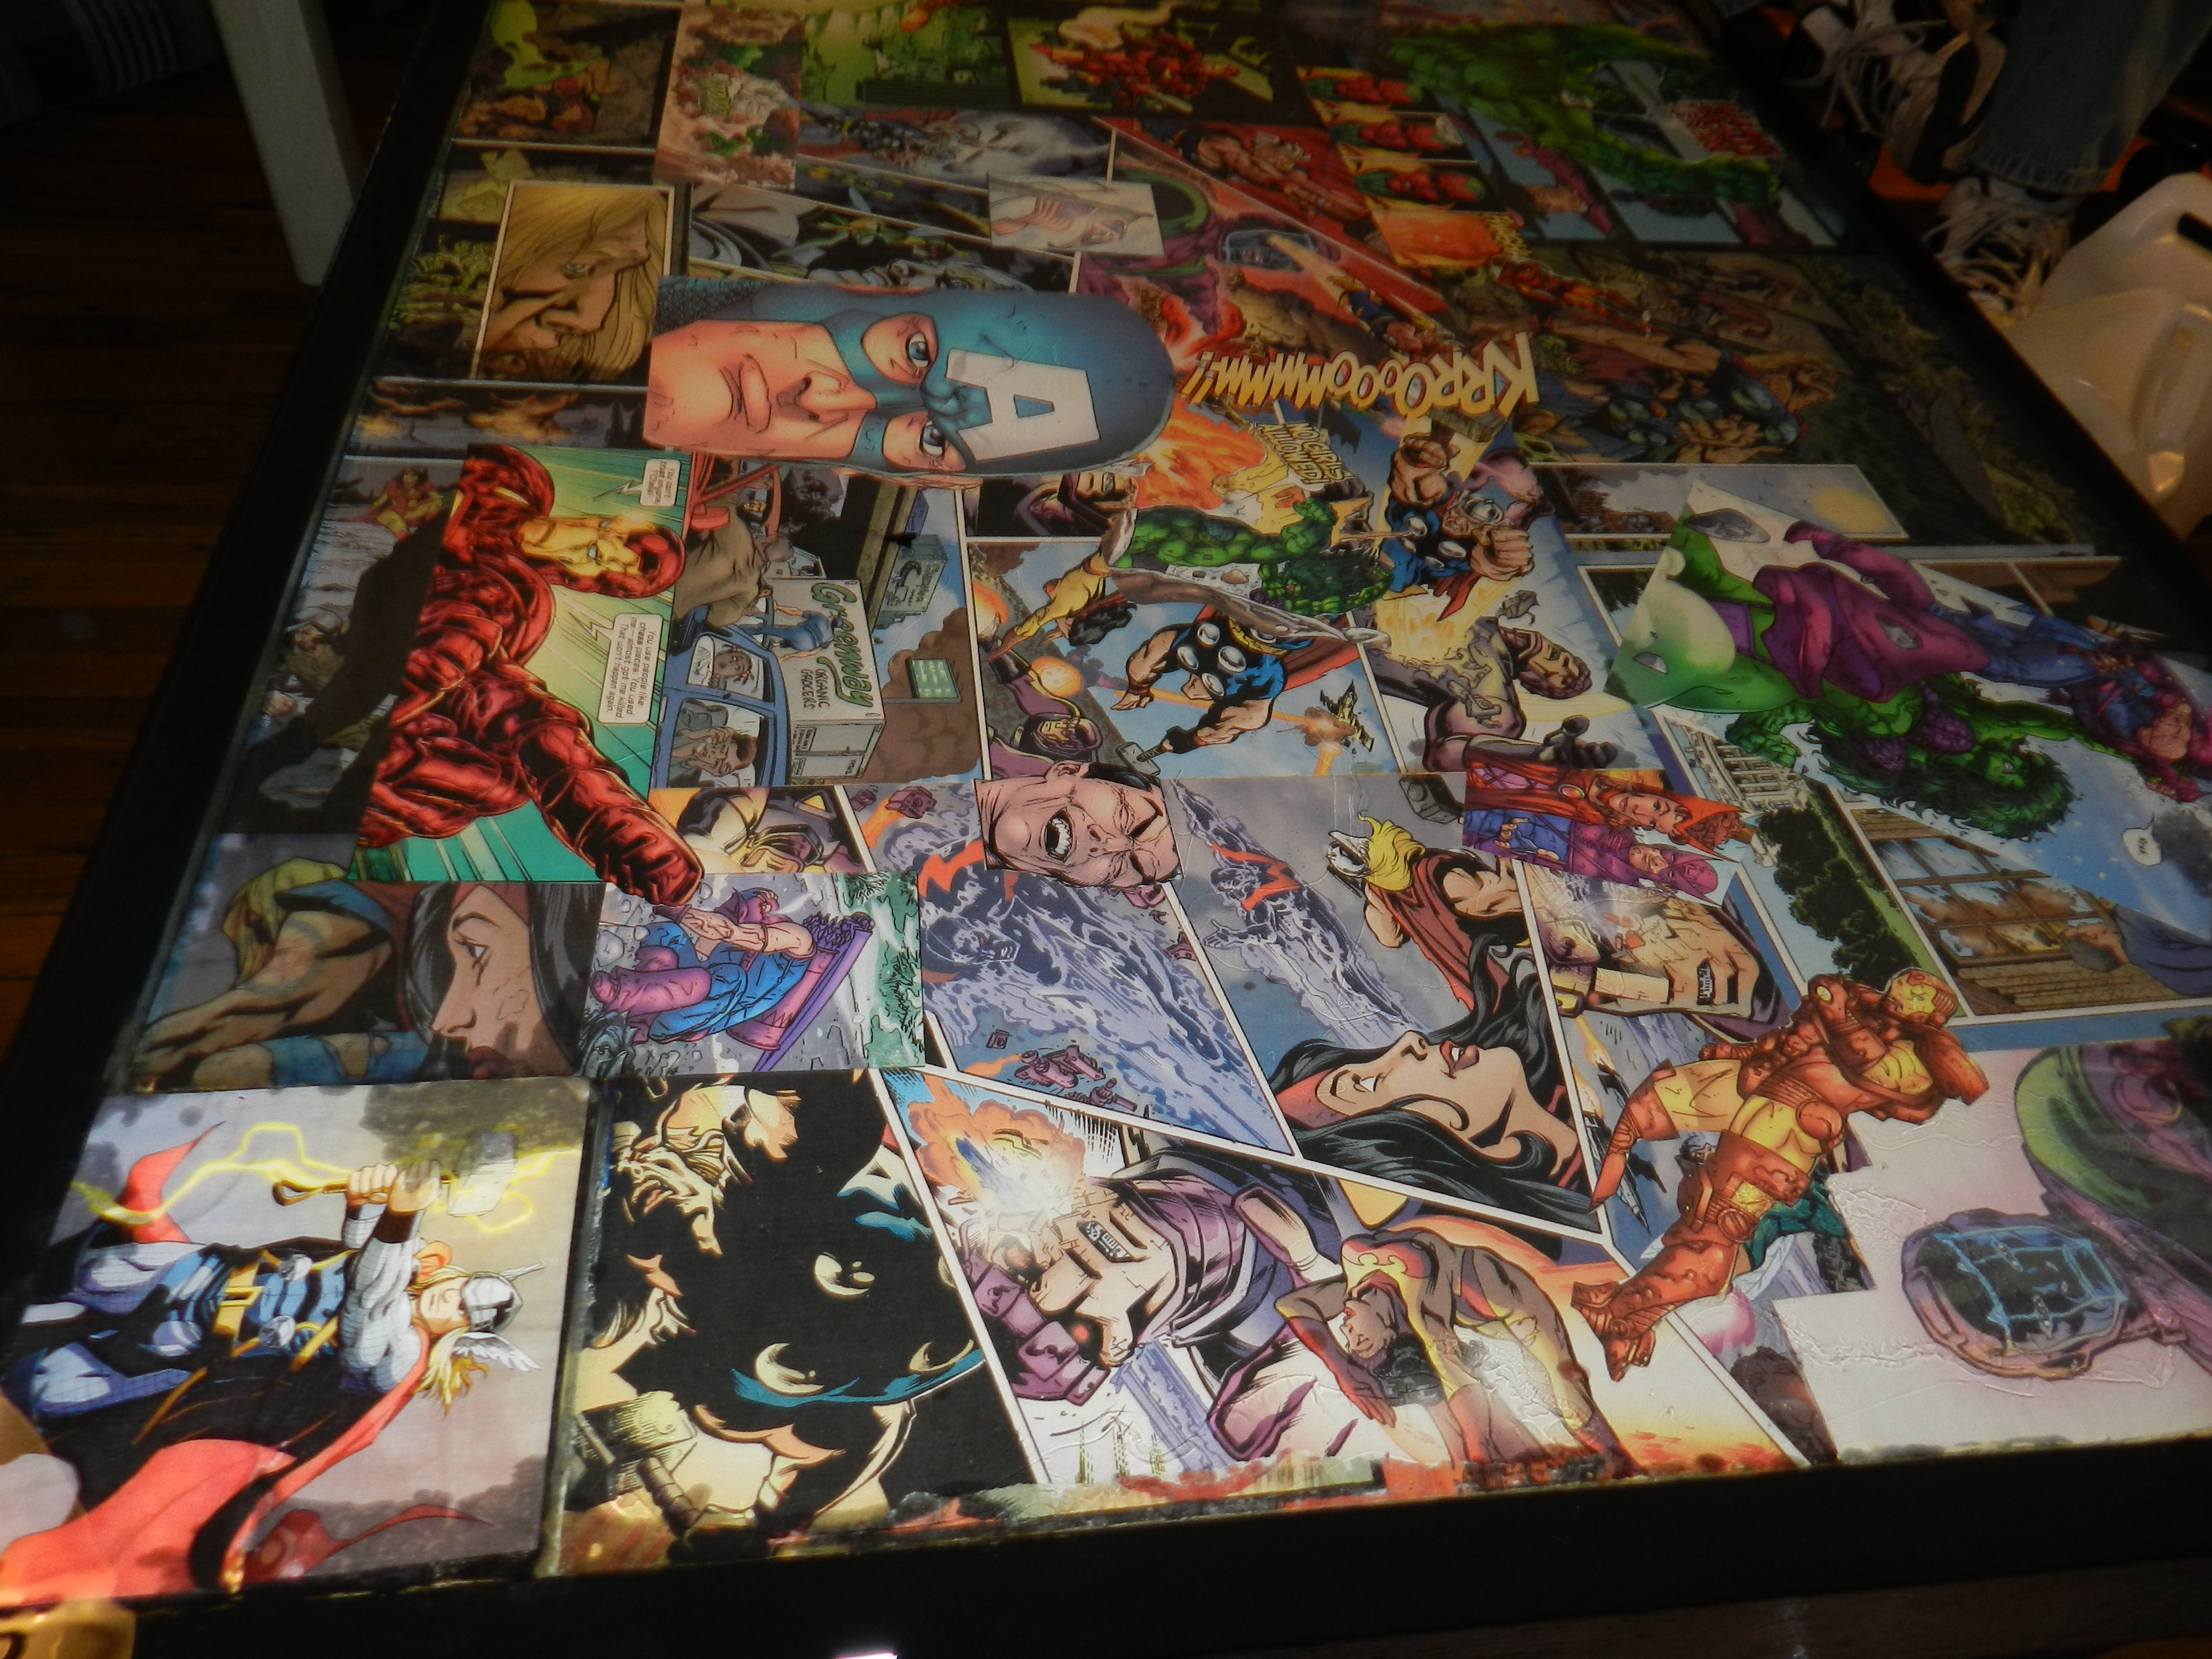
I still haven’t gotten a chance to take photos of the table after curing, but I assure you it looks pretty much exactly like it does while wet, perhaps SLIGHTLY less shiny. It’s quite hard, and quite beautiful. To do it truly properly, after this is all done and cured, we should go back with fine grit sandpaper and smooth out the top again and put one last razor thin layer of epoxy, but it’s so flat and smooth already it’s really not necessary.
 And this is the cover photo.
I love this table
thanks!!