[wdgpo_plusone]
Happy Birthday Joe Bruno IV! So, I’m going to do a brief catalog of our past two attempts at making a custom fender, unsuccessfully. We learned a load of stuff, and had an experienced hand lend us some advice. Here’s to attempt number three!
[singlepic id=58 w=300 h=160 float=right]Whee fender! So, our first attempt we essentially just wrapped the fender rails (after masking and whatnot) with a metal mesh, t shirt, and fiberglass. Resin’d it all up and that was pretty much it. Total time, a day. It would have worked, but it did really suck.
Hit the link for the full catalog and Joe’s present.
[singlepic id=59 w=300 h=160 float=left]As you can see it looks awkward and leaves a huge gap with between the seat and fender. It could have been a lot worse, but it could also be a lot better. Honestly, I liked it, and Joe liked it a bit too. Our next fender will take inspiration from this fender’s simplicity and some of the second fender’s smoothness, but if all goes well it won’t look like either.
[singlepic id=60 w=180 float=left][singlepic id=61 w=180 float=right]Some nice pictures illustrating the fender’s strengths and more importantly its faults. The gap is really apparent, and it really shows off how huge of a space there is between the fender and the tire too. Neither are the desired effect, just want to show off more of the tire, not the space between.
[singlepic id=62 w=150 float=right]To eliminate any guesswork, we decided to try using the stock fender as a launching pad. A great idea, and it ended up being more successful but still lacked the real POP we were trying for. We literally wrapped the stock fender with fiberglass and put the t-shirt on the outside this time, we figured it would make the resin “painting” a lot easier, and to our credit this was a good idea for that purpose. It make the painting a ton easier, however the downfalls will be apparent later.
Here are some more pictures of that process.
[nggtags gallery=fendertwo]
As you can see right from the get go, we had some issues. Number one was attempting to do this while it was raining, there were some wet spots made VERY apparent after the rest of it dried.
[singlepic id=69 w=200 float=left]We lined the inside with a much, MUCH finer metal mesh (and found it to be a much easier working material than the gutter guards we used before, albeit a significant amount weaker). Our first fender was a bit overkill in terms of strength. I had to jump up and down on it to get it to splinter when we tossed it. After lining it and trimming and all that, we painted the inside with more resin (seriously, this thing was 1/4″ thick. Definitely not necessary but hindsight is 20/20).
[singlepic id=70 w=200 float=right]We used a garbage bag full of water to apply uniform, properly shaped weight. Another mistake, but there was no other way to do it, truth be told the mistake was made when we didn’t start from the inside and go out, but started from the middle and went both ways.
[singlepic id=71 w=150 float=left]We actually didn’t have ANY water leakage, which is quite a shock really. The hair dryer is because the actual fiberglass didn’t get to try being suffocated by the plastic bag. All in all, this part went better than expected. We used the clamps not to change the shape, but to make sure the water weight didn’t bow out the fender any, as the inside would be reinforced with metal it would probably win the “shape war” against the outside.
Here’s some bondo stuff, etc.
[nggtags gallery=fenderthree]
[singlepic id=81 w=200 float=right] And we had fun with bondo, it’s so gooey and fun to play with. Like automotive, adult Plaster of Paris. In fact, that’s exactly what it is. I won’t go into detail over our sanding, bubble finding, filling, sanding, etc. because it’s pretty much the same as any other automotive wet work. This is where we started the trimming and real shaping came. We inserted the spine and used a metal backbone to make sure it was sturdy, and even shaved the inside down and put some fiberglass in it first to make sure it had a really solid core and a hard whack wouldn’t damage it.
[singlepic id=82 w=200 float=left] After cutting it away it really started to come together, and we started to get excited. After this, we tried it on and realized the problems were too great to repair and we had to simply start over….again. You can see why this was disheartening and why we didn’t touch it for a long time afterward. Well, Joe Bruno IV and Gracie, it’s time to get started on number three! Happy Birthday!
End fender pictures…Ender pictures?
[nggtags gallery=fenderfour]
[singlepic id=94 w=450 float=center]
[singlepic id=95 w=350 float=center]
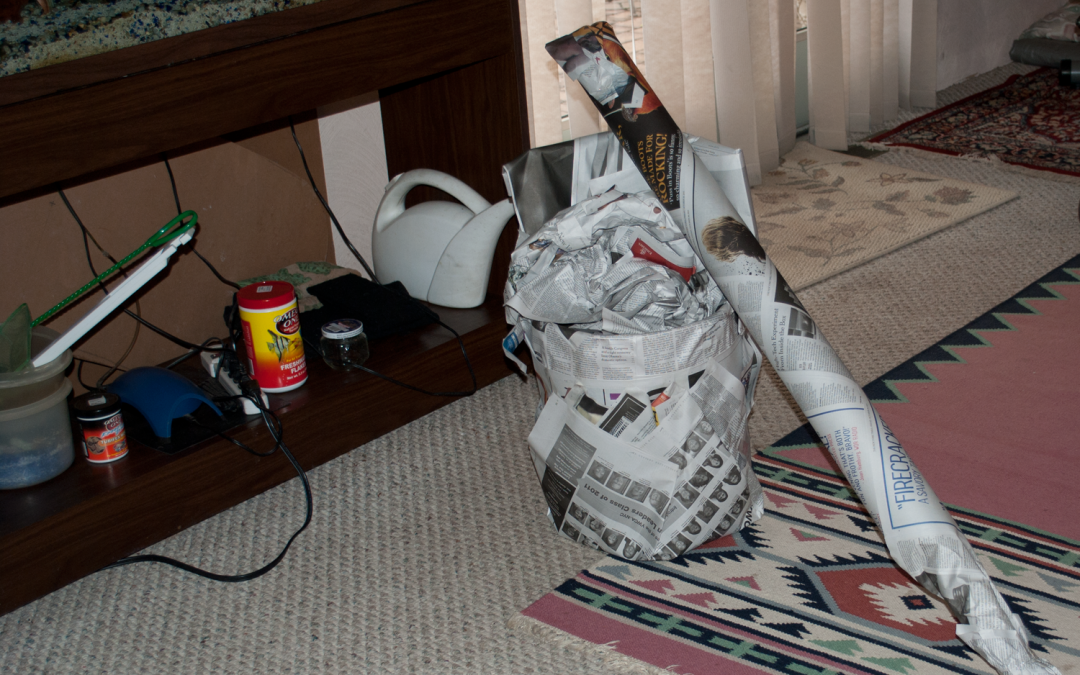
Can you guess what it is? 😛
After or during the process of making the third fender I’ll post updates about it.


you’re amazing.
too good to me.
Now that I appreciate motorcycles I see that Joe’s bike is really beautiful.
thanks wang….or should I say….AKIRA.
akira!?! oh my.
winter break was a week of supreme laziness and ill do my best to carve out a time when we can do this more consistently. bi-weekly on saturdays, maybe. my weekends off swap with Robin.
more importantly is a space to work with fiberglass. im open to suggestions.