Here’s how we made our Bridesmaids’ gifts
We made both our groomsmen gifts and our bridesmaids gift ourselves. Here’s quick recap of how we made the bridesmaid gifts:
It all started with this “log” we pulled out of our firewood pile:
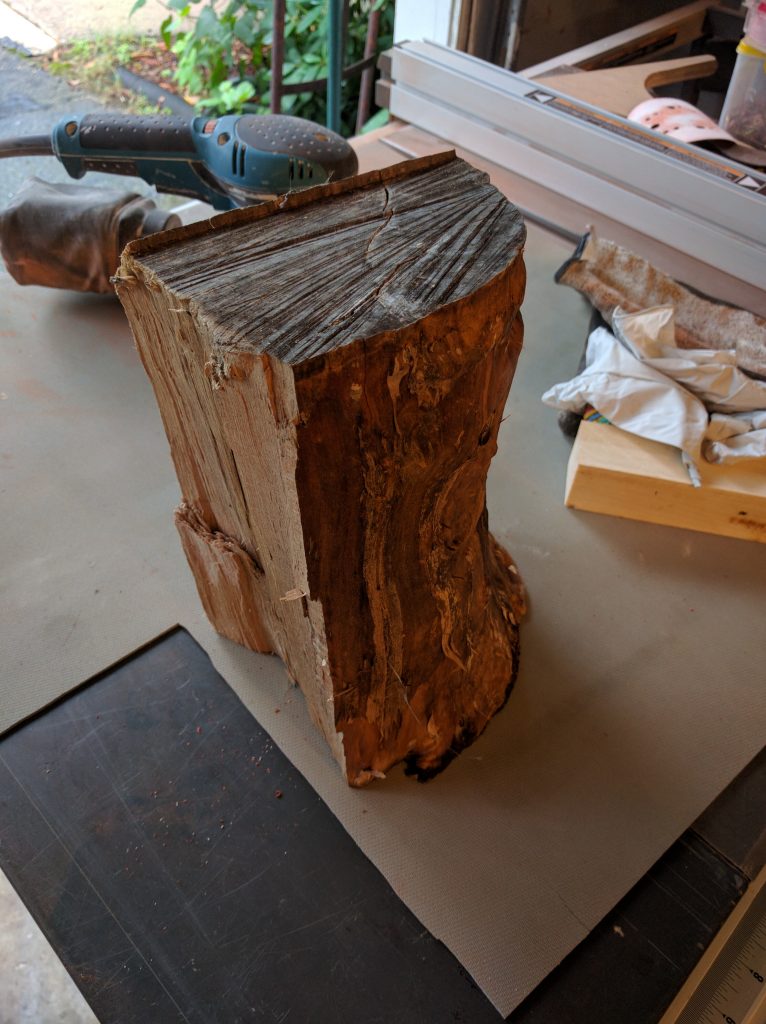
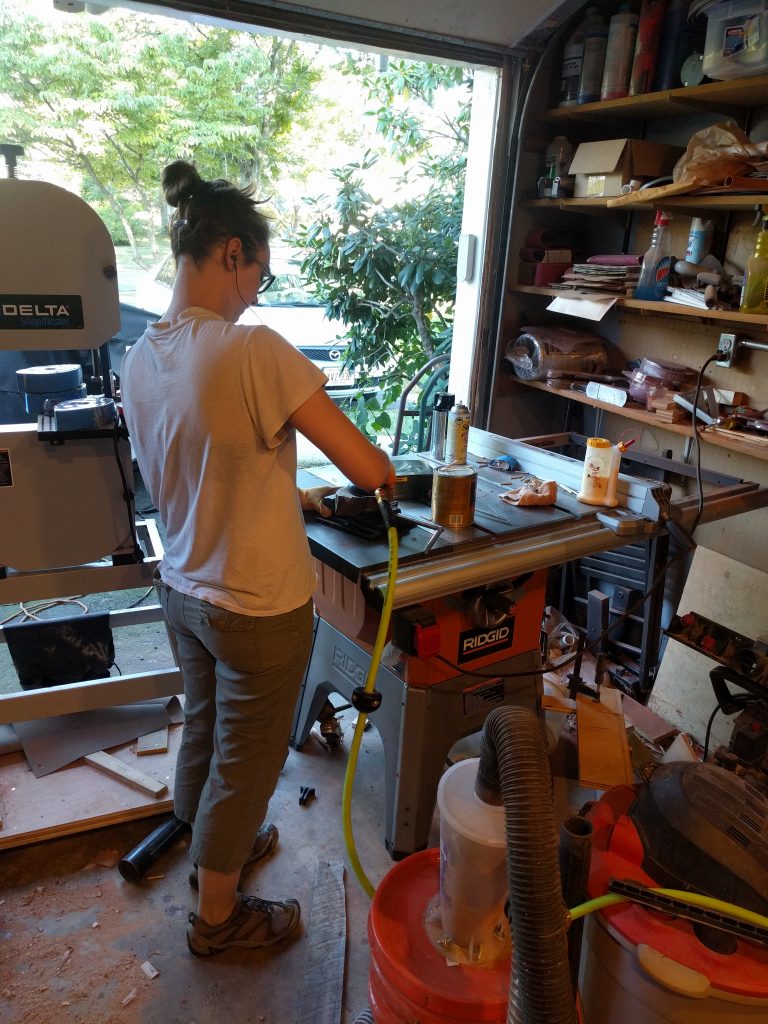
Robin milled it into 2″ slabs:
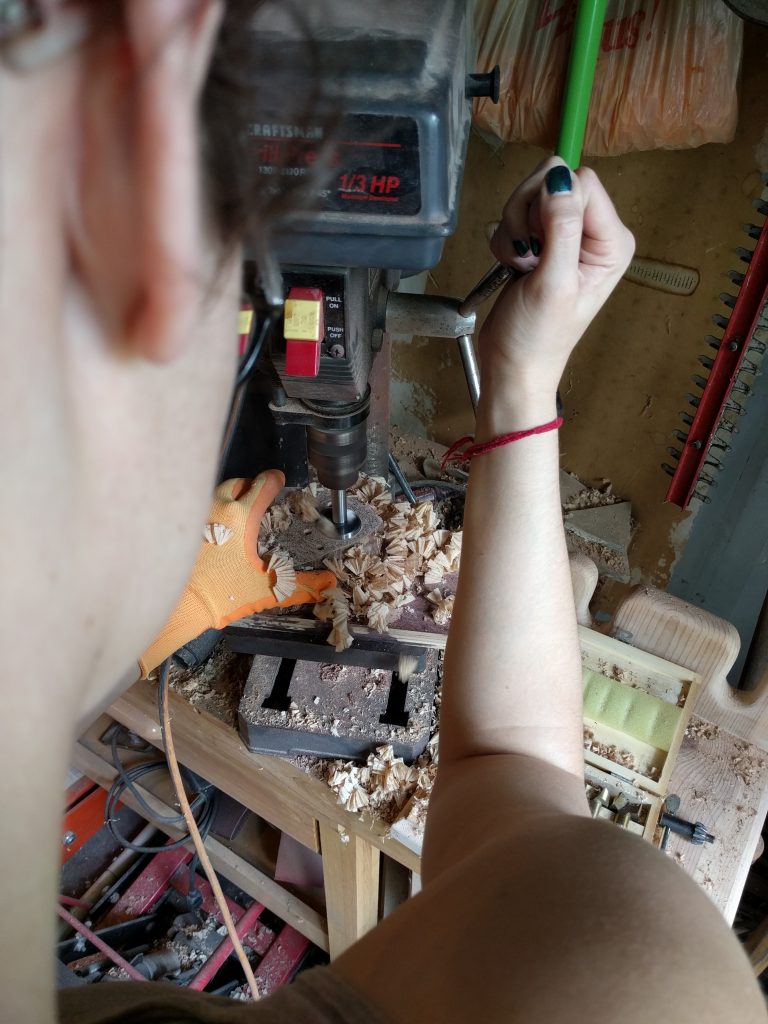
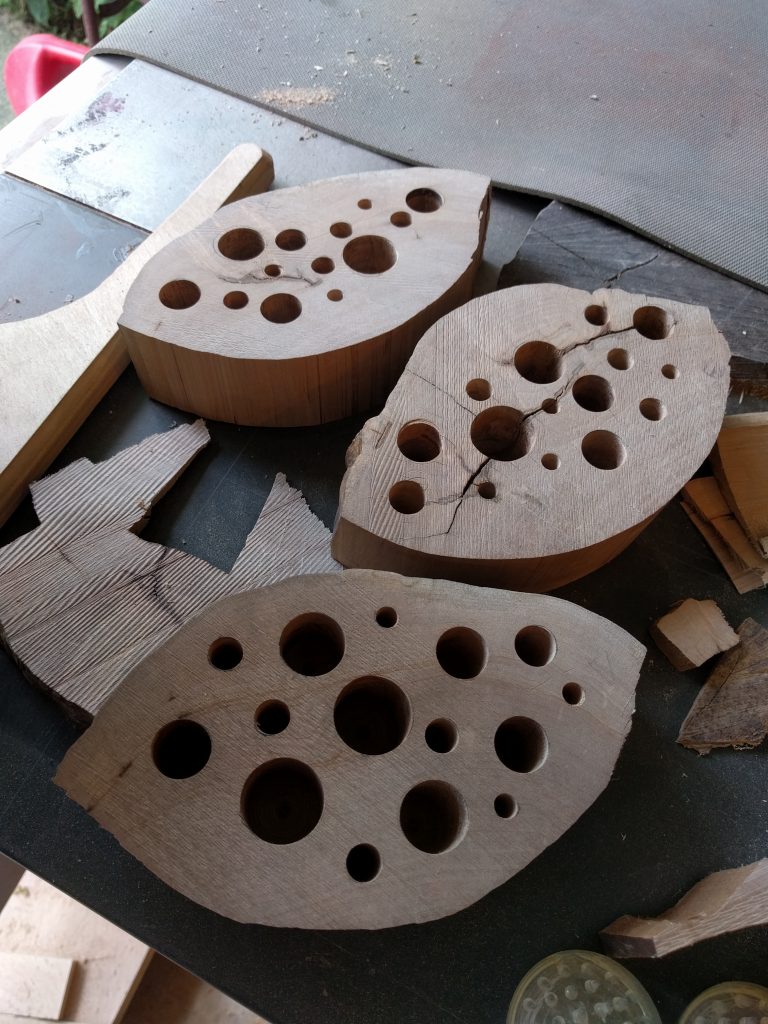
Marking out the holes for drilling:
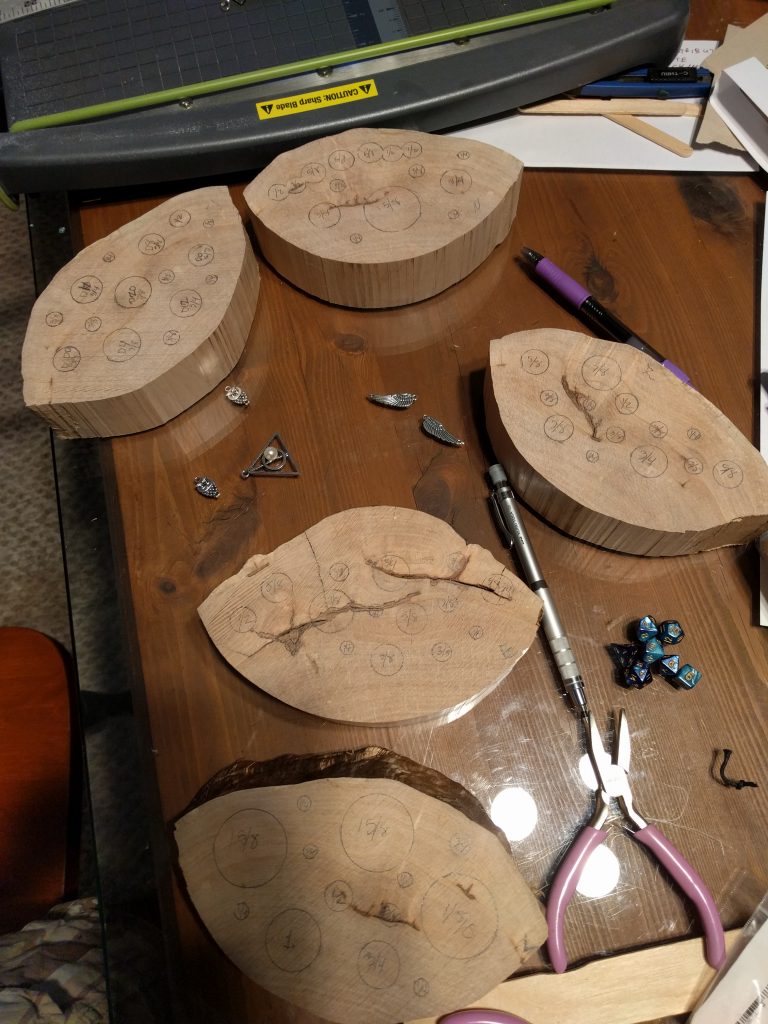
Masked off the nice live edge:
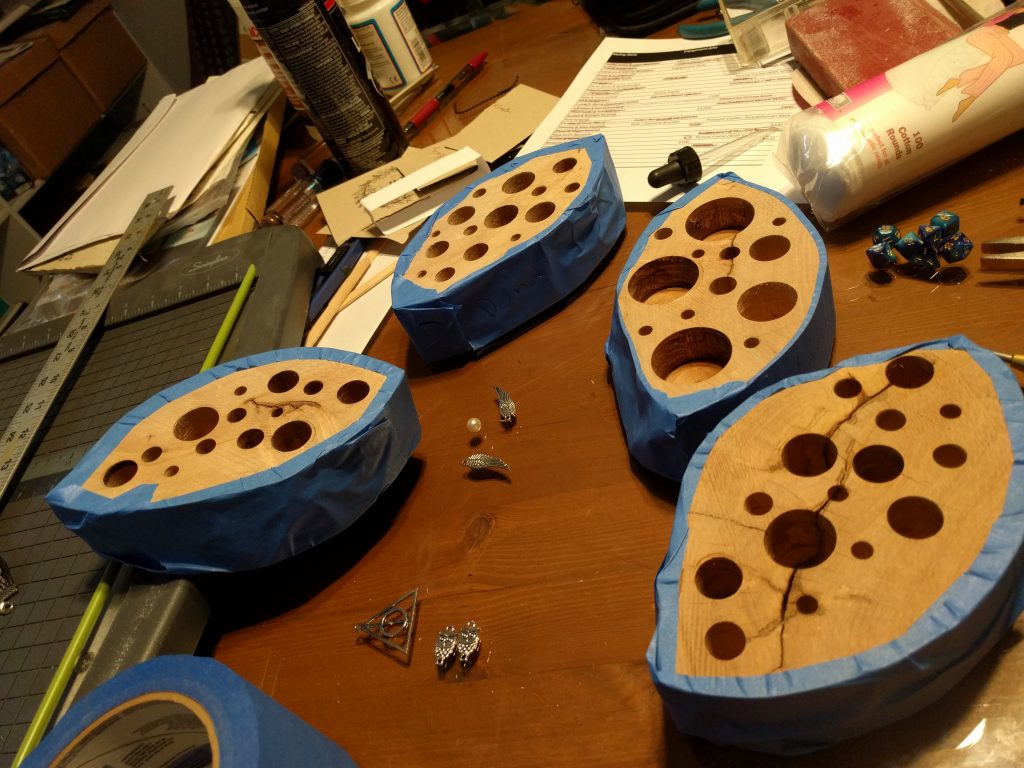
Some hand chiseling for some special pockets:
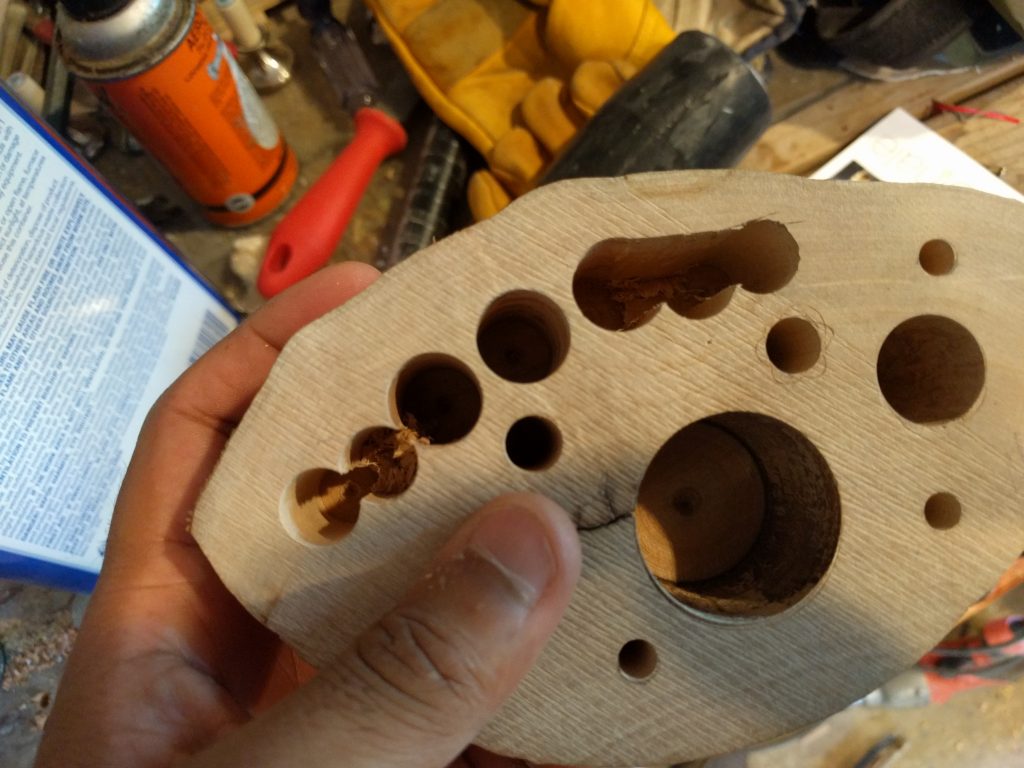
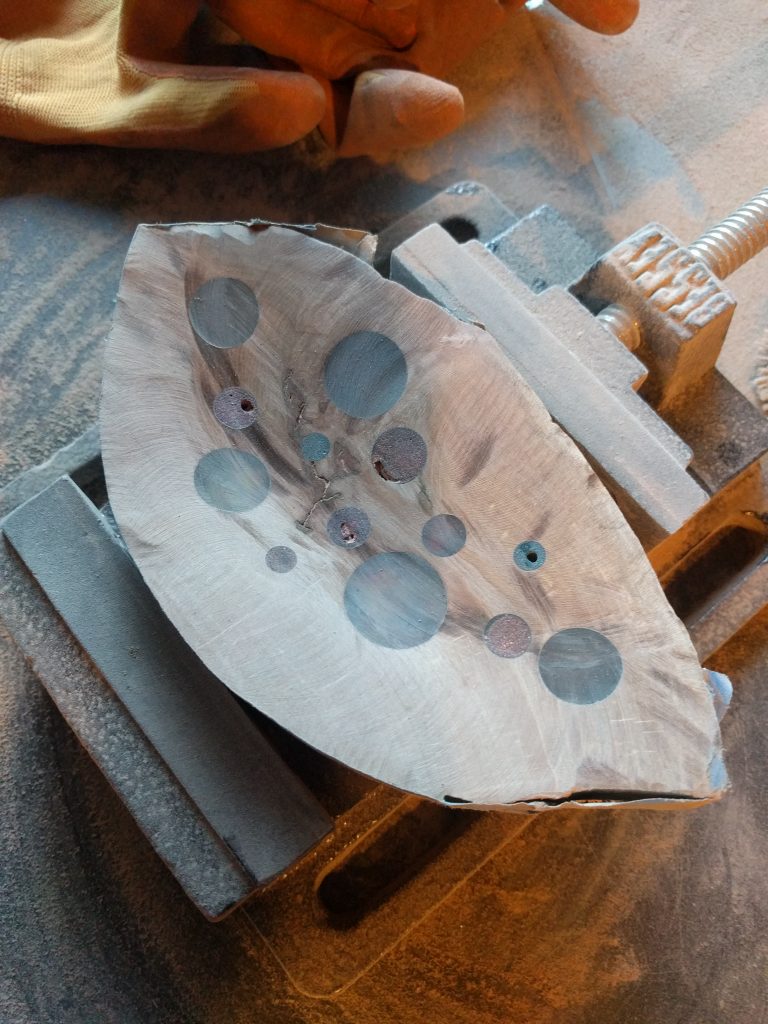
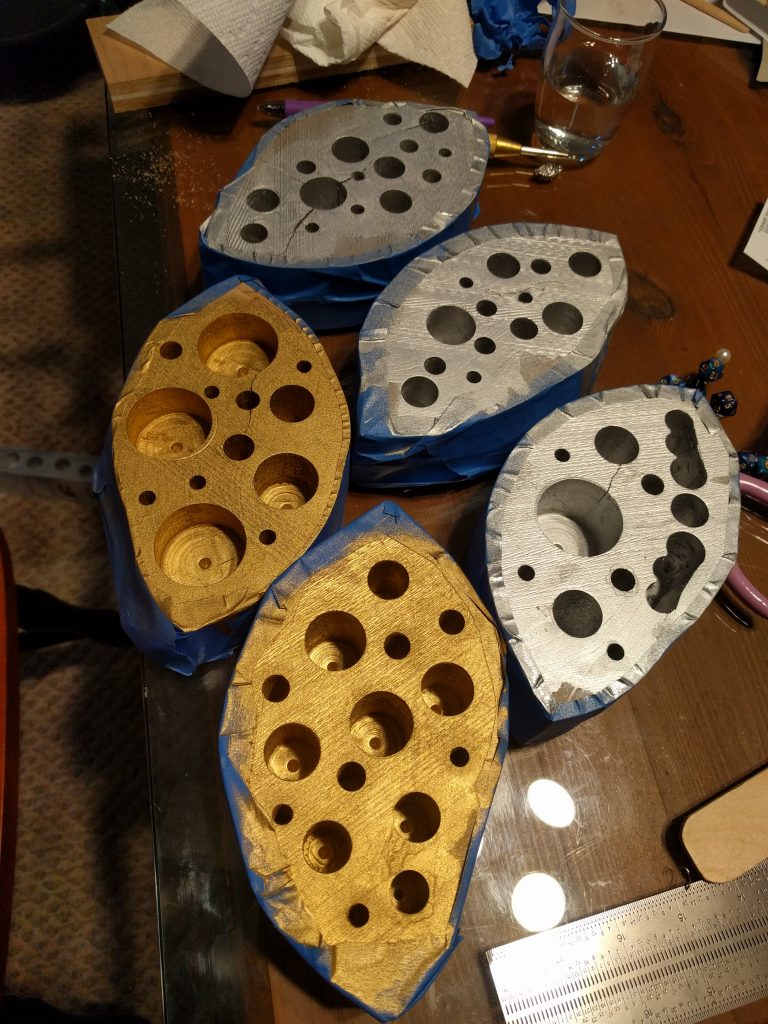
Spray painted the surface. This is both to seal the wood a bit for air escaping into the epoxy, as well as for the metallic sheen on the insides of the holes. It’ll be discreet, but in a few of the pockets should add a very nice glow.
Placing objects in, with a little bit of epoxy to seal coat and hold things in place:
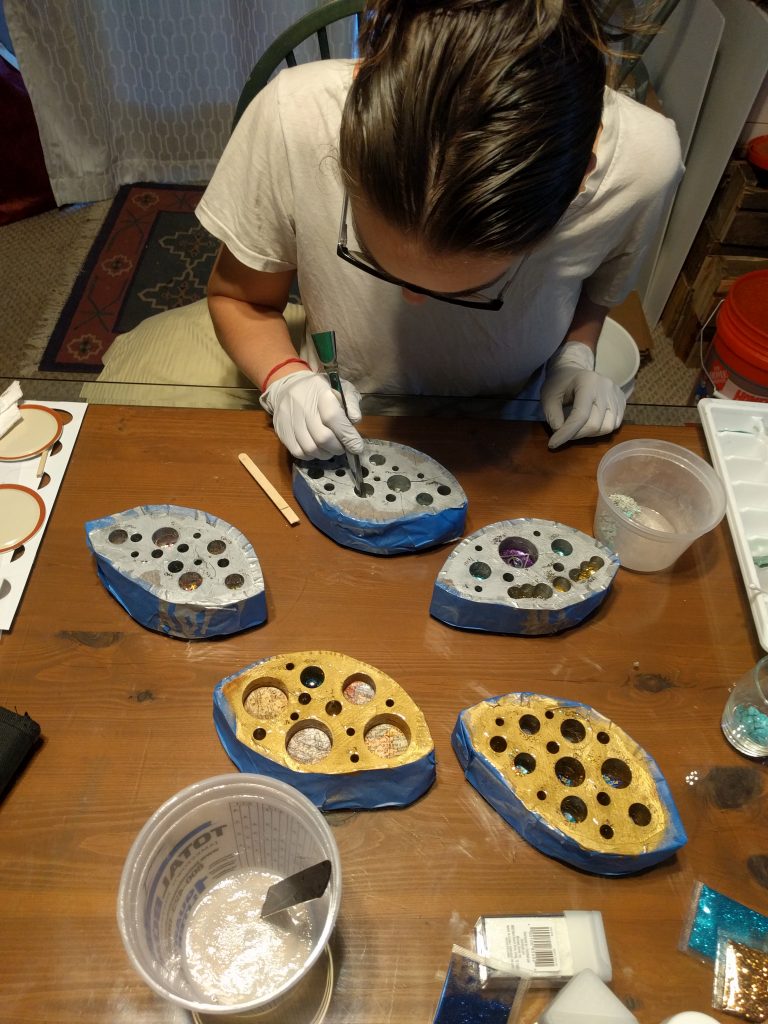
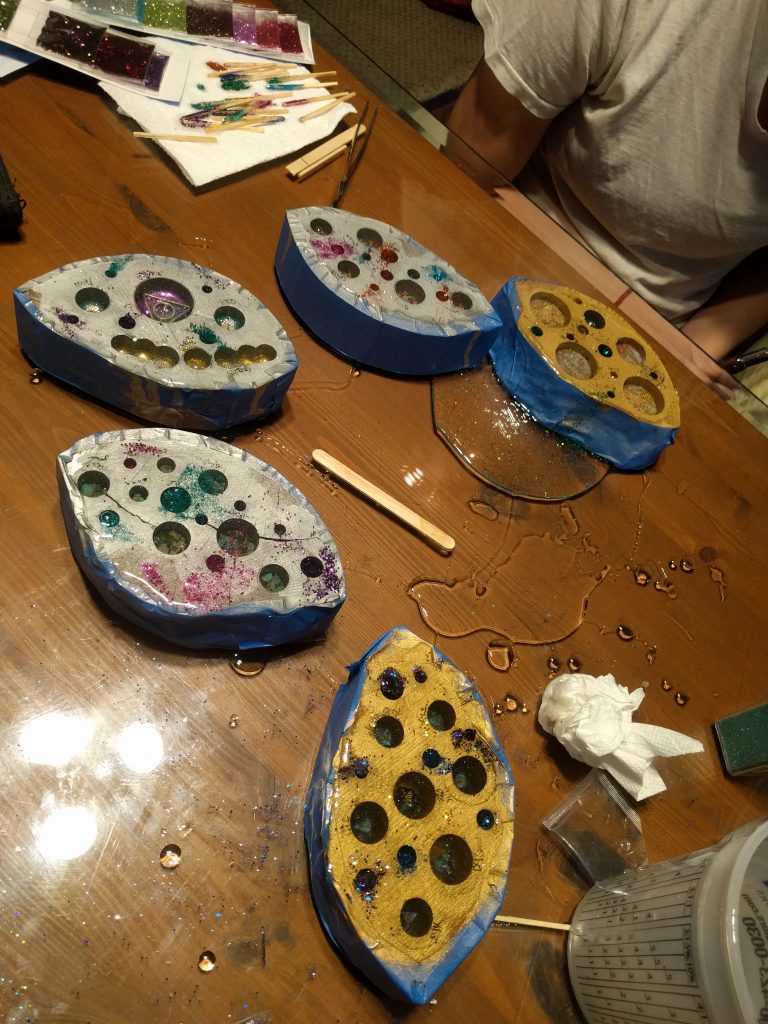
Too much epoxy. It was annoying to clean up. We also mixed in a little bit of “rose transparent” glitter to add some more shiny:
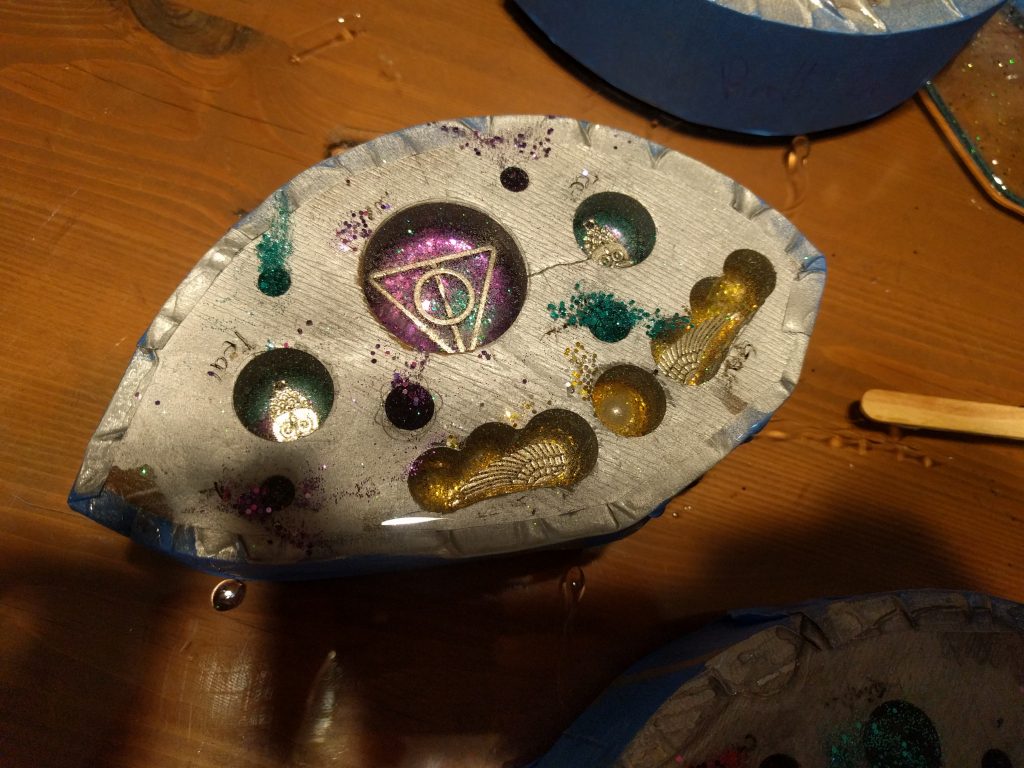
Here’s a close up of one of them after the first epoxy fill:
Now it’s time to dish them out and reveal that wood again!
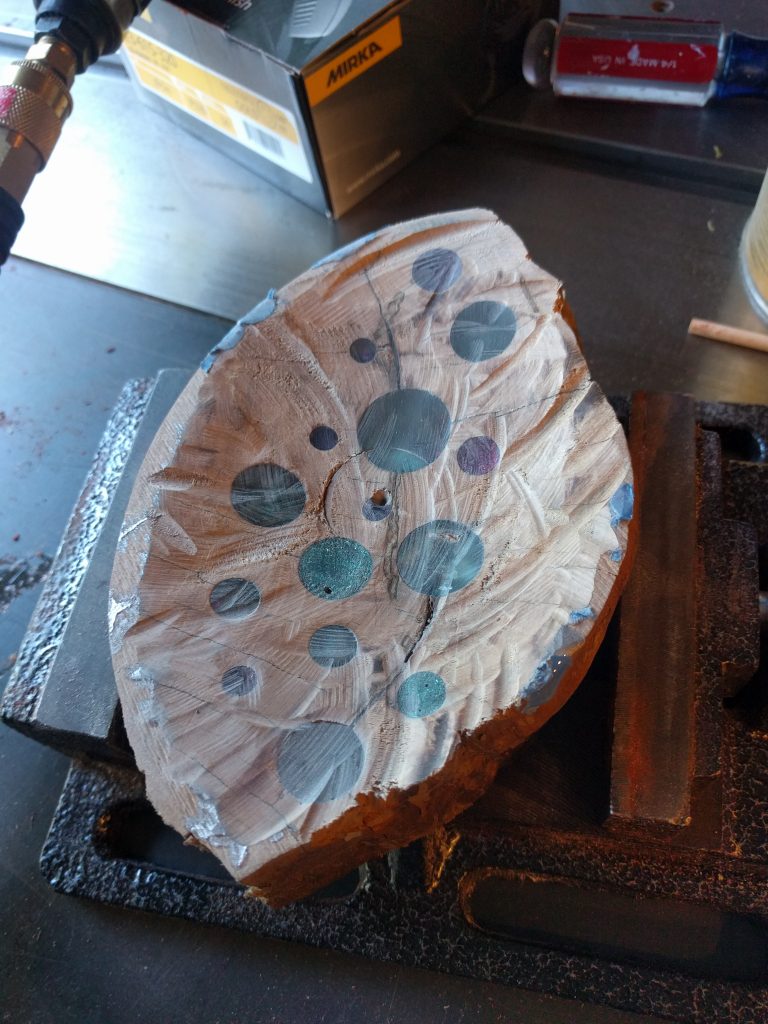
Some minor defects that need patching/filling:
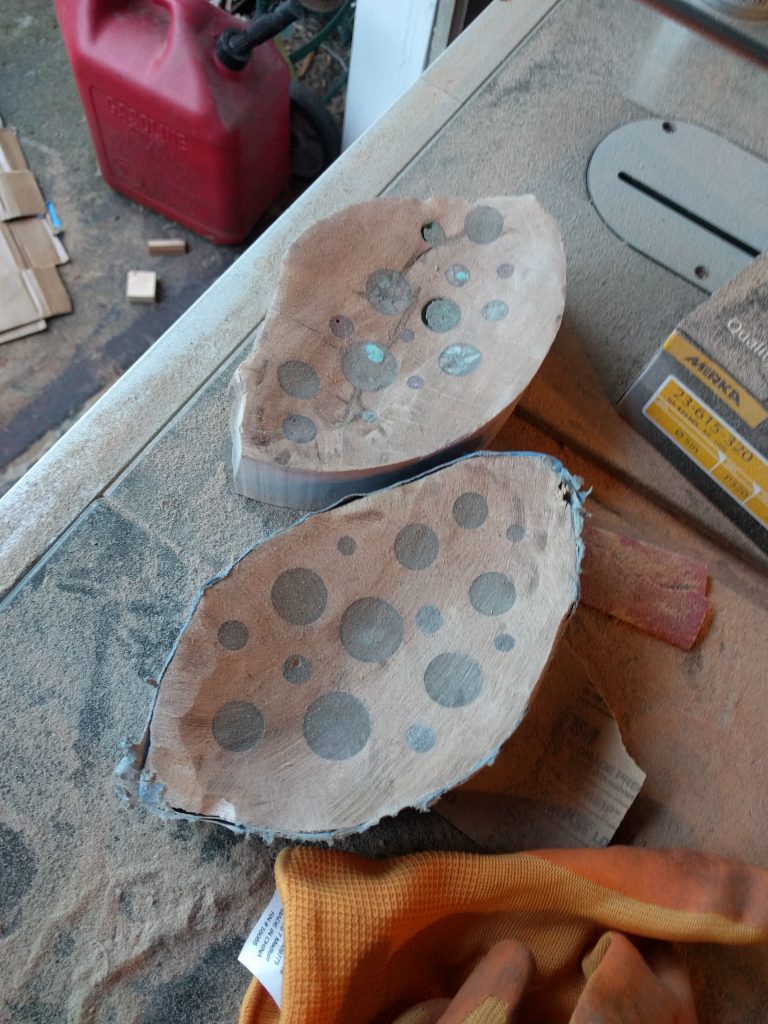
Done dishing/sanding, now we reveal the live edge and put a thinned coat of polyester resin over the whole thing, to seal the grain and add some waterproofing:
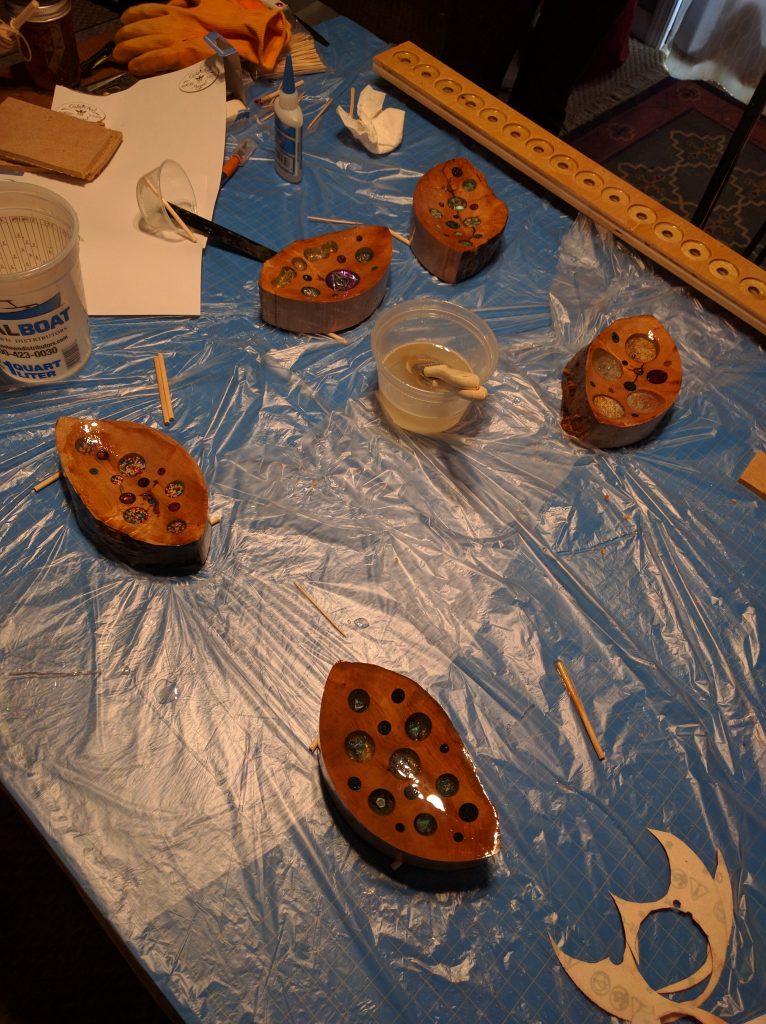
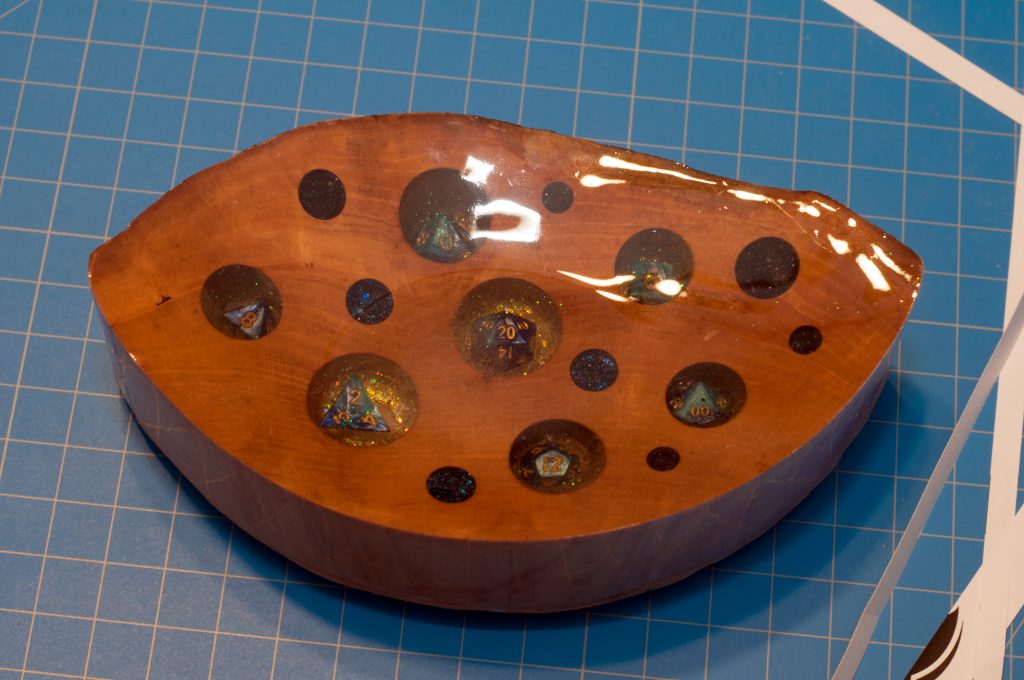
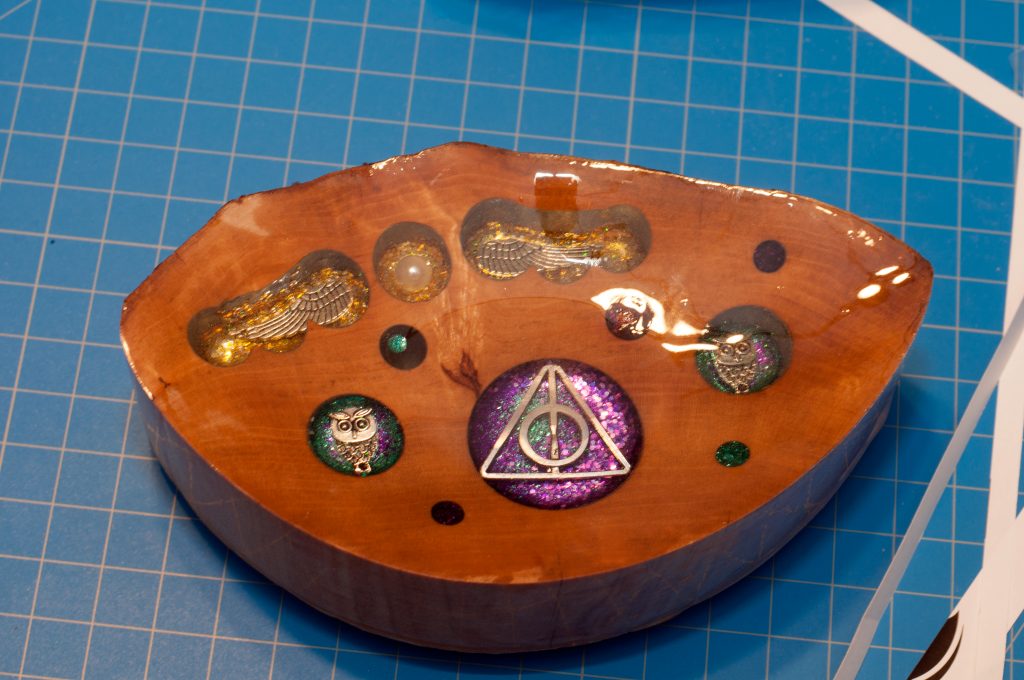
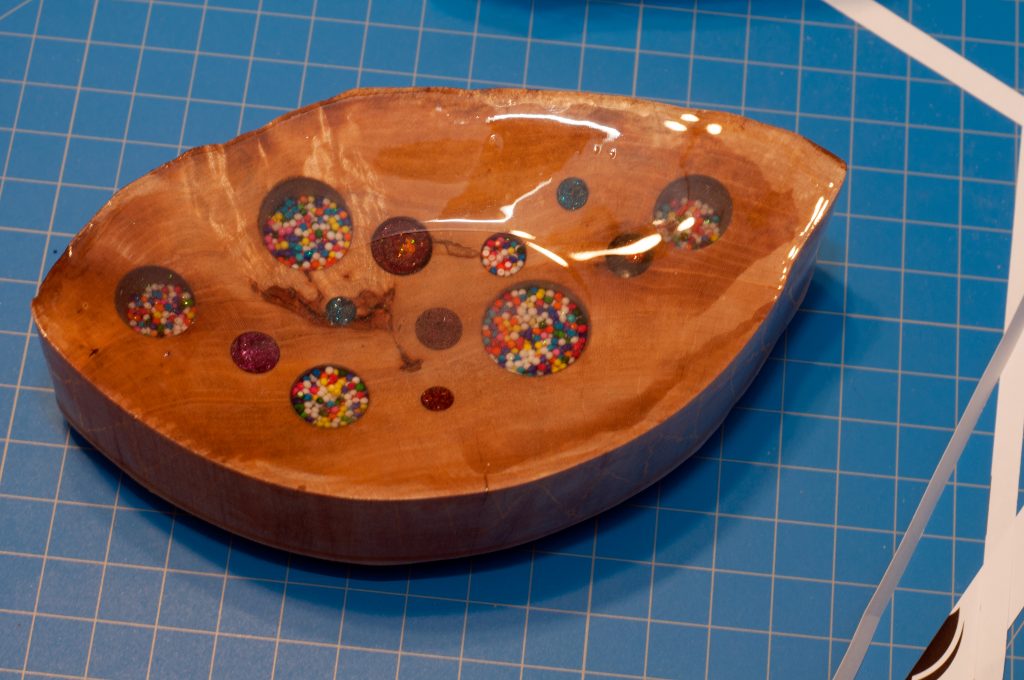
And then after this we put on a thick coat of pure polyester resin. We should have hung them to dry instead of letting them dry sitting face up, the end result was a tiny flat spot in the center of each ring dish. Oh well, they still came out excellent considering this is our first time doing a ring dish, inlay with polyester resin, milling firewood lumber, basically all of it!
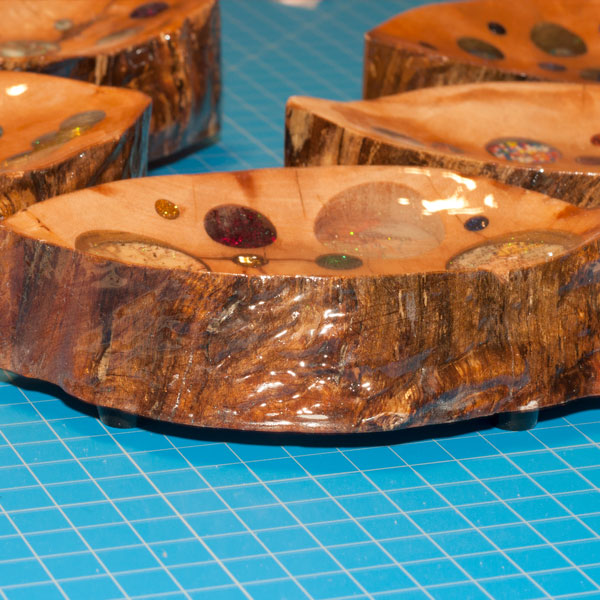
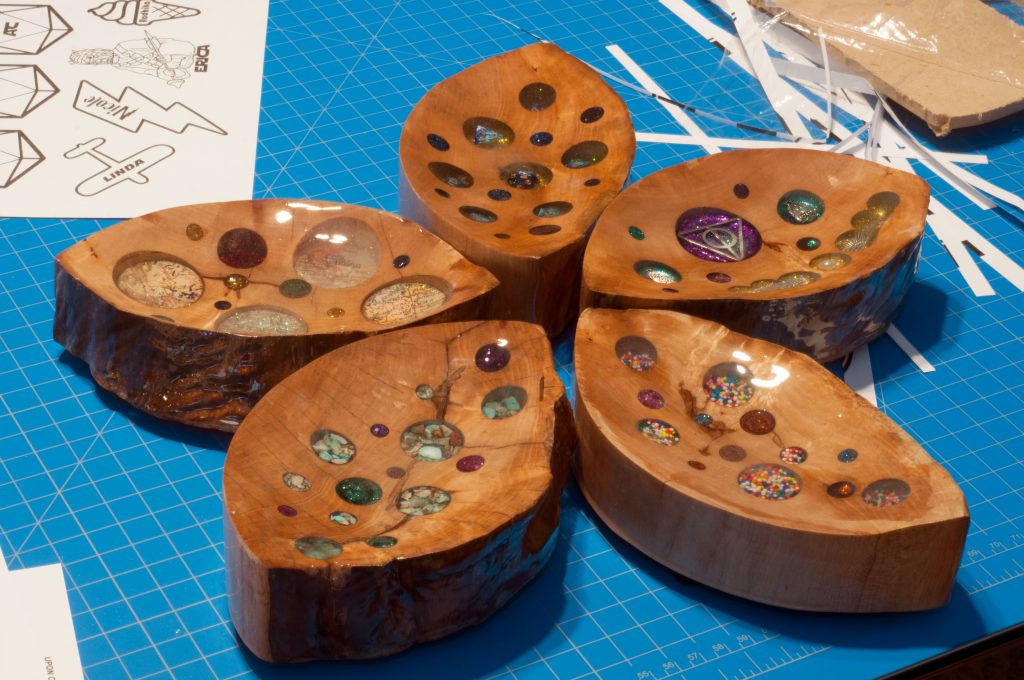
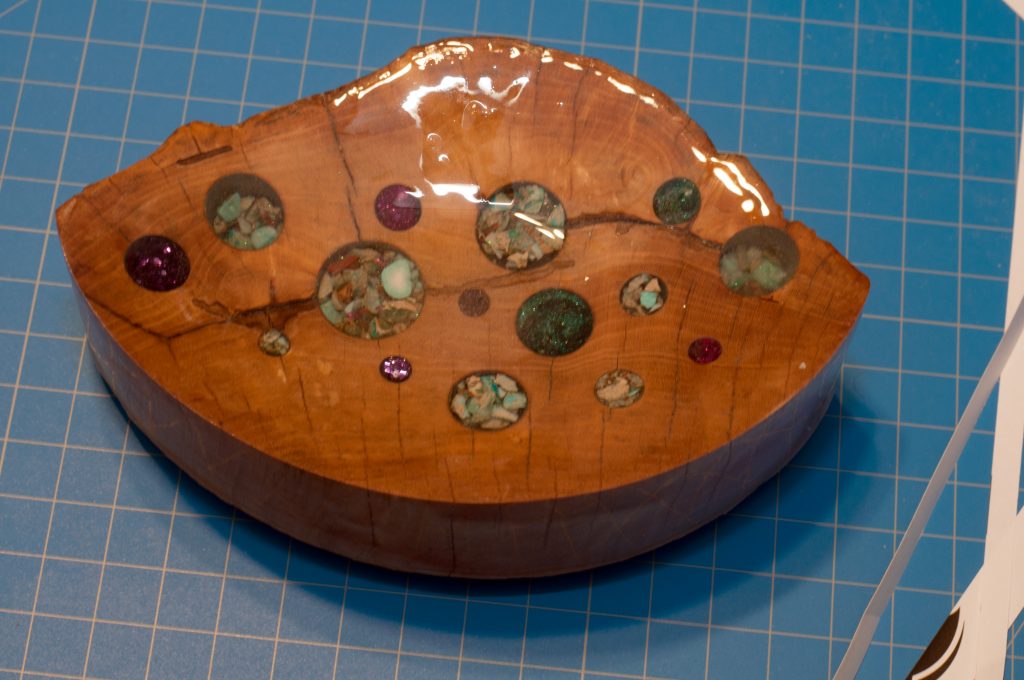
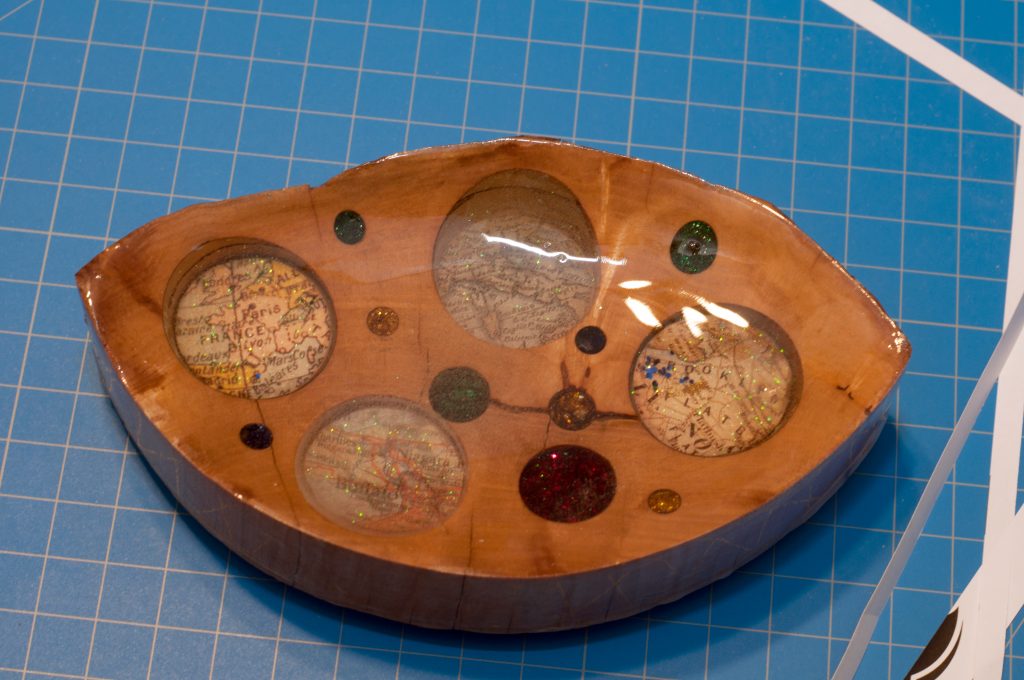
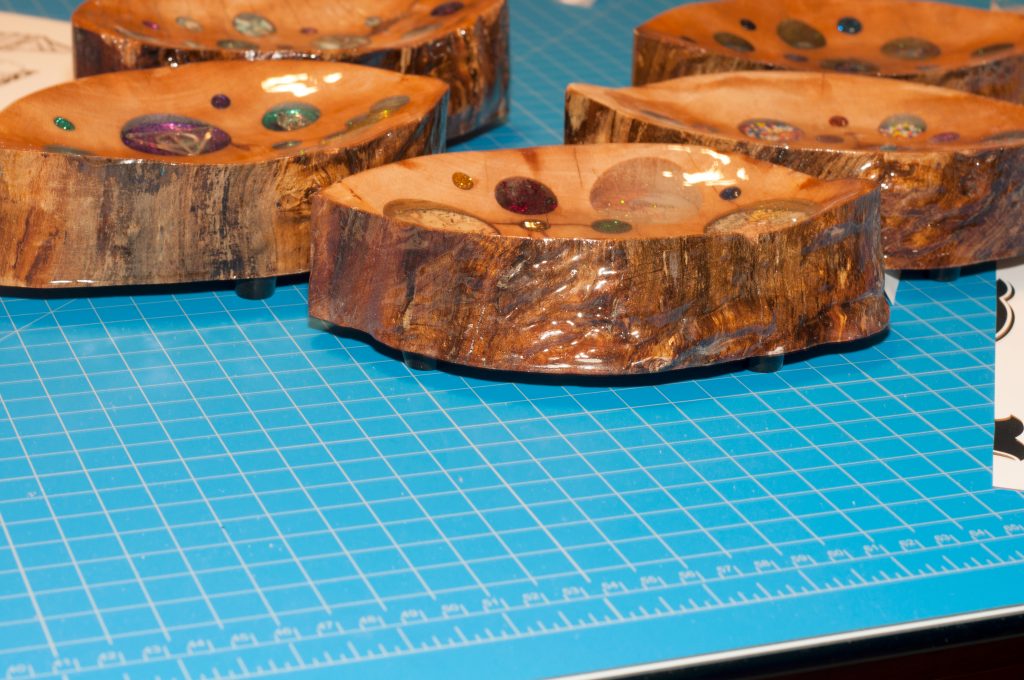
Here’s the final shots after drying and putting rubber feet on:

