We made some barn doors!
Skip to after
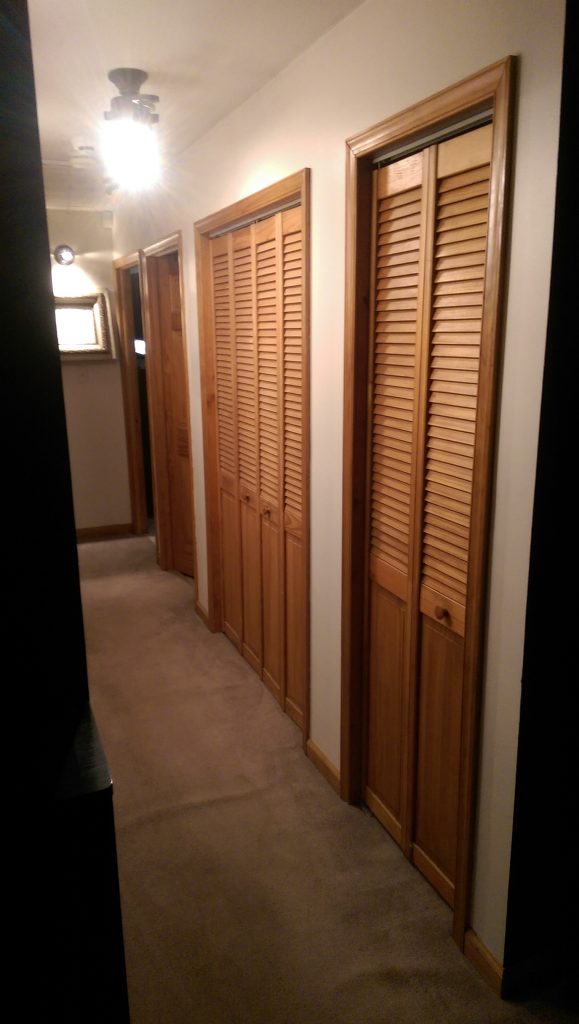
Before:
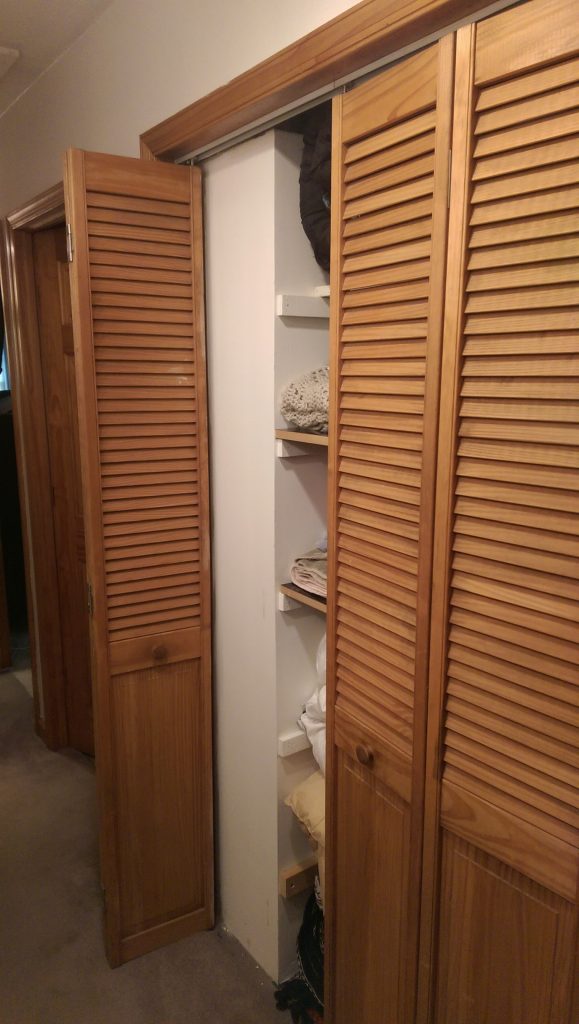
Ugly accordian doors:
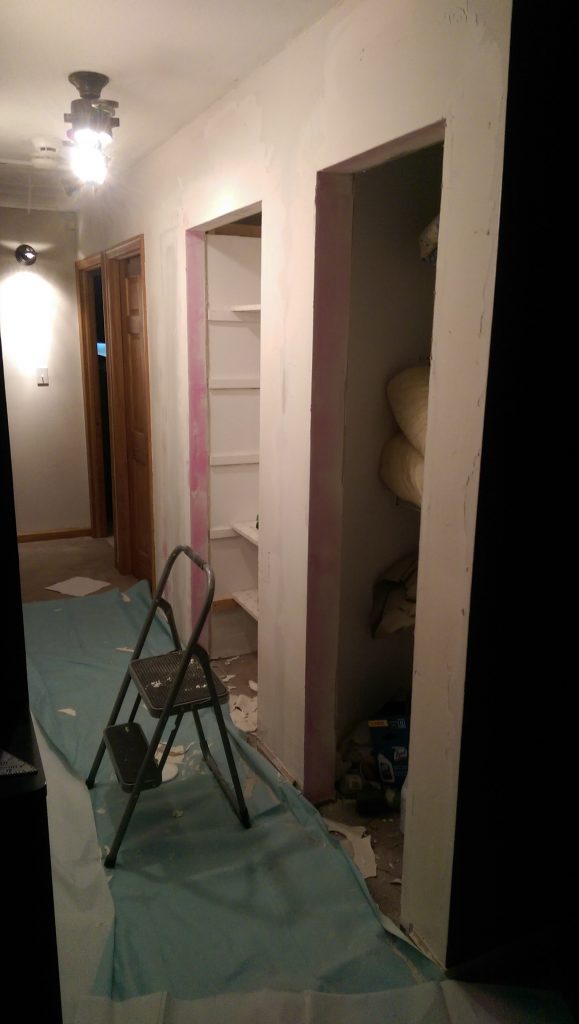
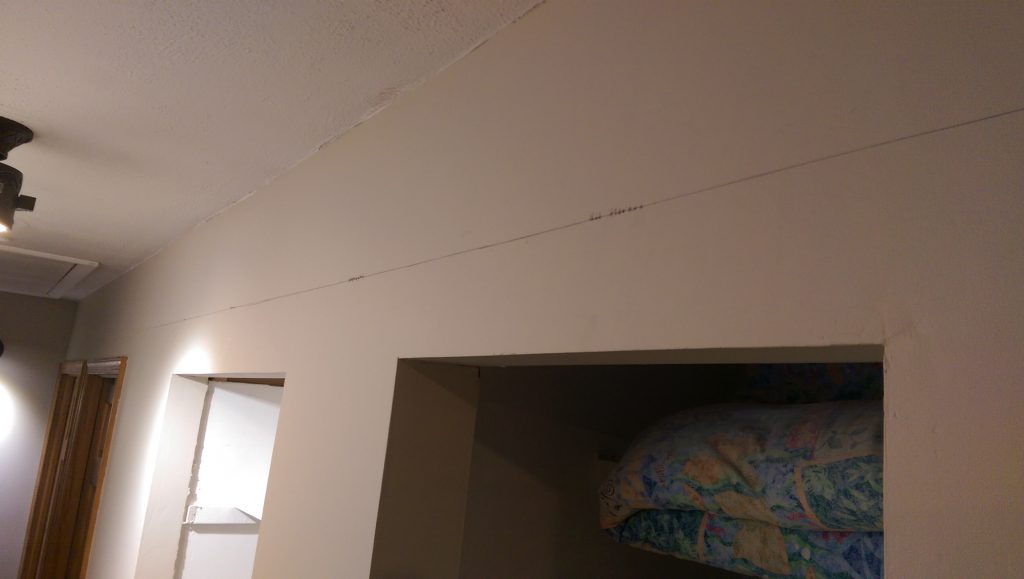
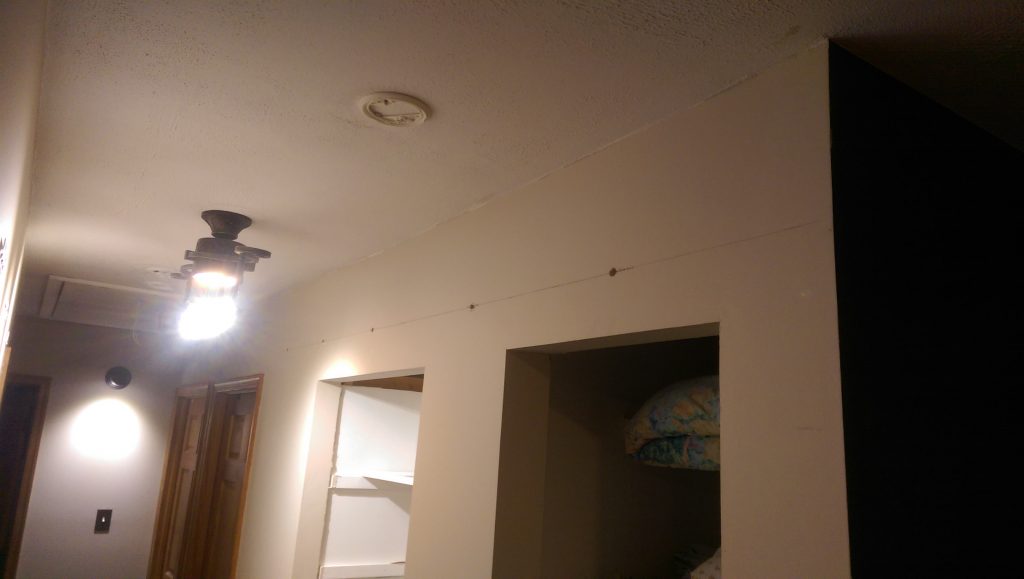
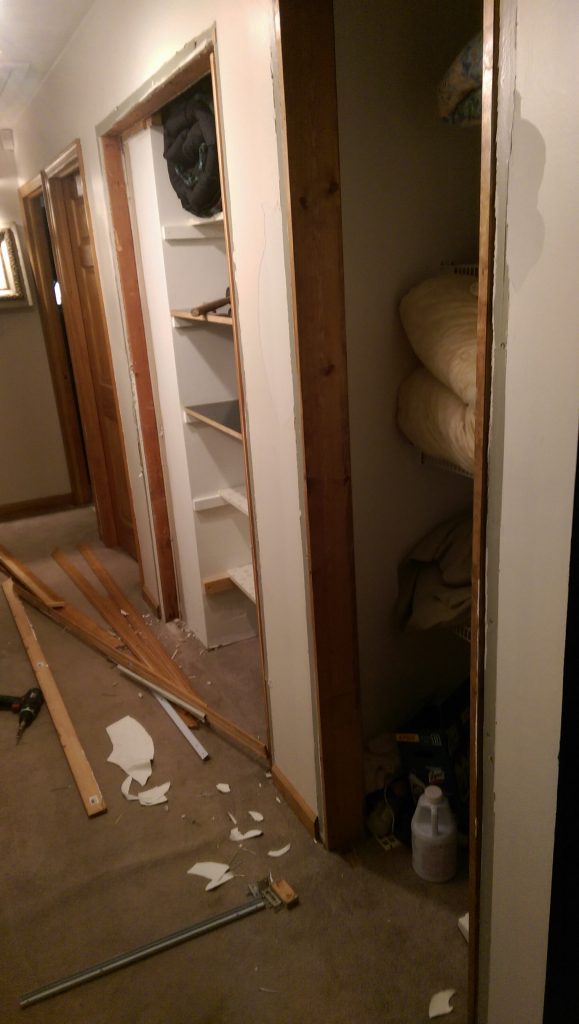
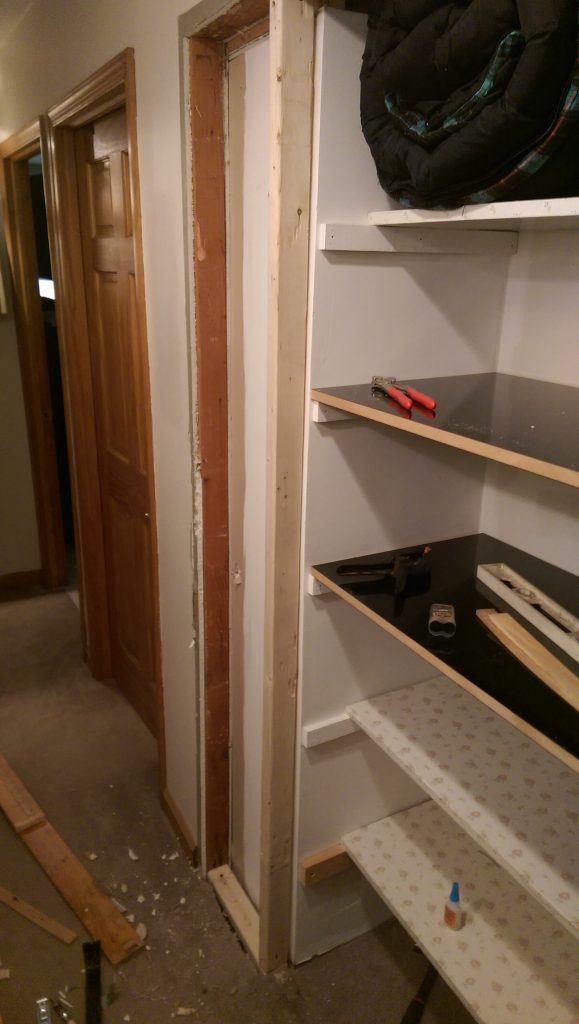
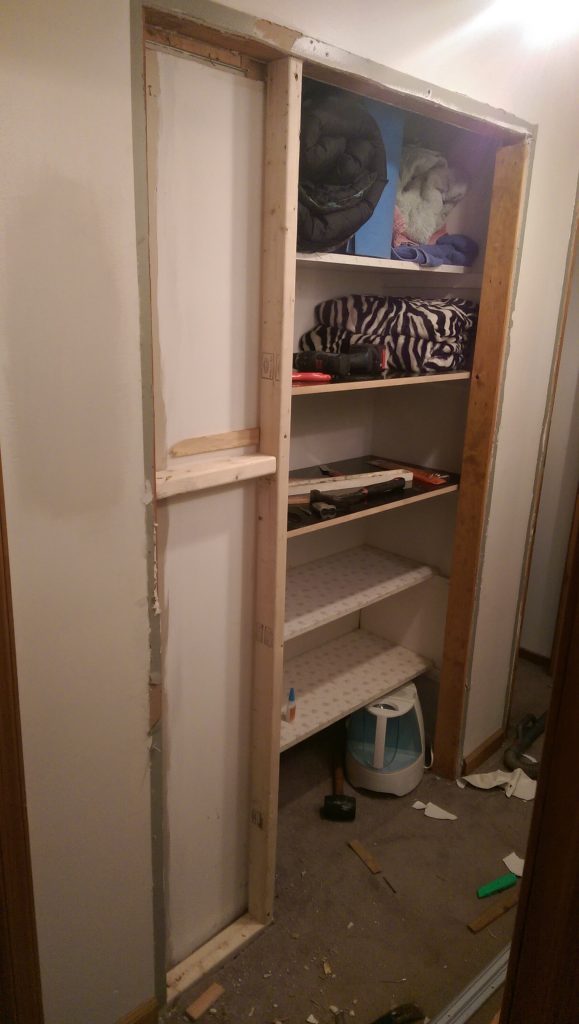
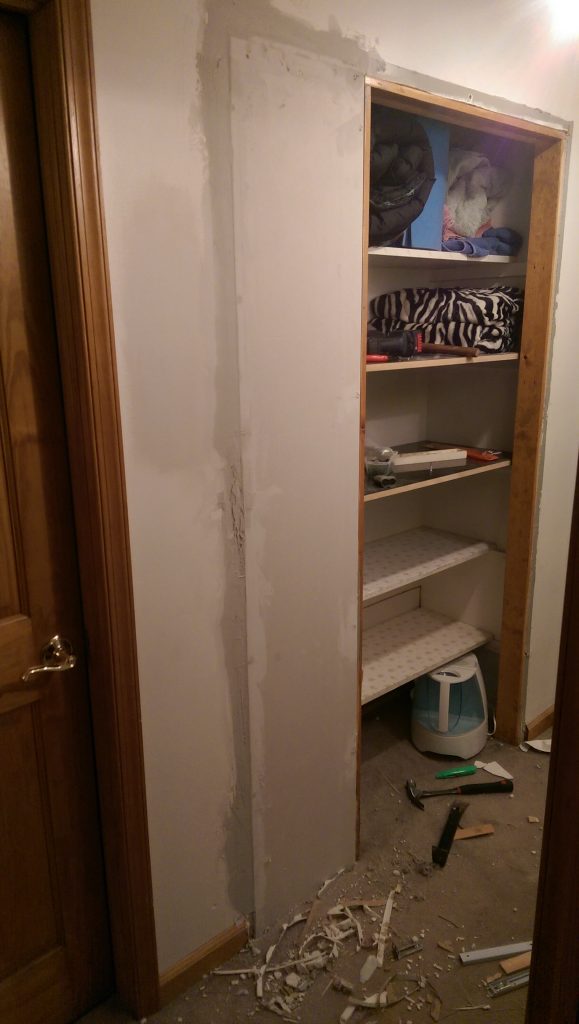
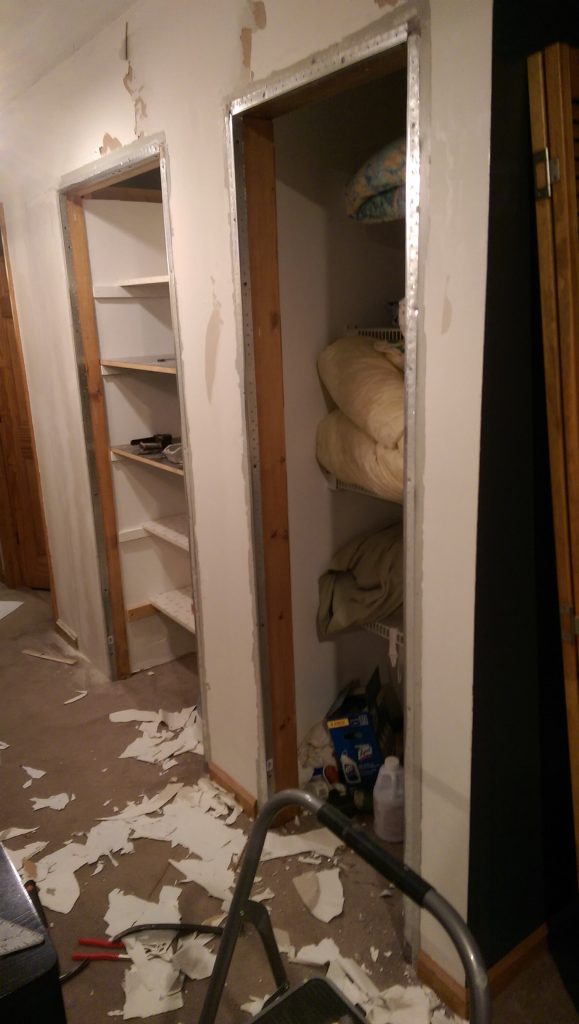
And this is one of the annoying issues. The closet was taken in a bit in order to expand the bathroom next to it, but this will was never brought up to flush so there’s part of the closet that’s just wall.
Another quick (way) before shot, because we actually changed the main light fixture and added a second light fixture about a month before starting this part of the reno, this is the true before:
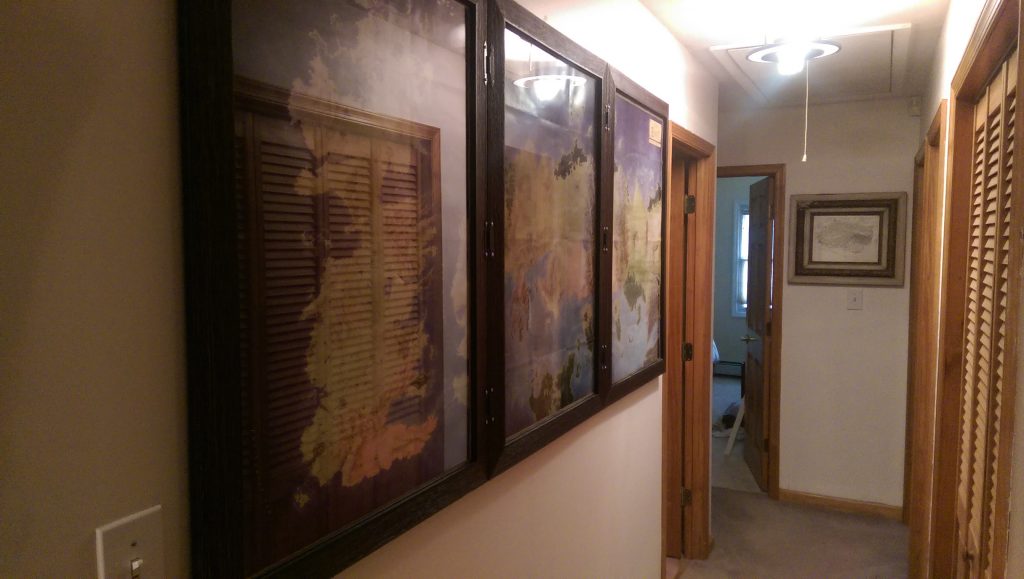
The Process:
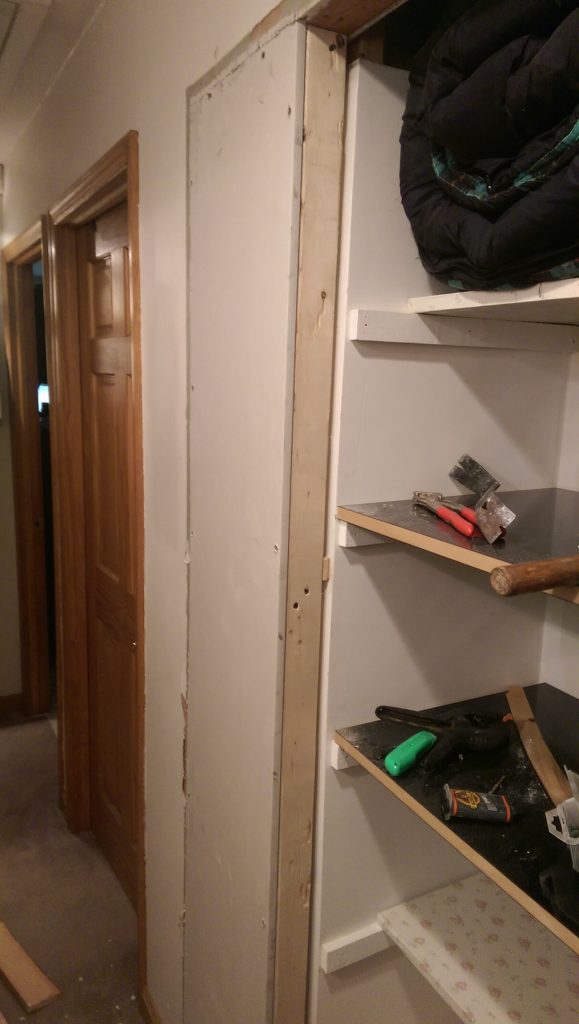
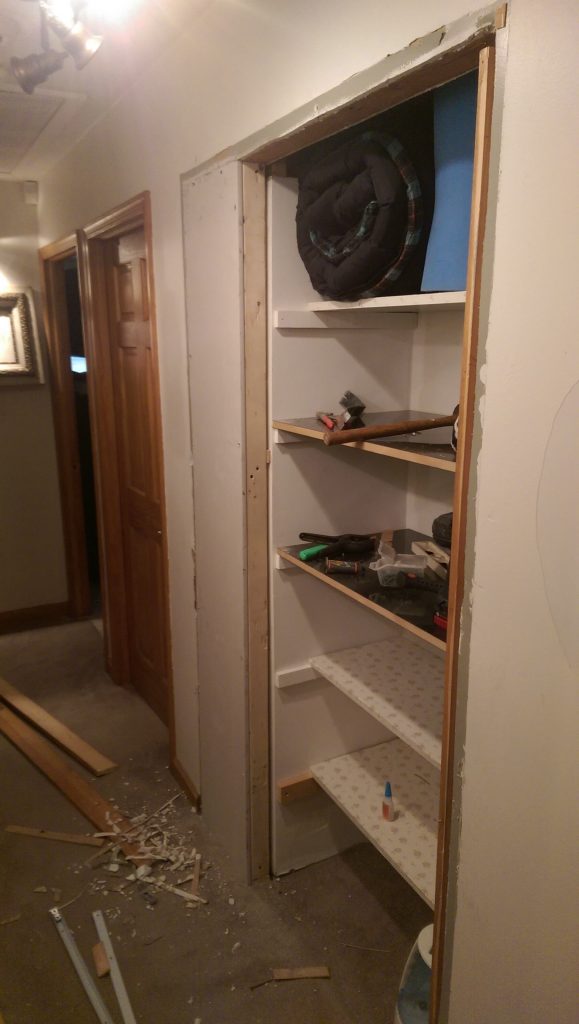
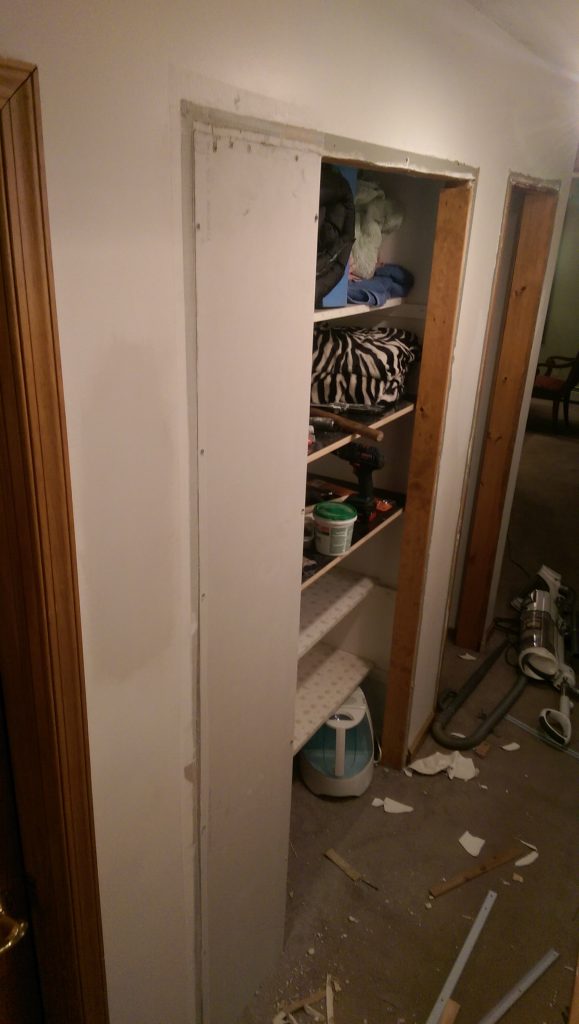
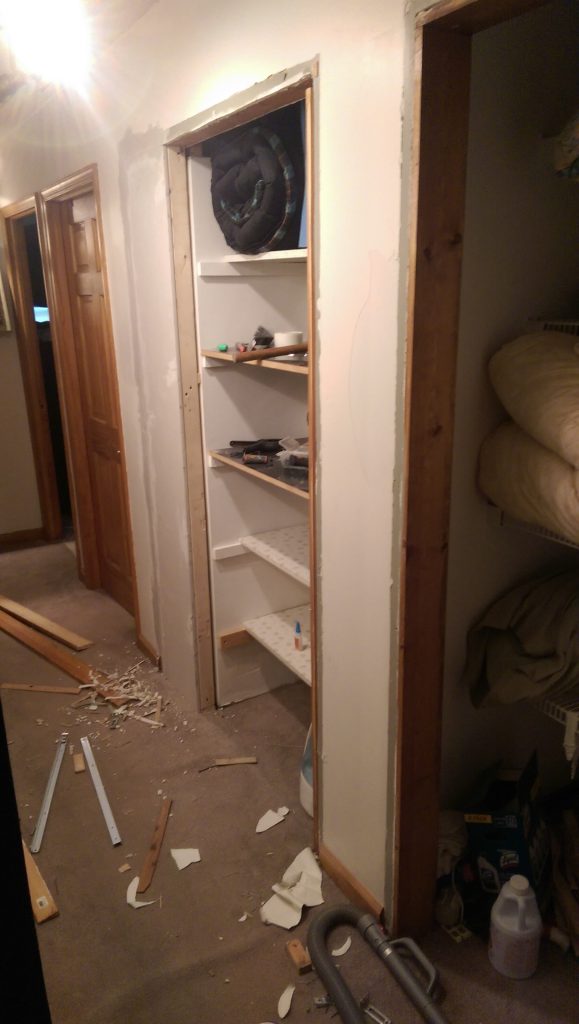
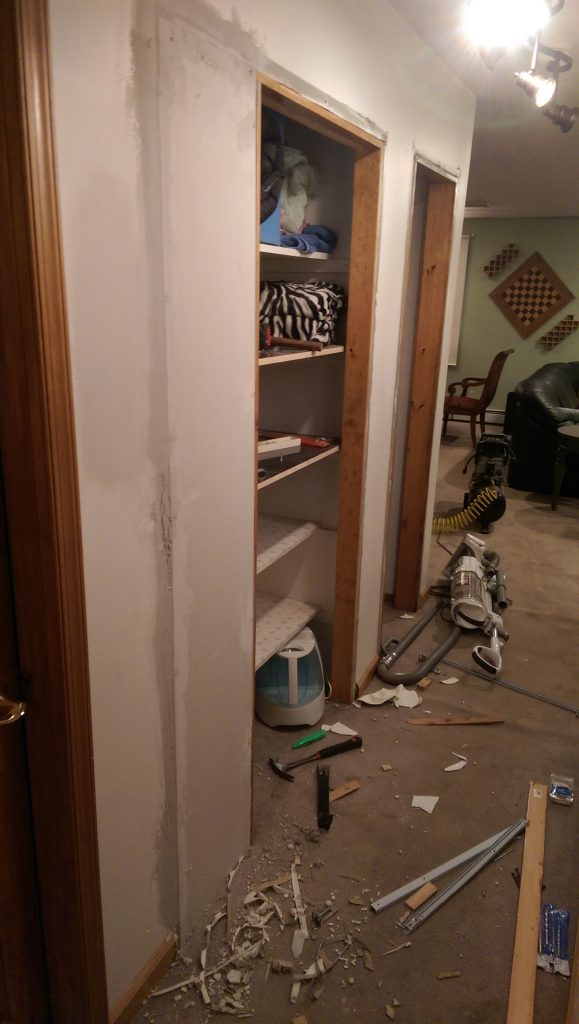
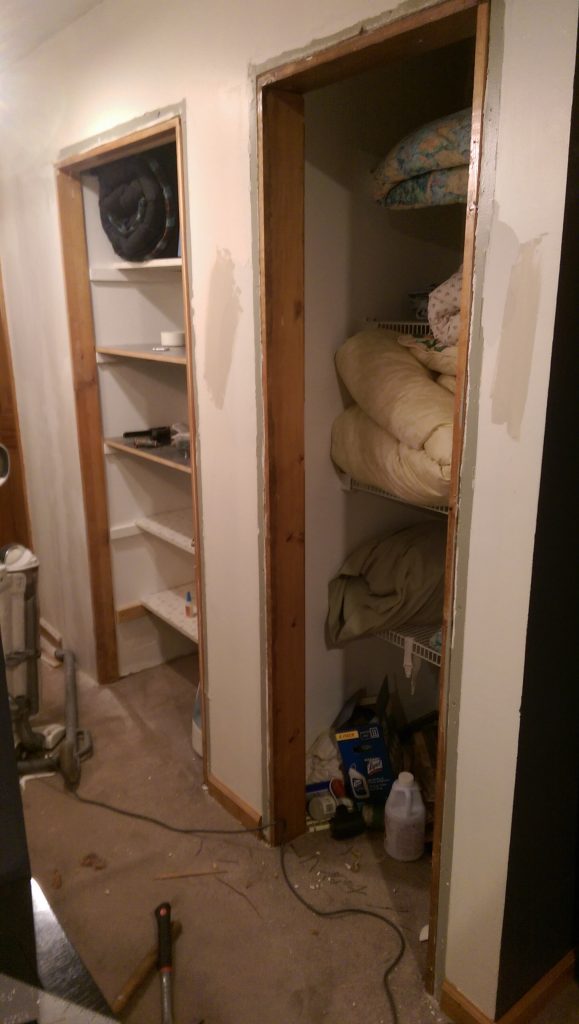
First things first, remove the moulding and existing framing for adjustment.
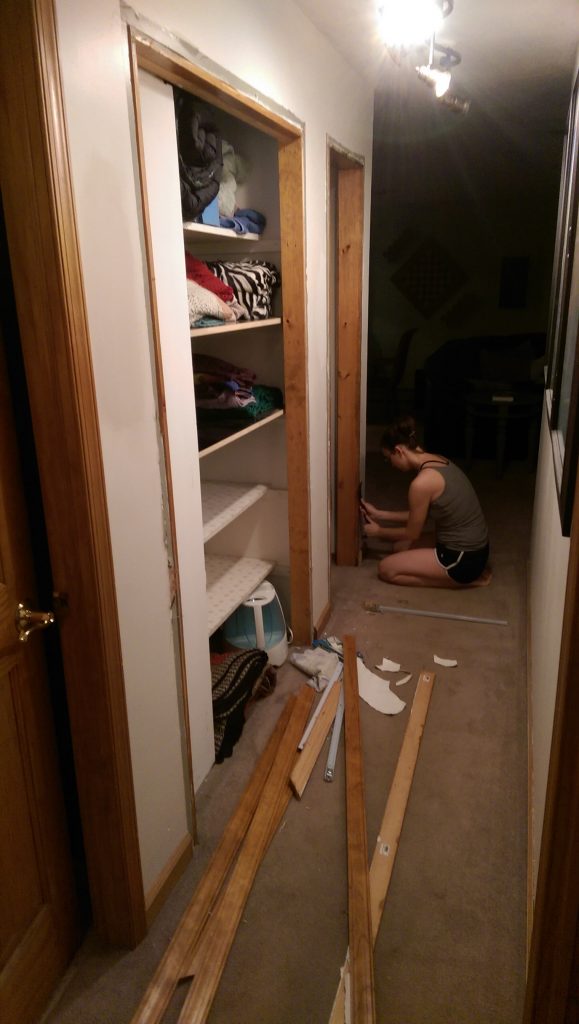
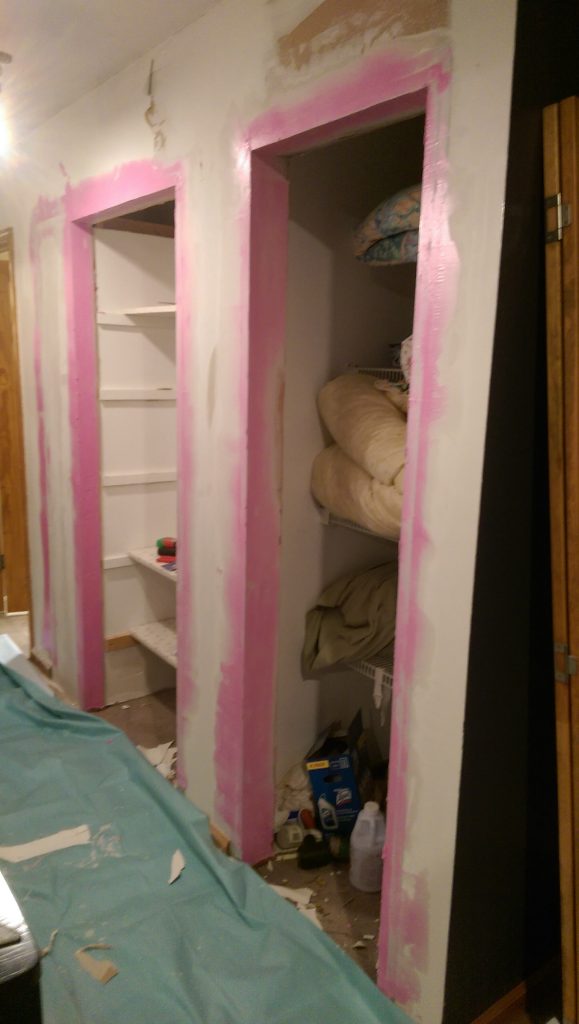
Extending the wall:
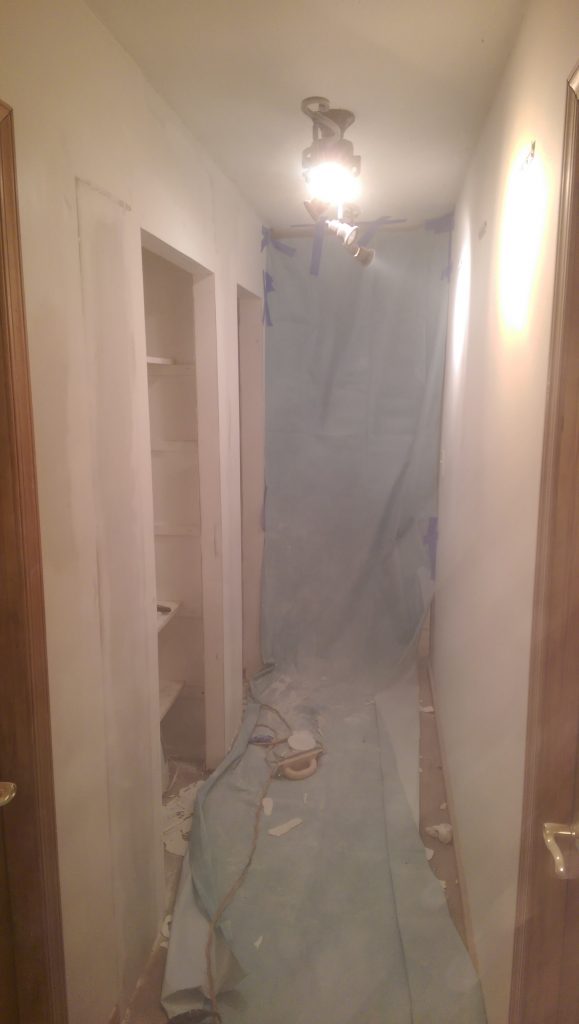
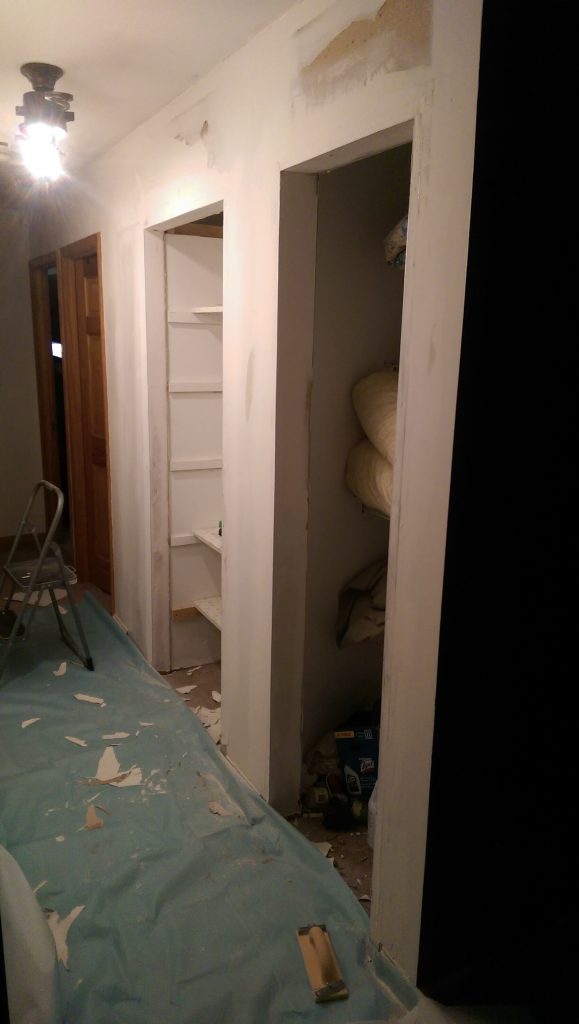
And then so much puttying:
Phew. That’s mostly done. Now, onto the doors!
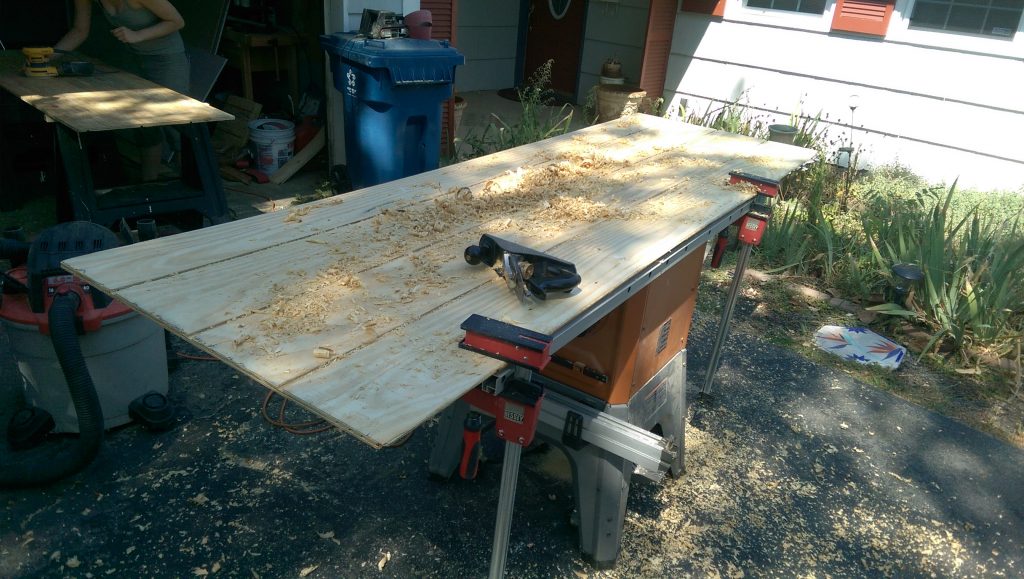
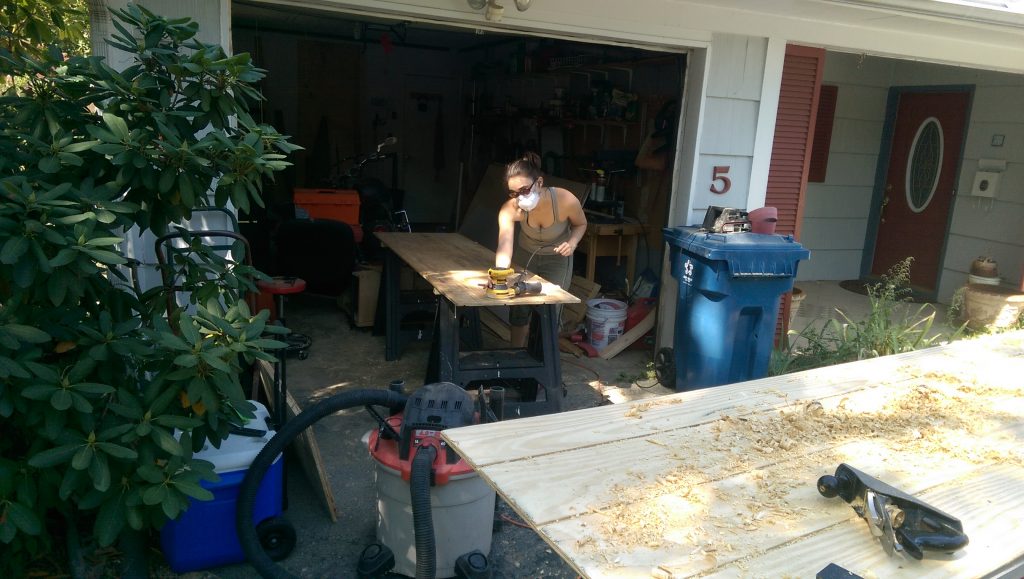
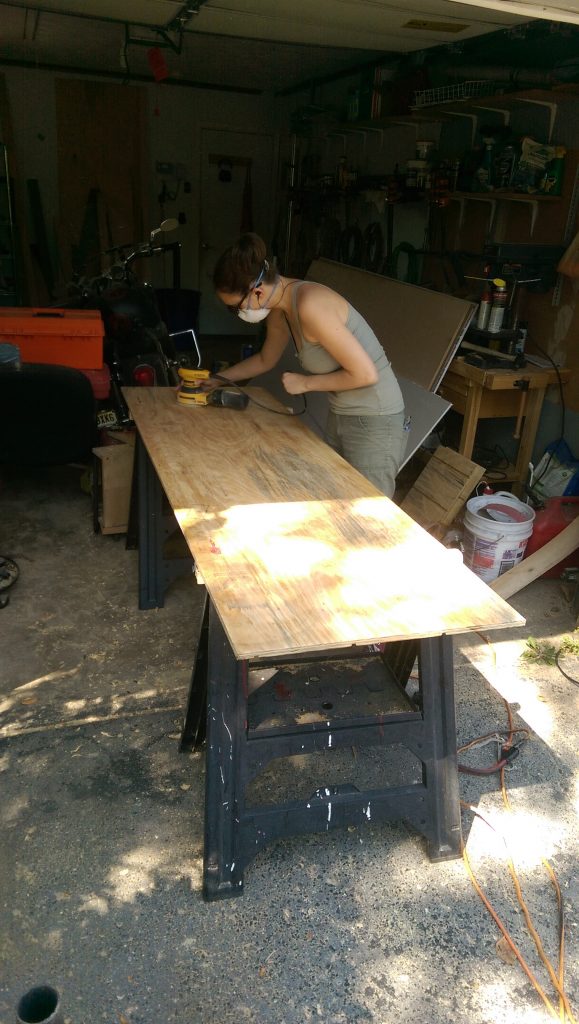
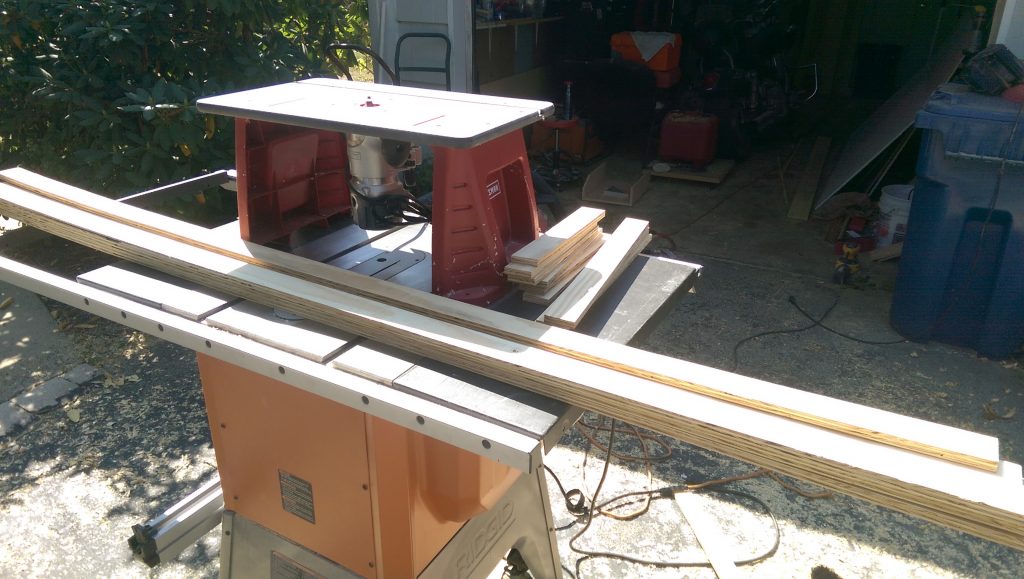
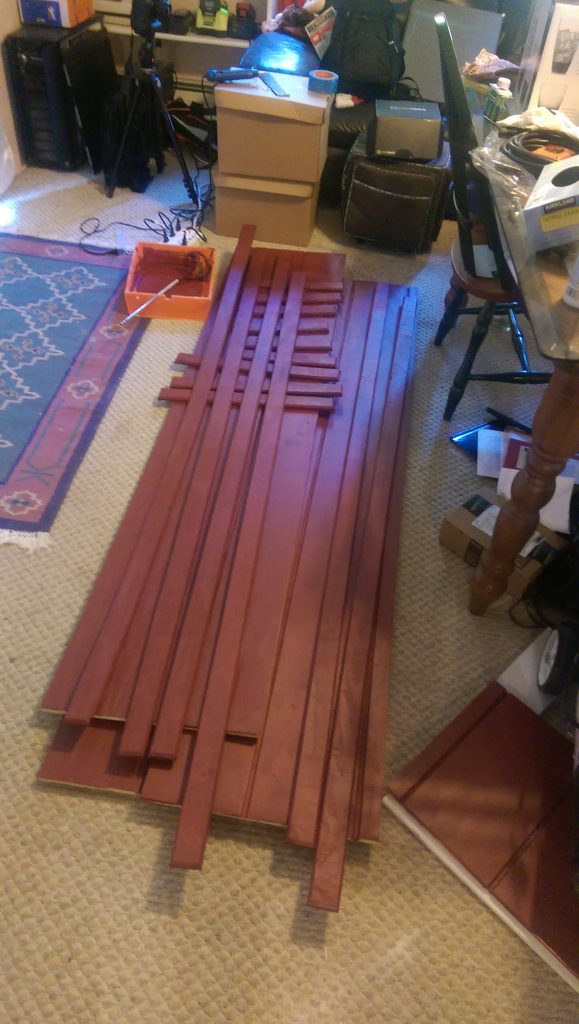
Beveling
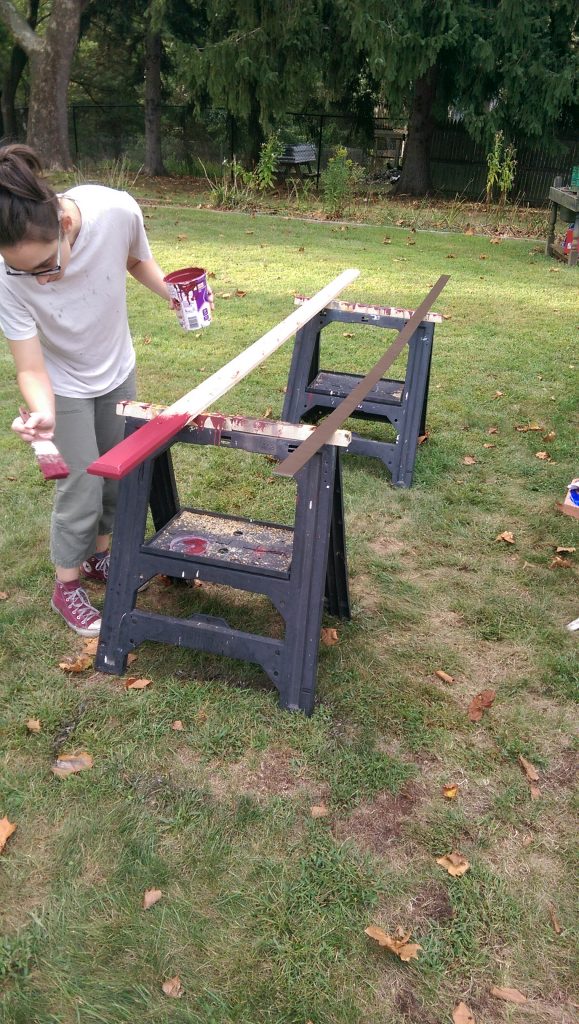
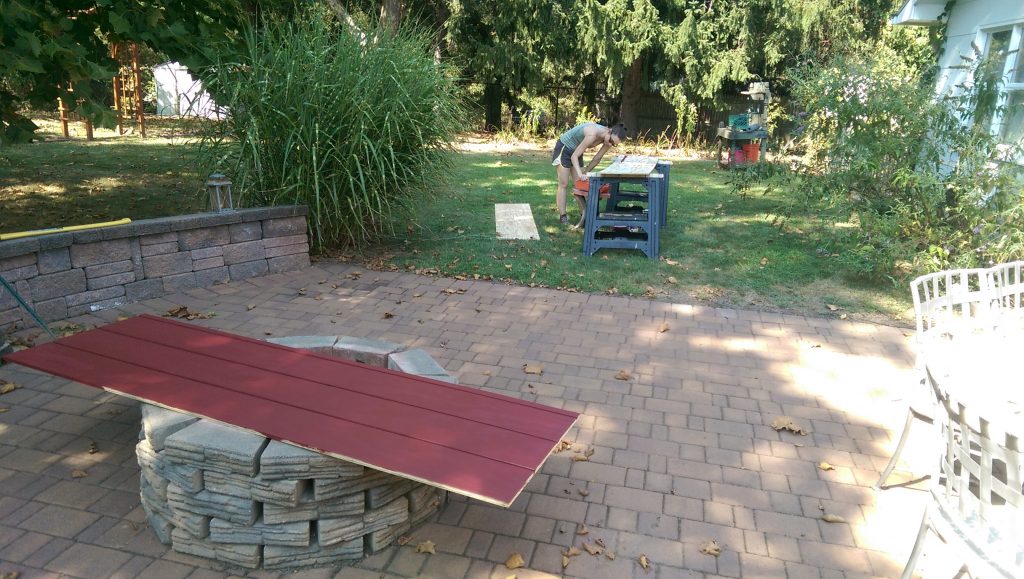
Painting
Test fitting
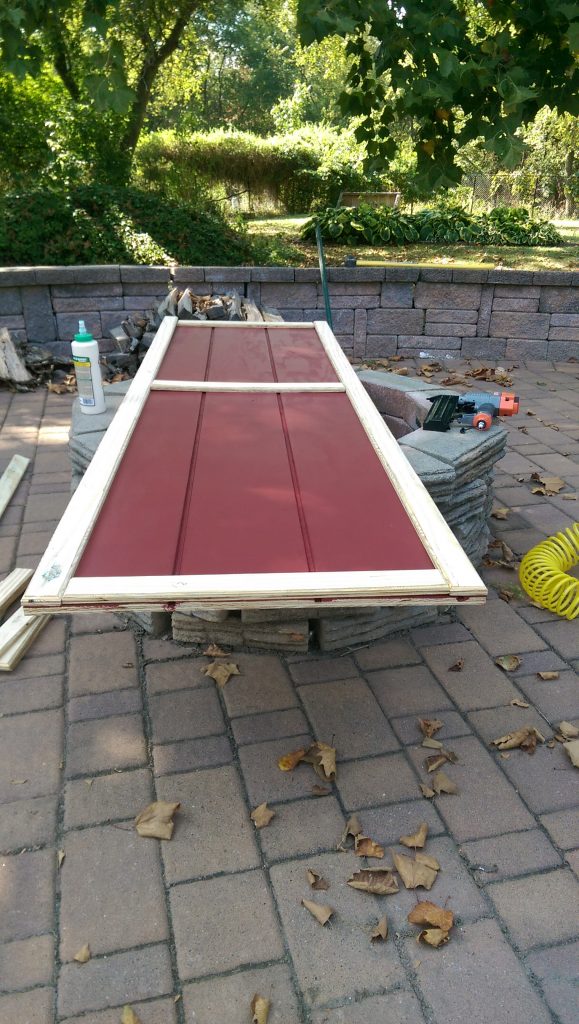
What, you thought I was done puttying?
All the pieces!
Prepping for paint
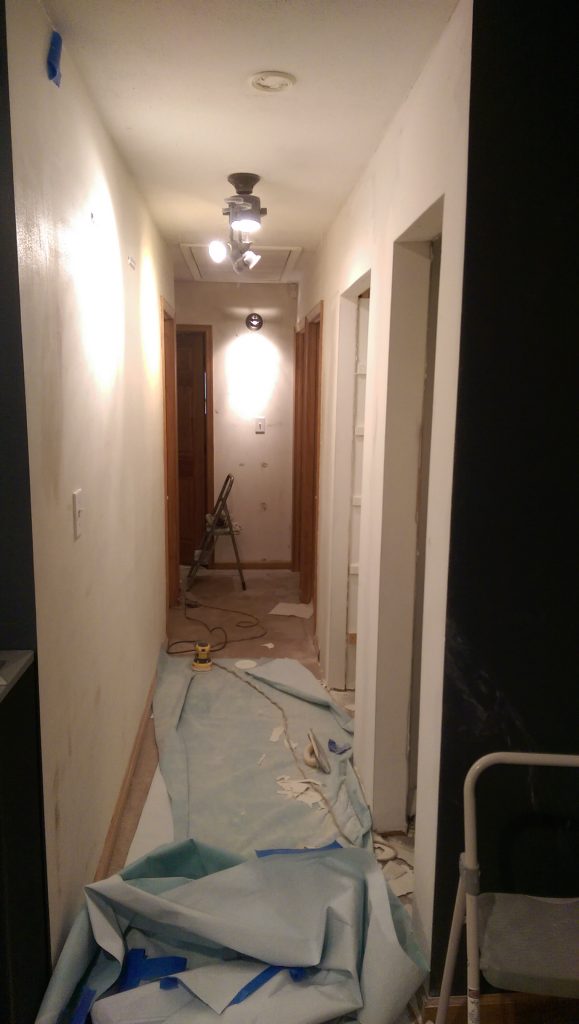
Cleaning
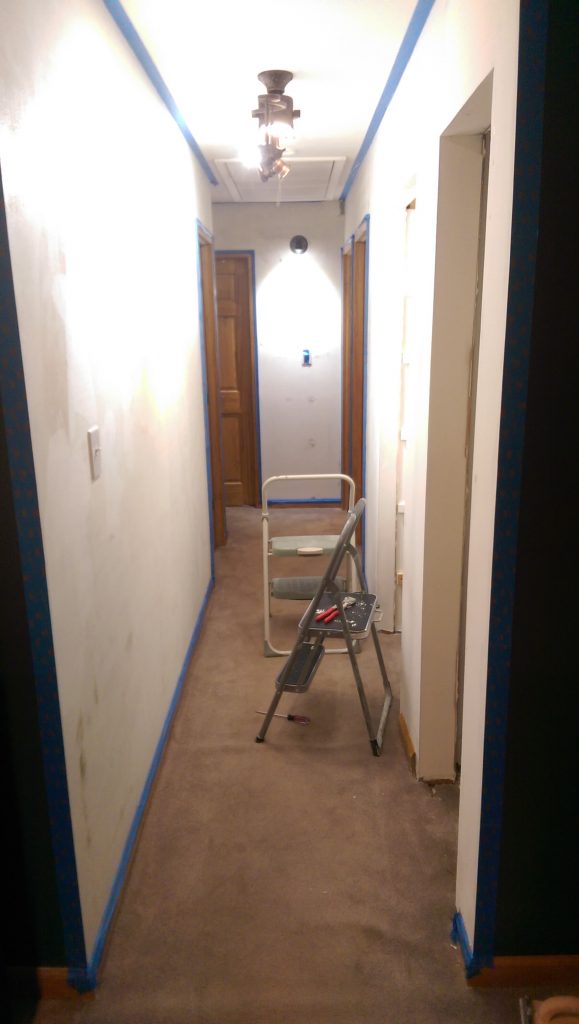
Masking
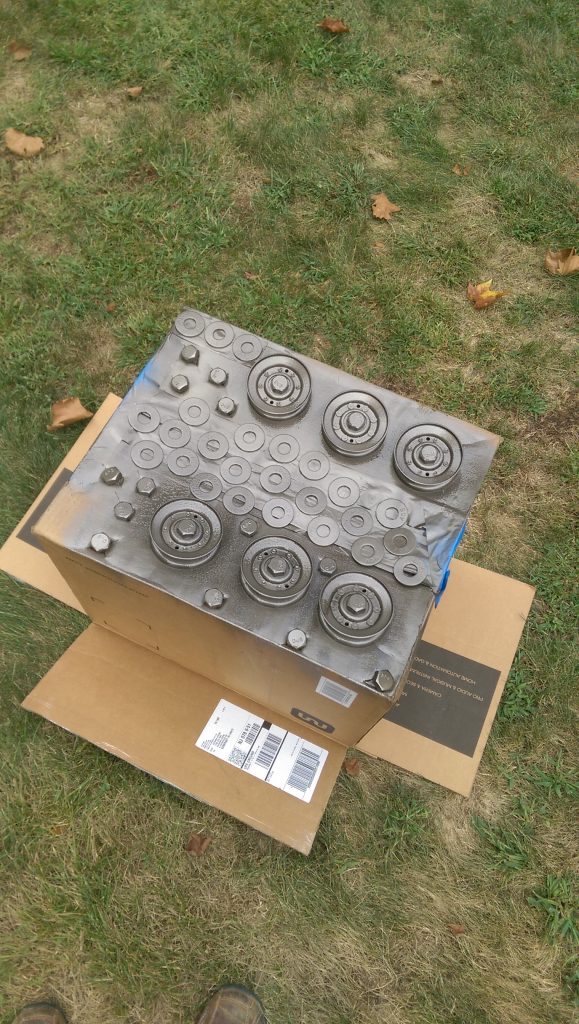
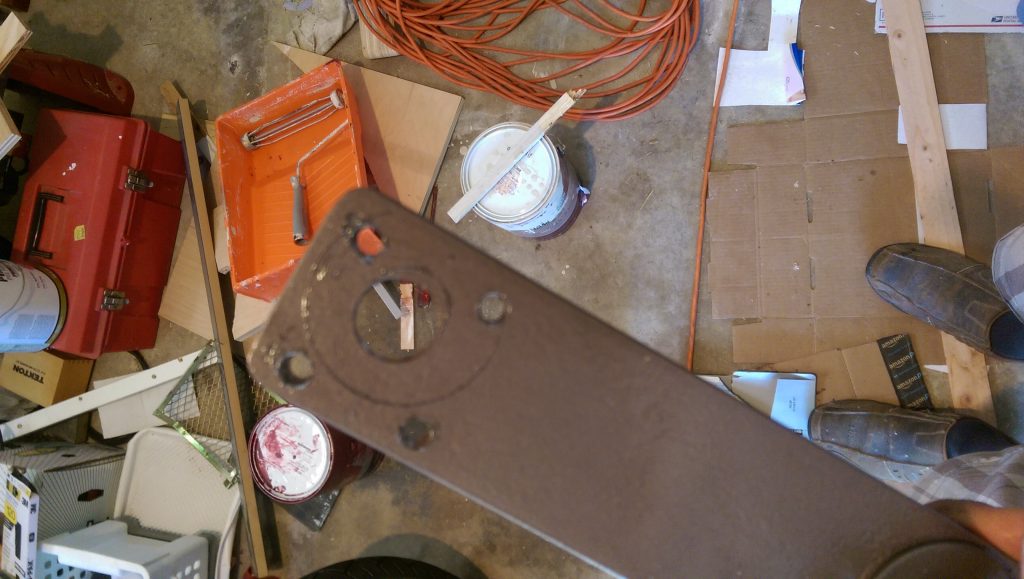
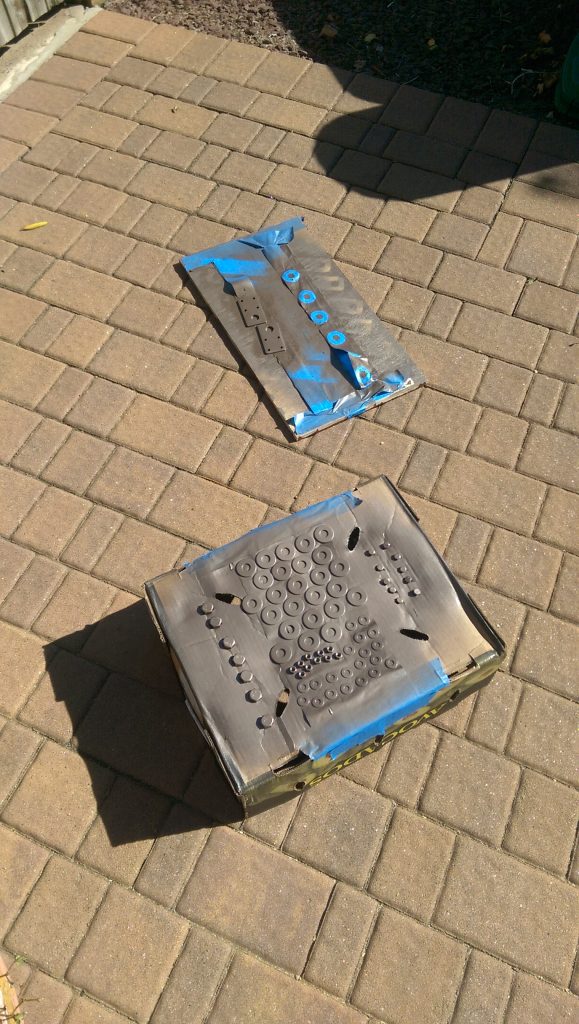
Painting some of the hardware
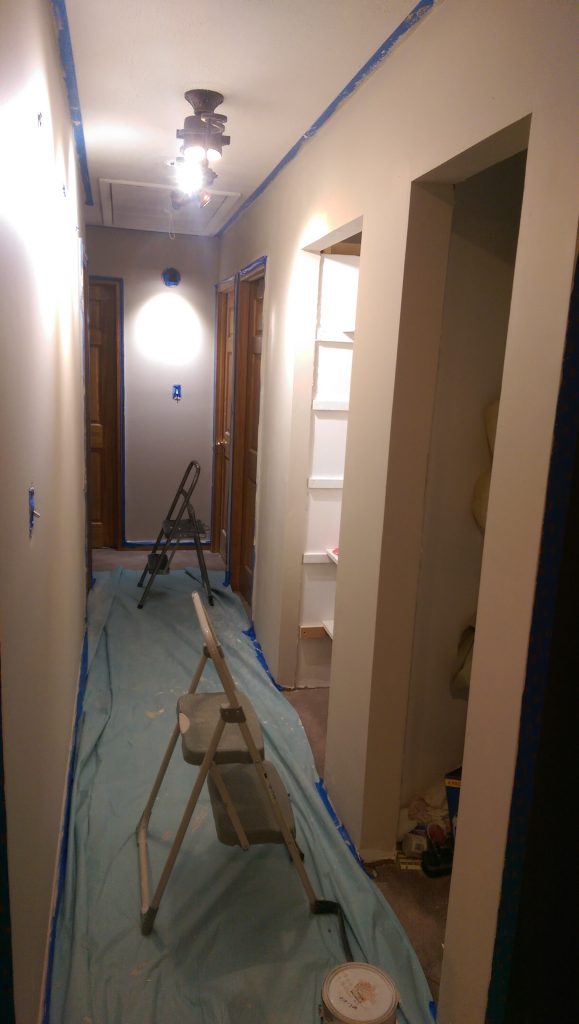
First coat! Looking like a hallway again 🙂
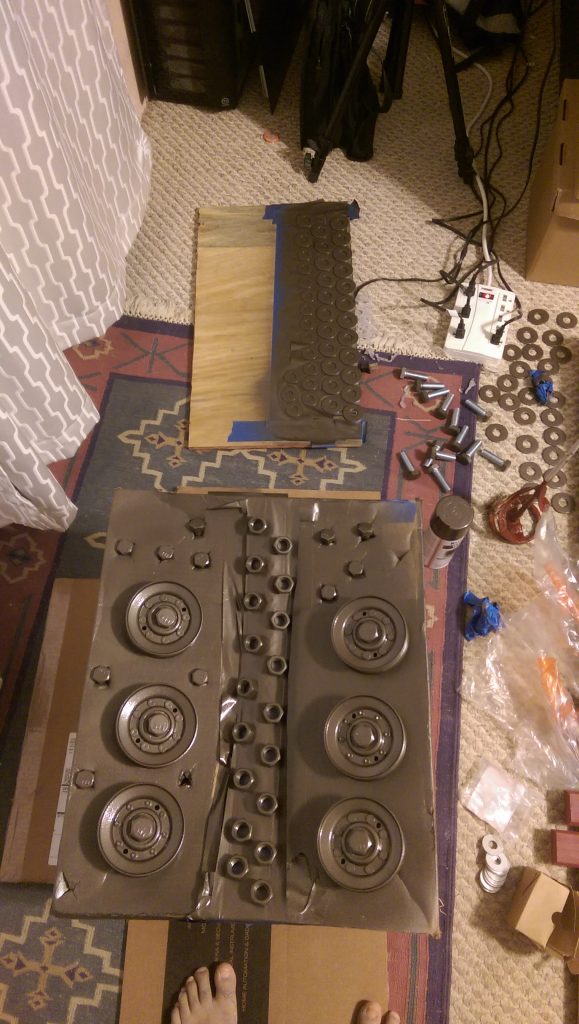
More hardware
Doors assembled!
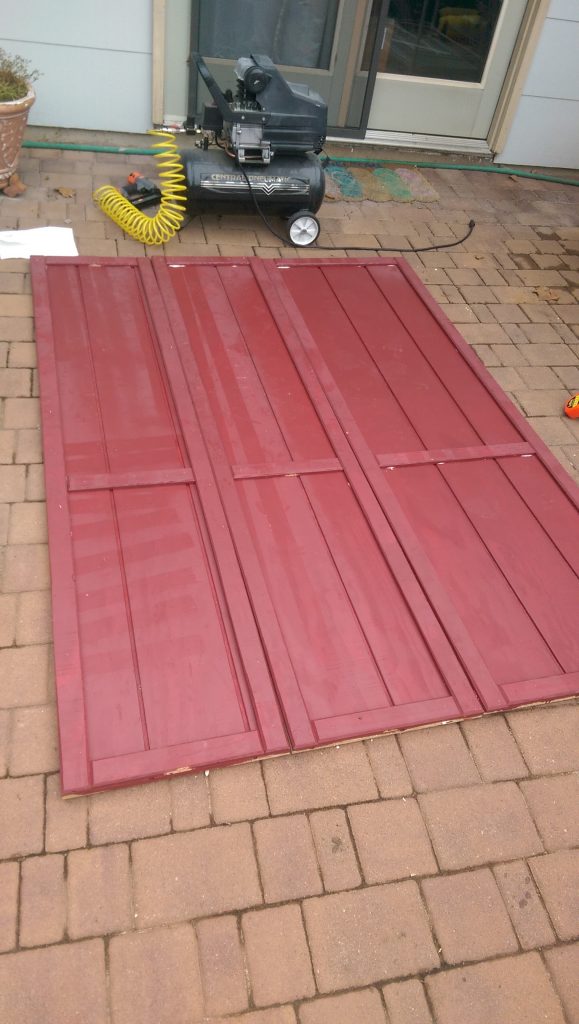
Slight bow in the doors (Crappy plywood) hoping that letting the glue dry like this will help. (Spoiler alert, it did!)
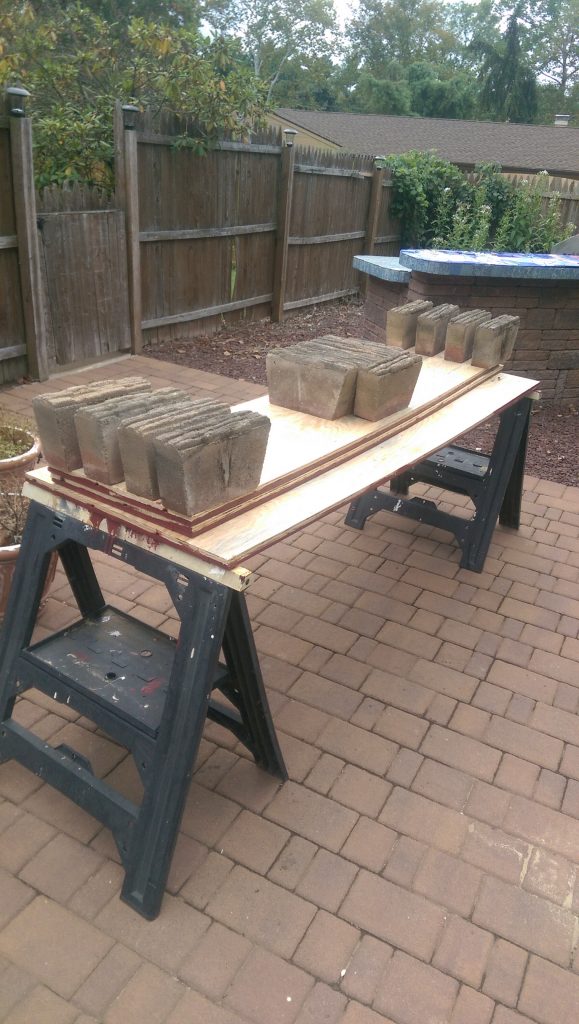
Second coat of paint on the doors, this hid a lot of the wood grain, but lesson learned. Next time we’ll go with a very colored stain instead or just do one really good coat of paint to keep the wood texture.
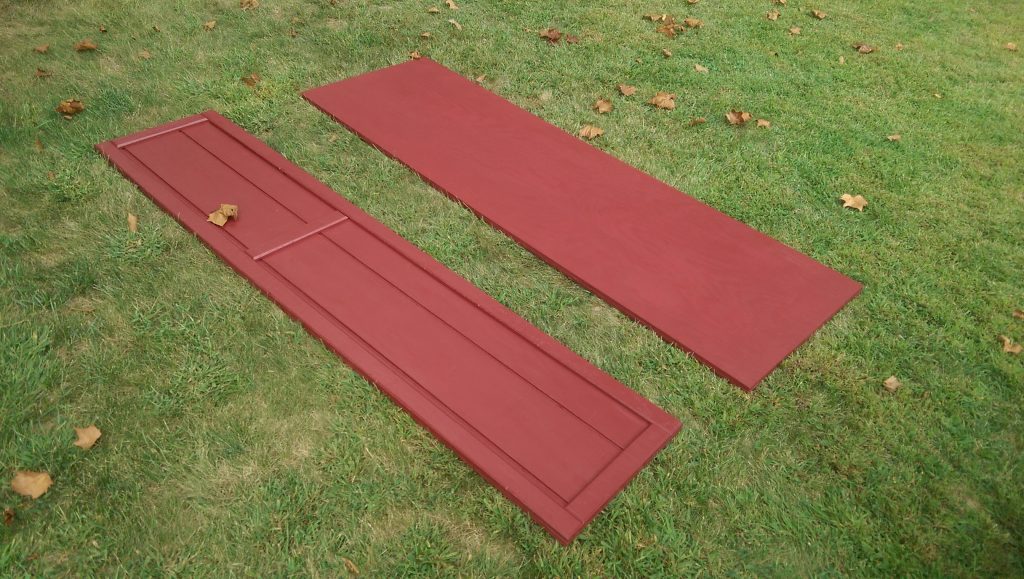
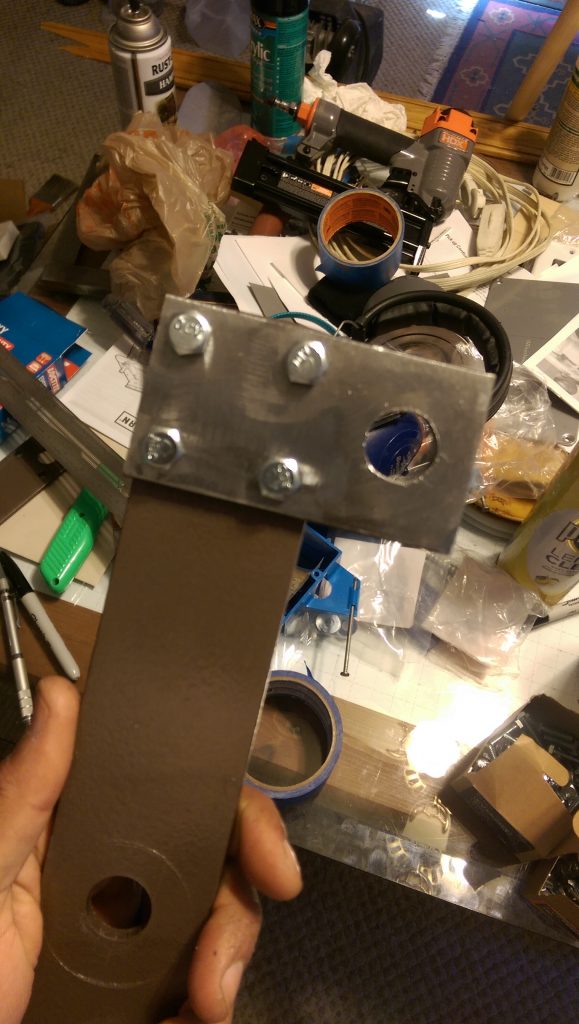
More hardware…
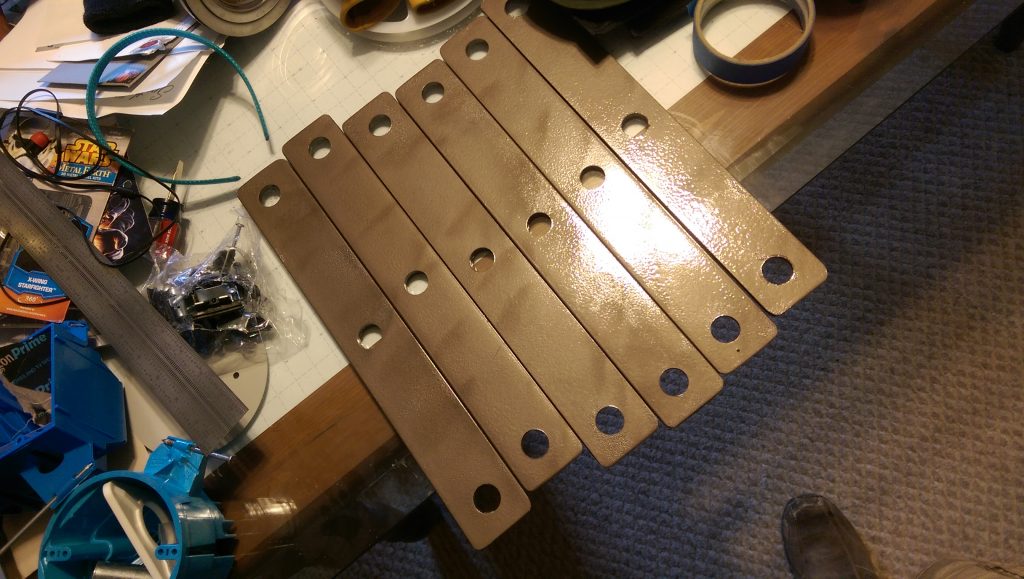
Getting ready for assembling the hardware!
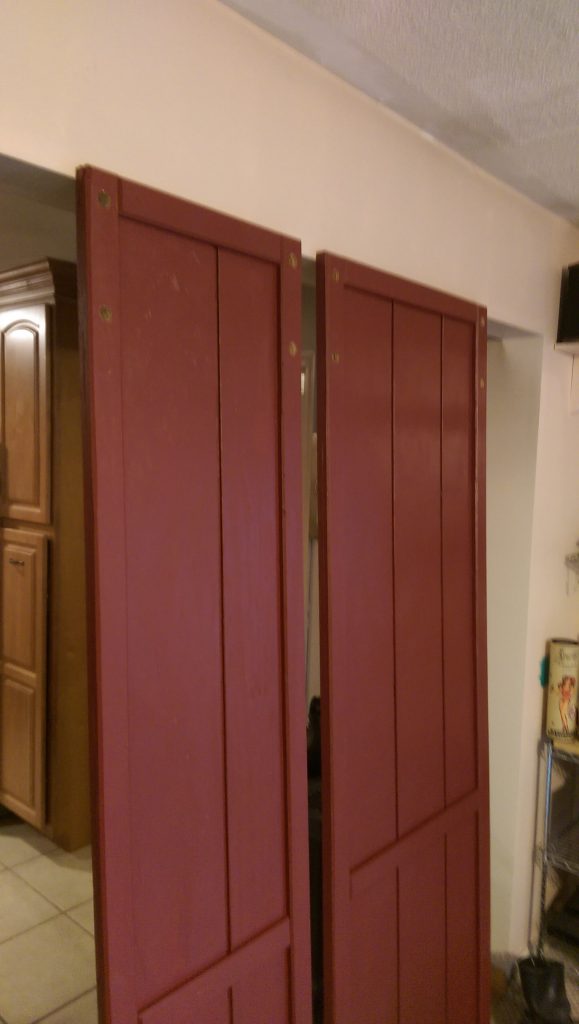
Assembling!
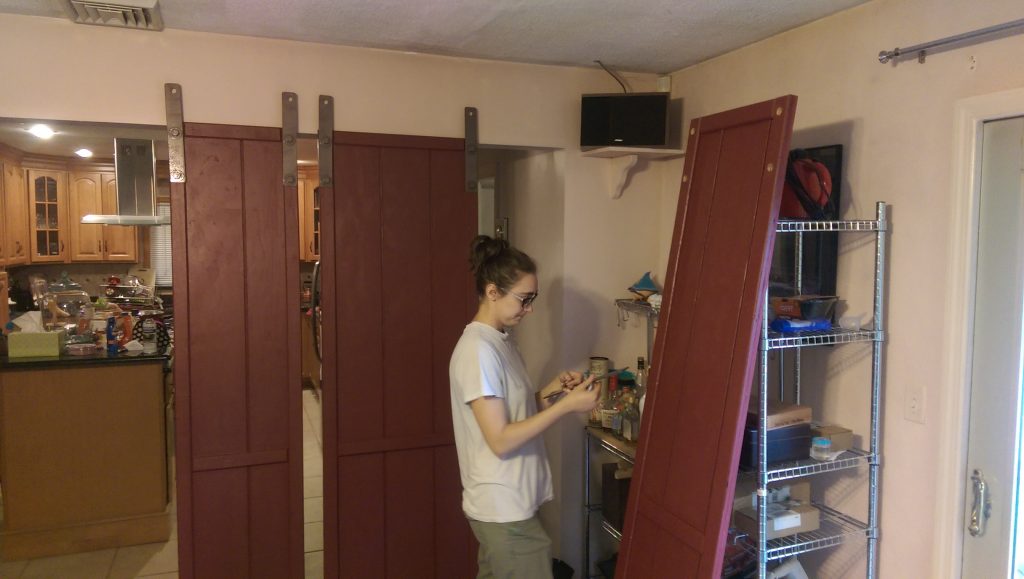
Needs a little fine tuning, holes are big enough for it.
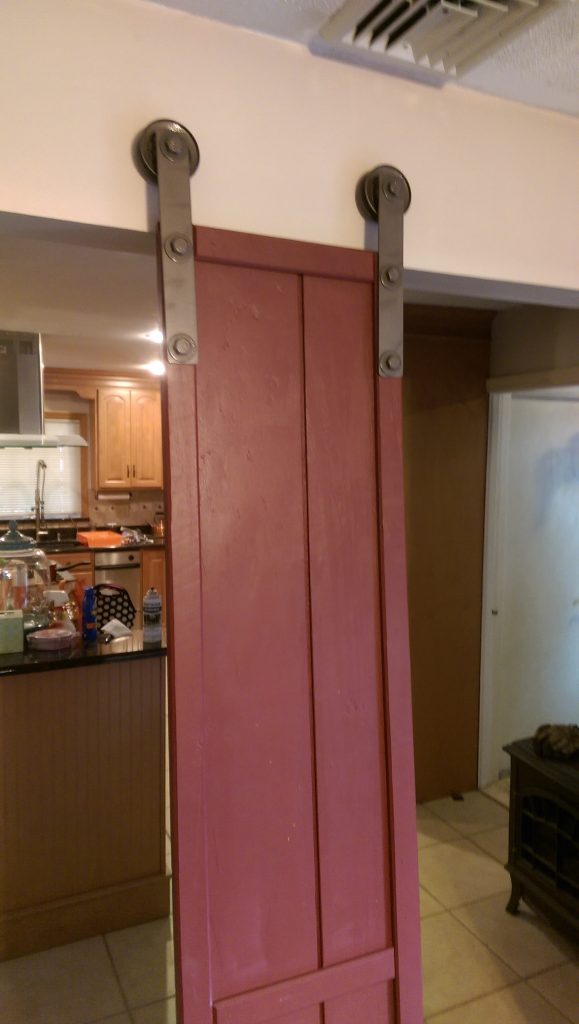
Finding the studs and then drilling lots of small holes to make certain I find dead center, these 1/2″ lag screws HAVE to be centered.
Success!
Painting the backer bar
Doors assembled!
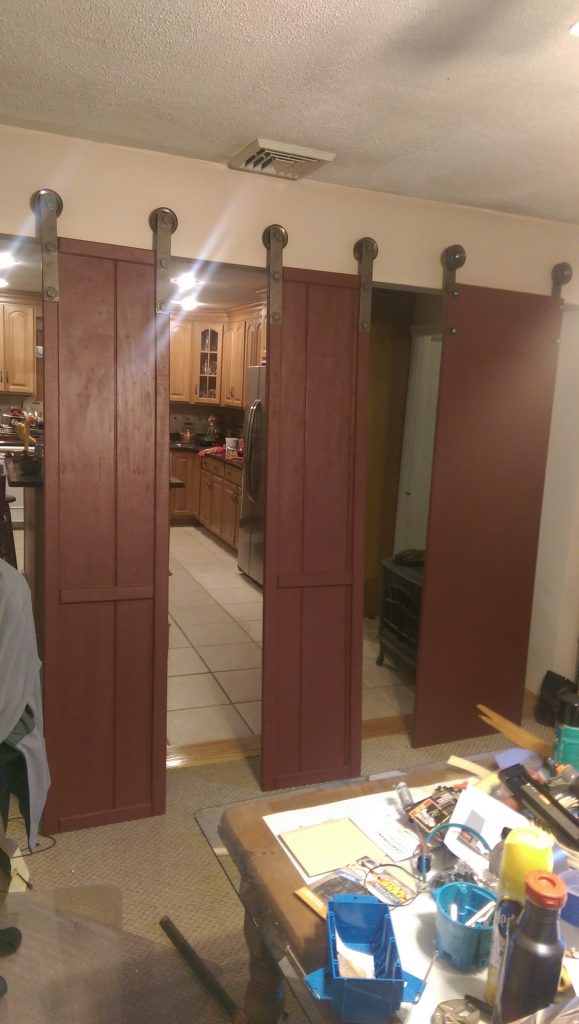
Robin’s reaction when she notices “dat gap”…..
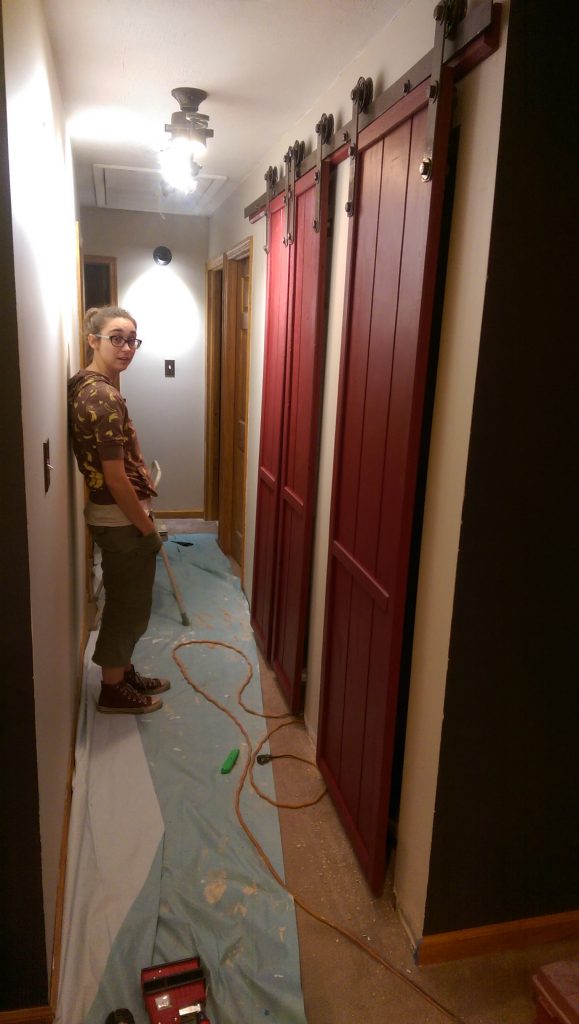
Everyone makes mistakes….I didn’t even consider this when designing it all.
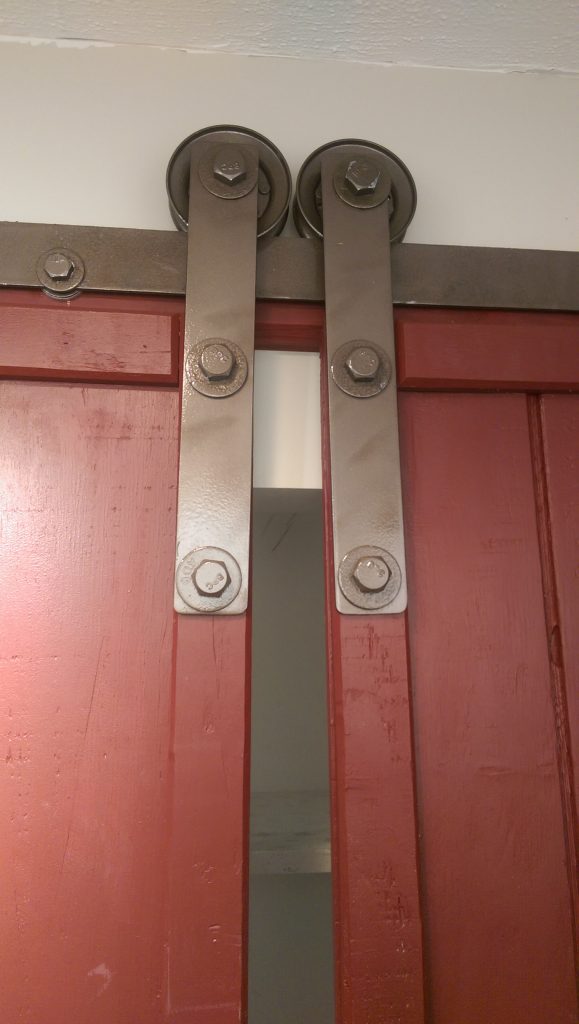
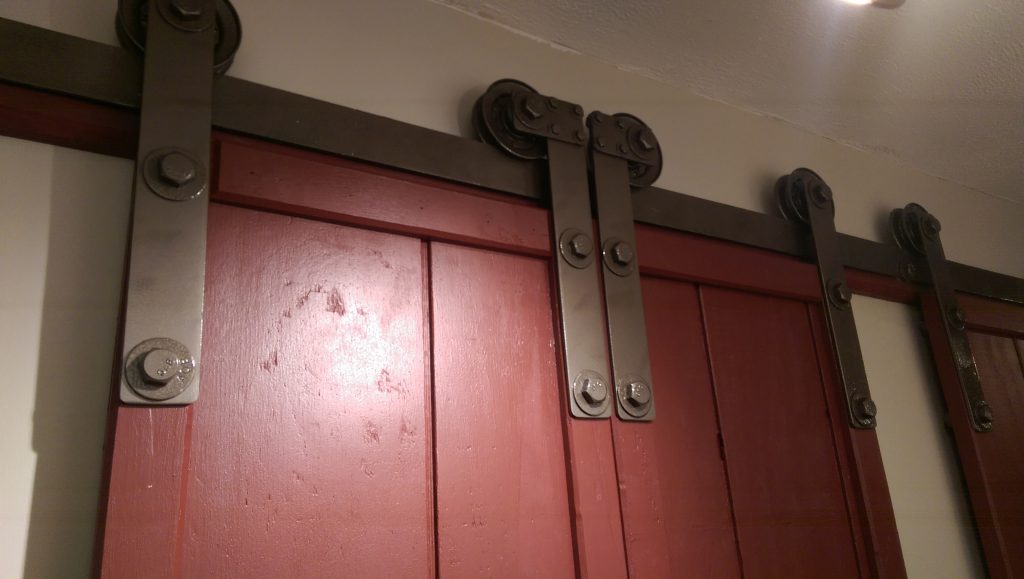
So the next day I started on a solution to surprise her. A friend gave me the advice “Express the hardware, don’t hide it”
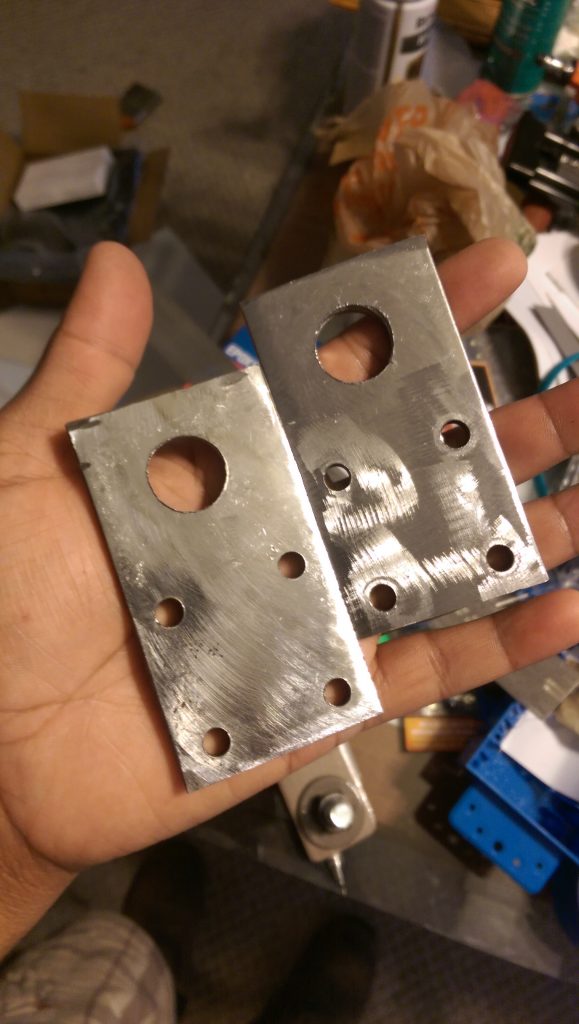
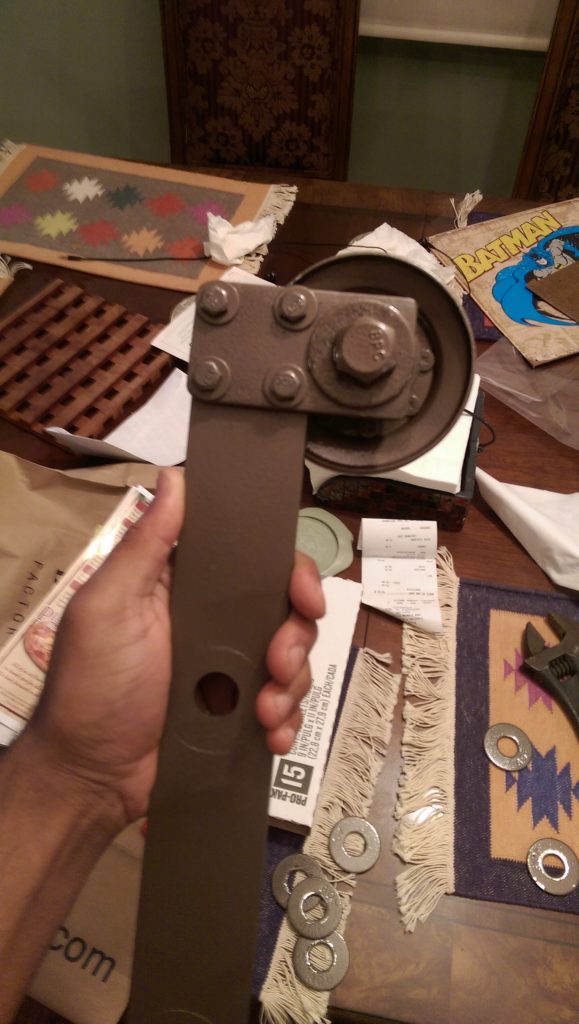
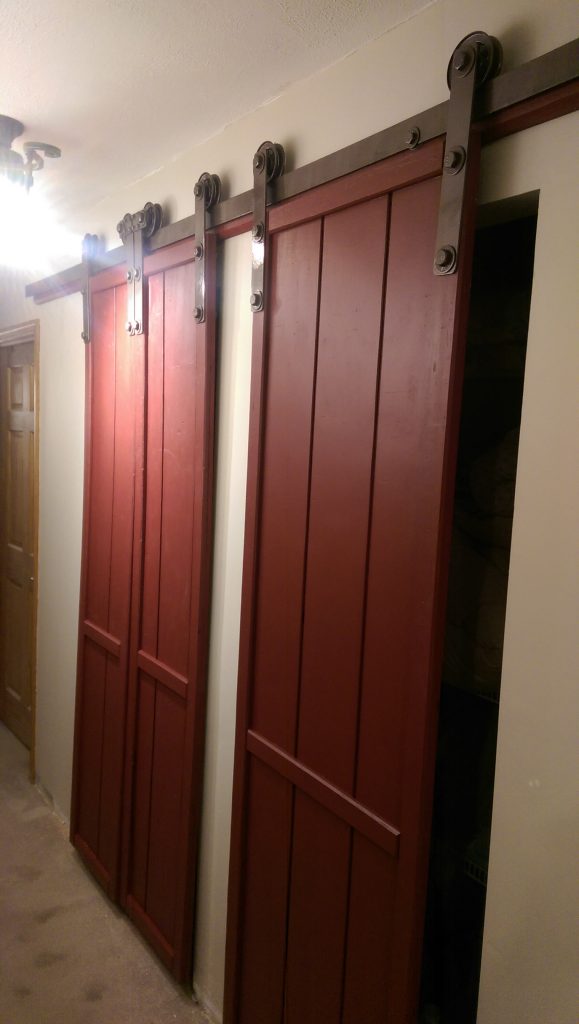
As it turns out, this looks frickin AWESOME. I had half a mind to redo all the brackets in this fashion, but eventually decided not to. I like it as a fancy flourish.
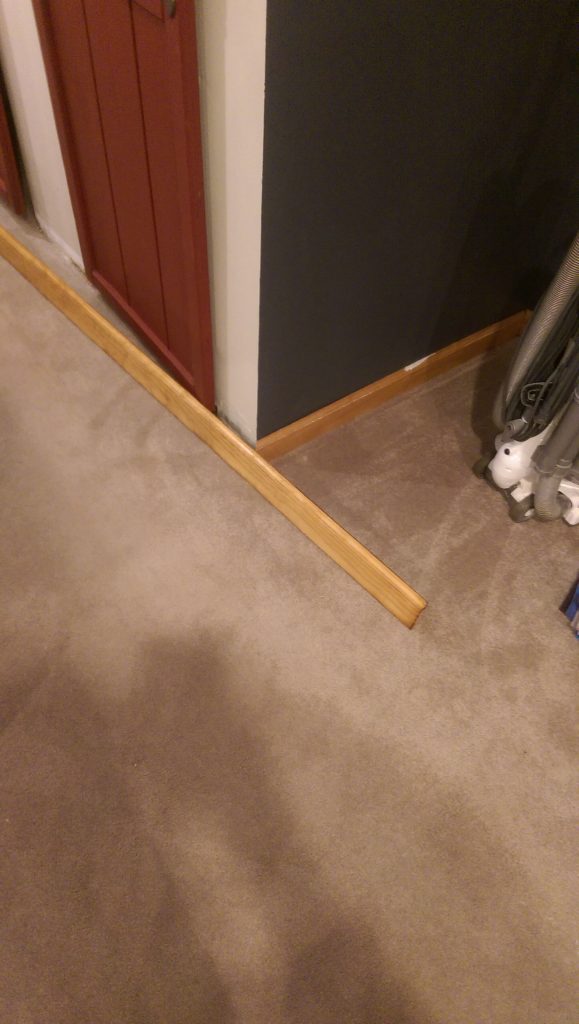
And the final detail, the floor moulding! We found stain and moulding at HD that matched perfectly, yay!
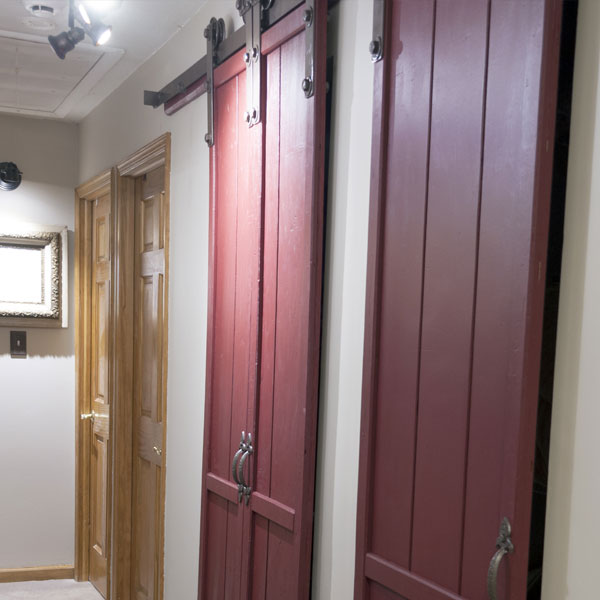
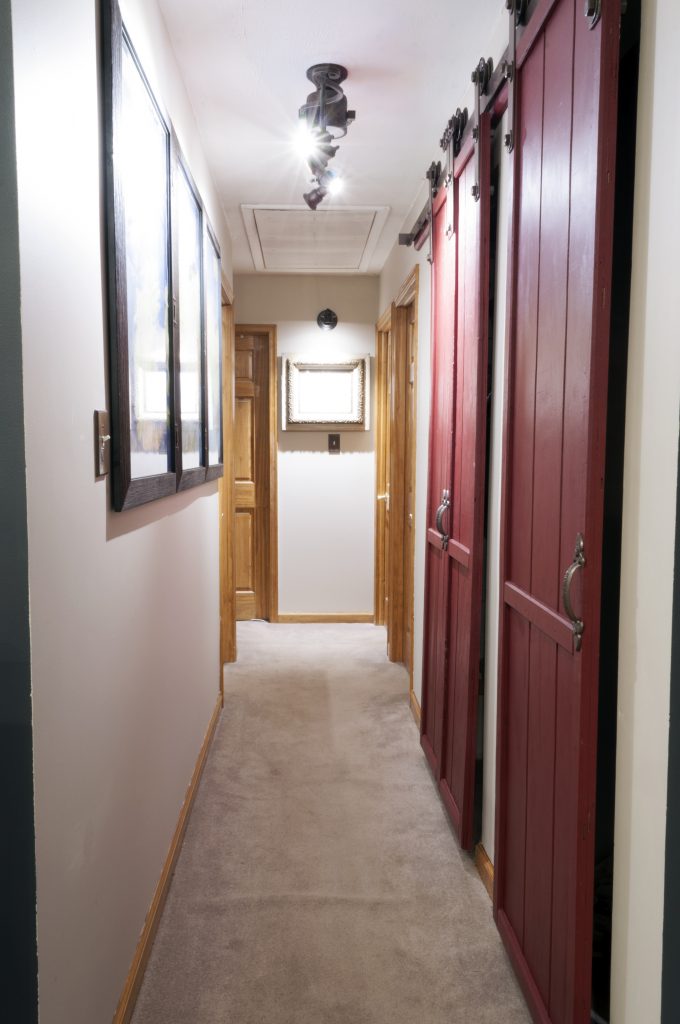
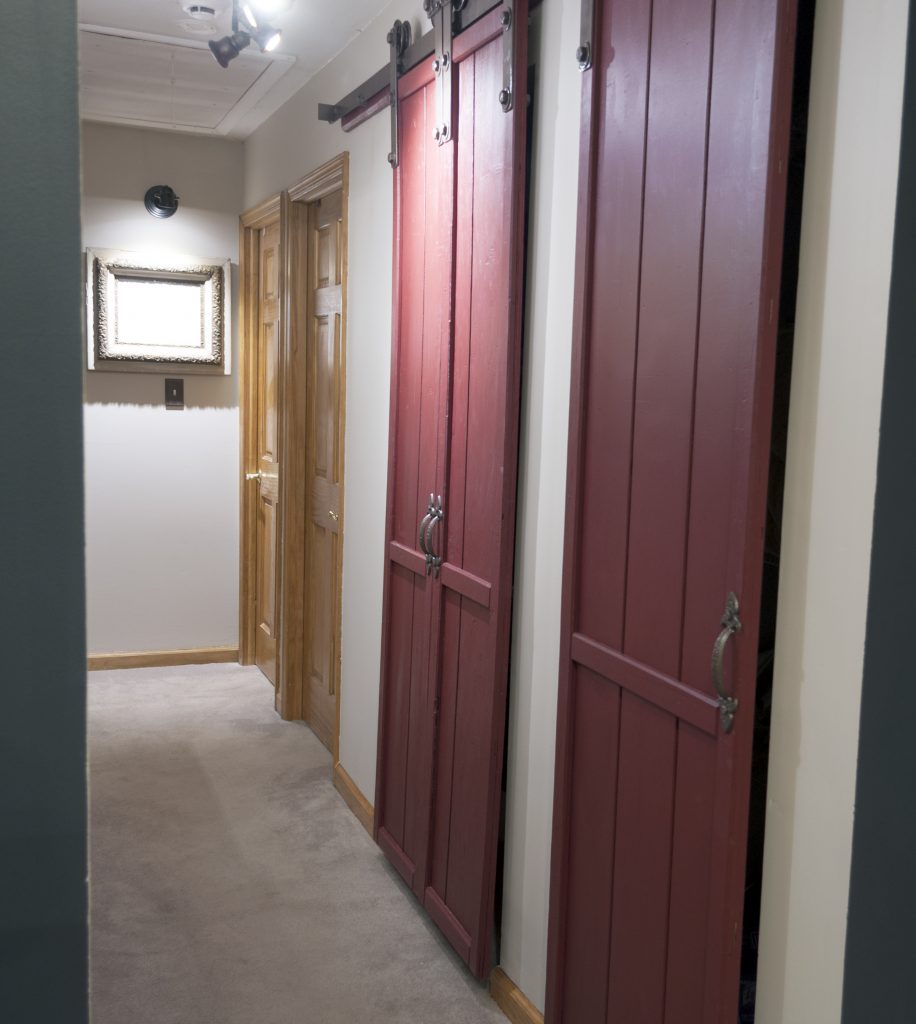
Now for the after
Total cost came in around $400, but that’s including a lot of the wall stuff too, and some mistakes. Thanks April Wilkerson for the idea/proof of concept/plans/everything! Here’s her post about it: Wilkderdos.com

Nicely done.
Thanks!