Here’s the full build log of the dungeon tiles, pieces, and tokens. If you want to skip to the end, click here to go straight to the “glamour shots.” After the glamour shots is a video timelapse of the game, as well.
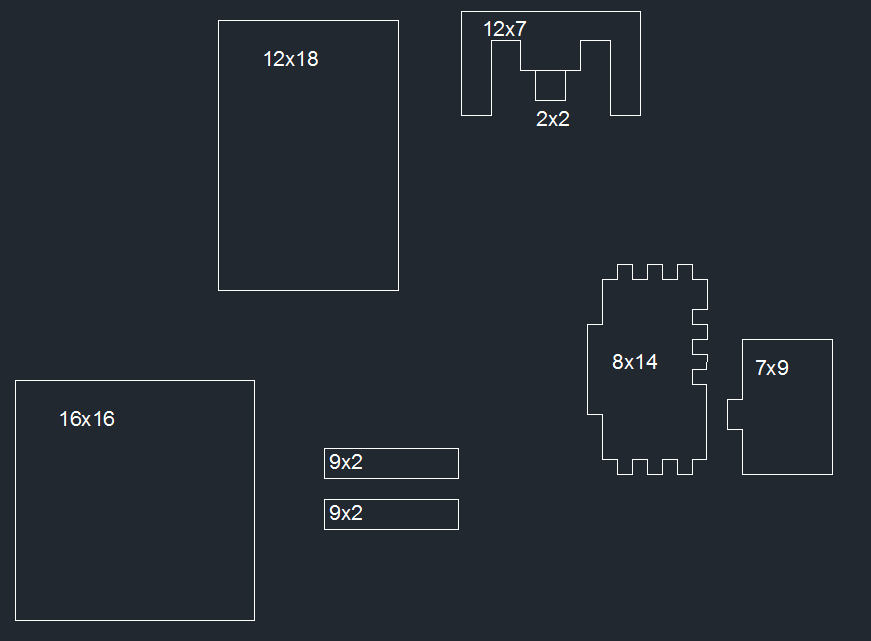
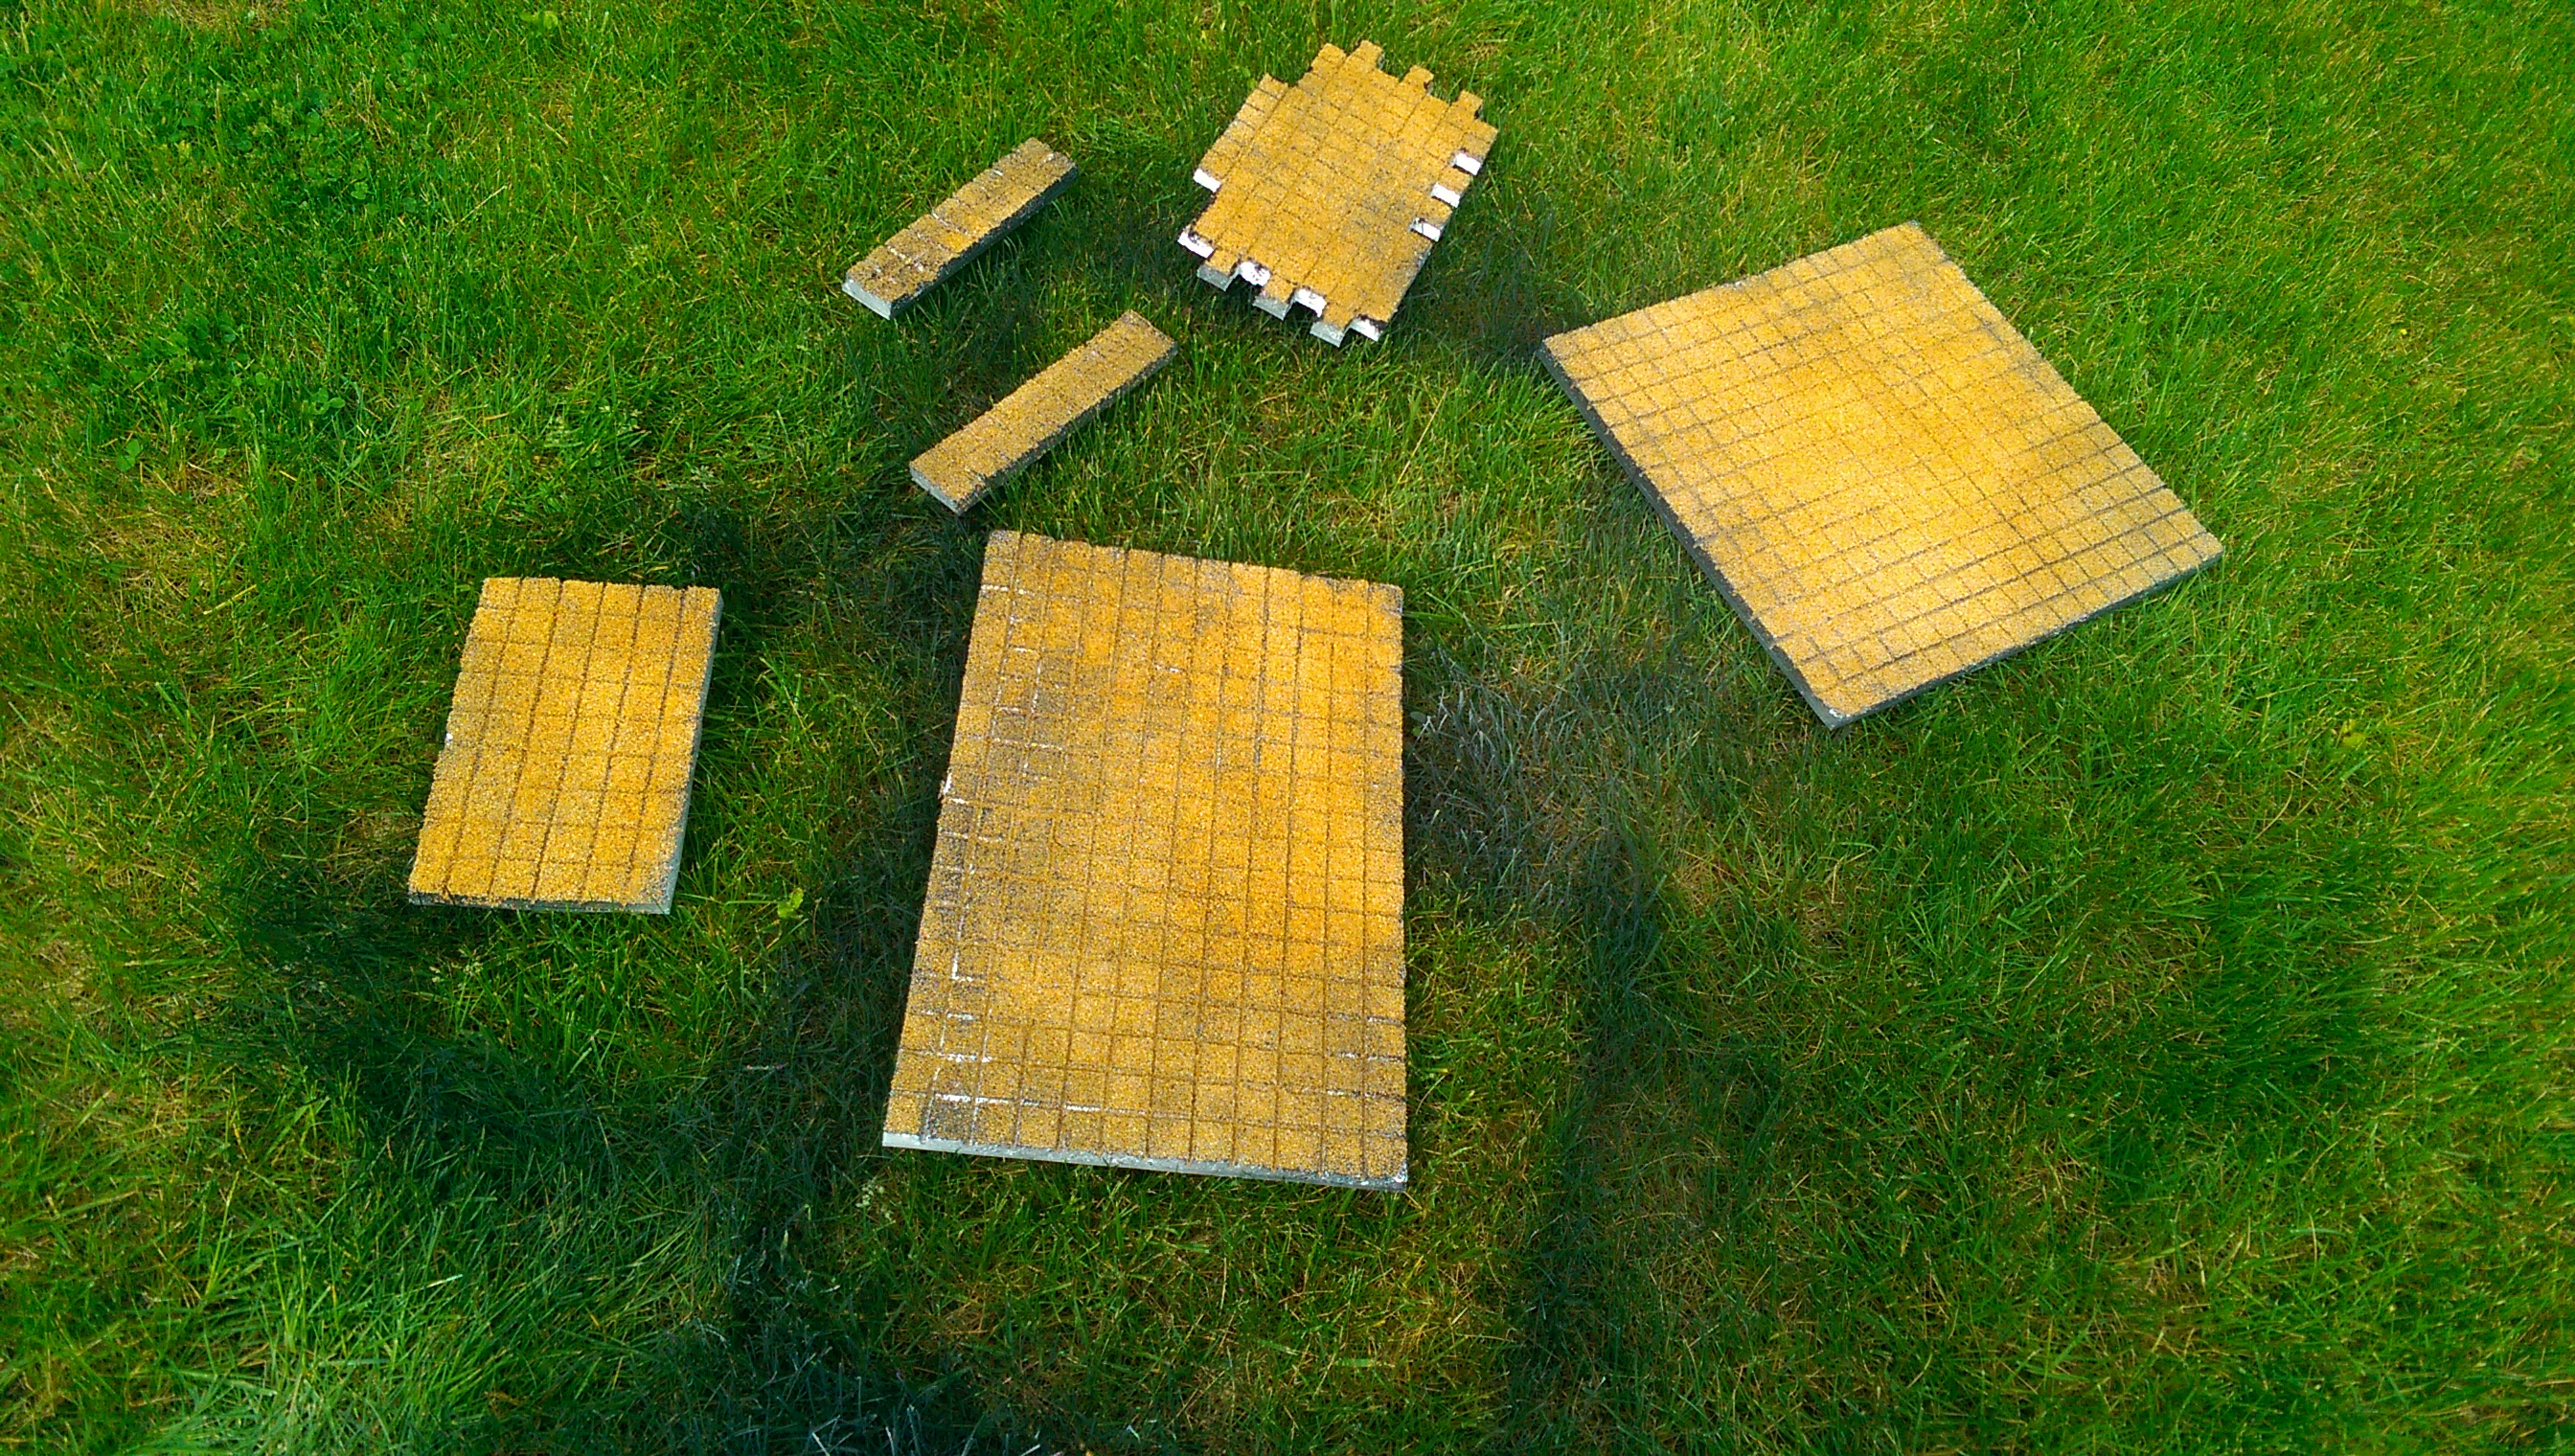
Here’s the dungeon tiles I have planned. I did it by scale in autocad and then fit them together to see how many foam core and styrofoam boards I would need.
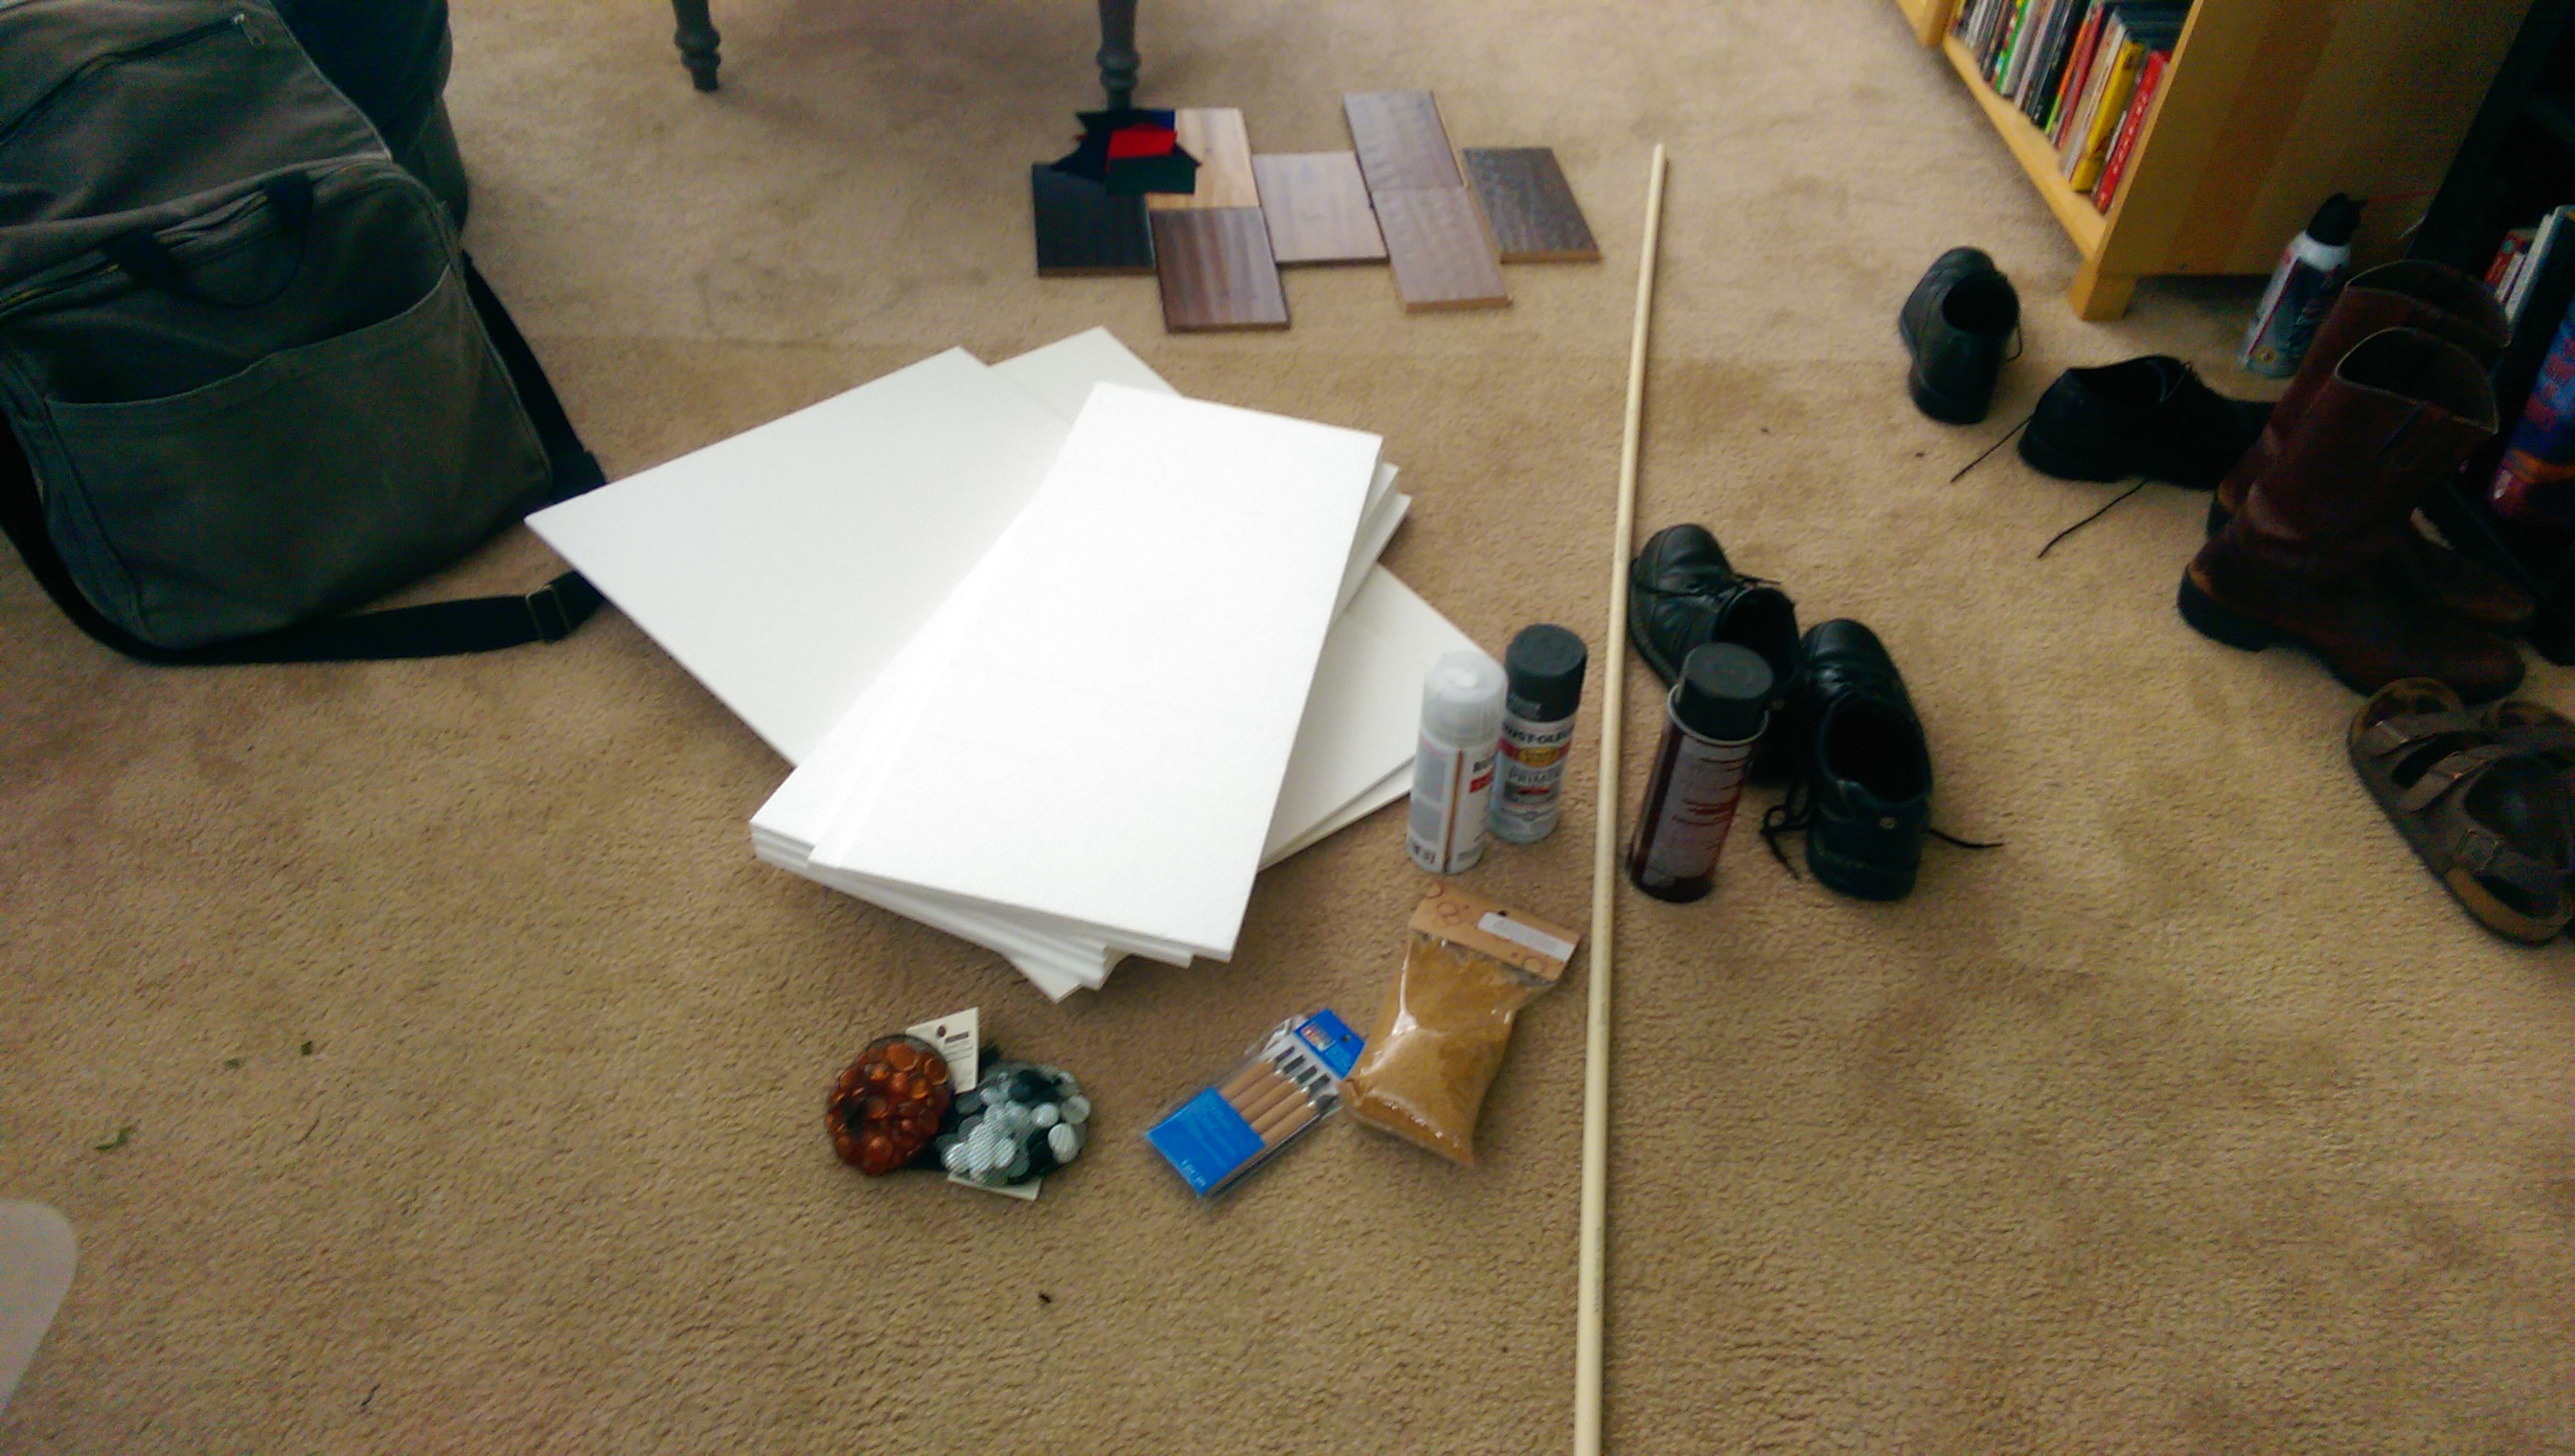
Shopping trip to Michael’s! (And Home Depot)

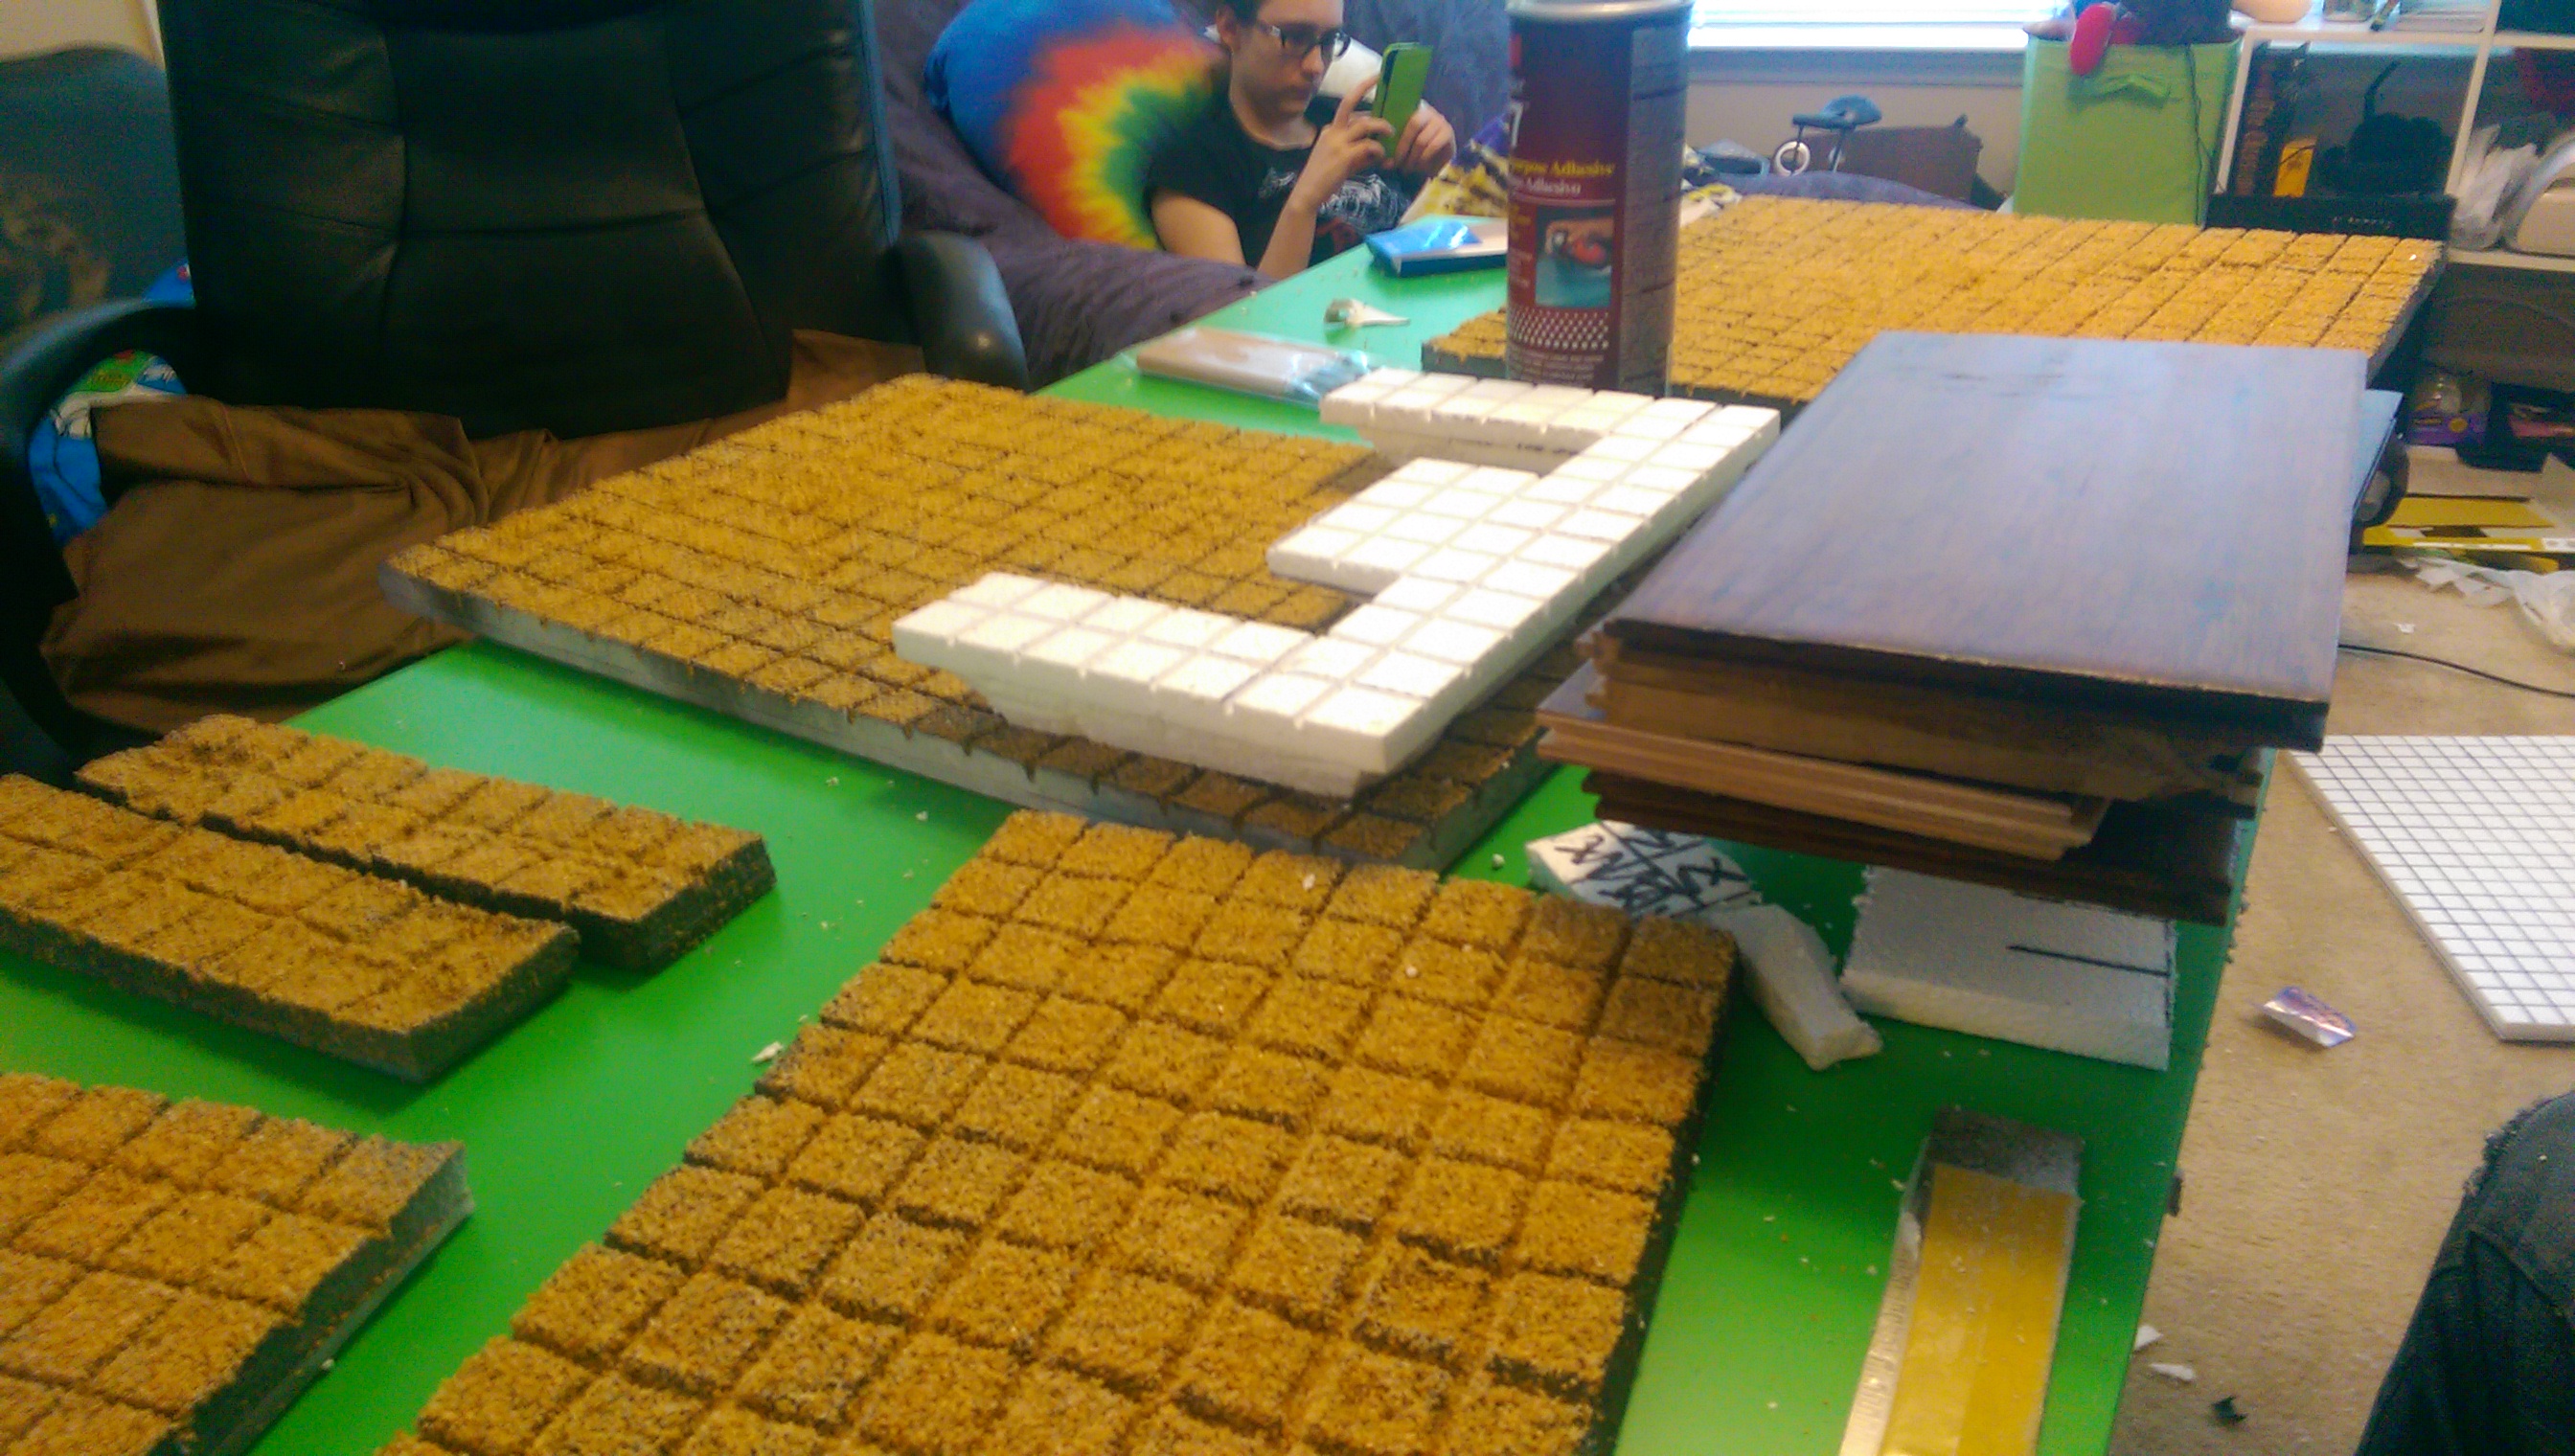
Cutting out foam core pieces that i measured to the exact dungeon tile pieces I wanted.
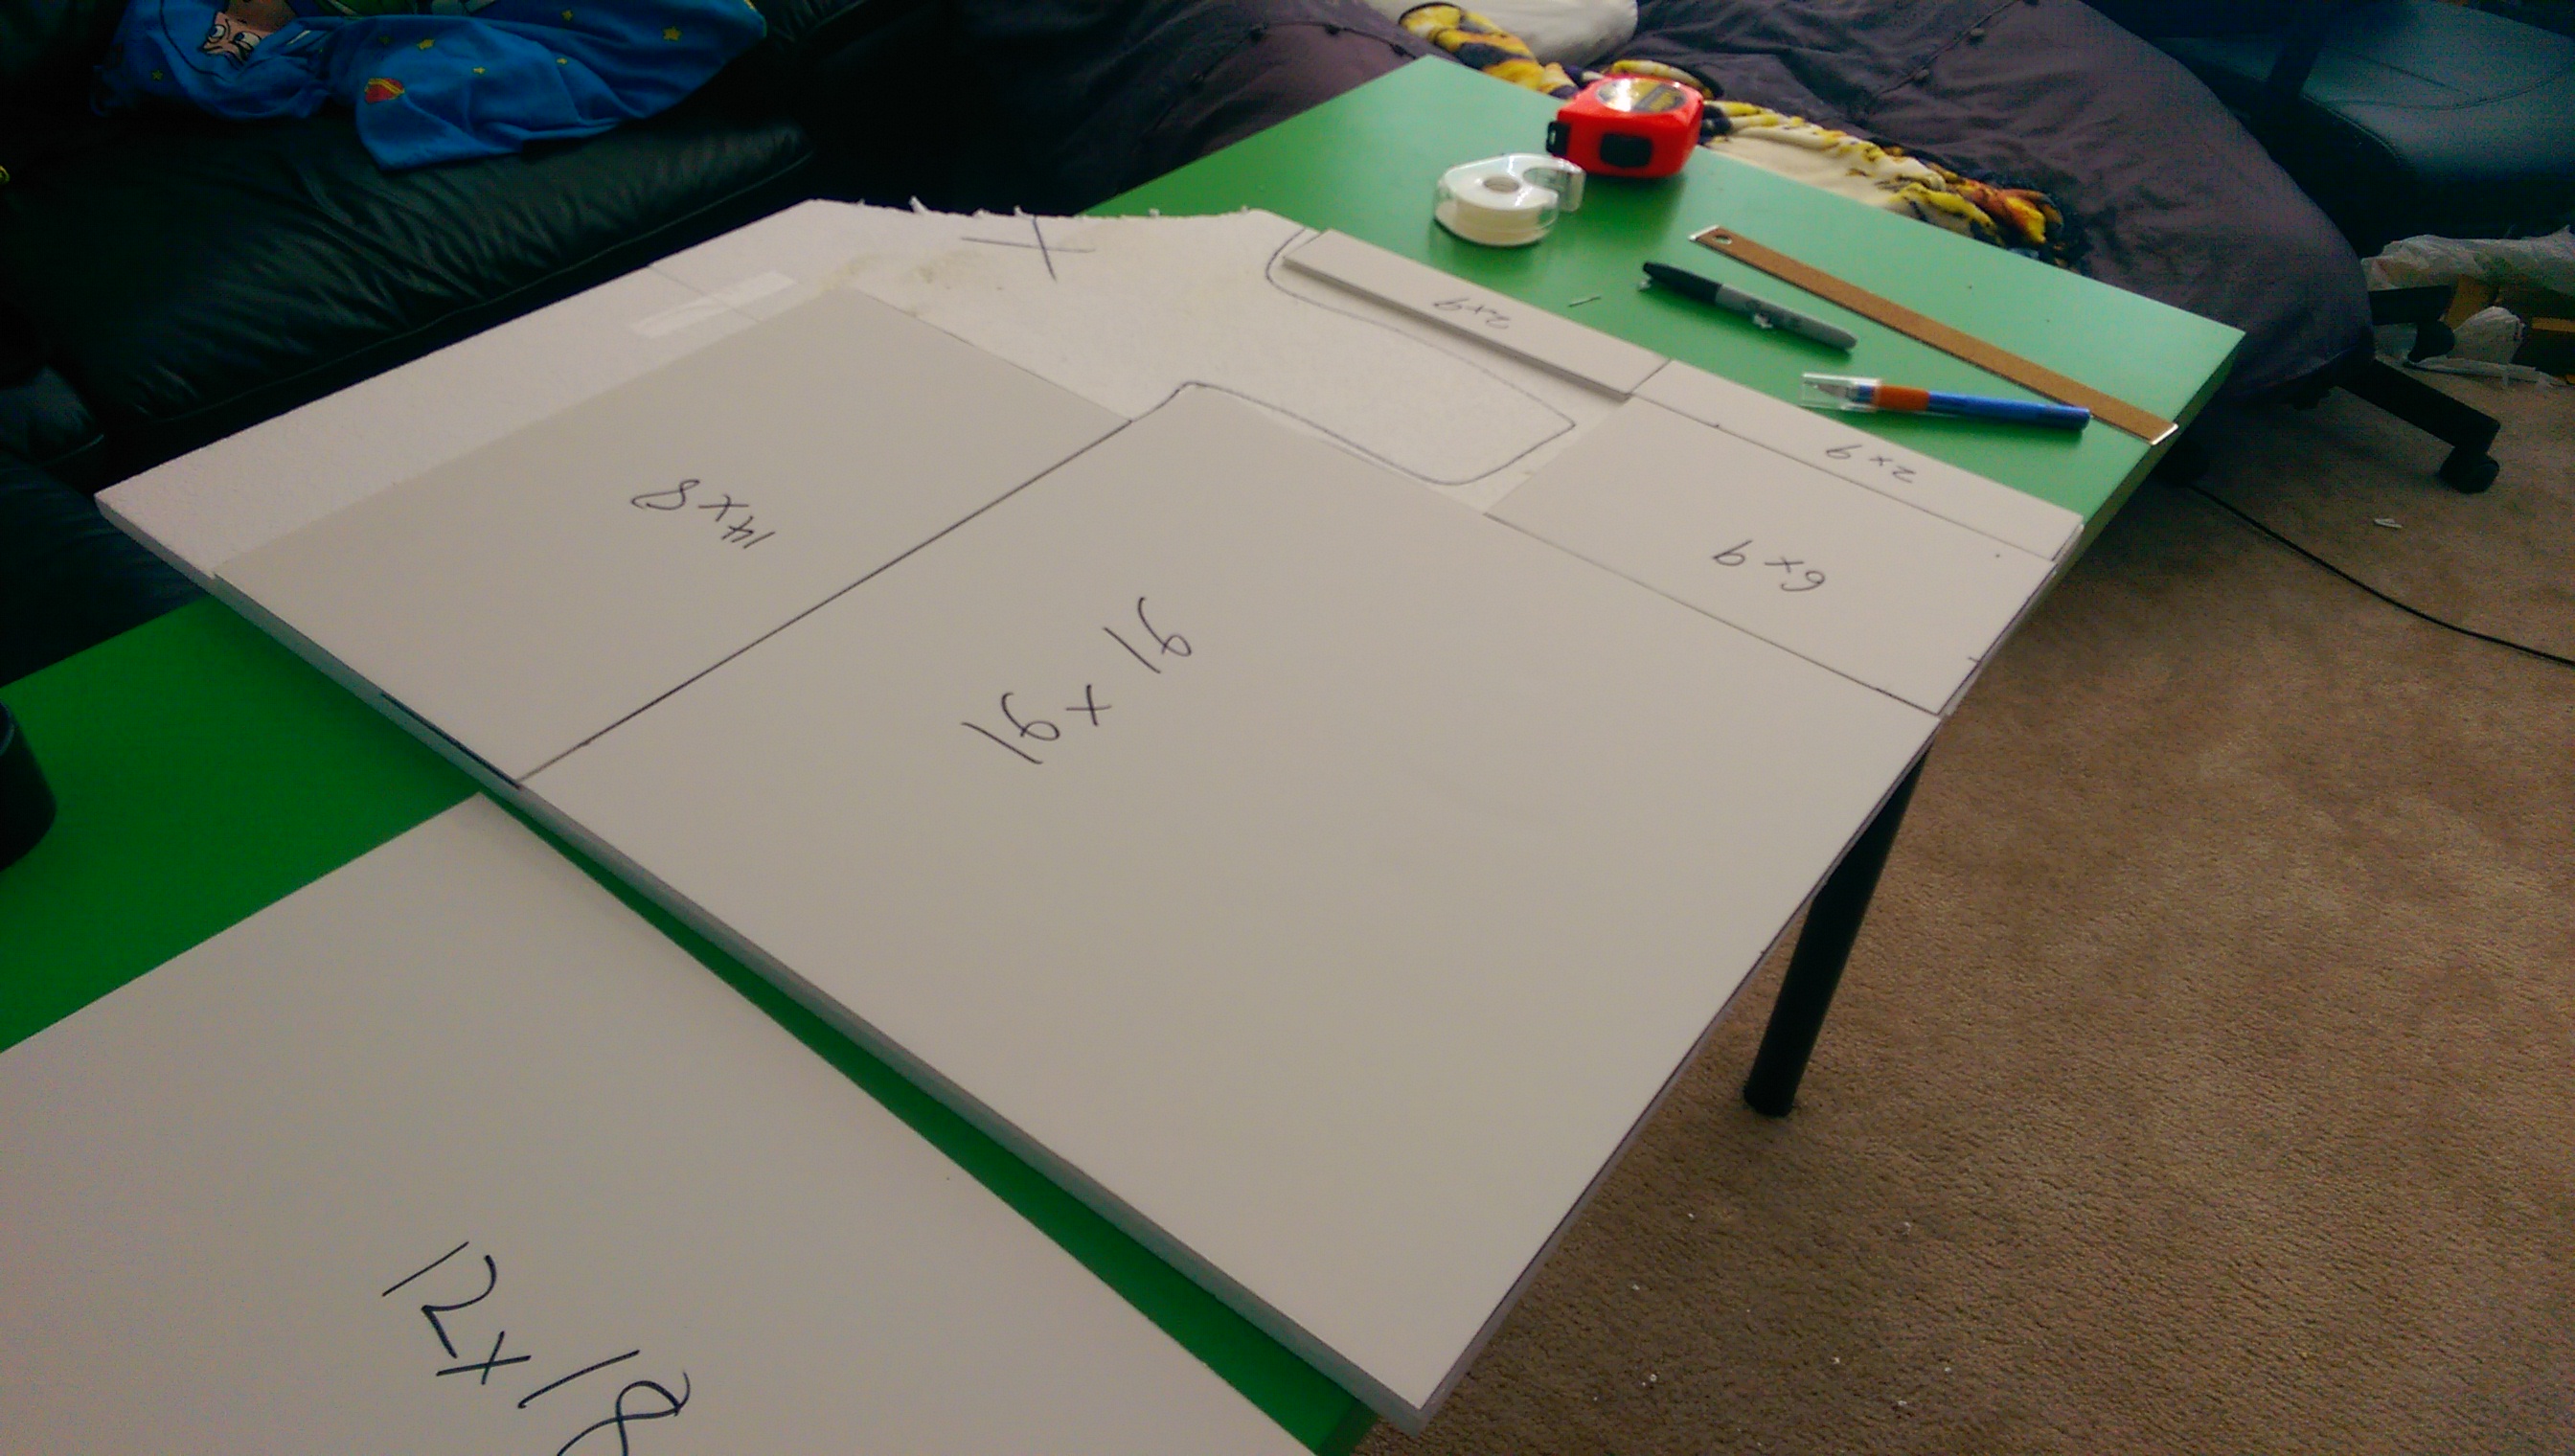
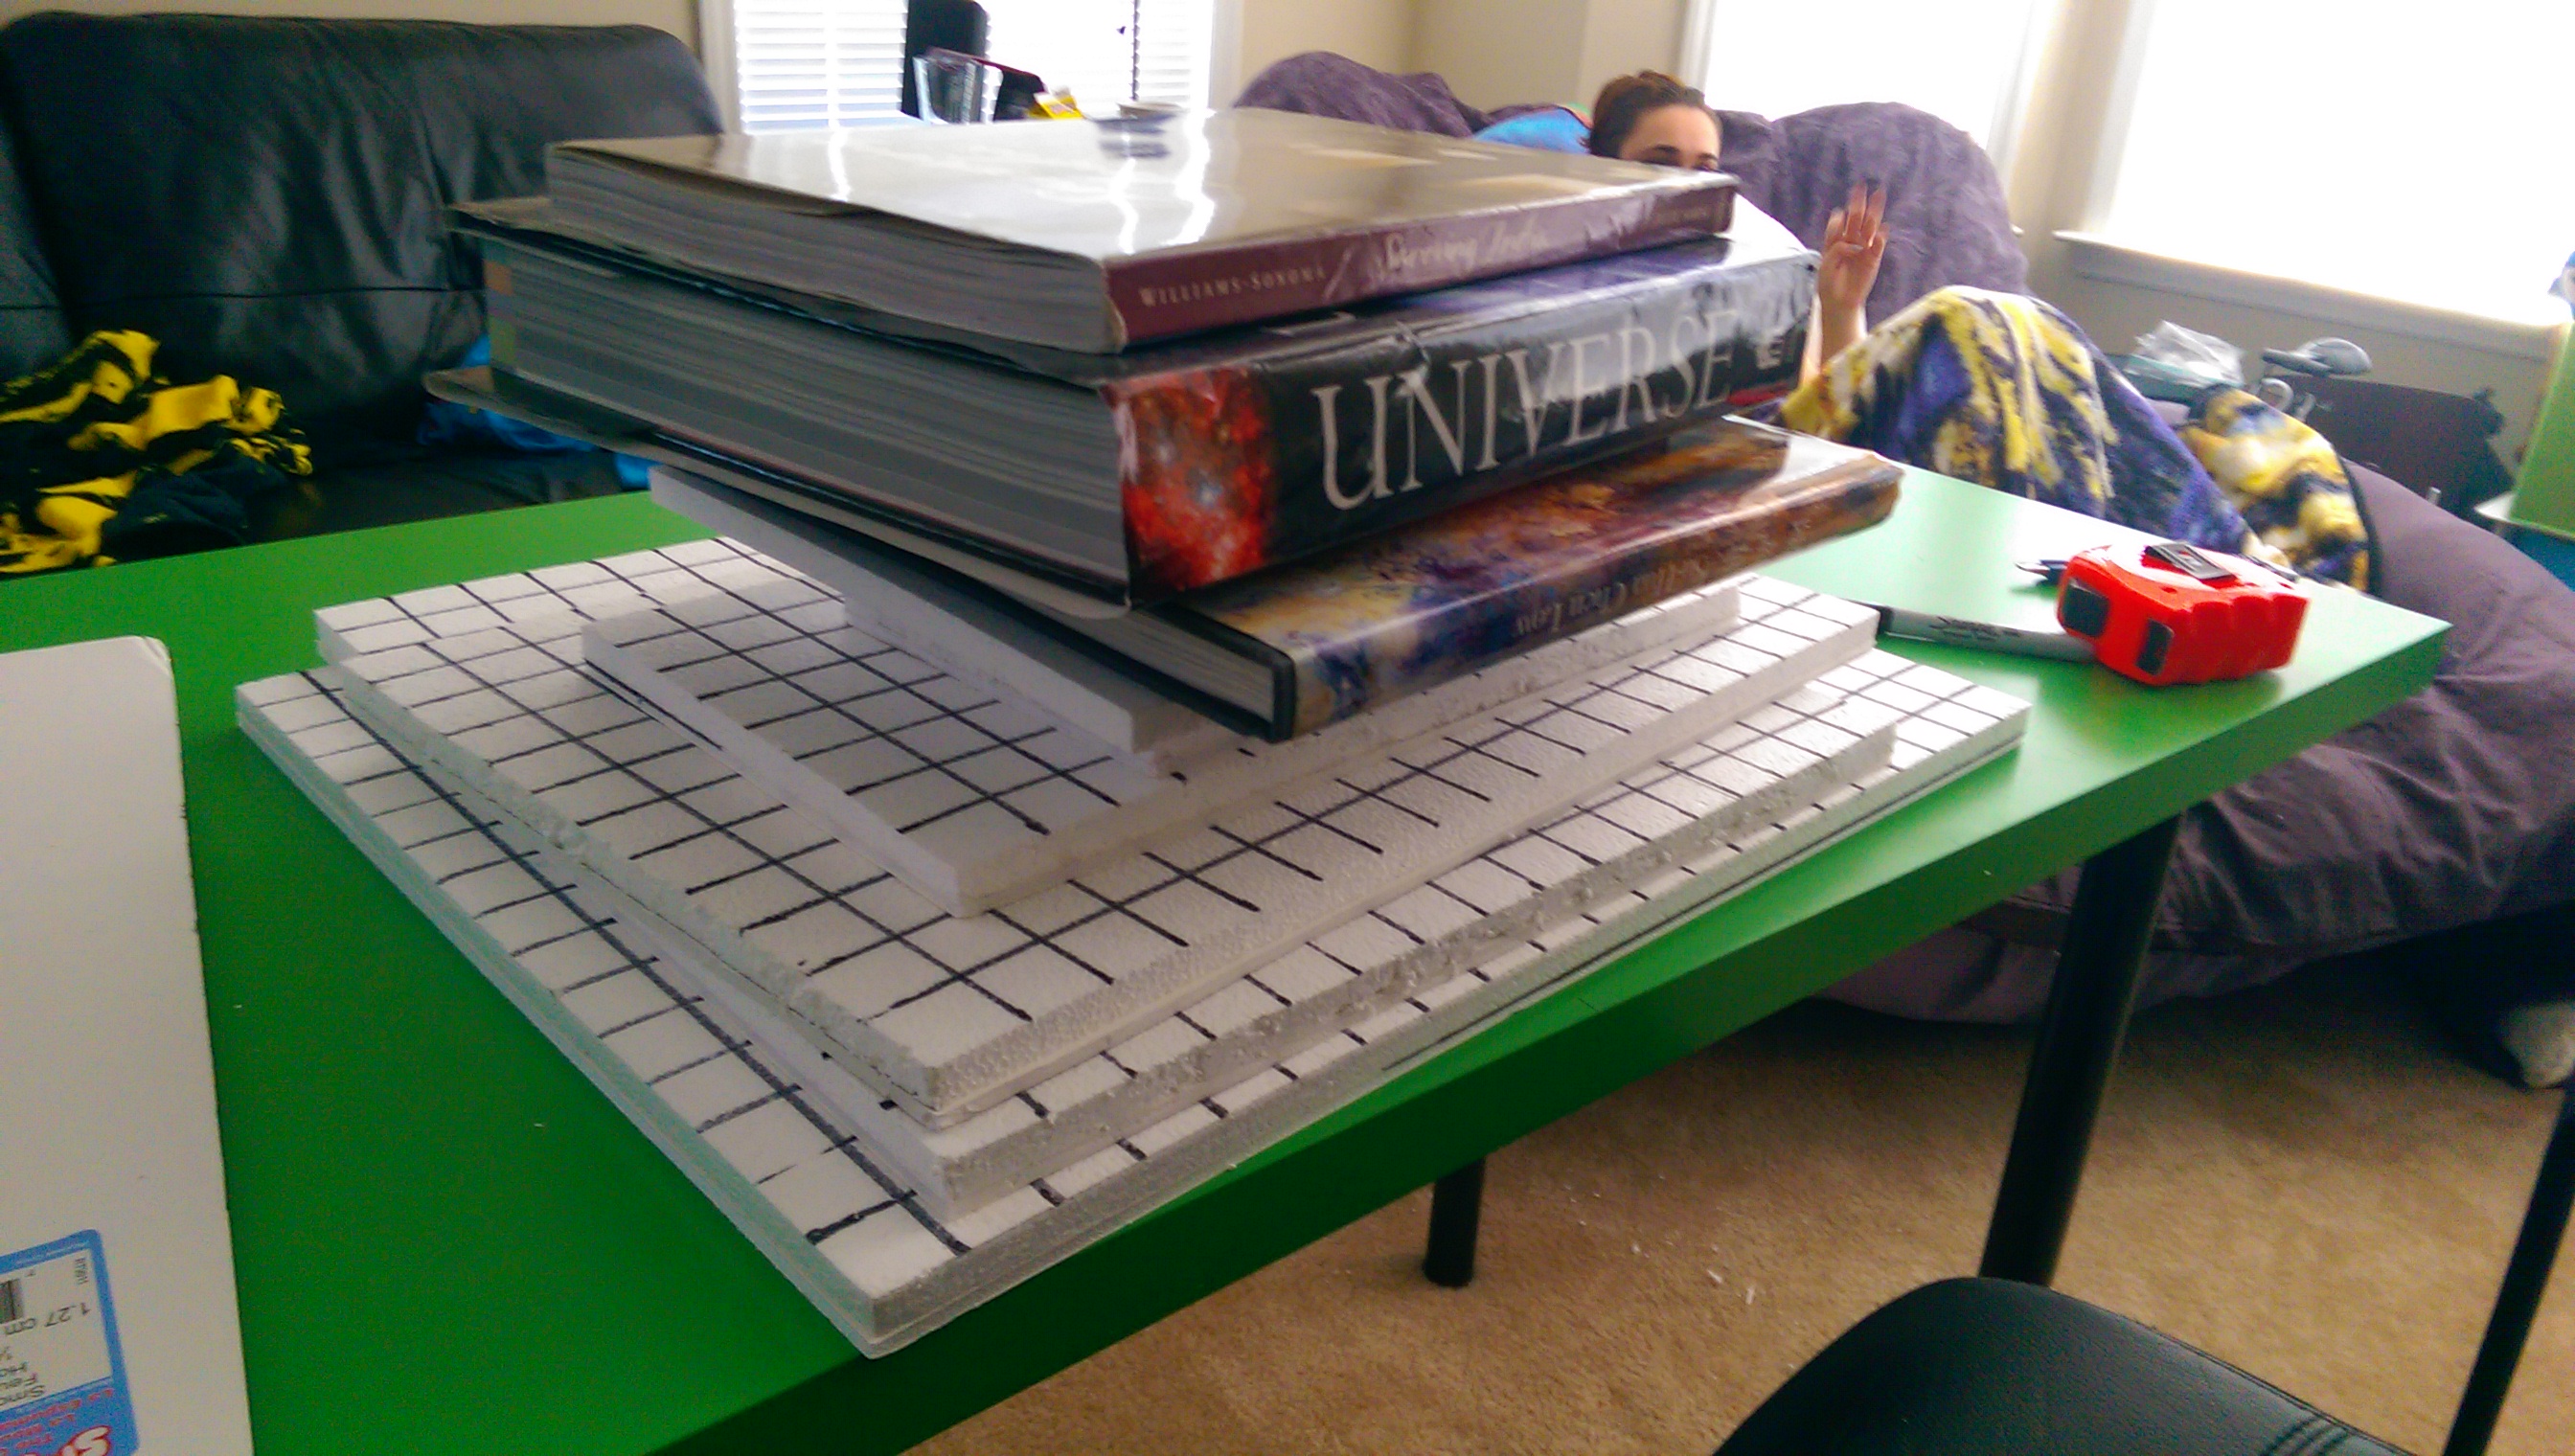
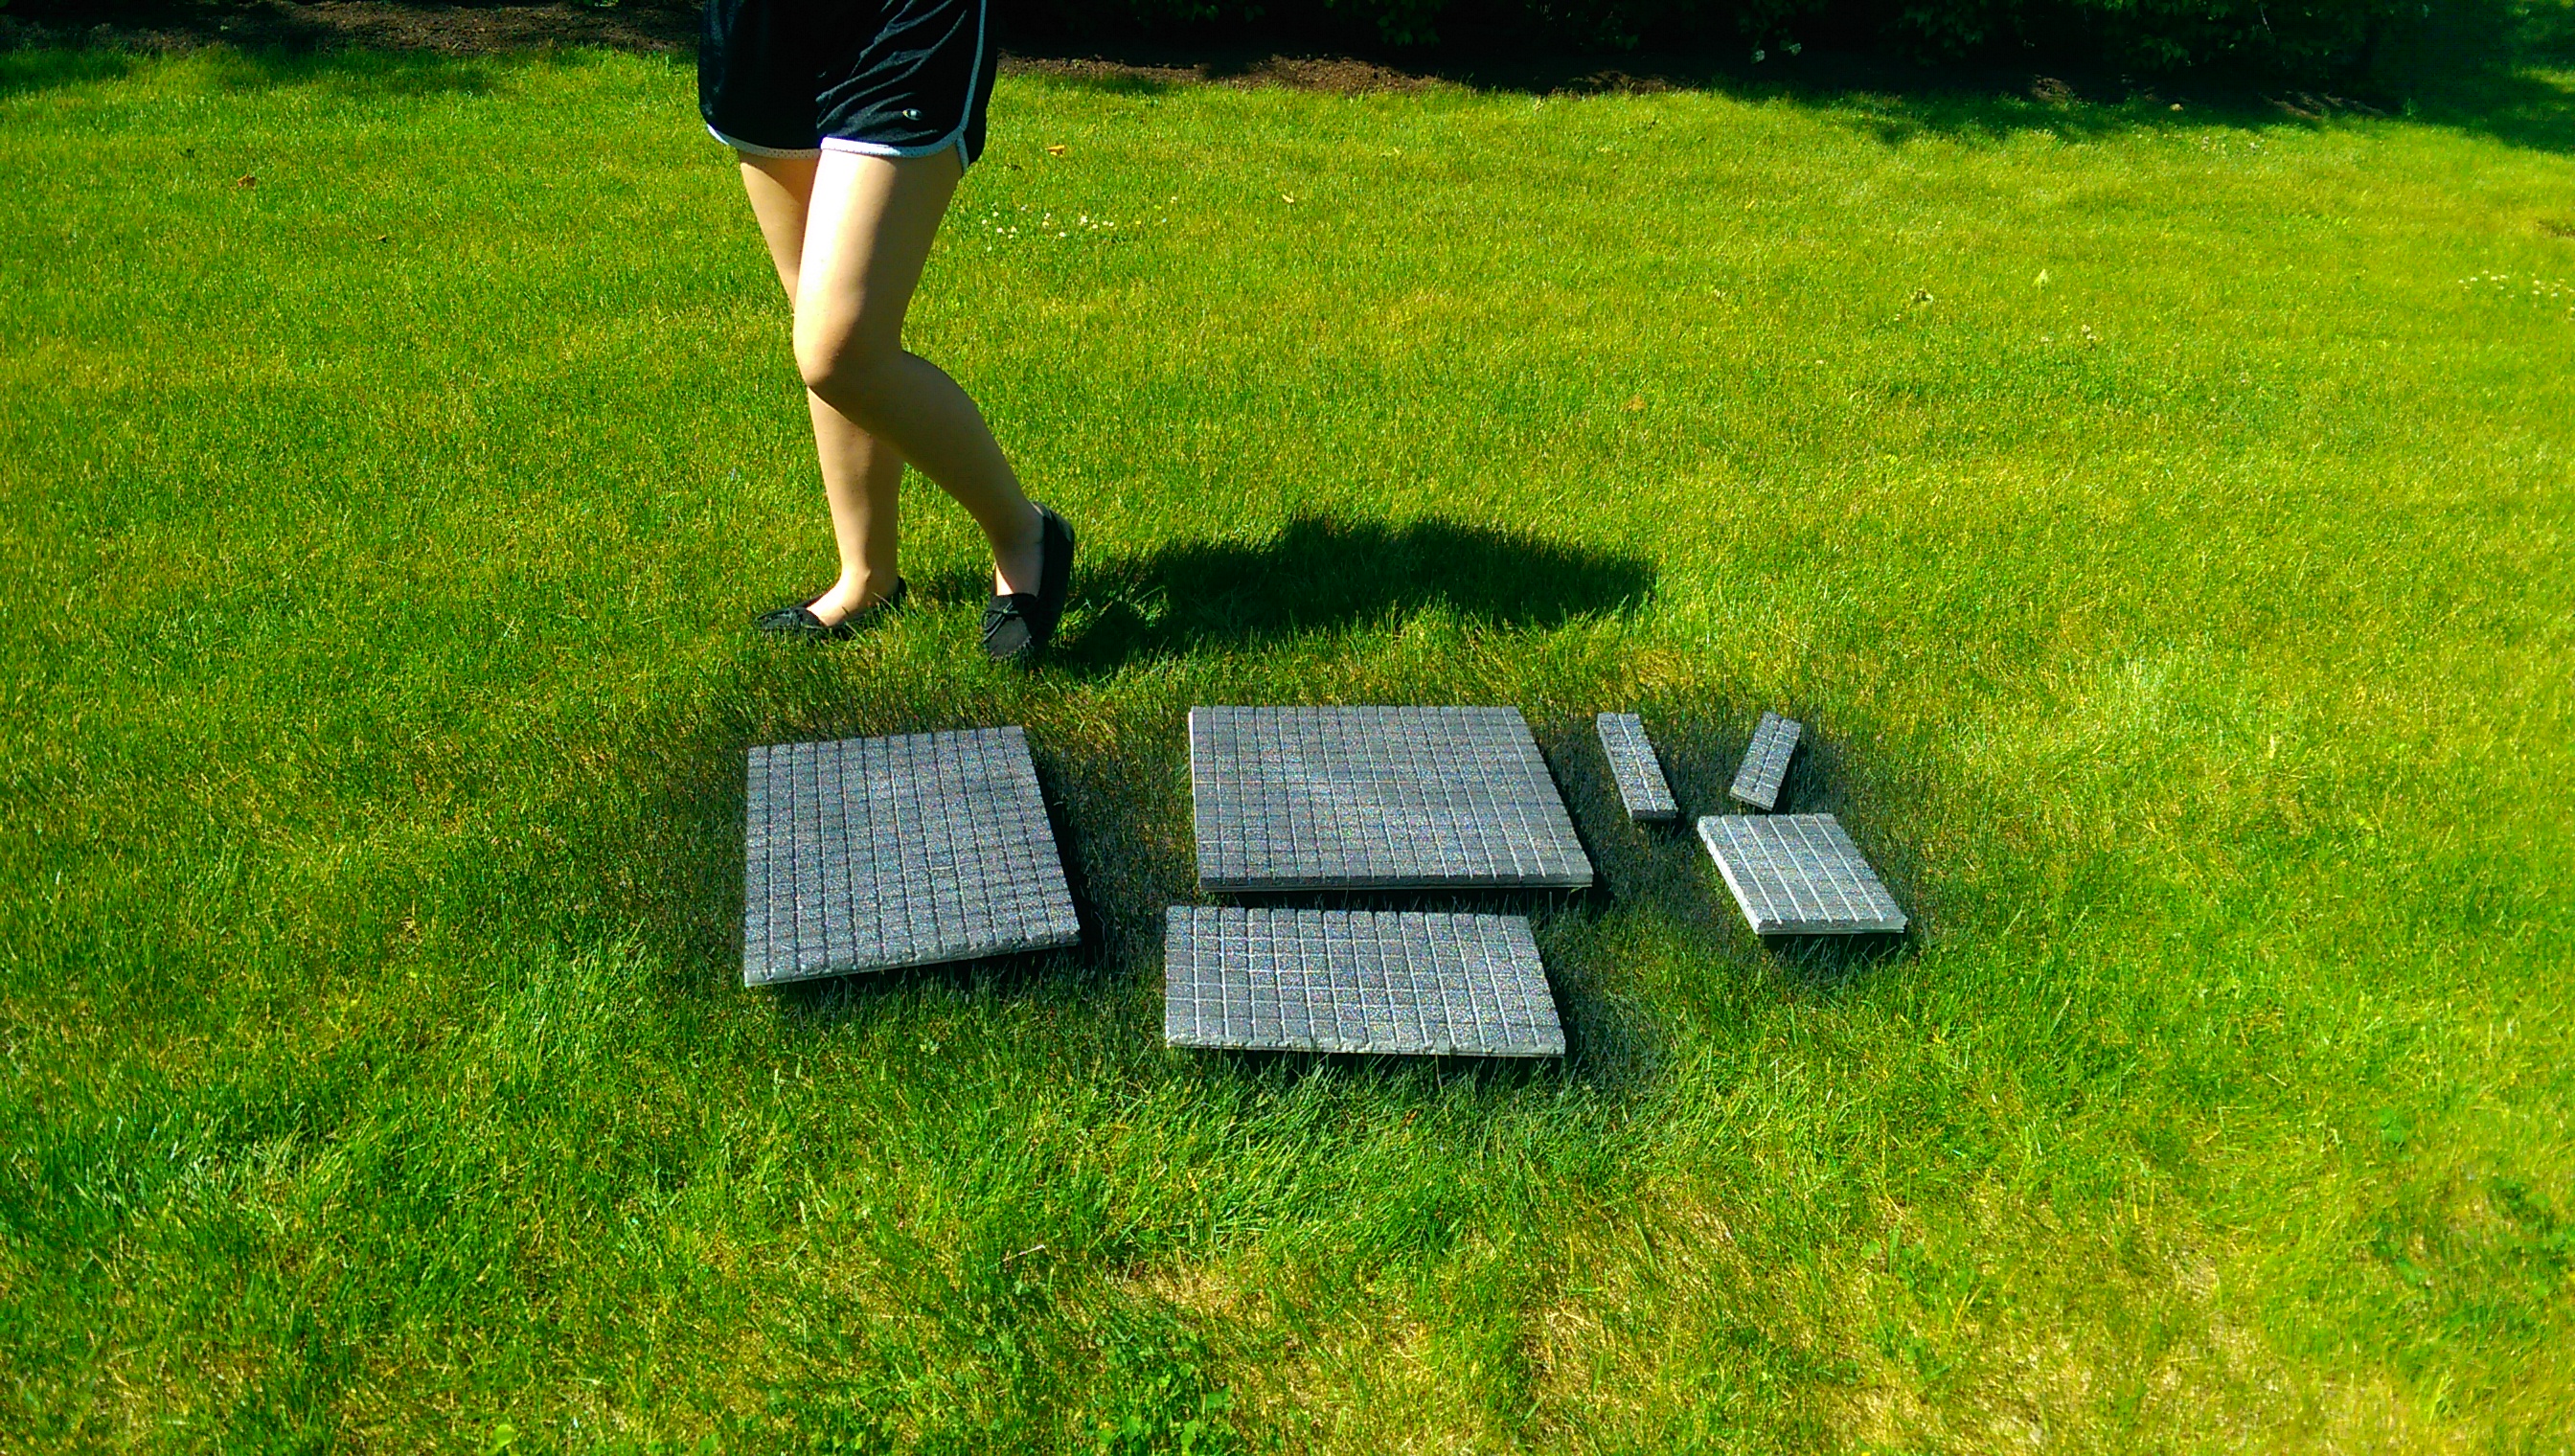
Laying the foam core out on top of the Styrofoam

Measuring and making 1″ tick marks.

connecting the lines, this is going to be the dungeon grid. Each 1″ space represents approximately 5 ft.
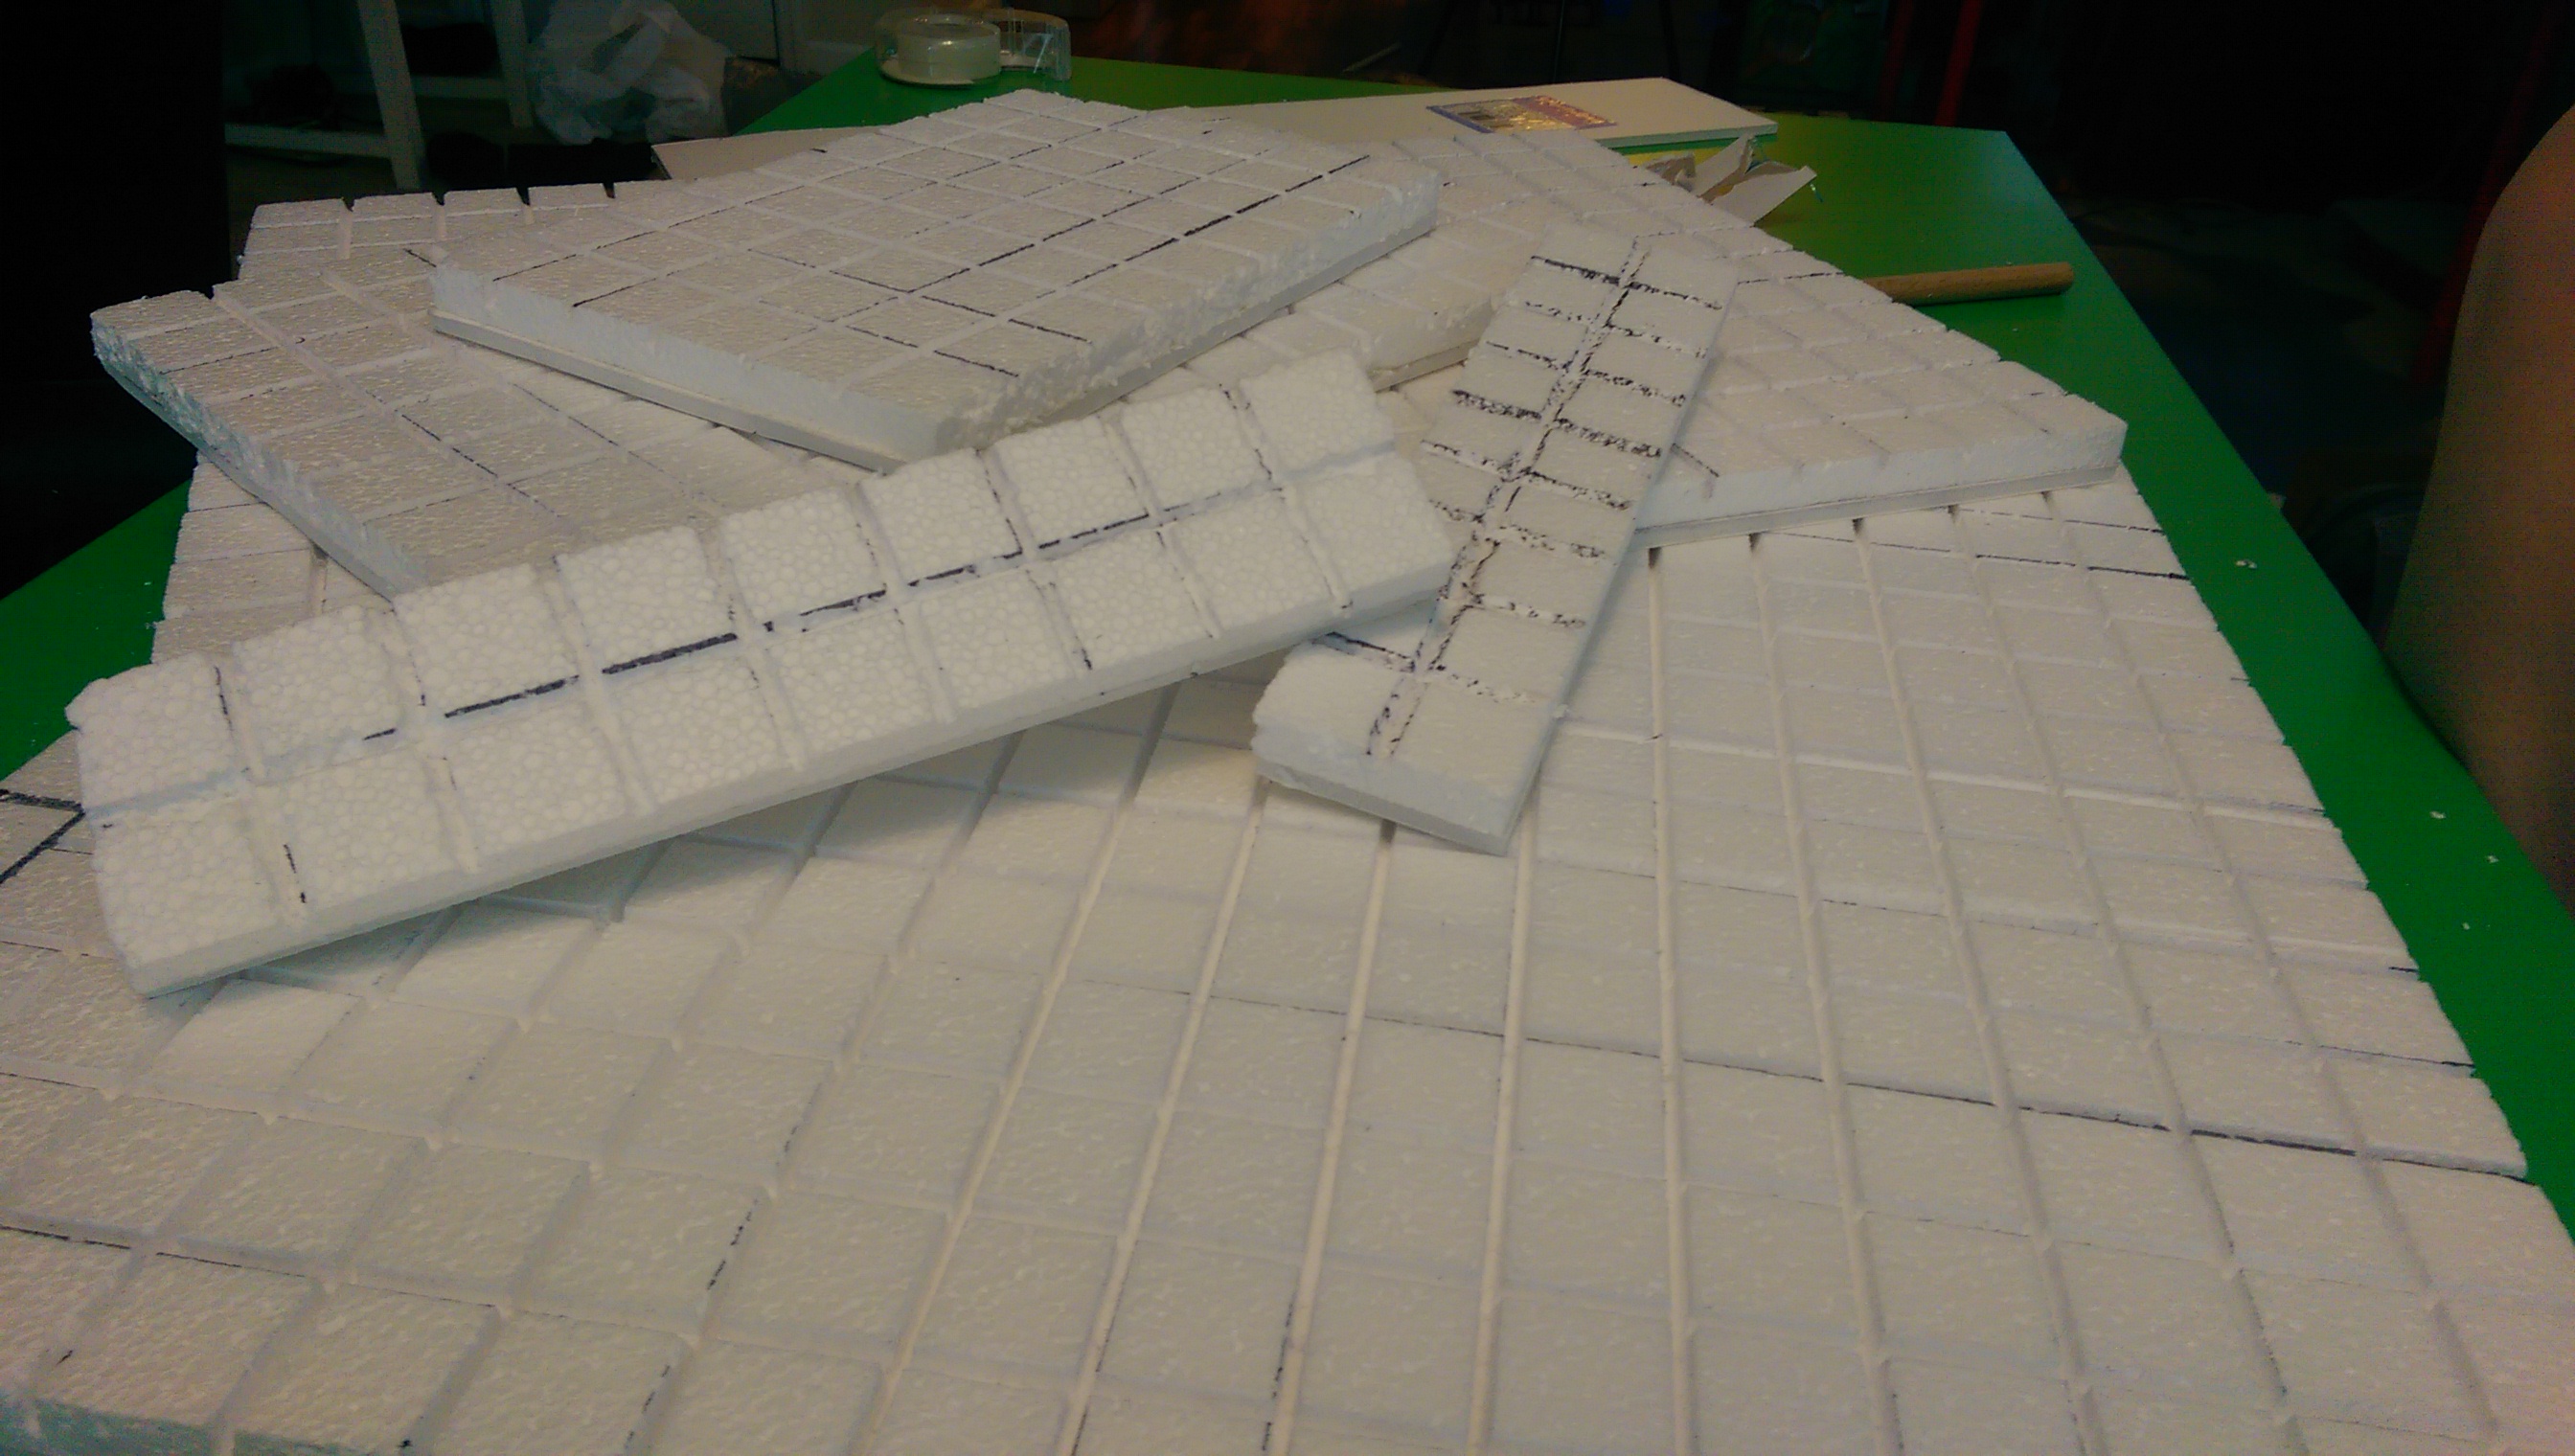
Weighed everything down after glueing the foam core to the styrofoam. Let it sit for a bit.
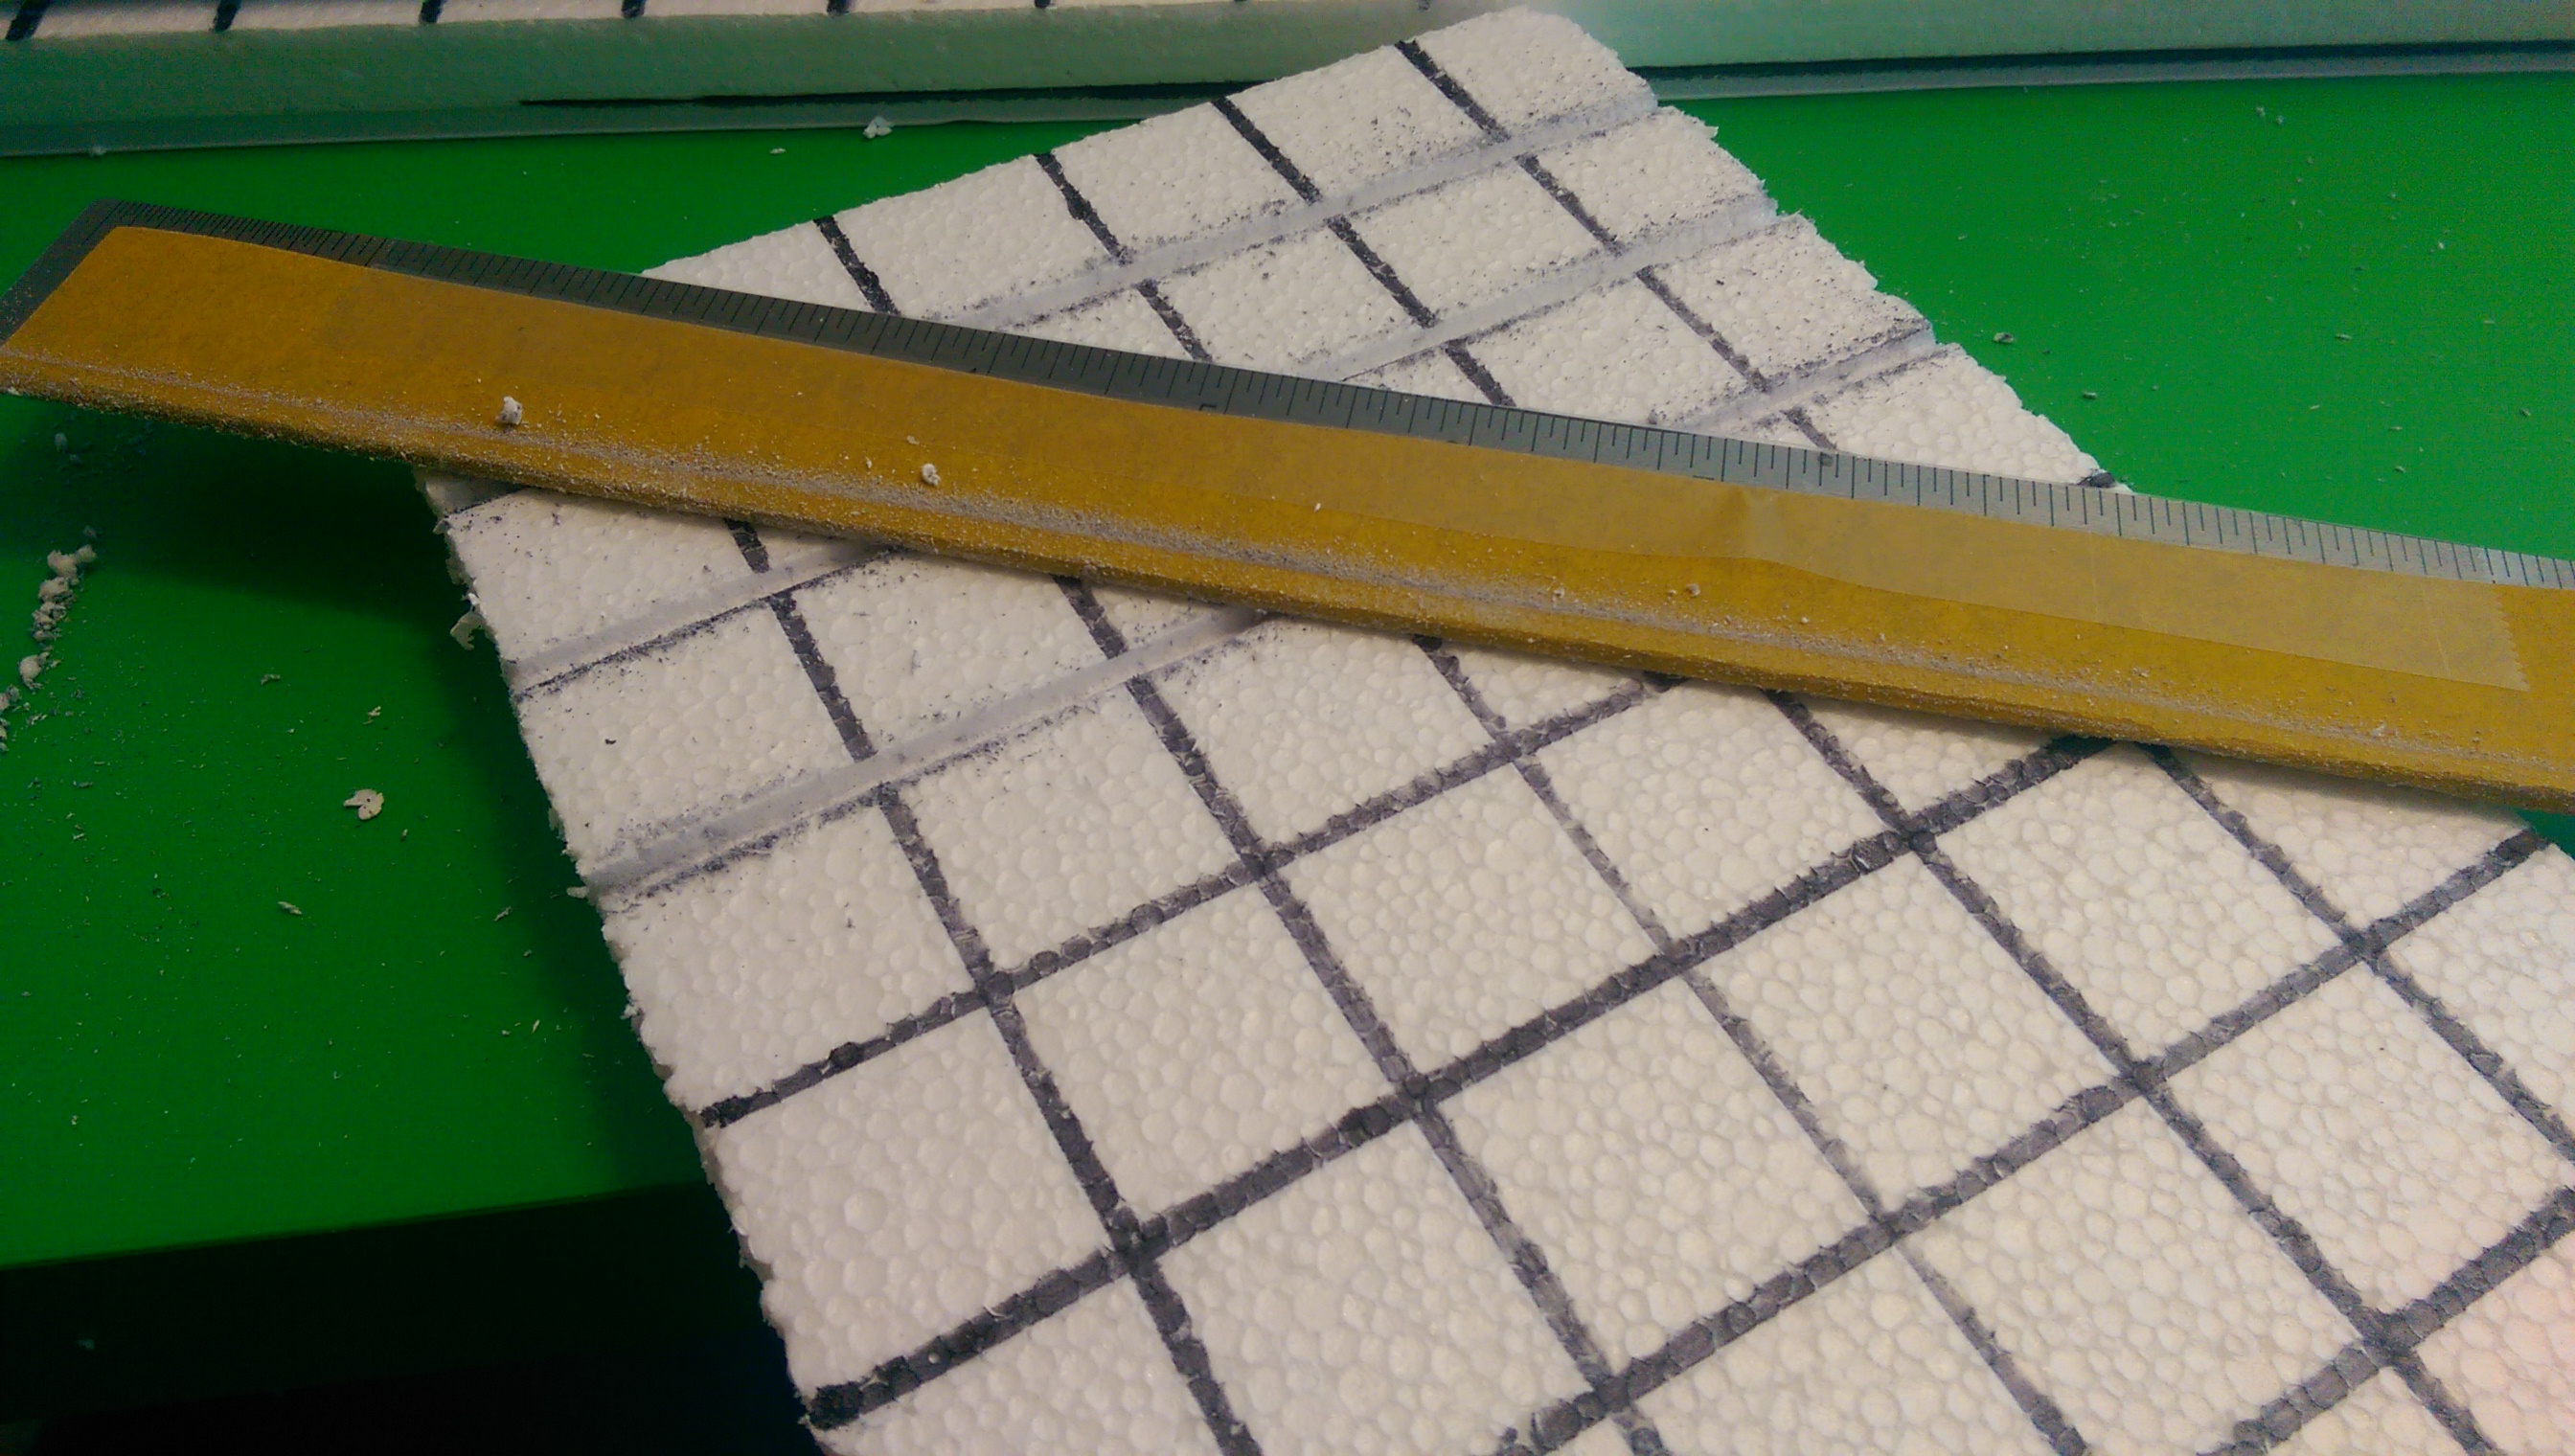
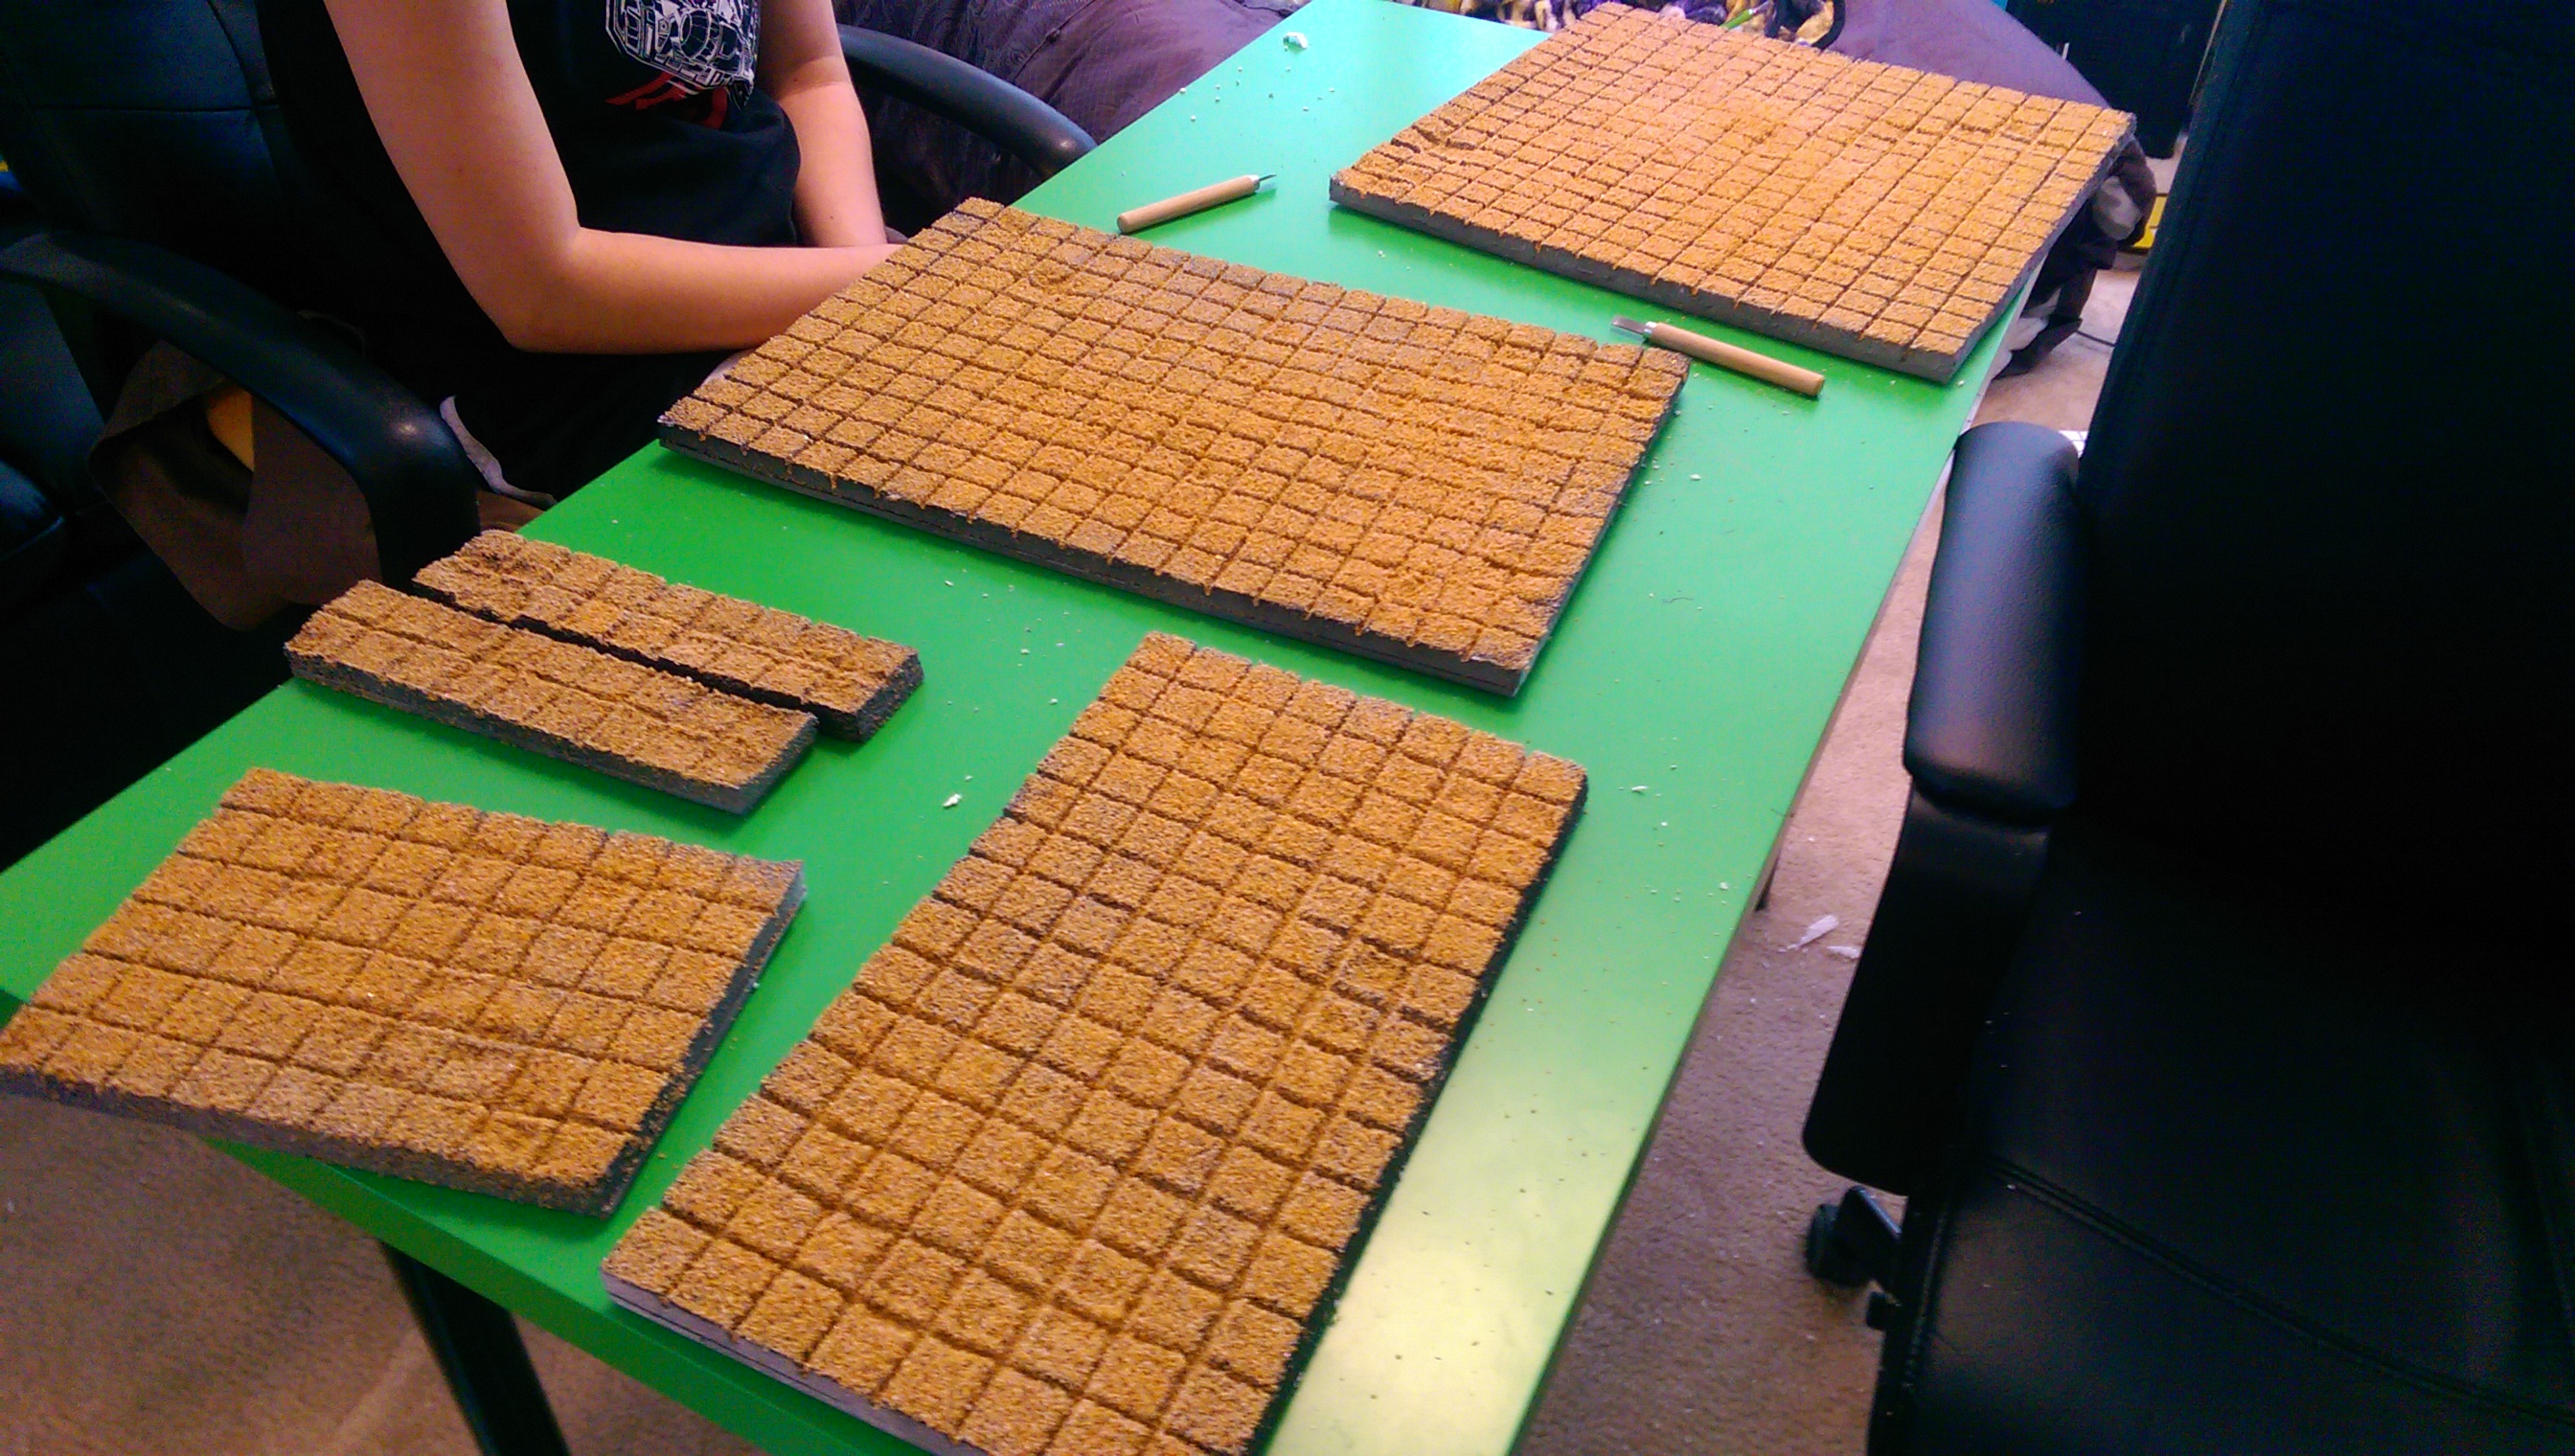
I tried several methods to cut out the lines. I had clay carving tools, I tried heating them up and lightly pressing into the styrofoam. That worked pretty well, it made a nice, solid beveled cut, but my hands were shaky and it never came out perfectly straight. X-Acto knife was basically useless for this. What you see here is by far the easiest, and most accurate method I was able to devise. Sandpaper (220 grit) taped around a thin metal ruler. Straight edges, quick work, all around amazing.


I seriously advocate doing this stuff over time. Take frequent breaks, and keep your hands loose. My hand cramped up like crazy towards the end!
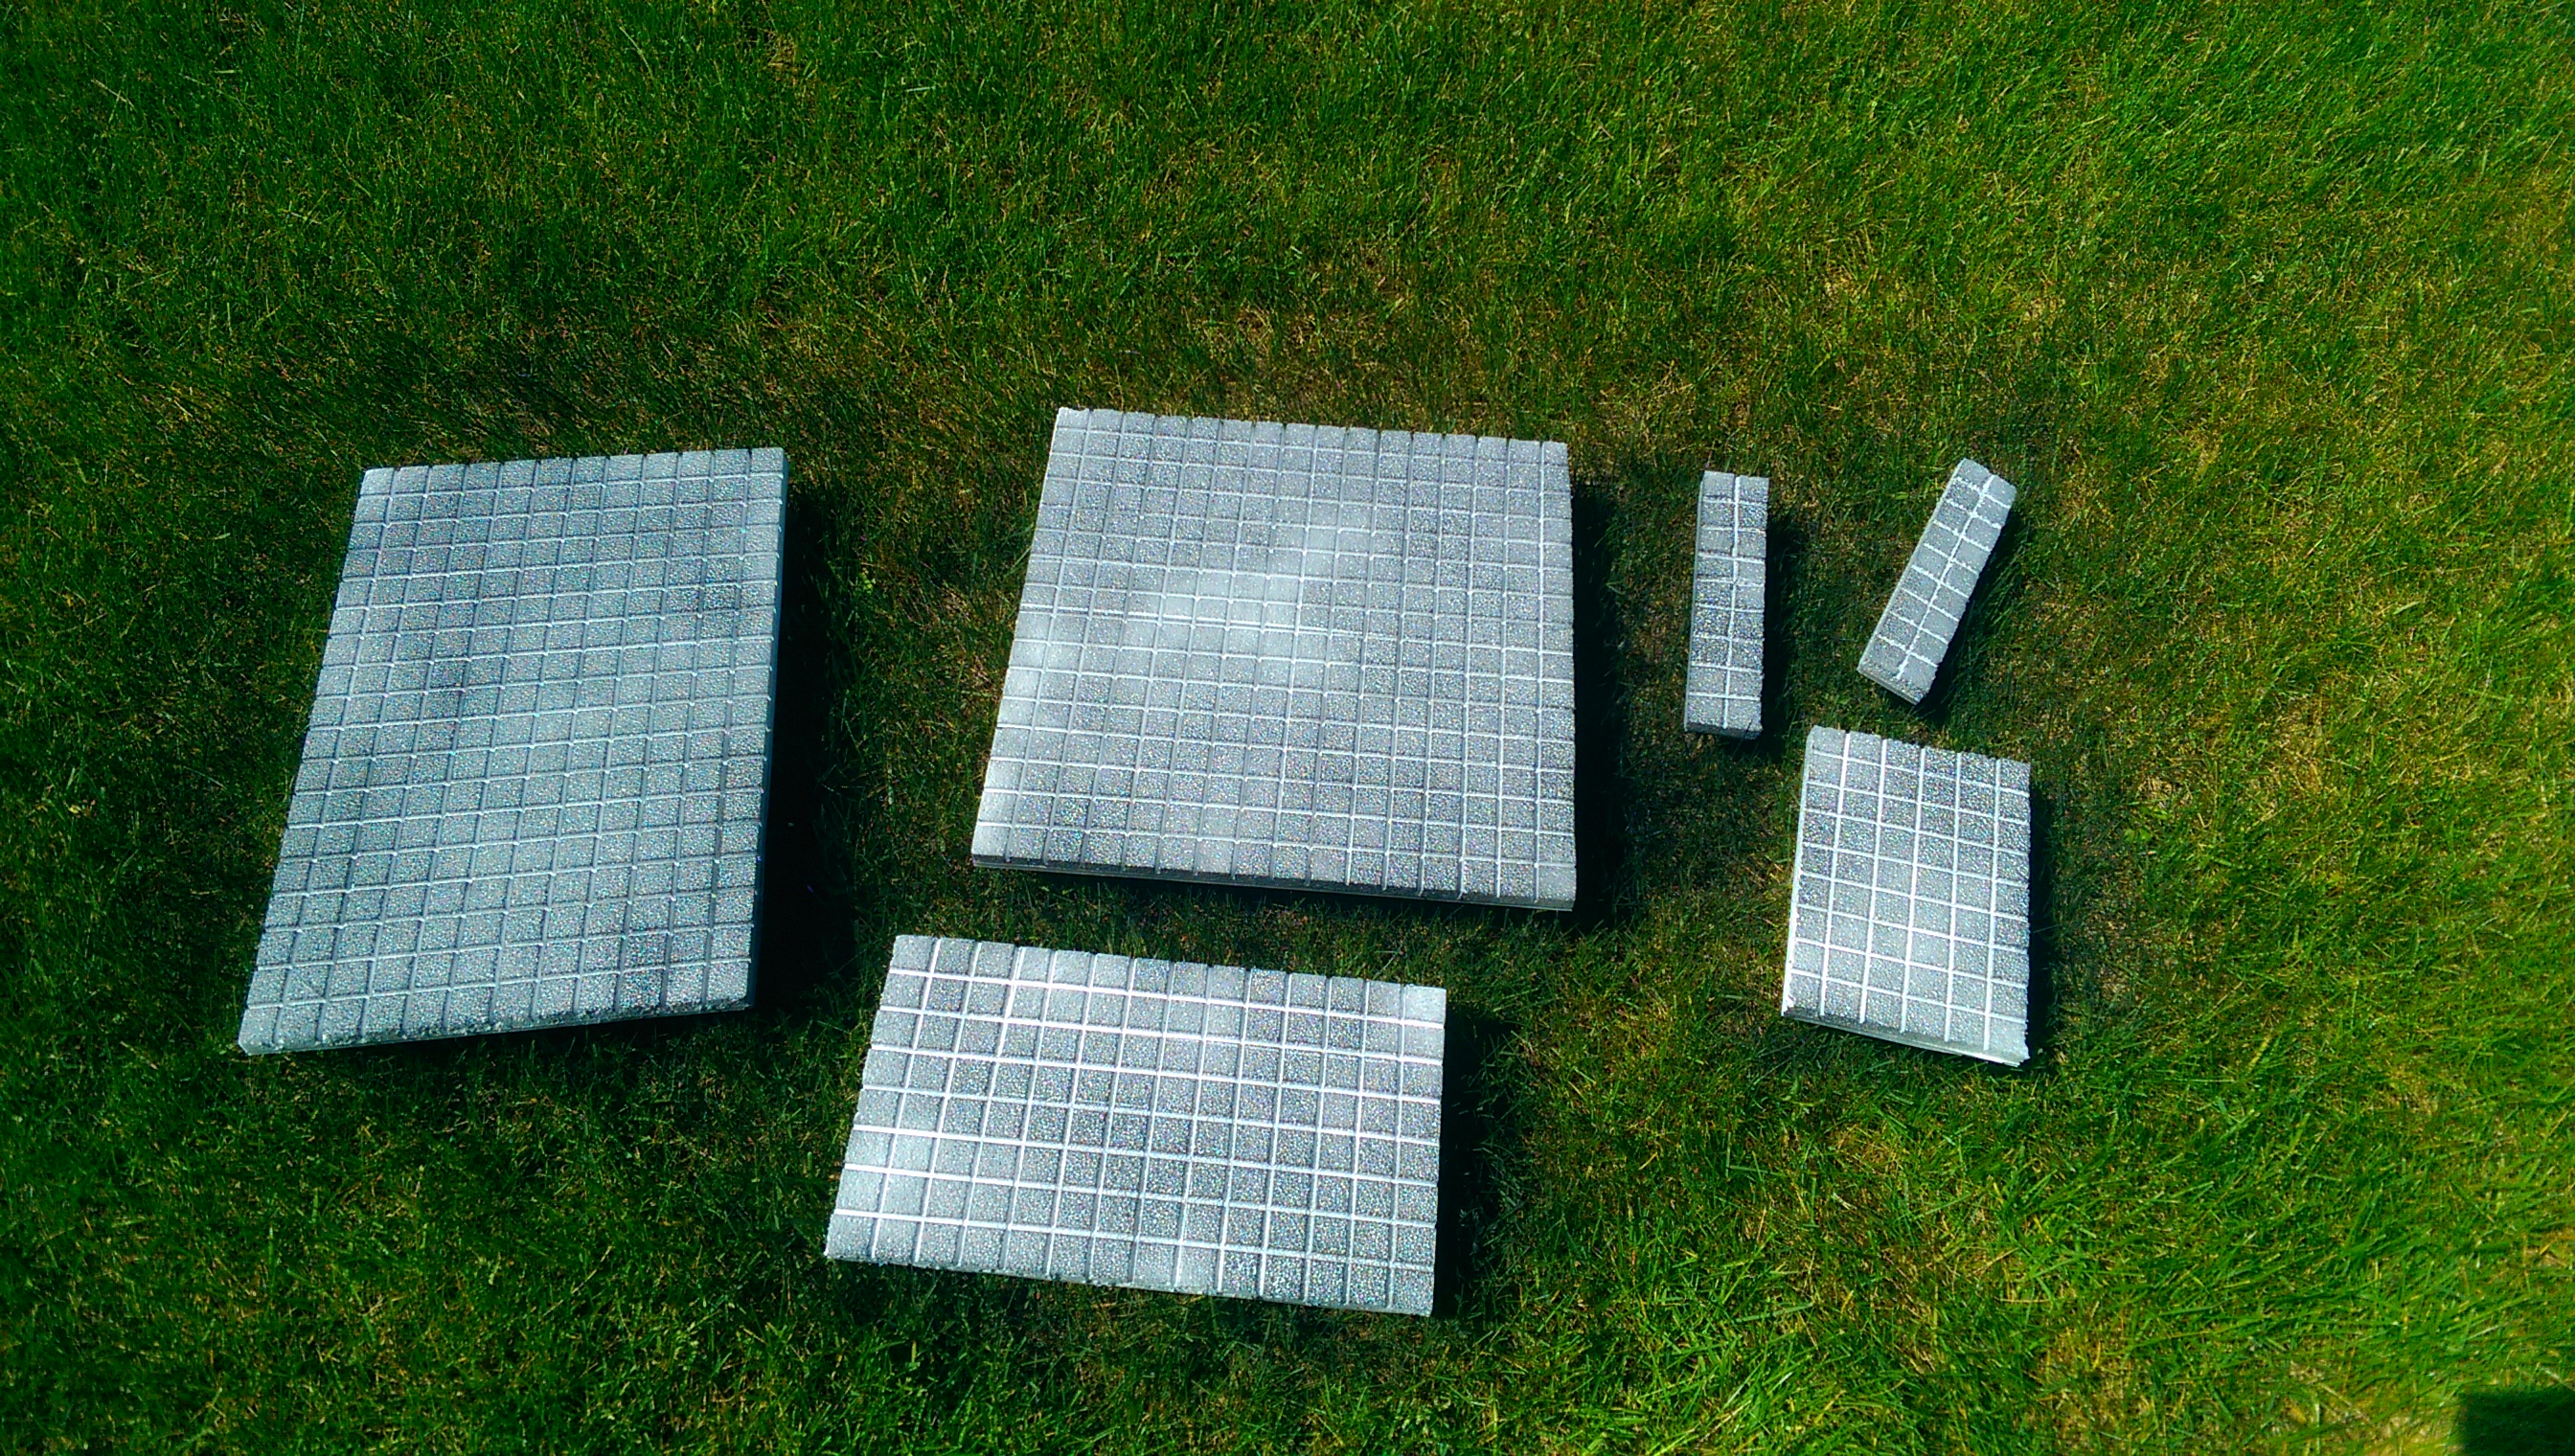
Sprayed some black primer on the Styro. From a distance it didn’t melt the foam at all.
Last coat. “Good Enough” status achieved. It only needs to provide a little adhesion for the glue and paint, doesn’t need to be a heavy coat (for this instance, anyway)
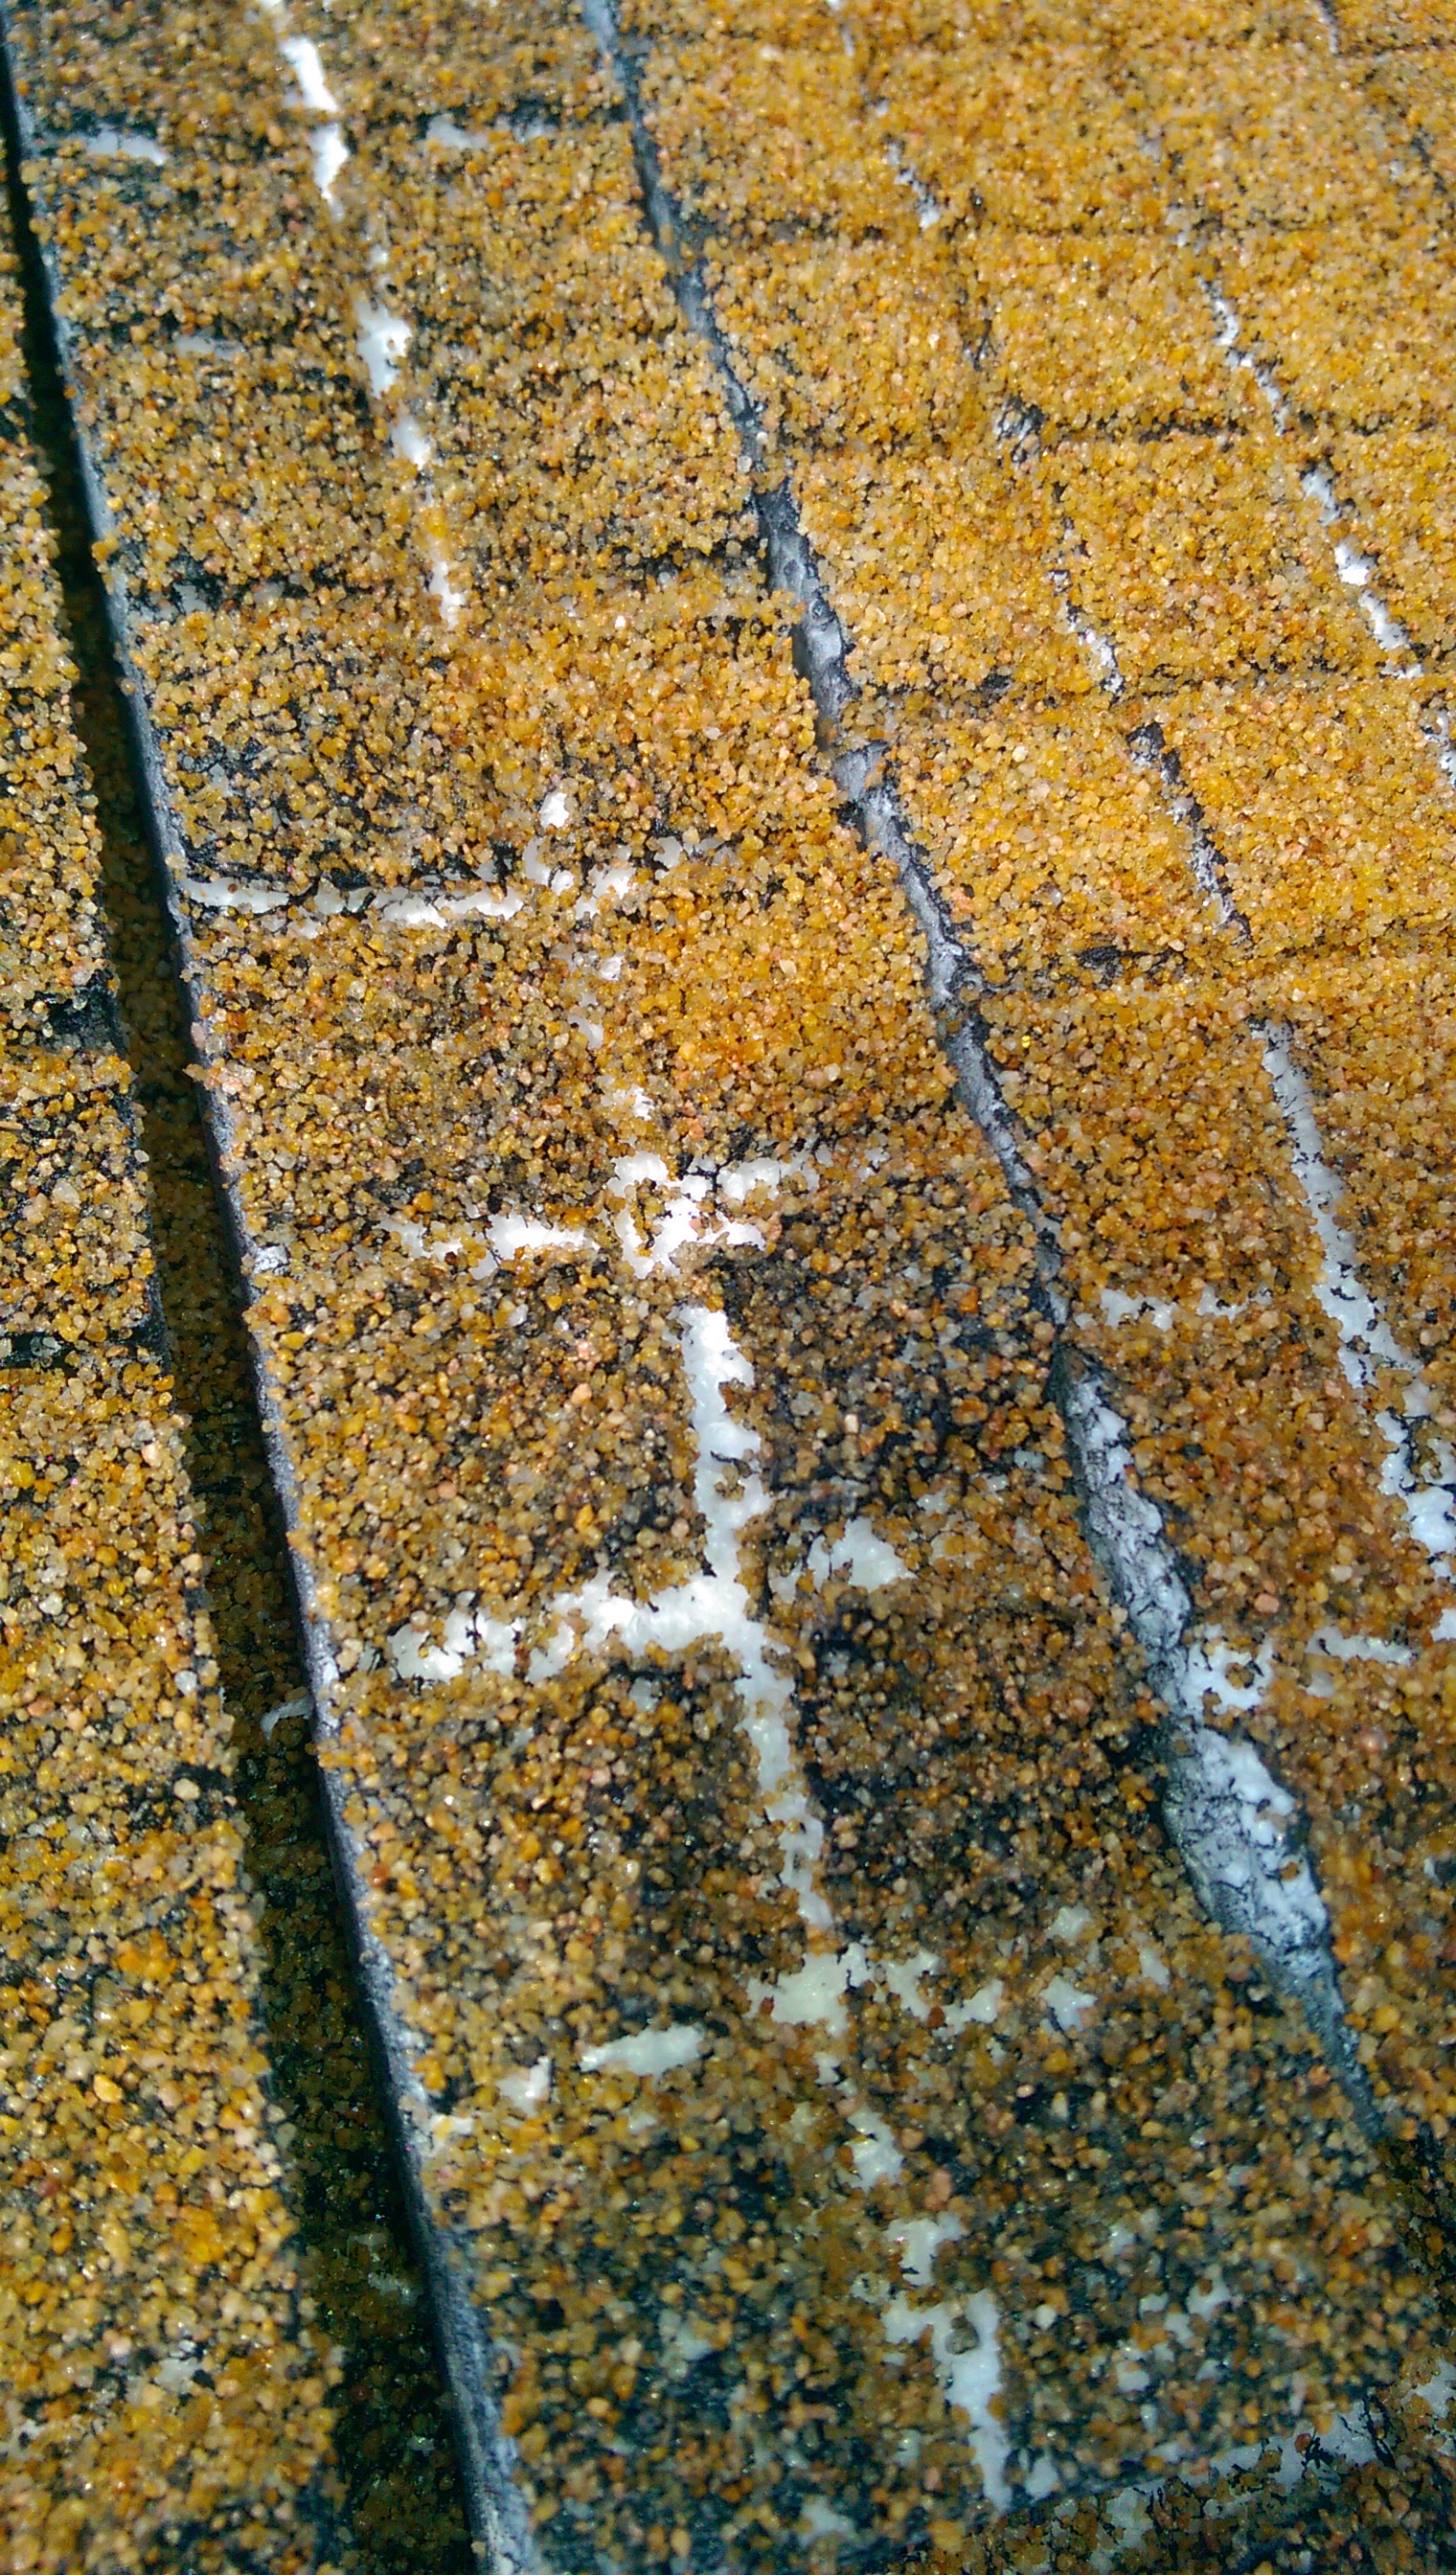
Forgot a few pictures of this happening. Sprayed Super 77 3M glue down on everything. Dusted some sand over top. That’s pretty much it. Shook the boards in order of smallest to largest over one another to make sure excess sand that didn’t stick got a chance to stick to another piece.
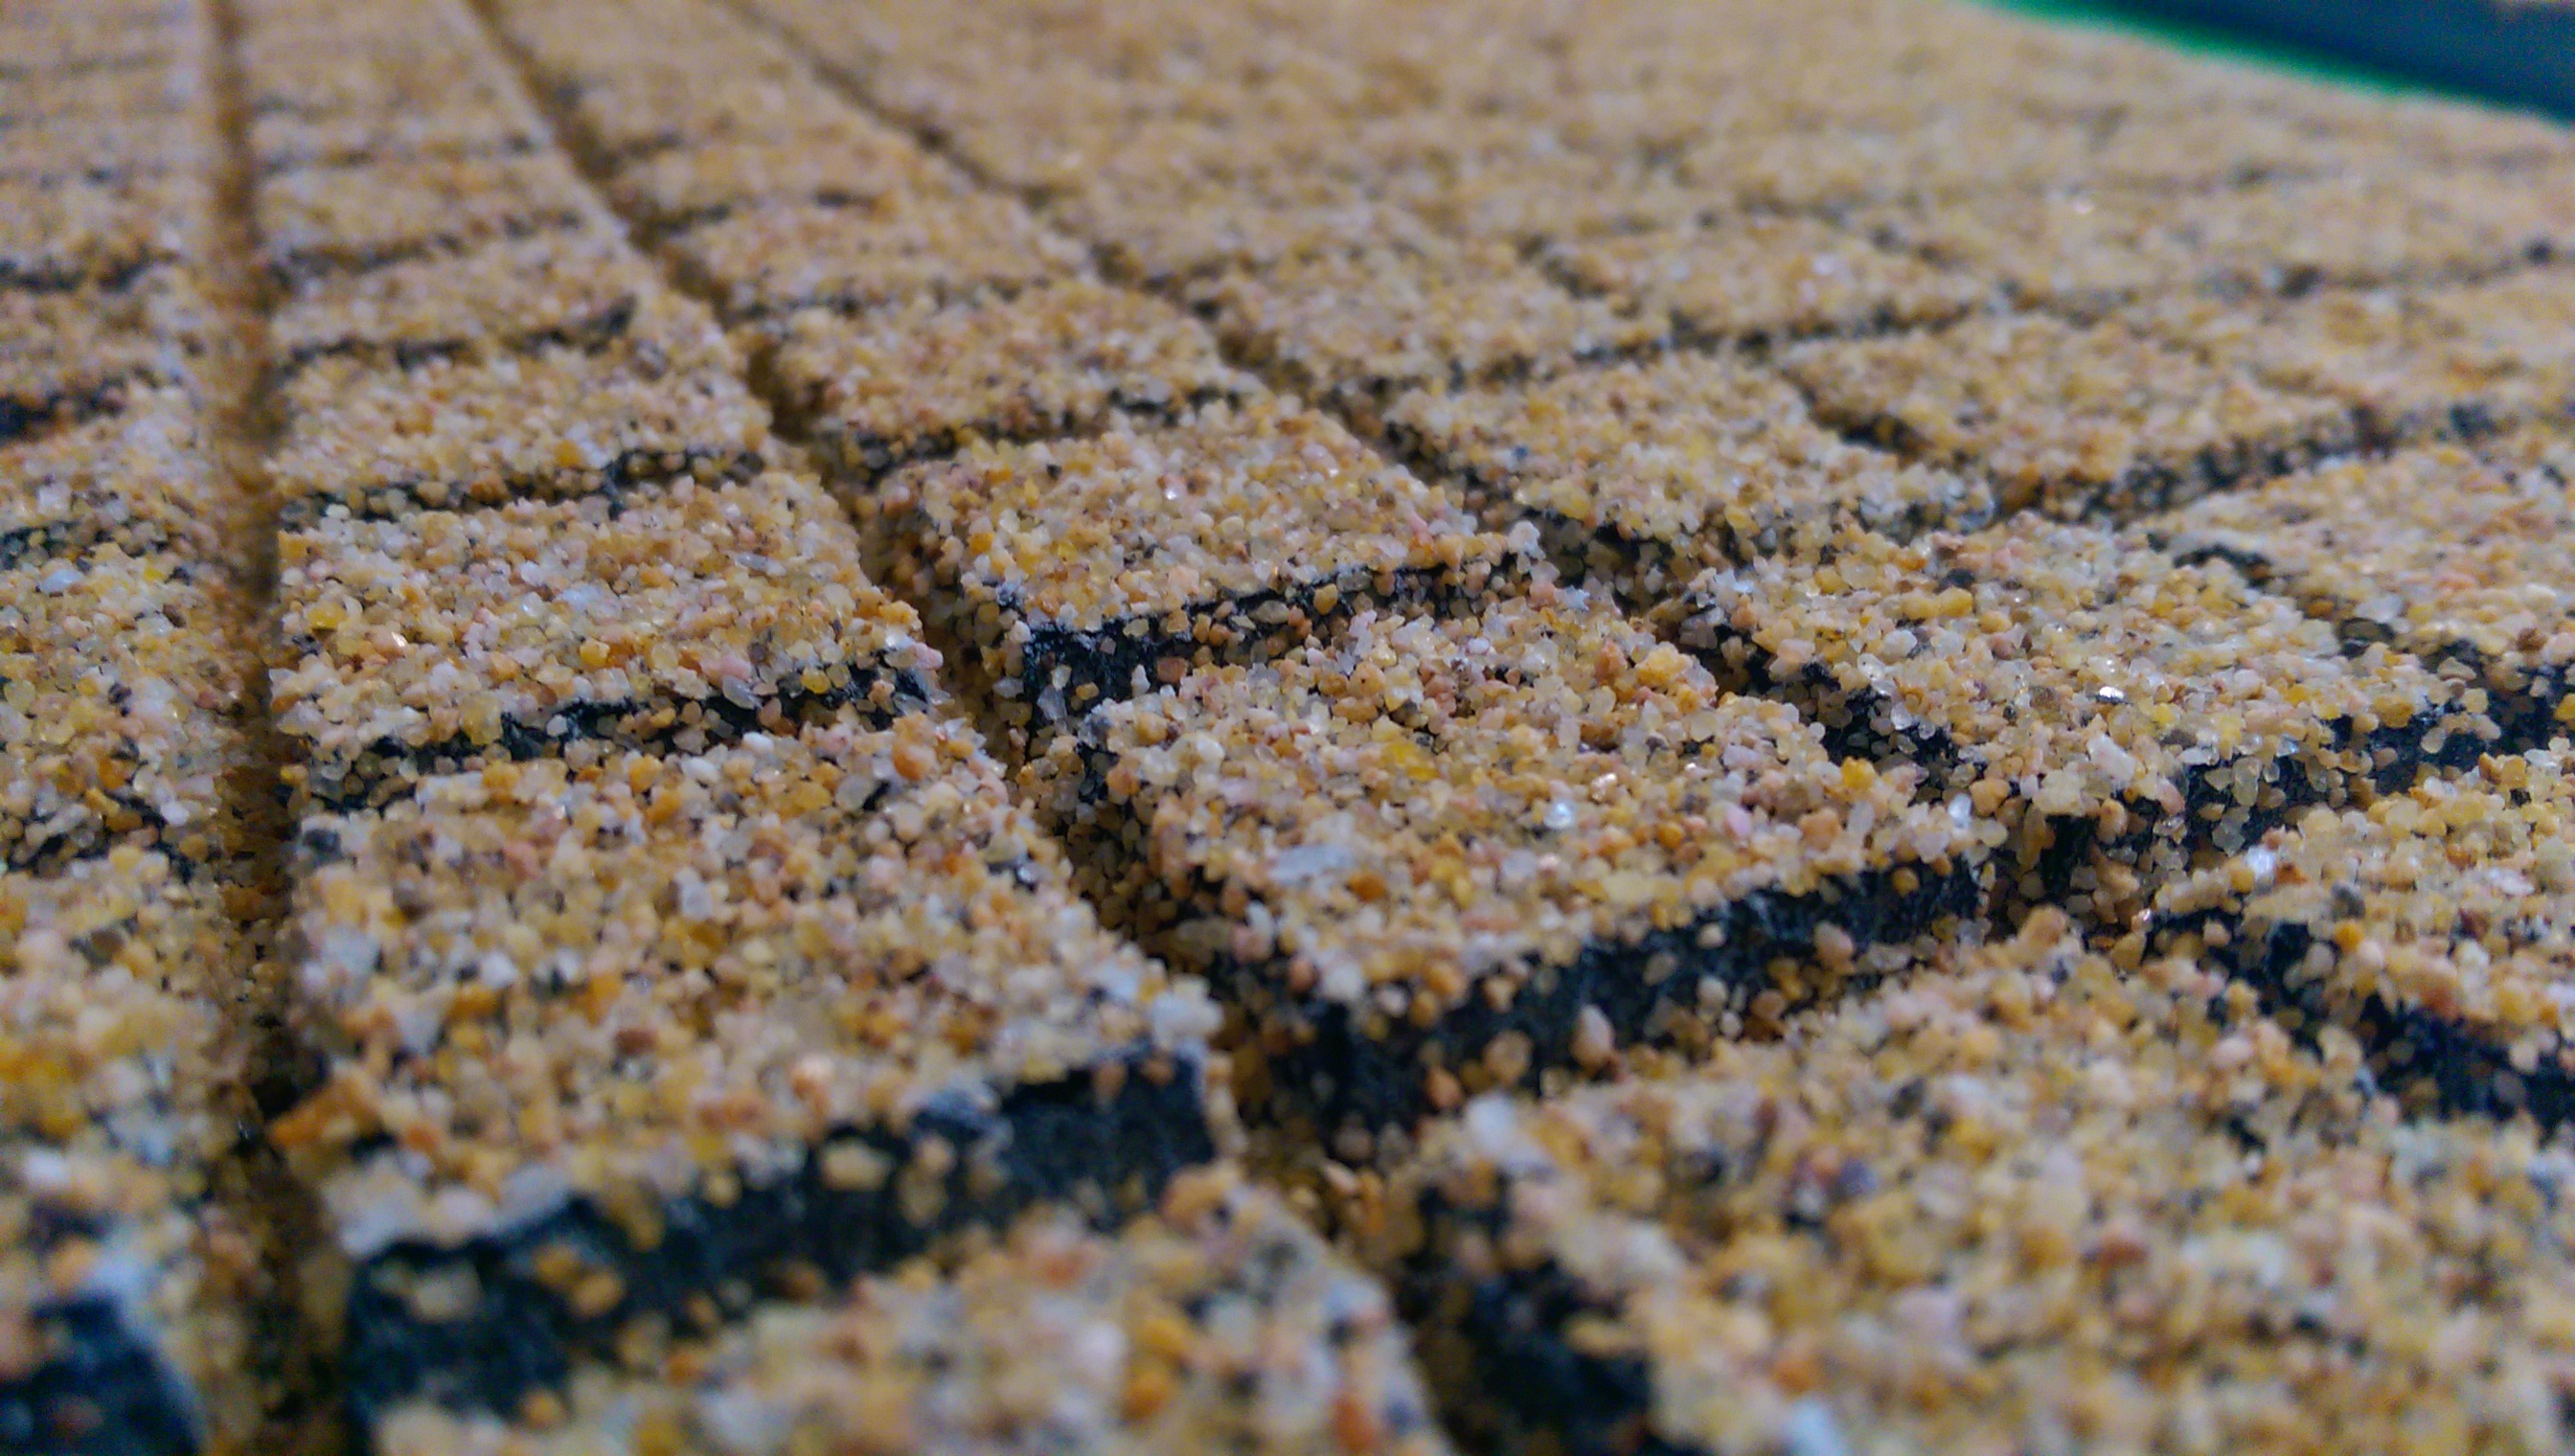
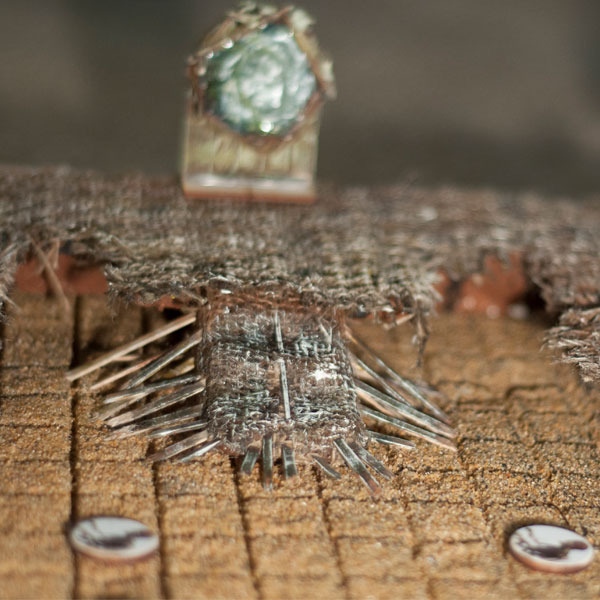
Extreme cell phone close up of the sand texture
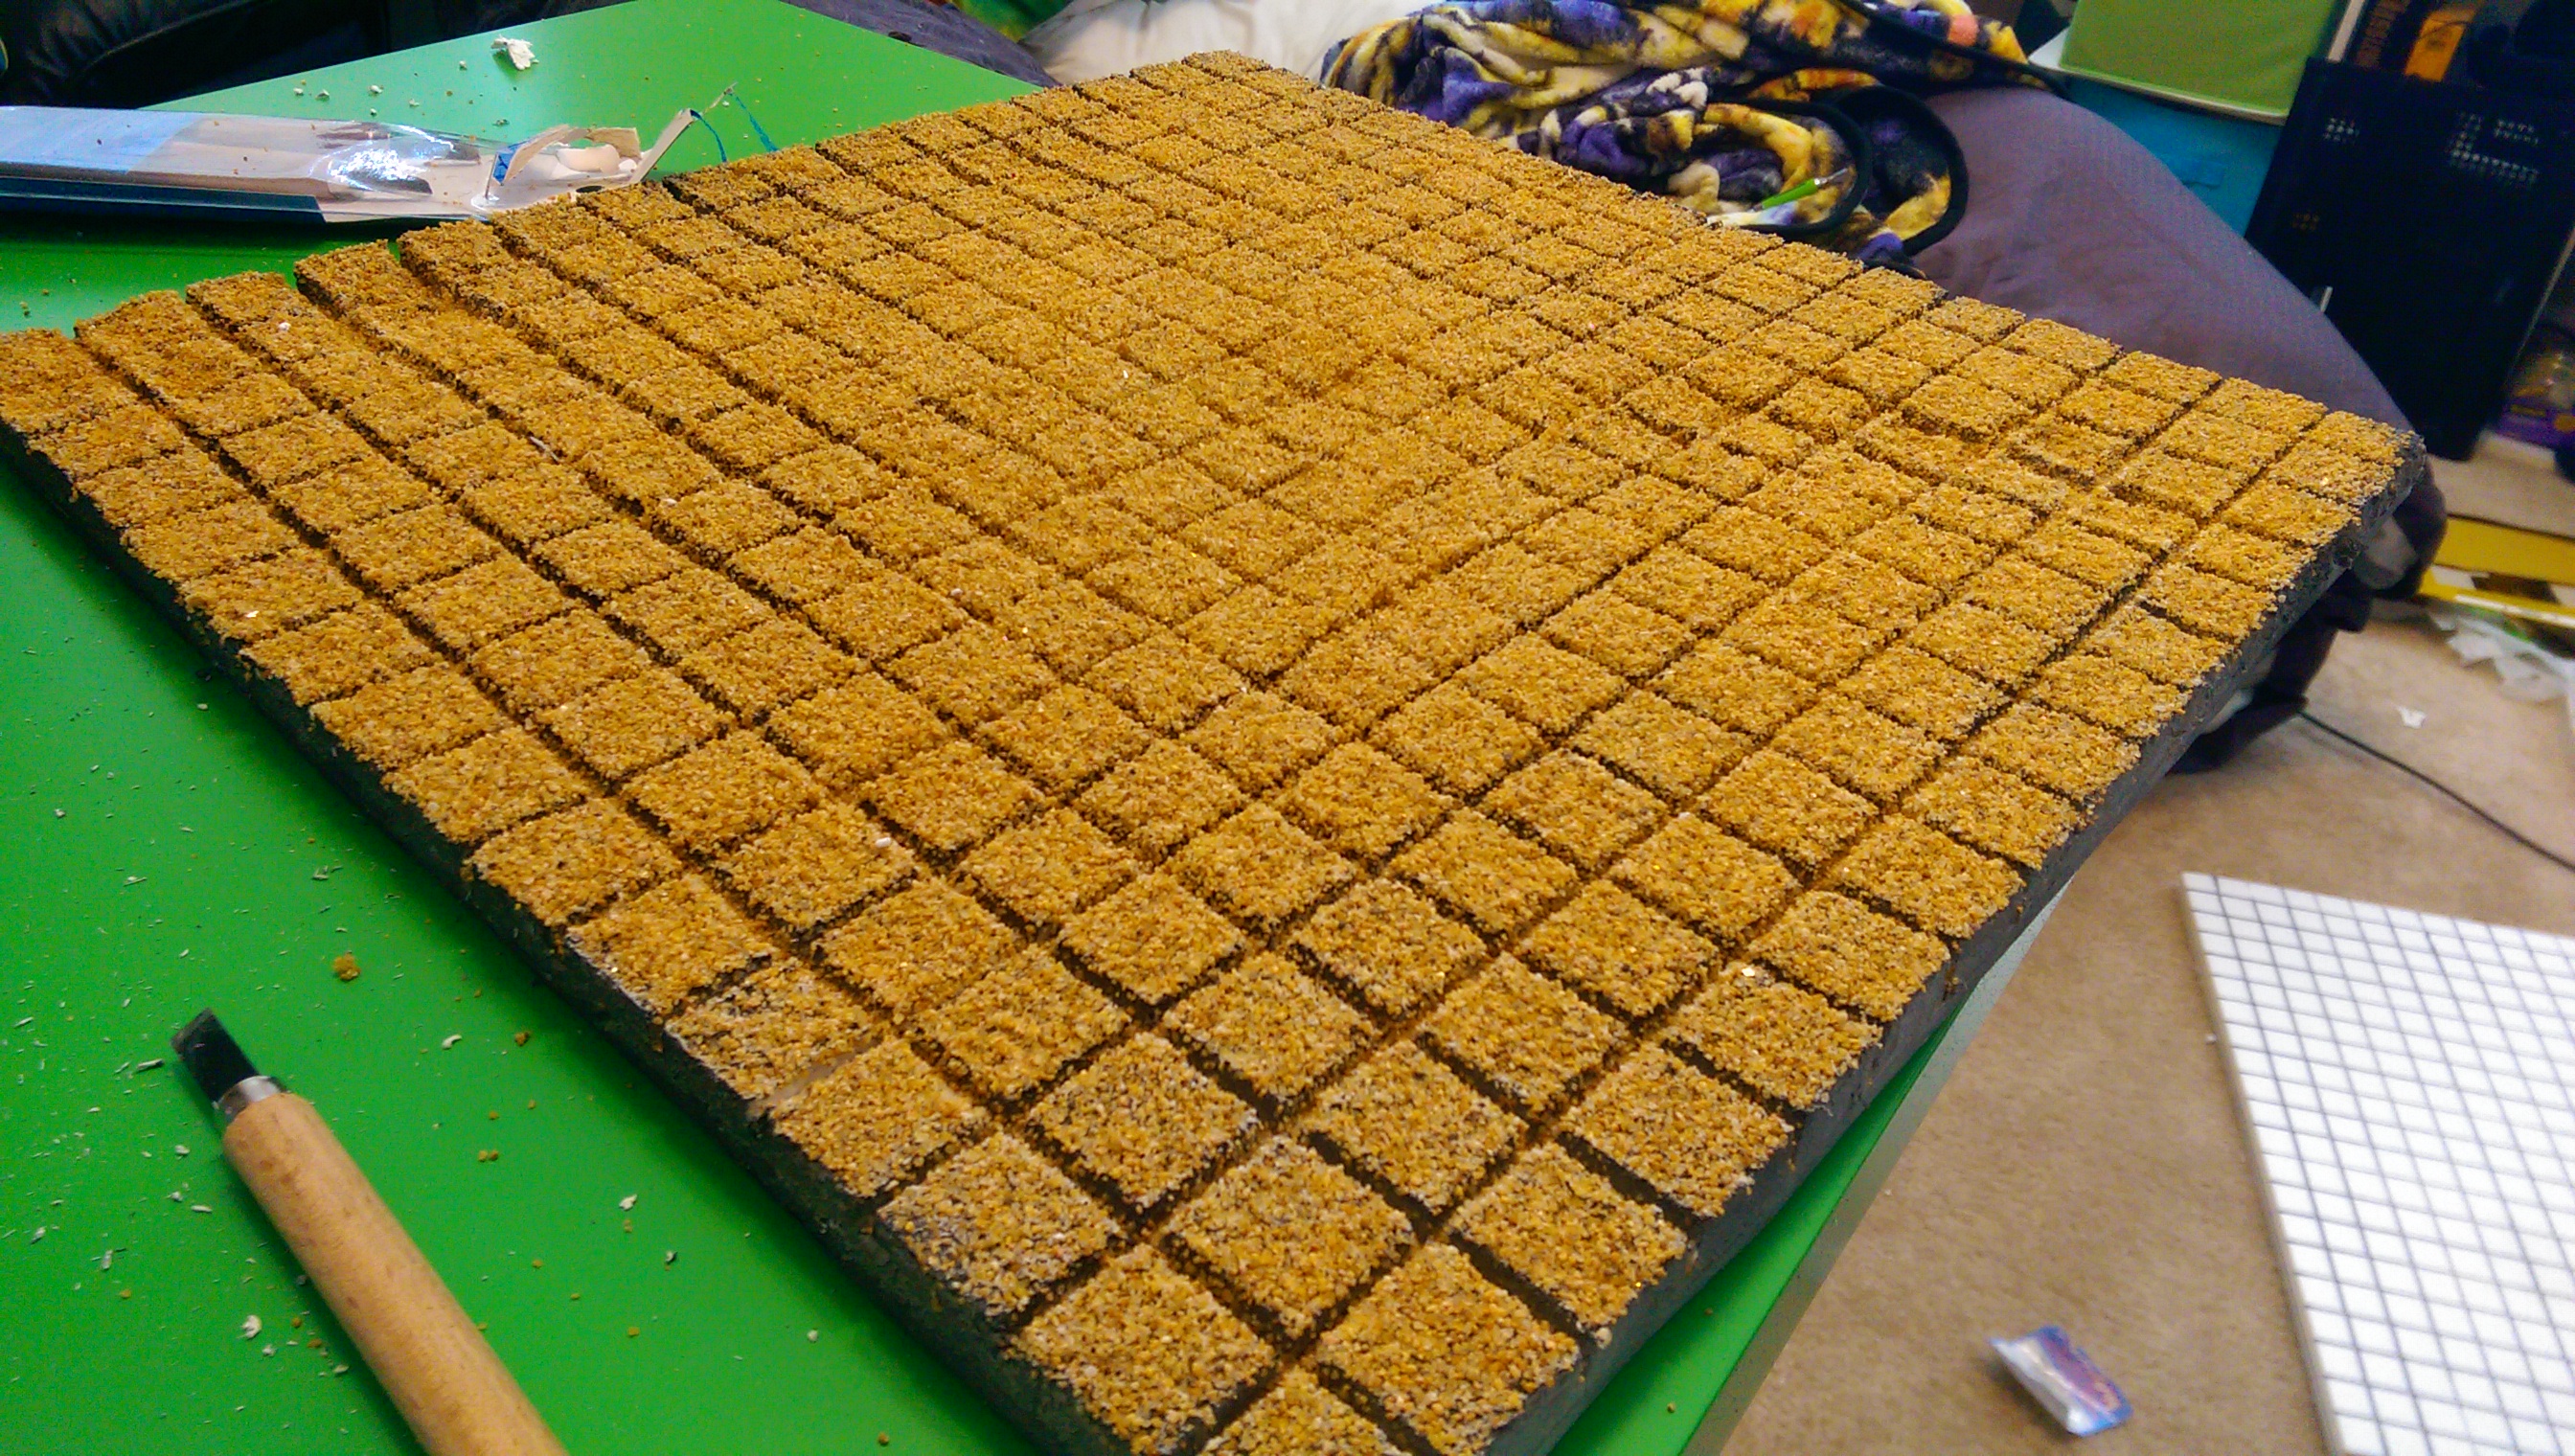
The large square piece, this will be the golem fight.
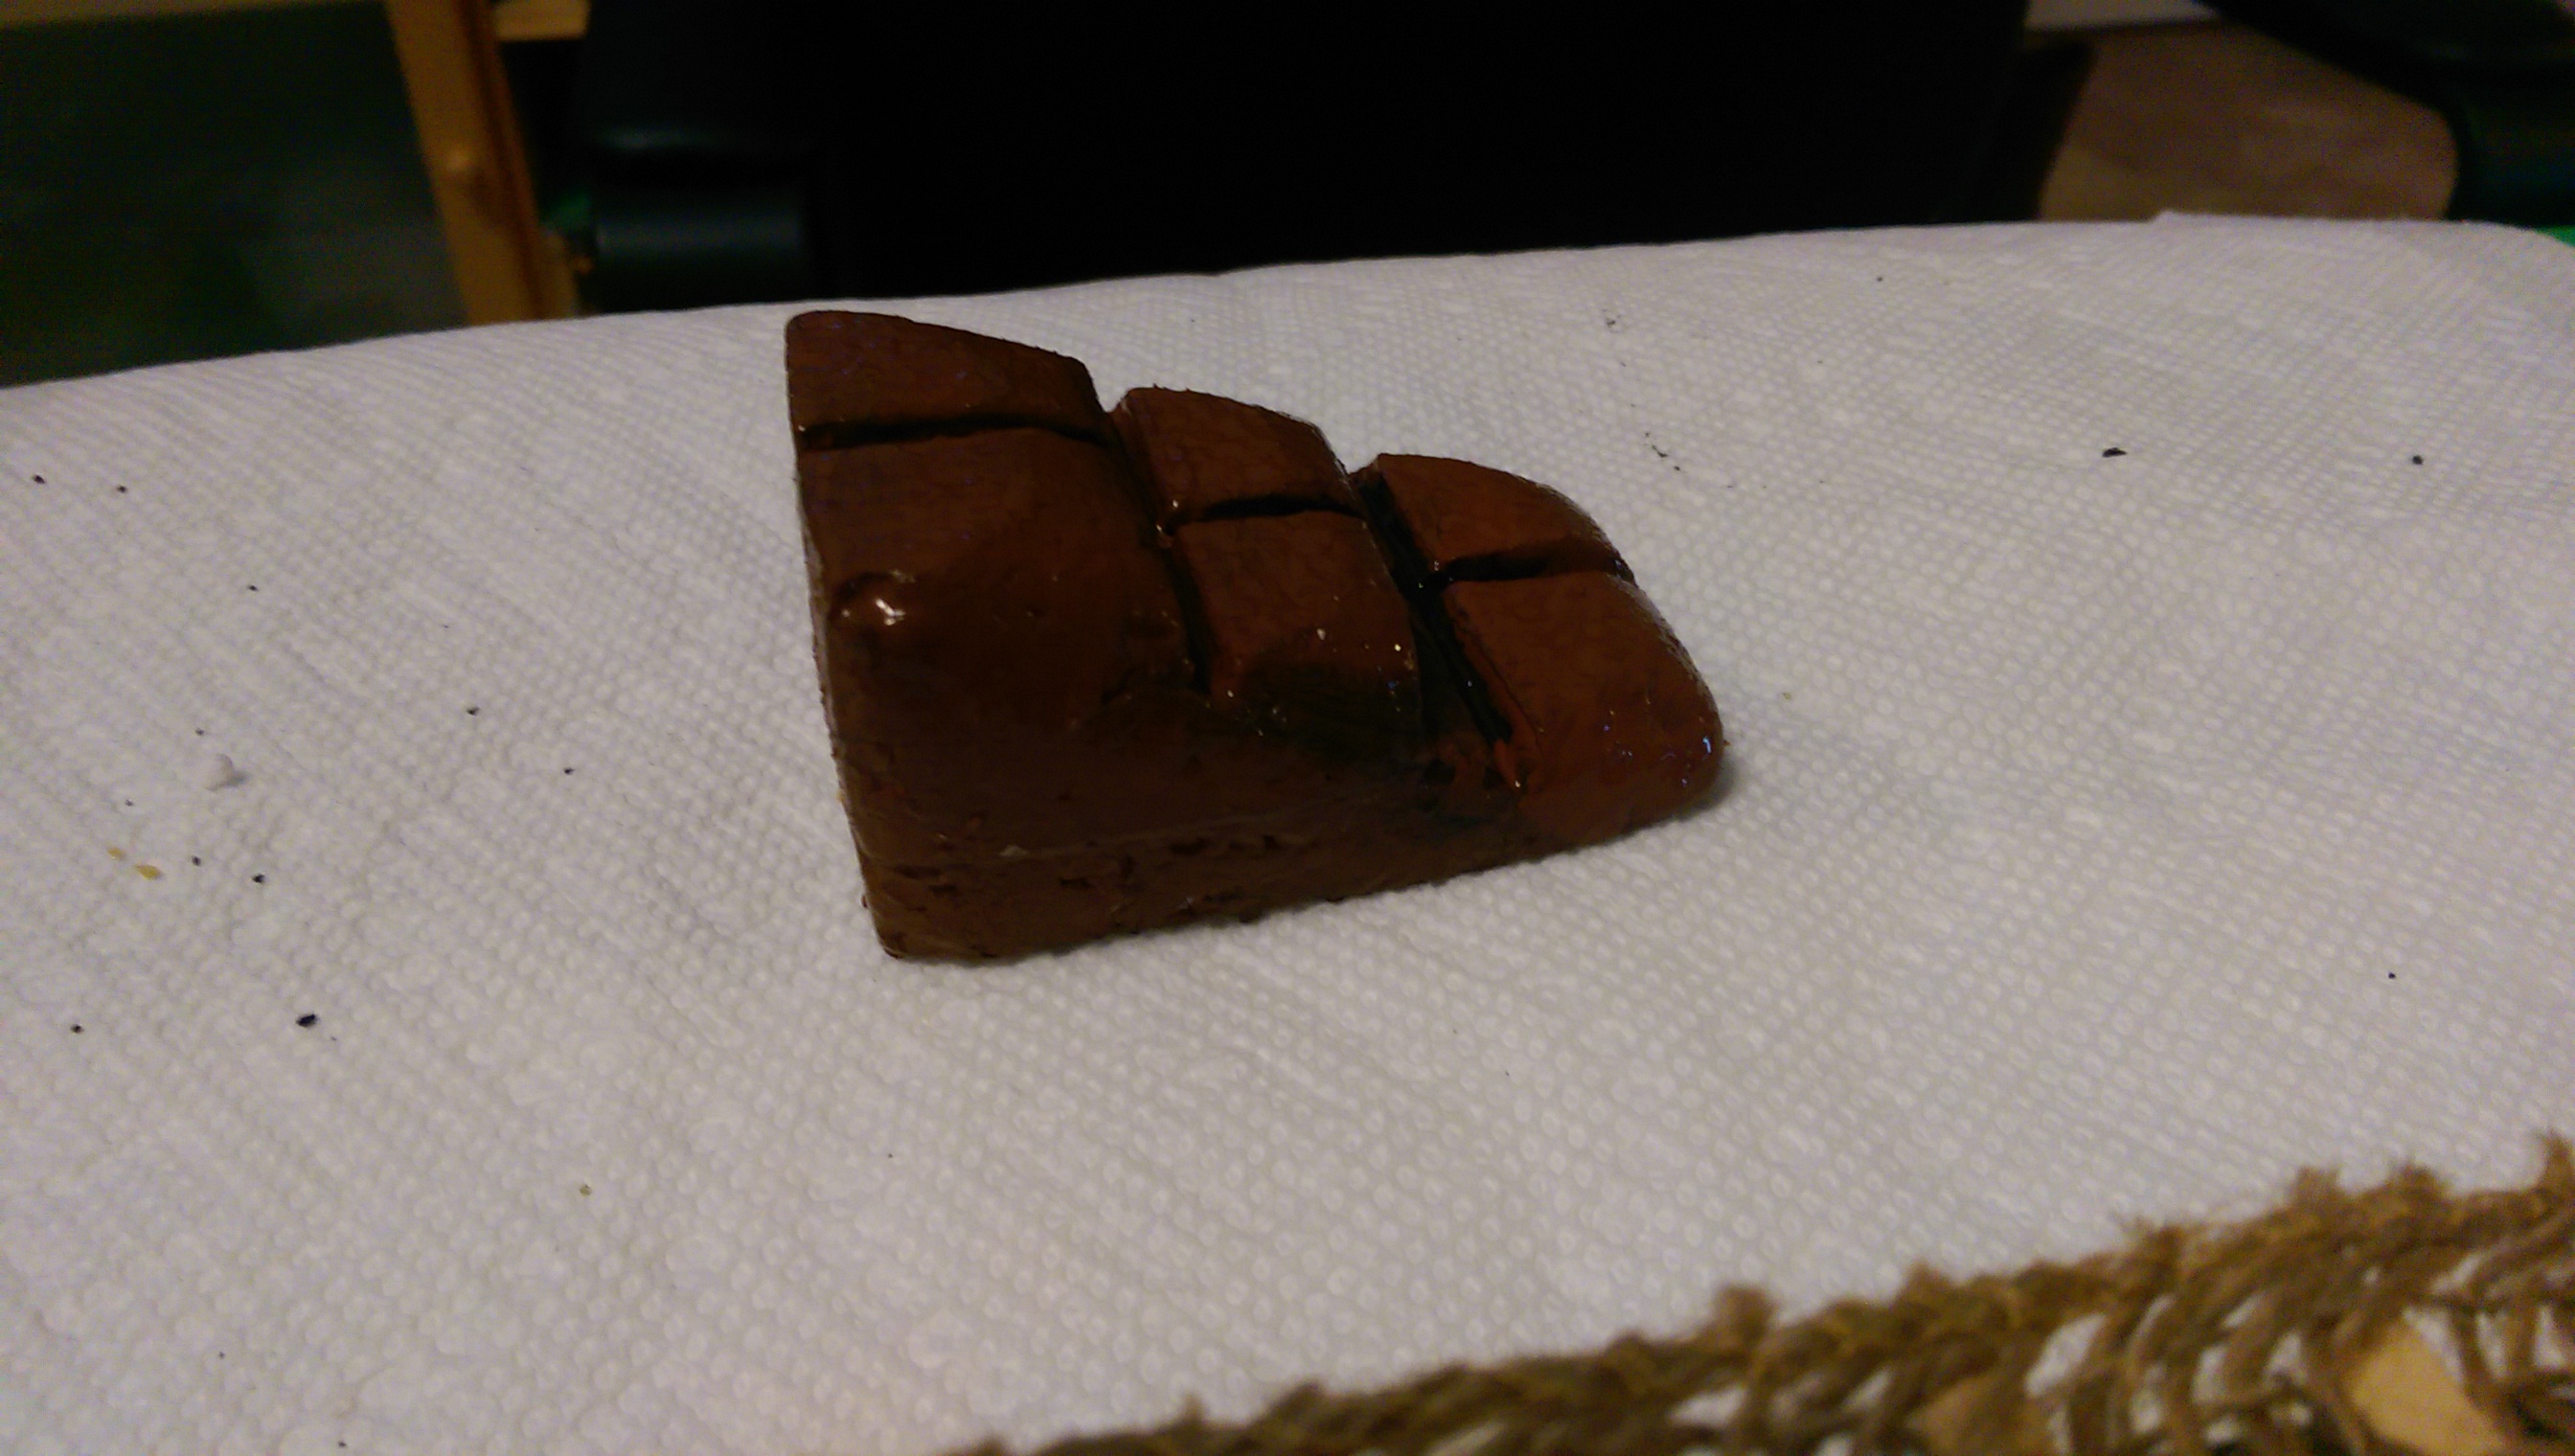
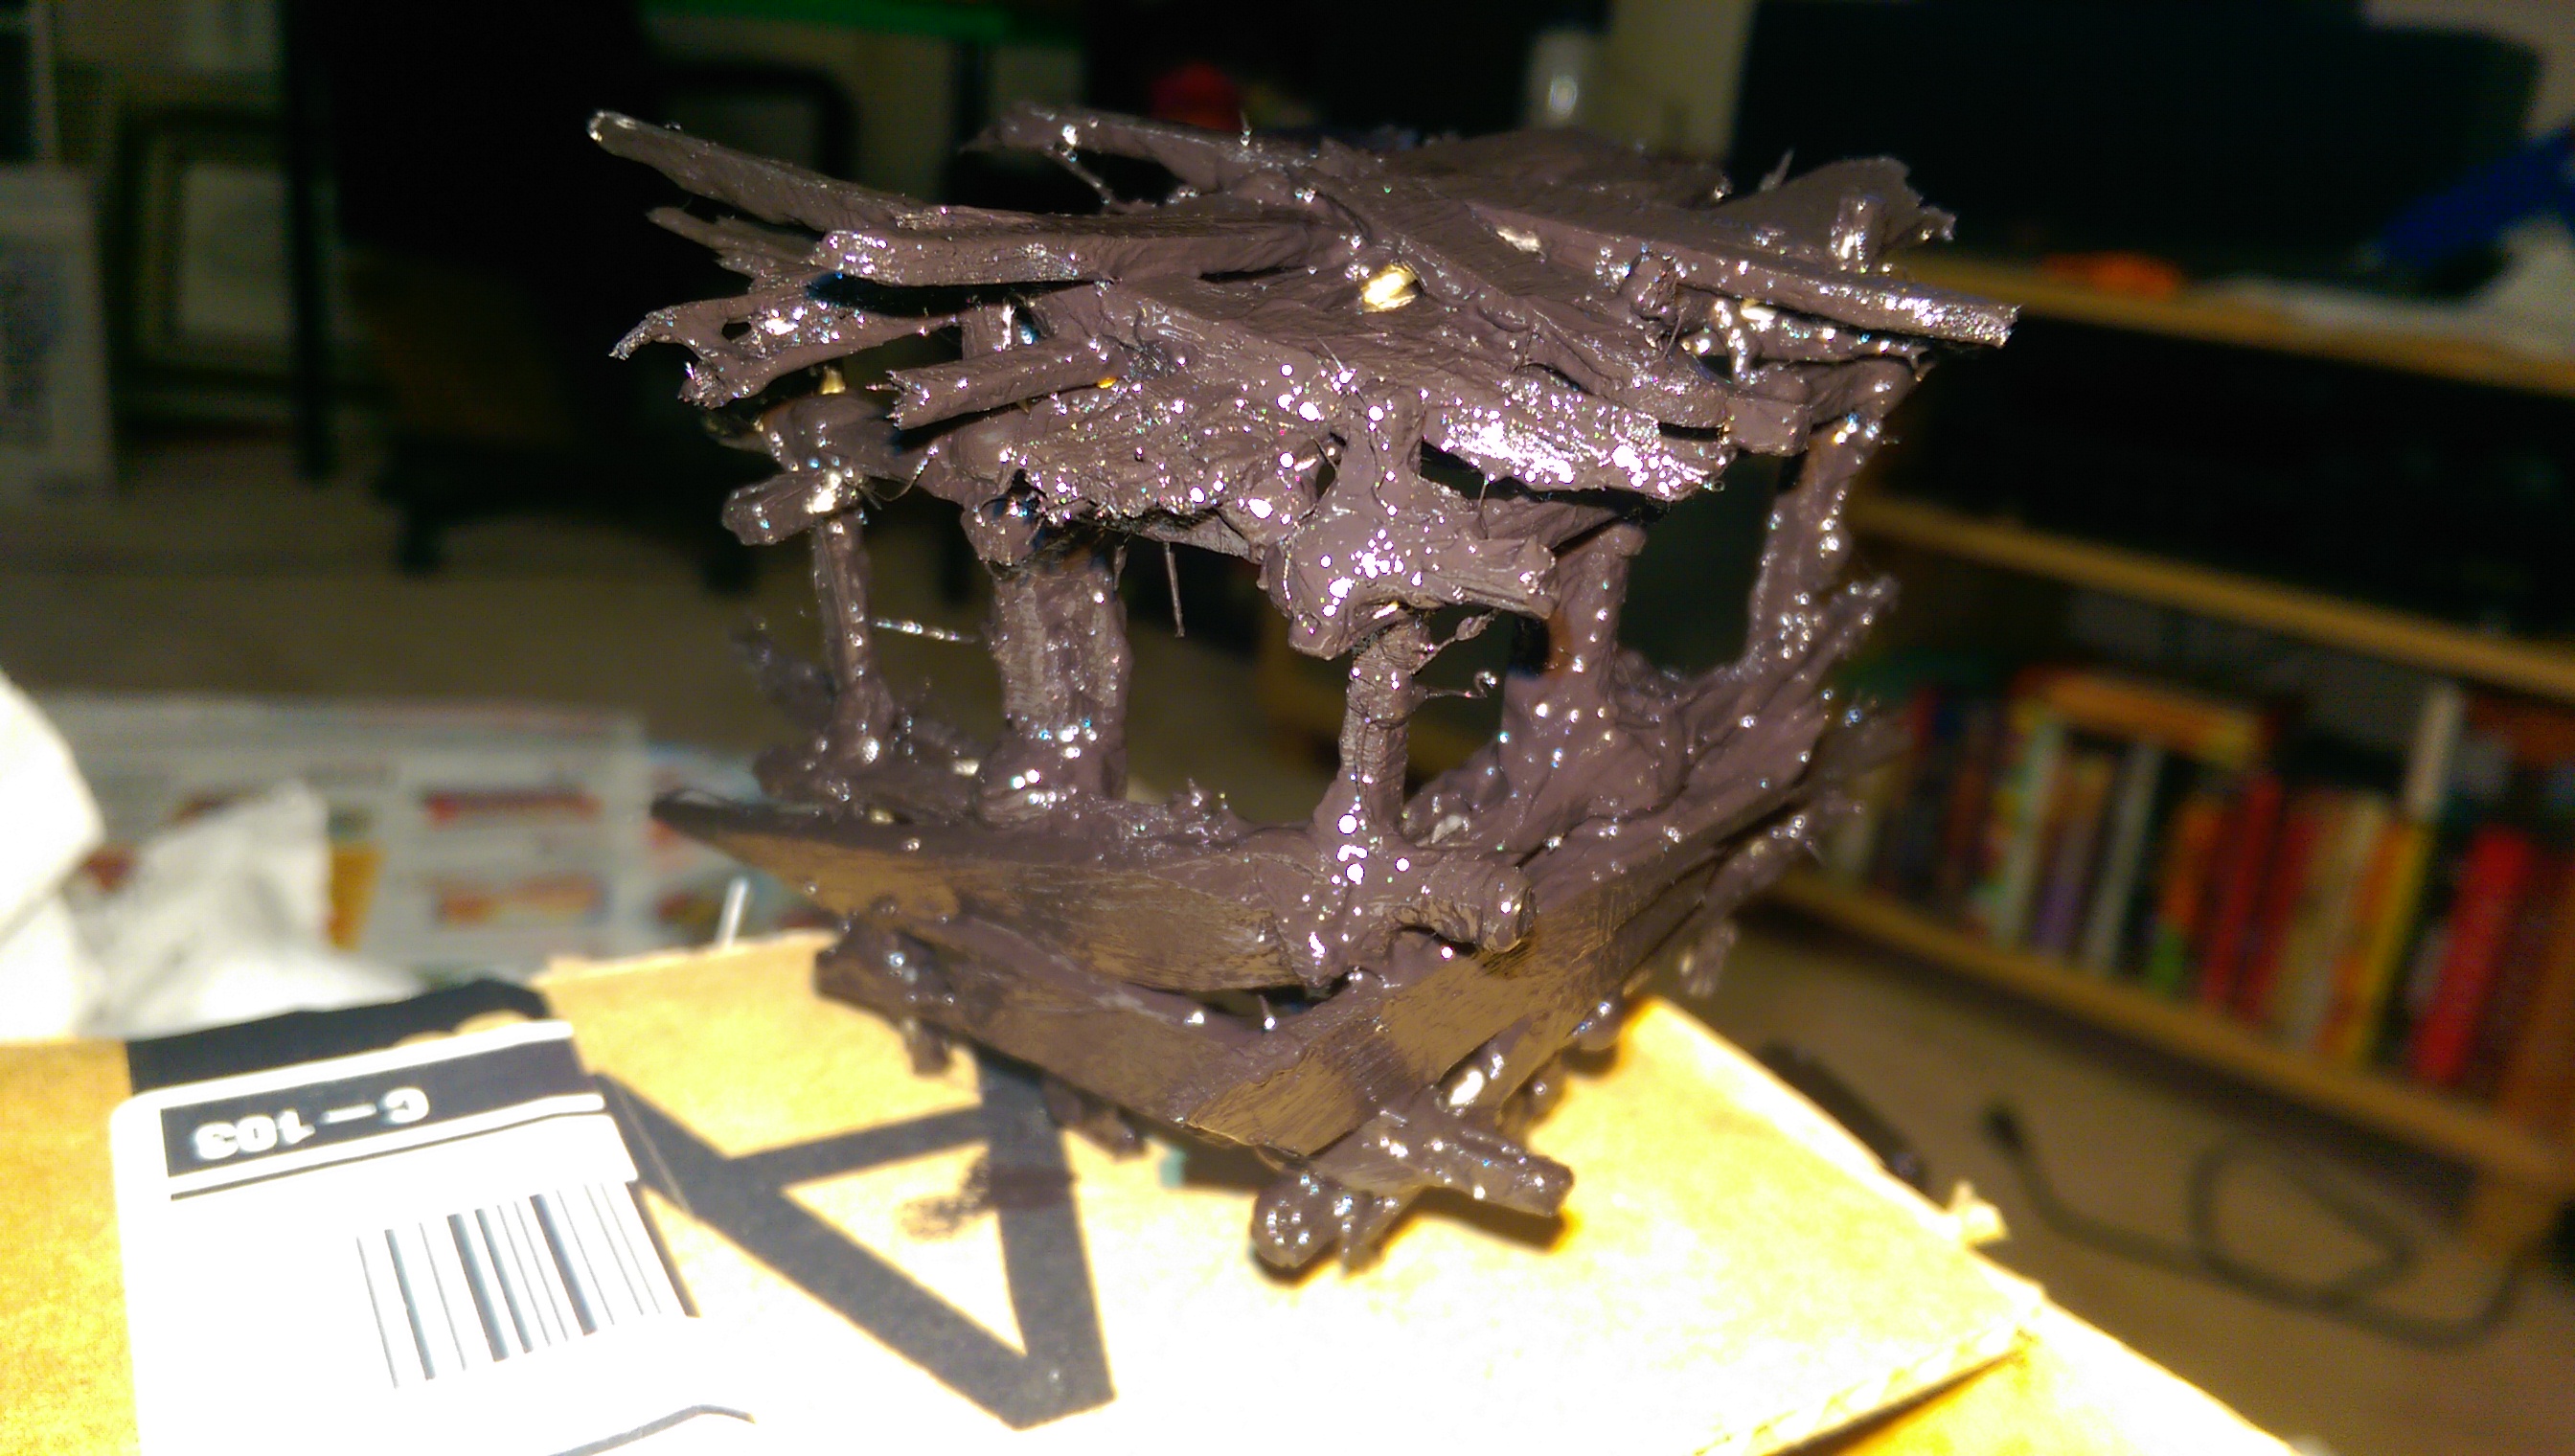
Starting to build the Dais where Salim Farstrider will make his final escape.

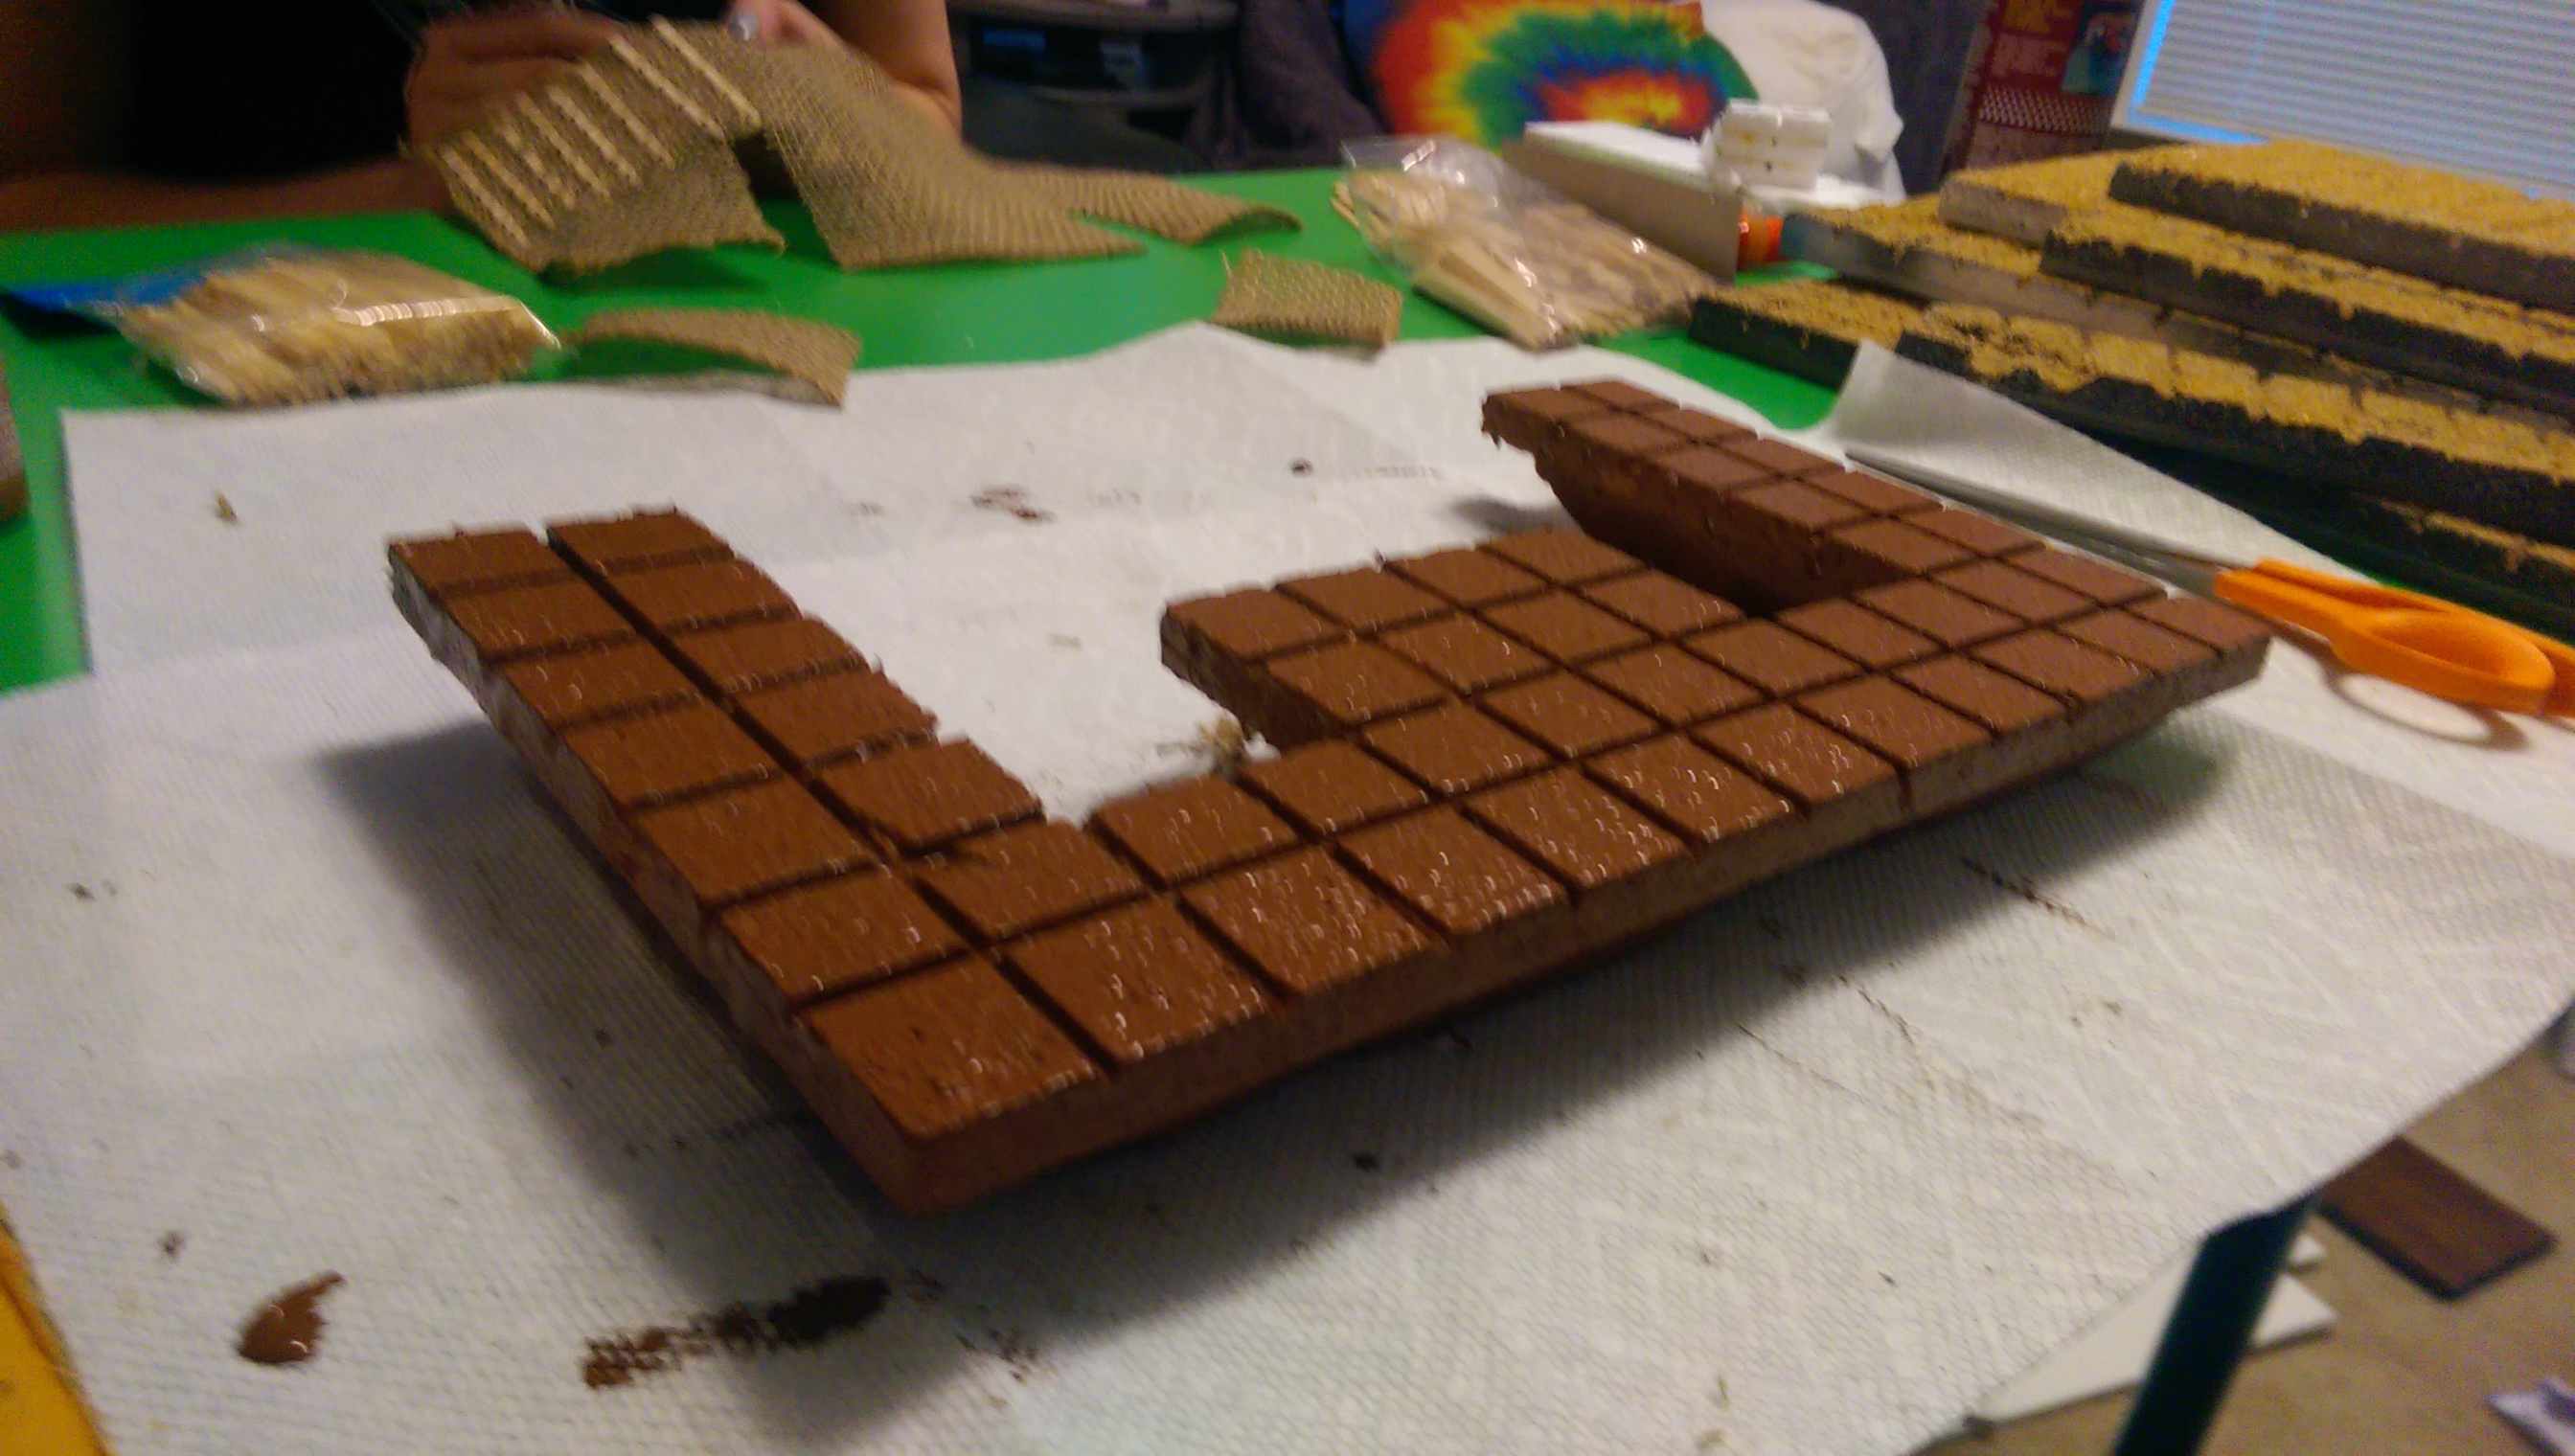
Painting the Dais. Looks like chocolate. Does NOT taste like chocolate. Ask me how I know…
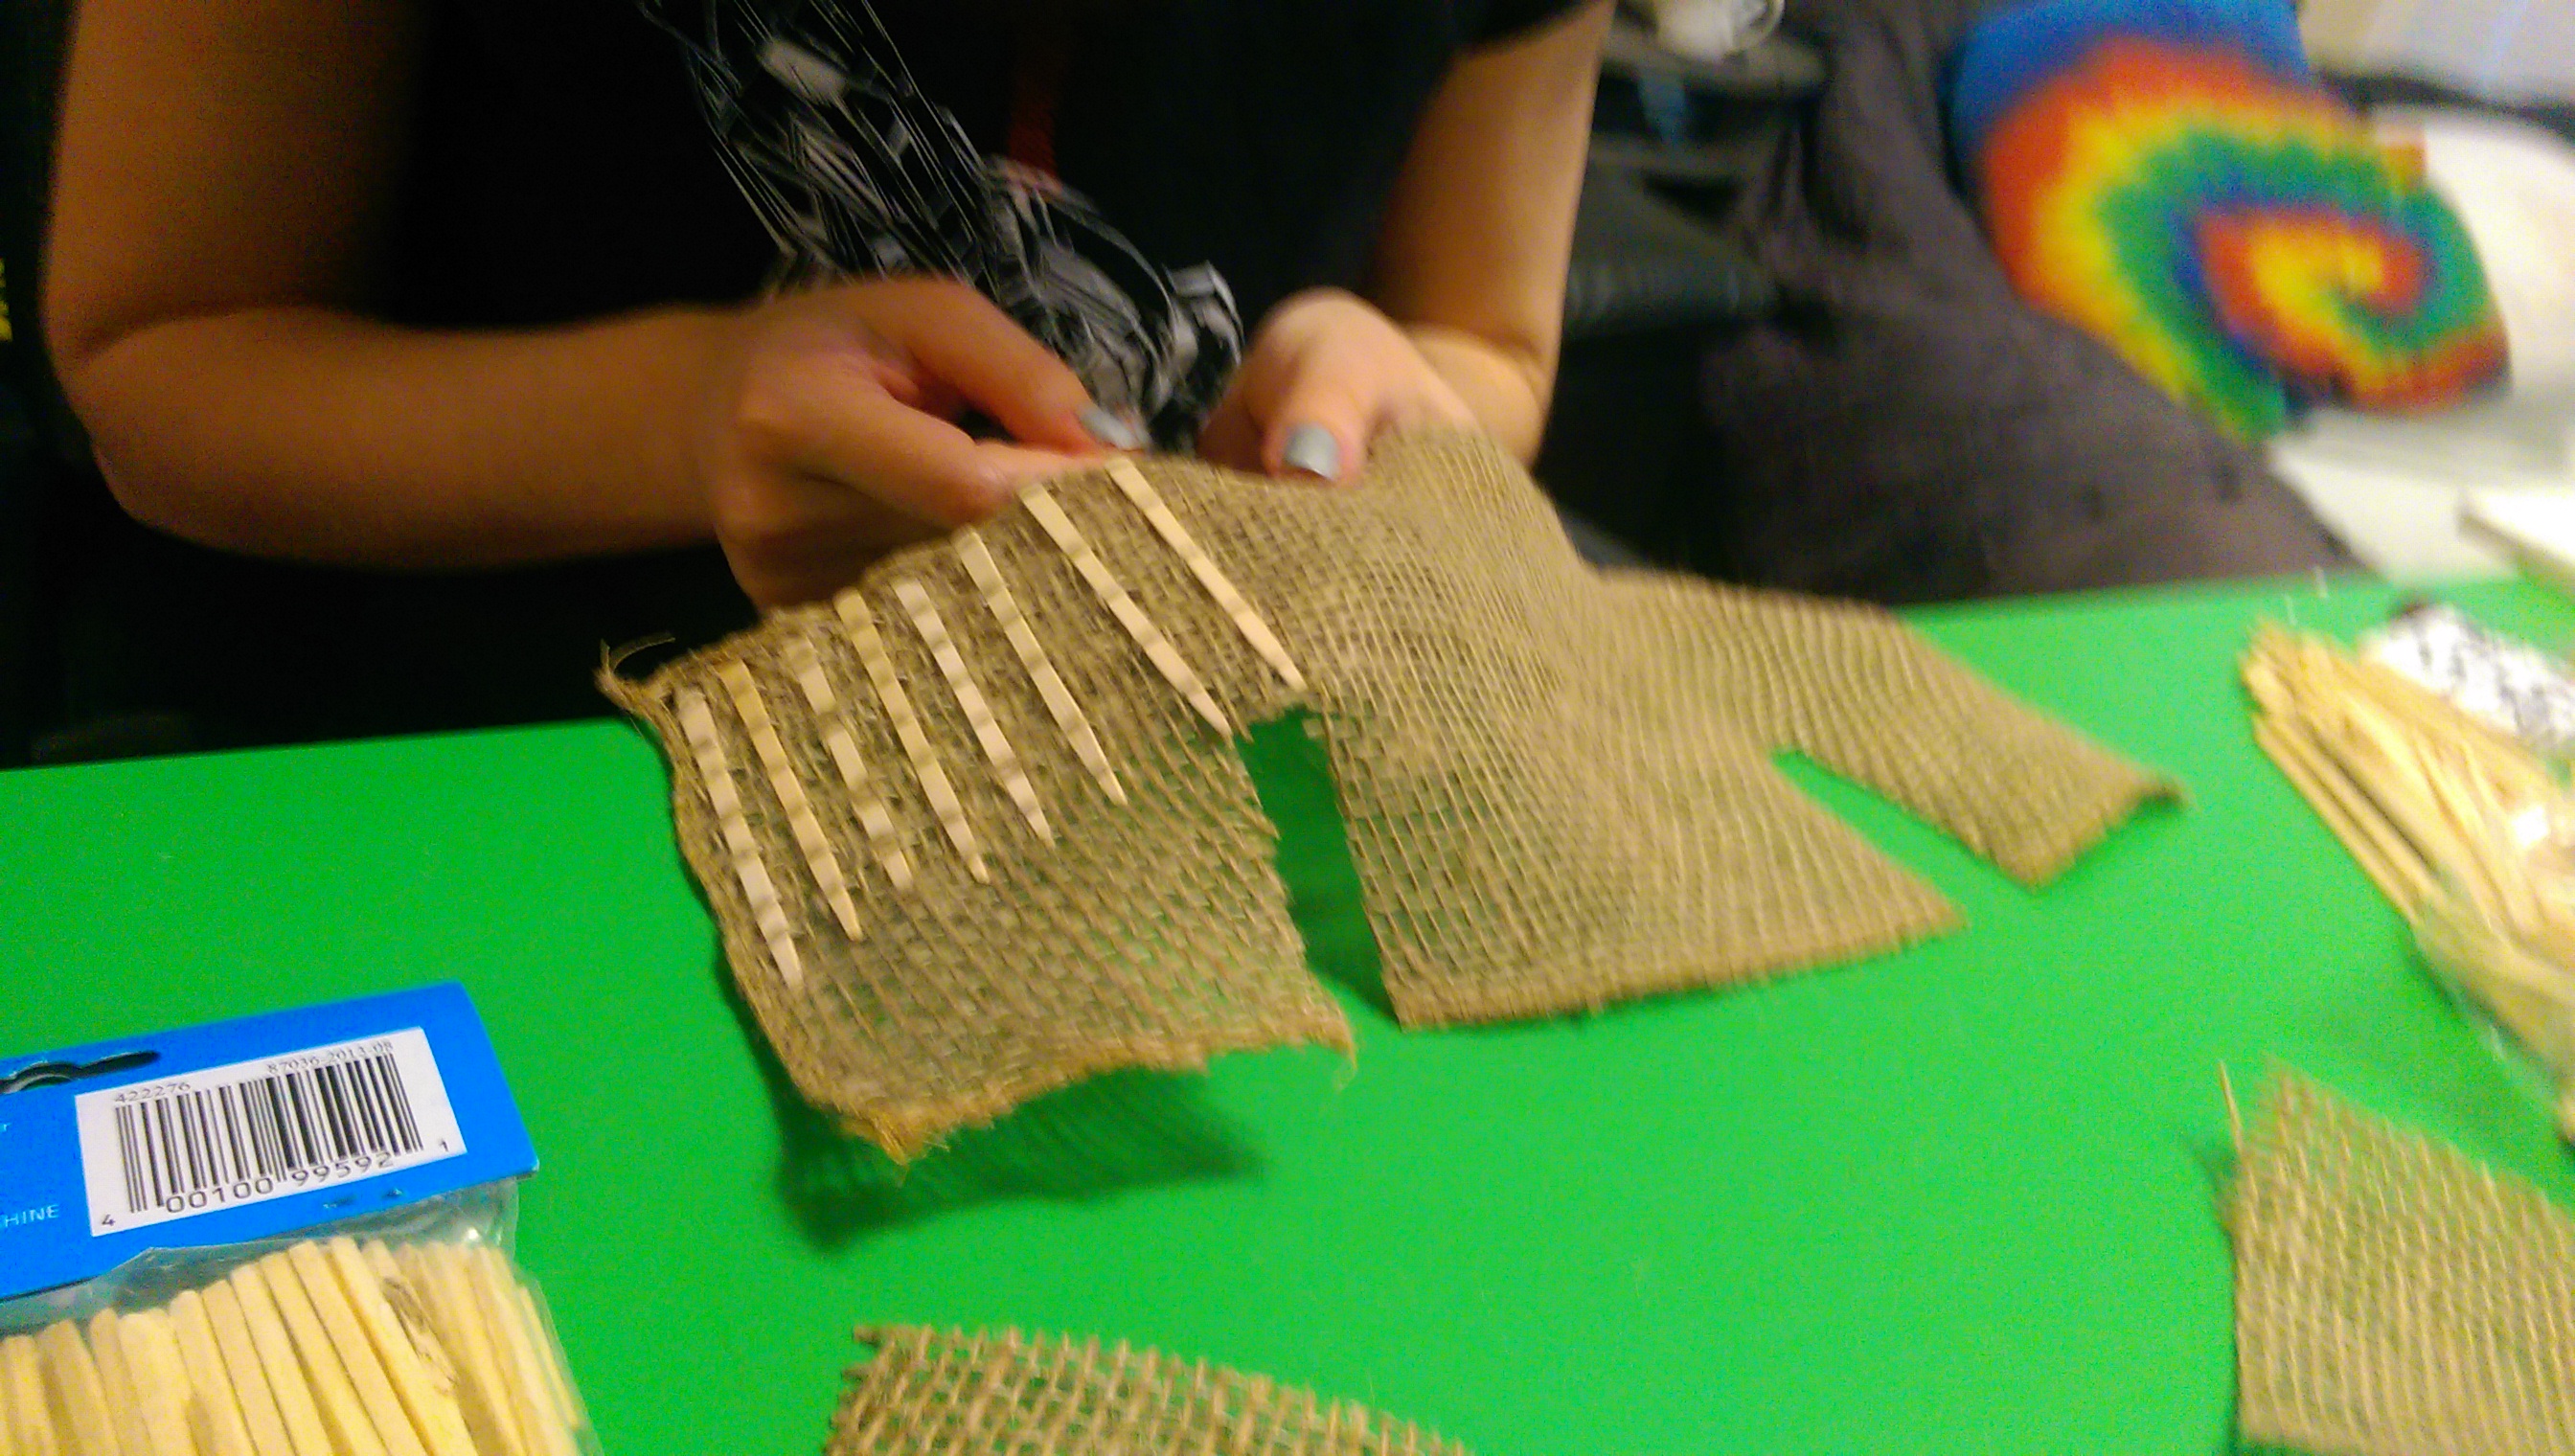
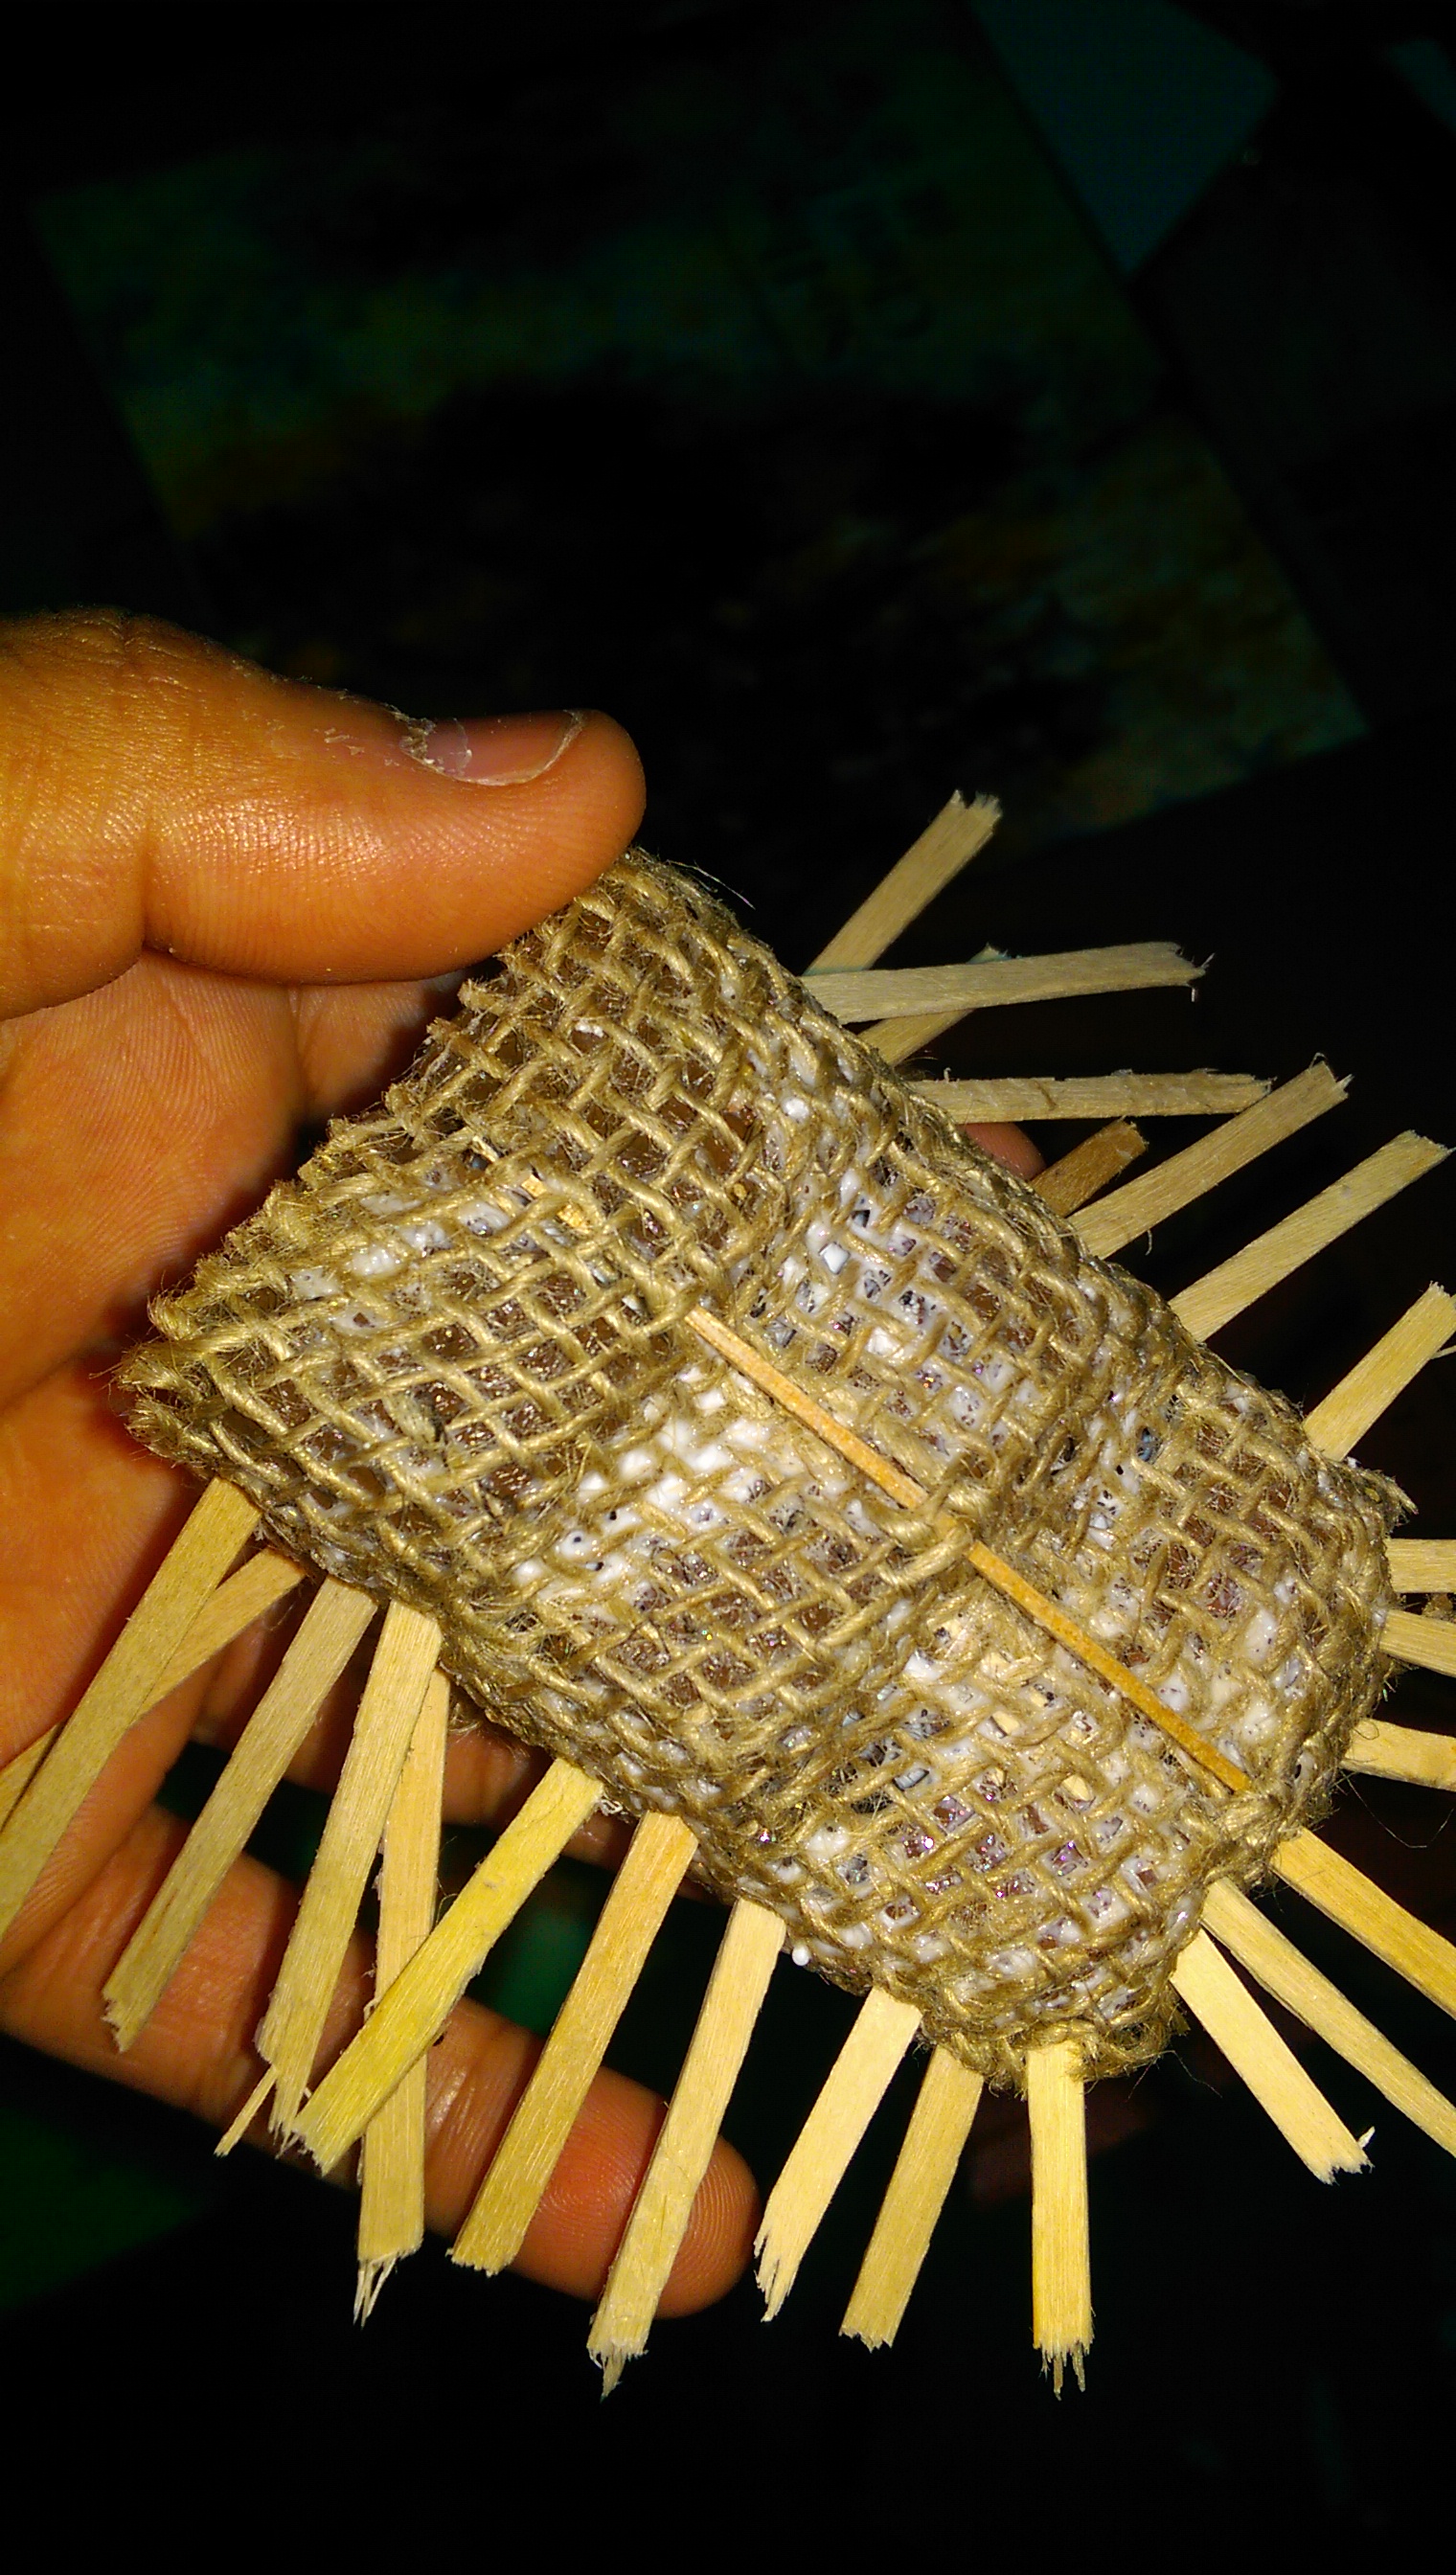
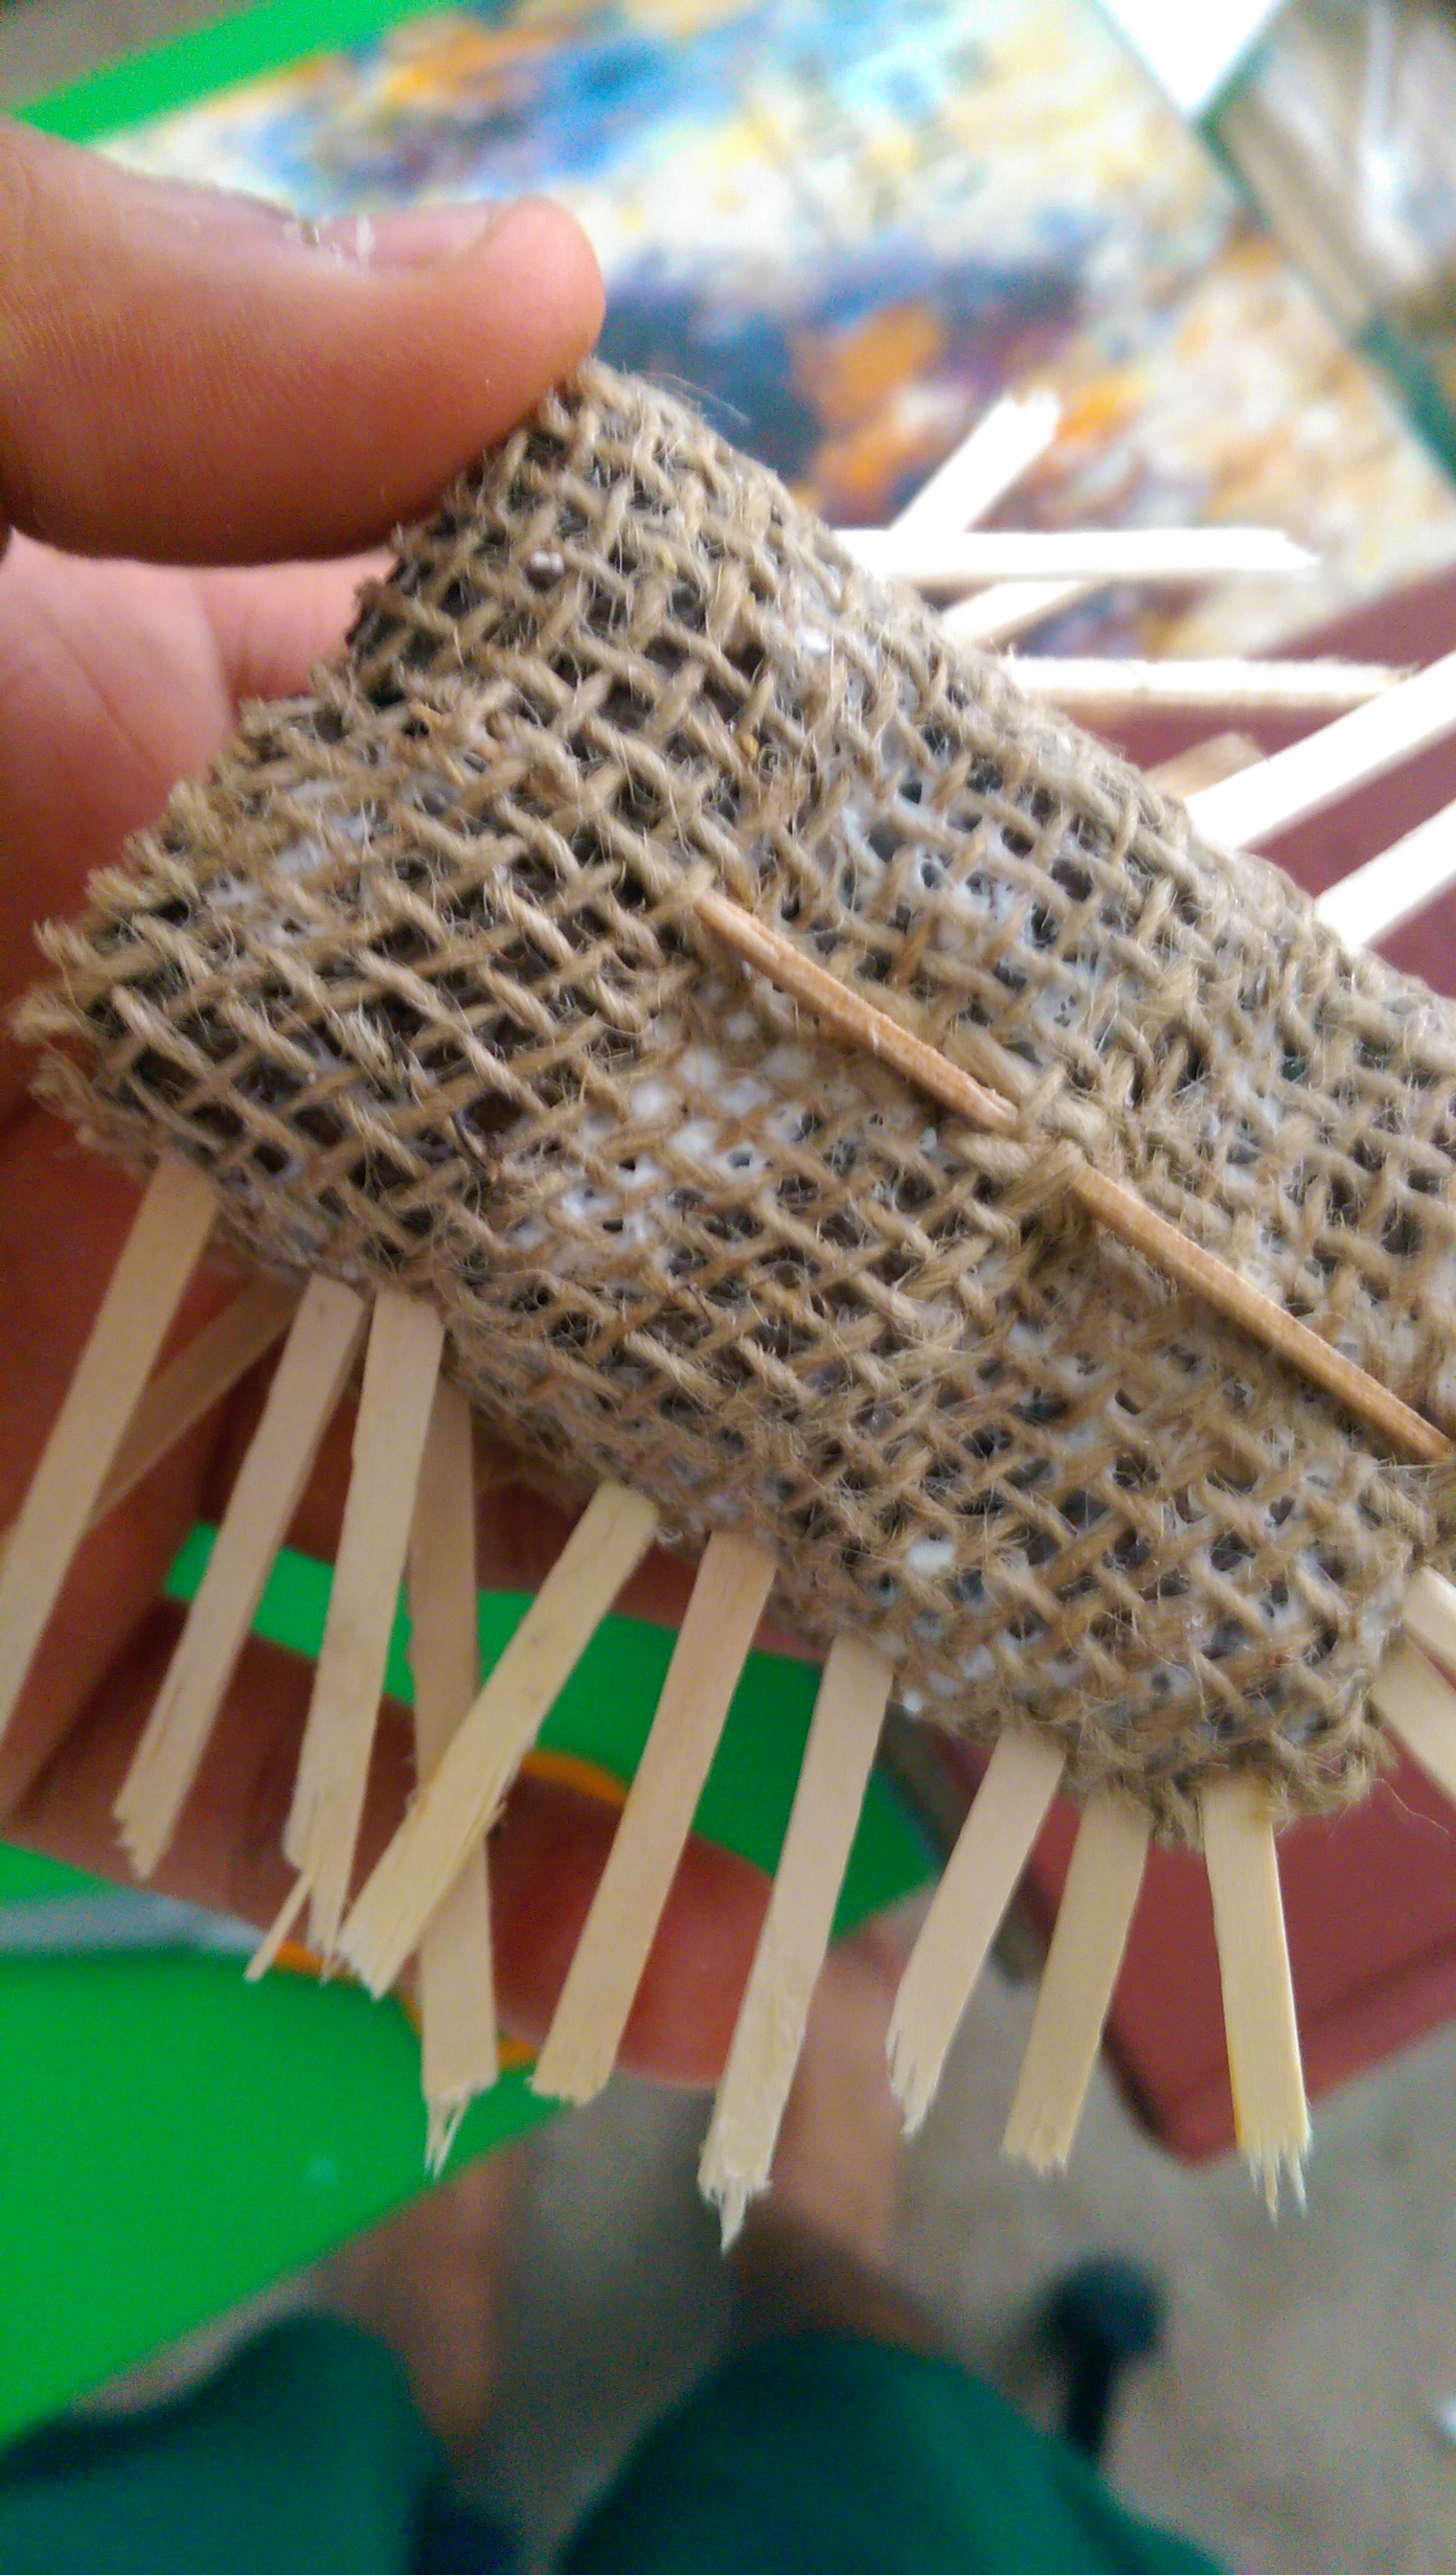
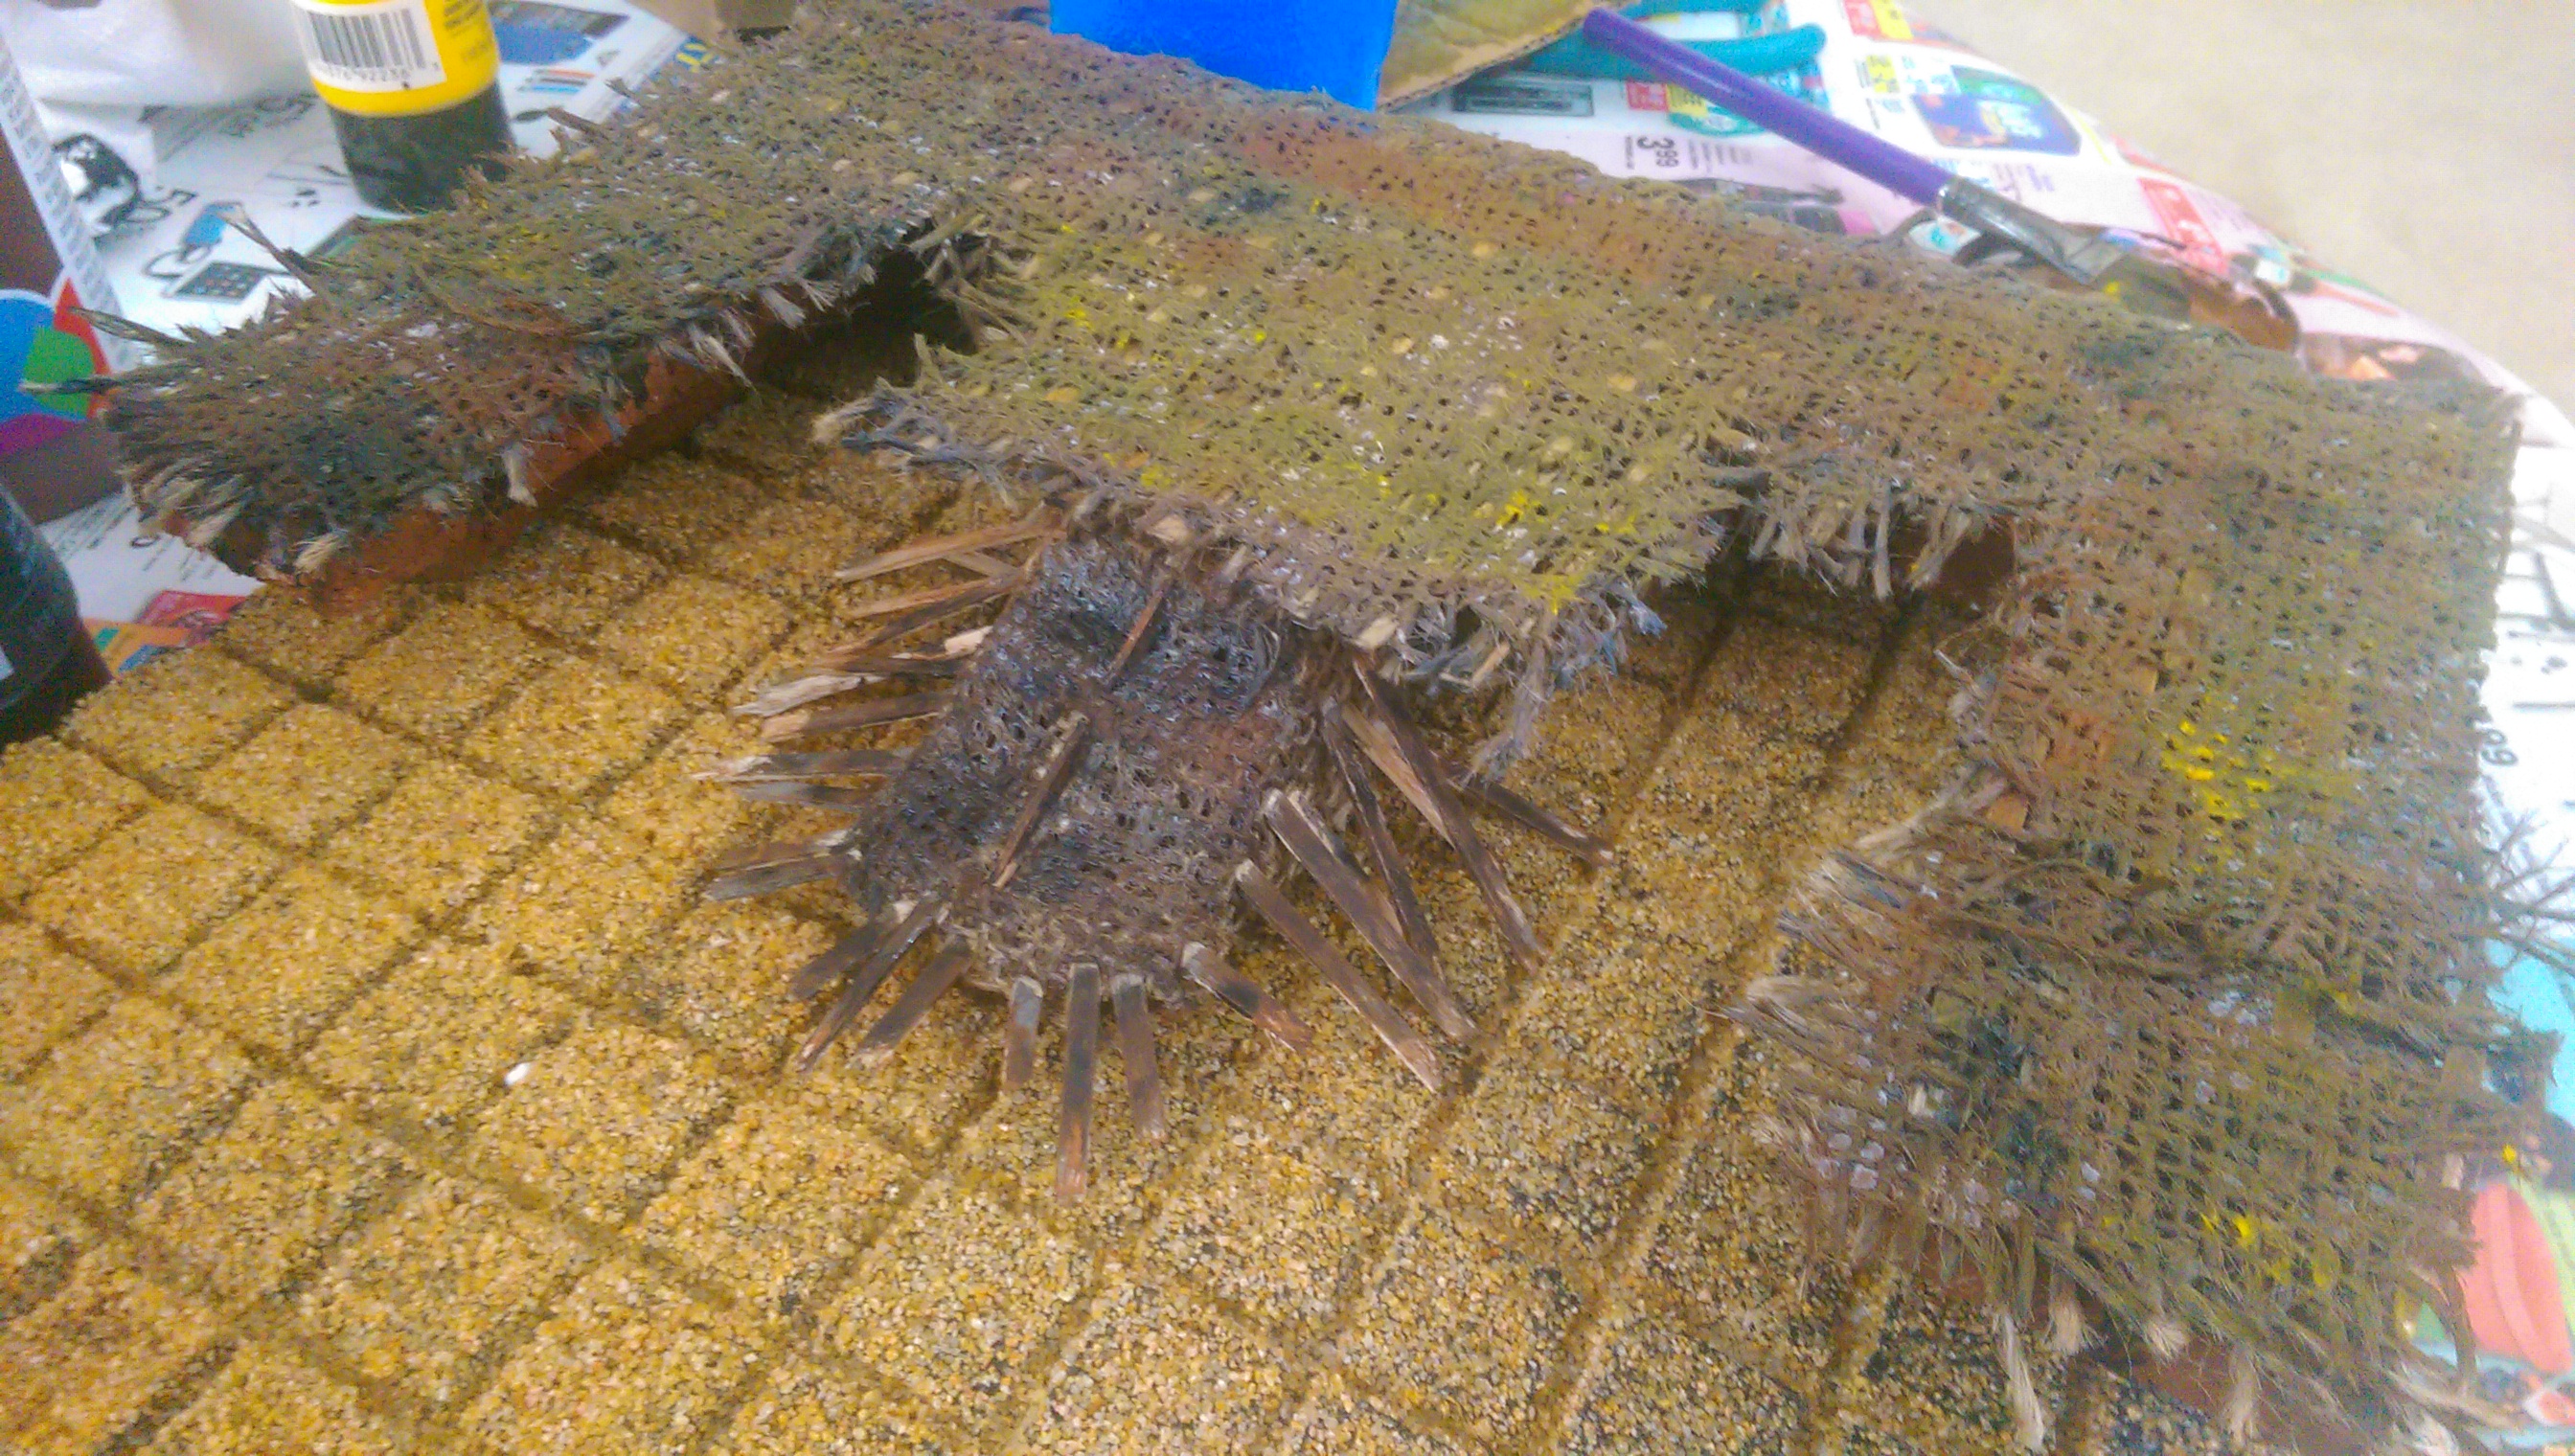
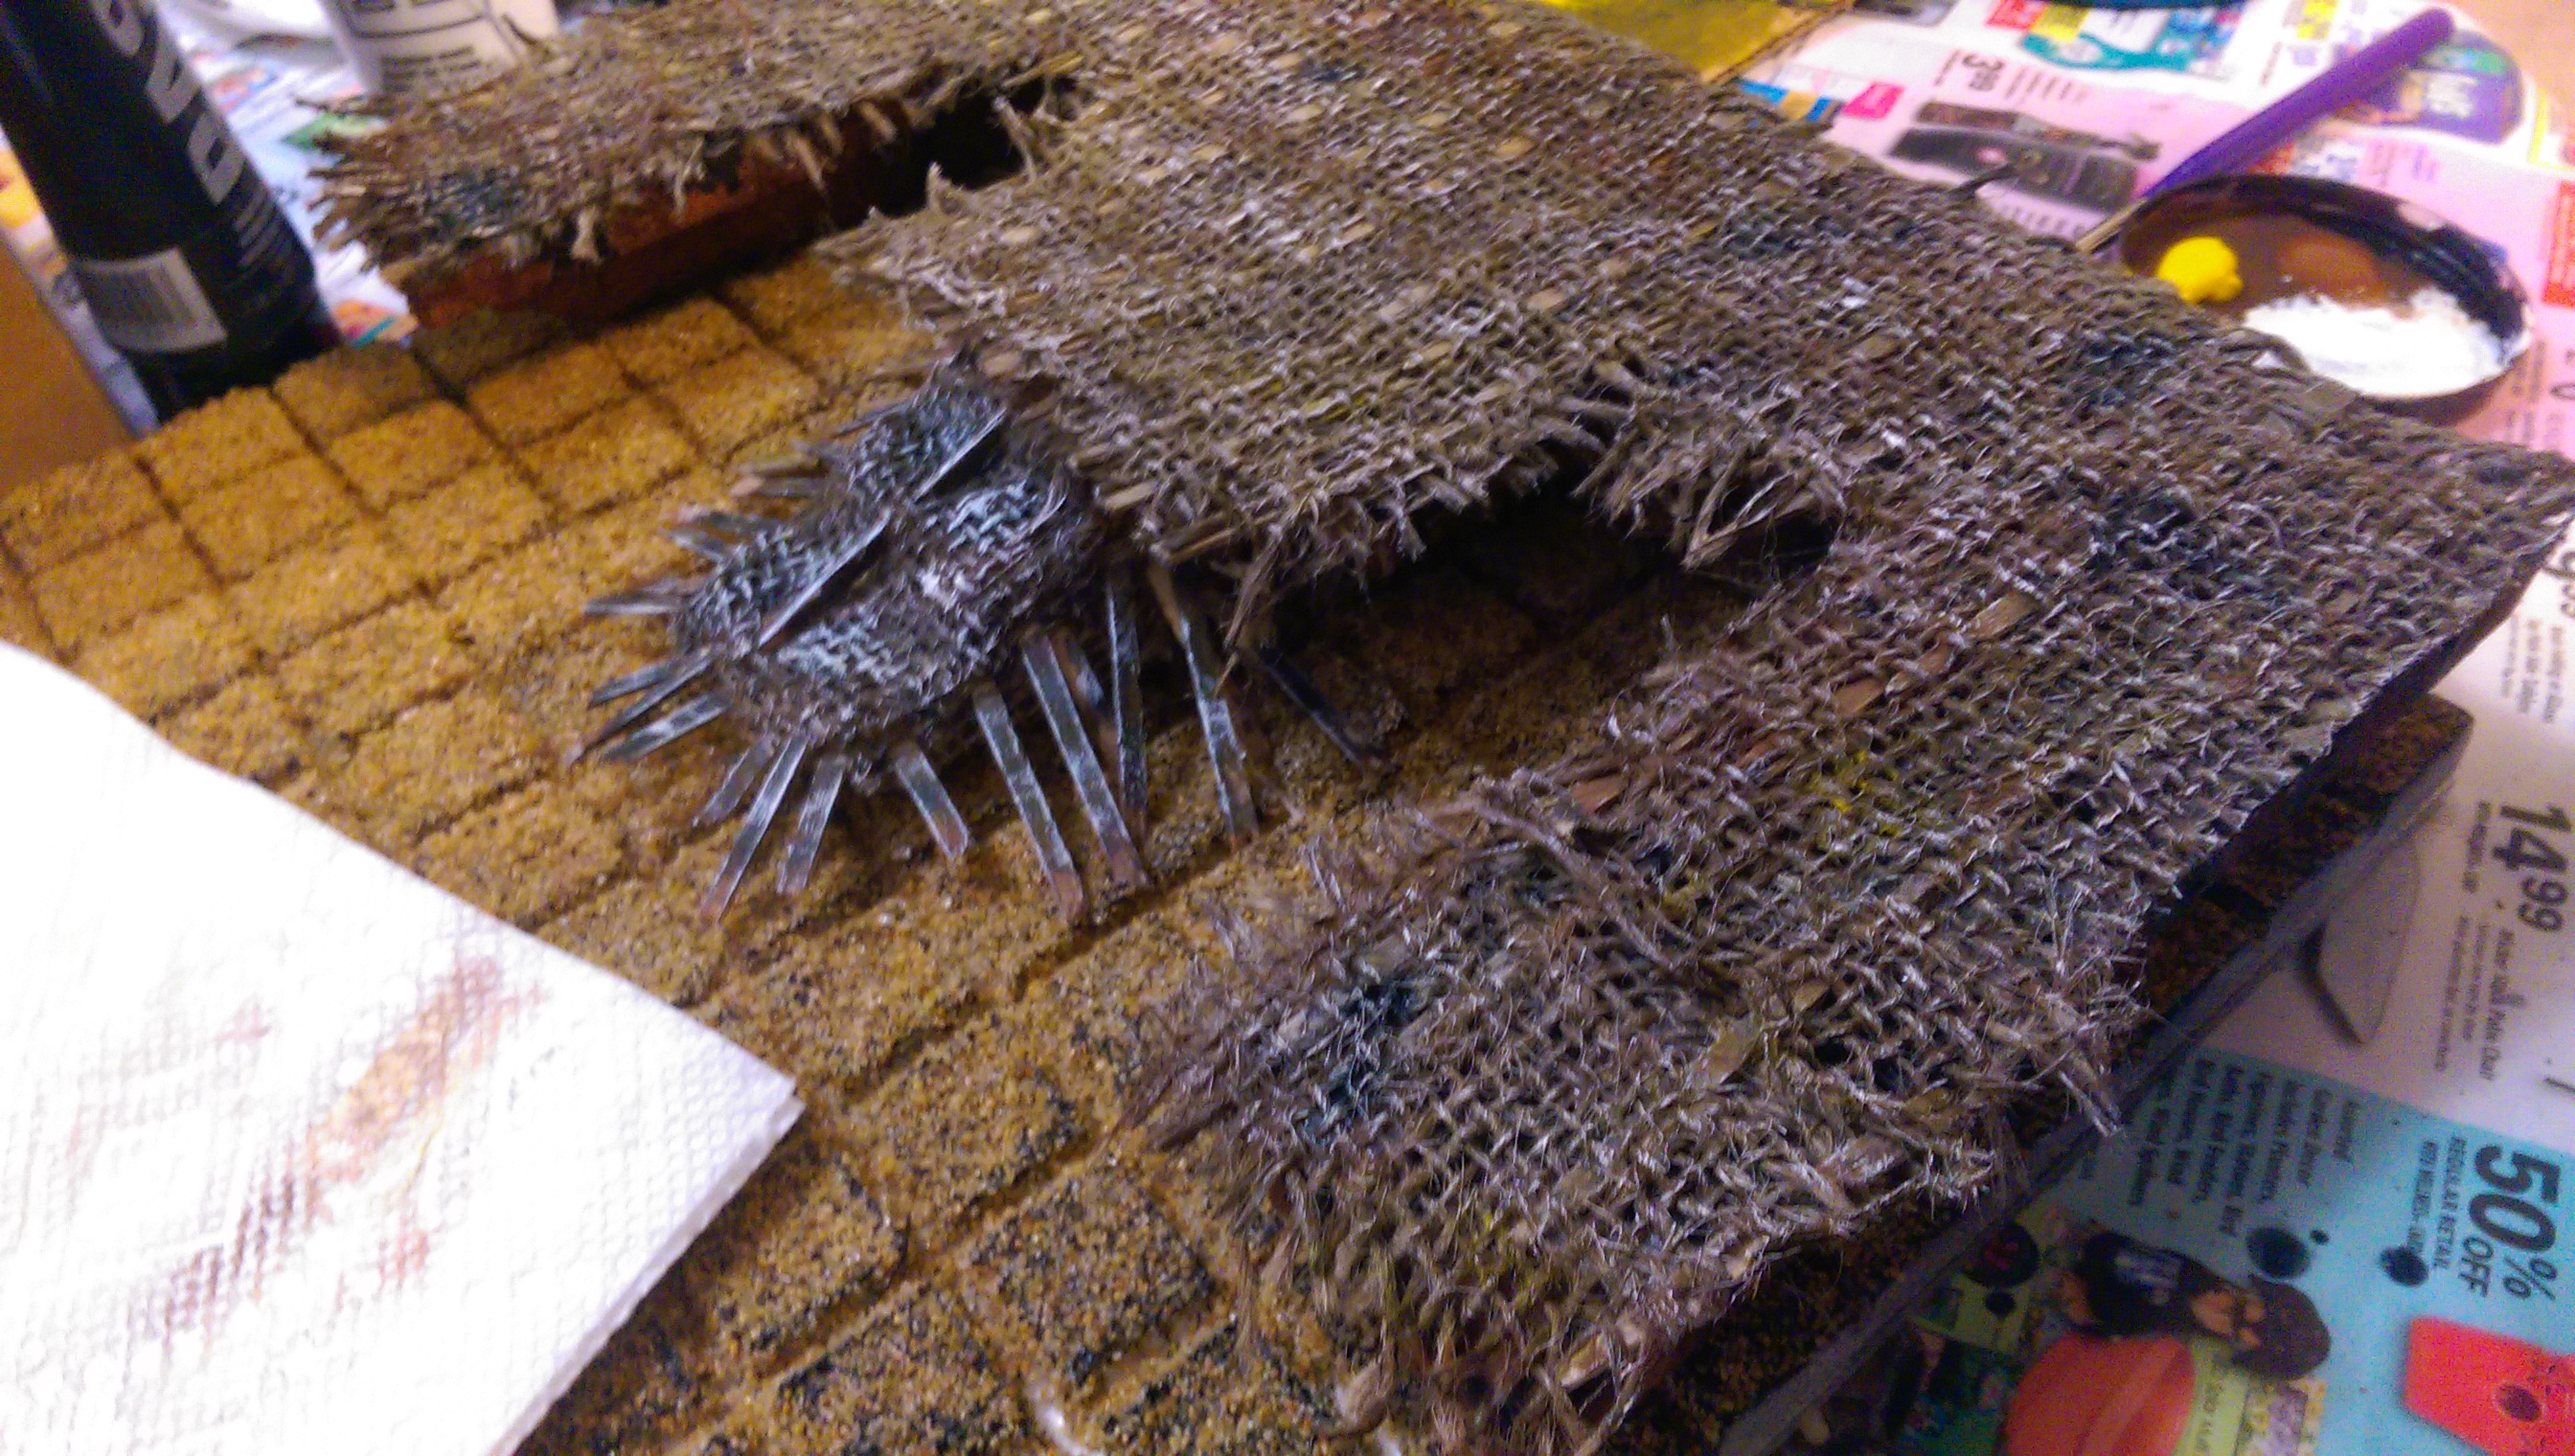
Robin weaving some “bones” into burlap. This will go atop the Dais
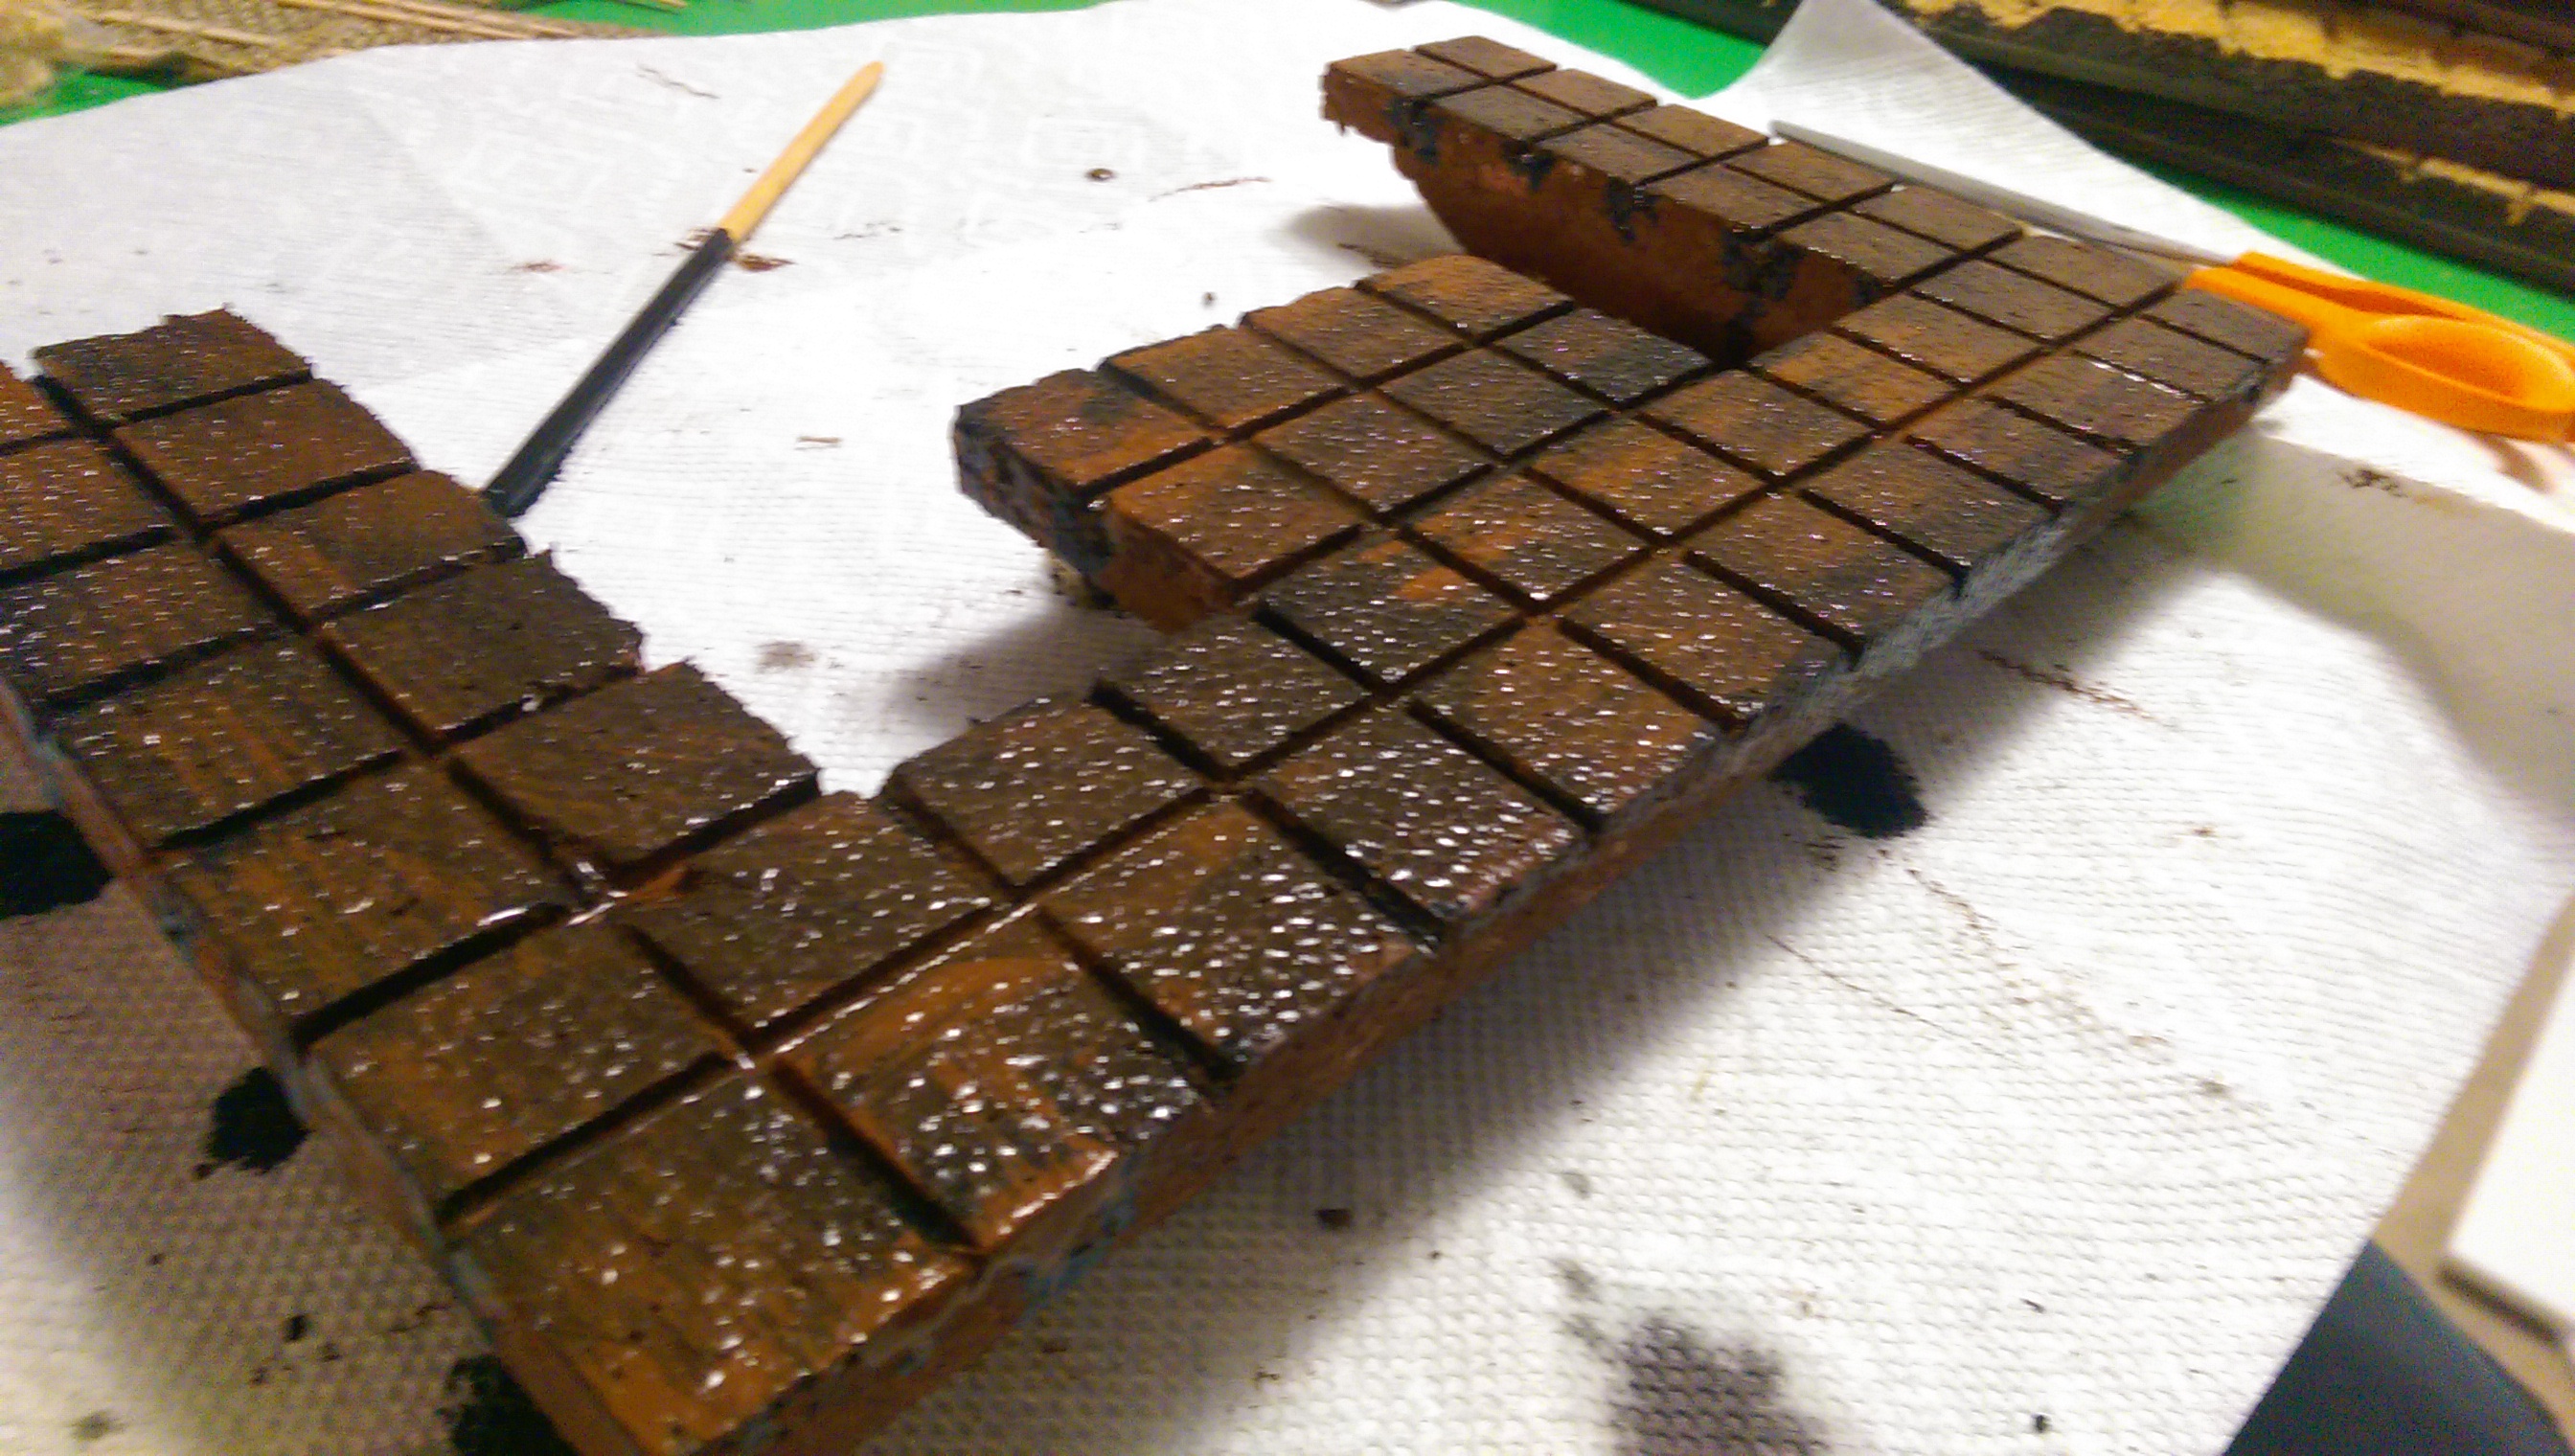
Dais was a tad lighter than I’d like after it started to dry. I blackwashed it pretty heavy.
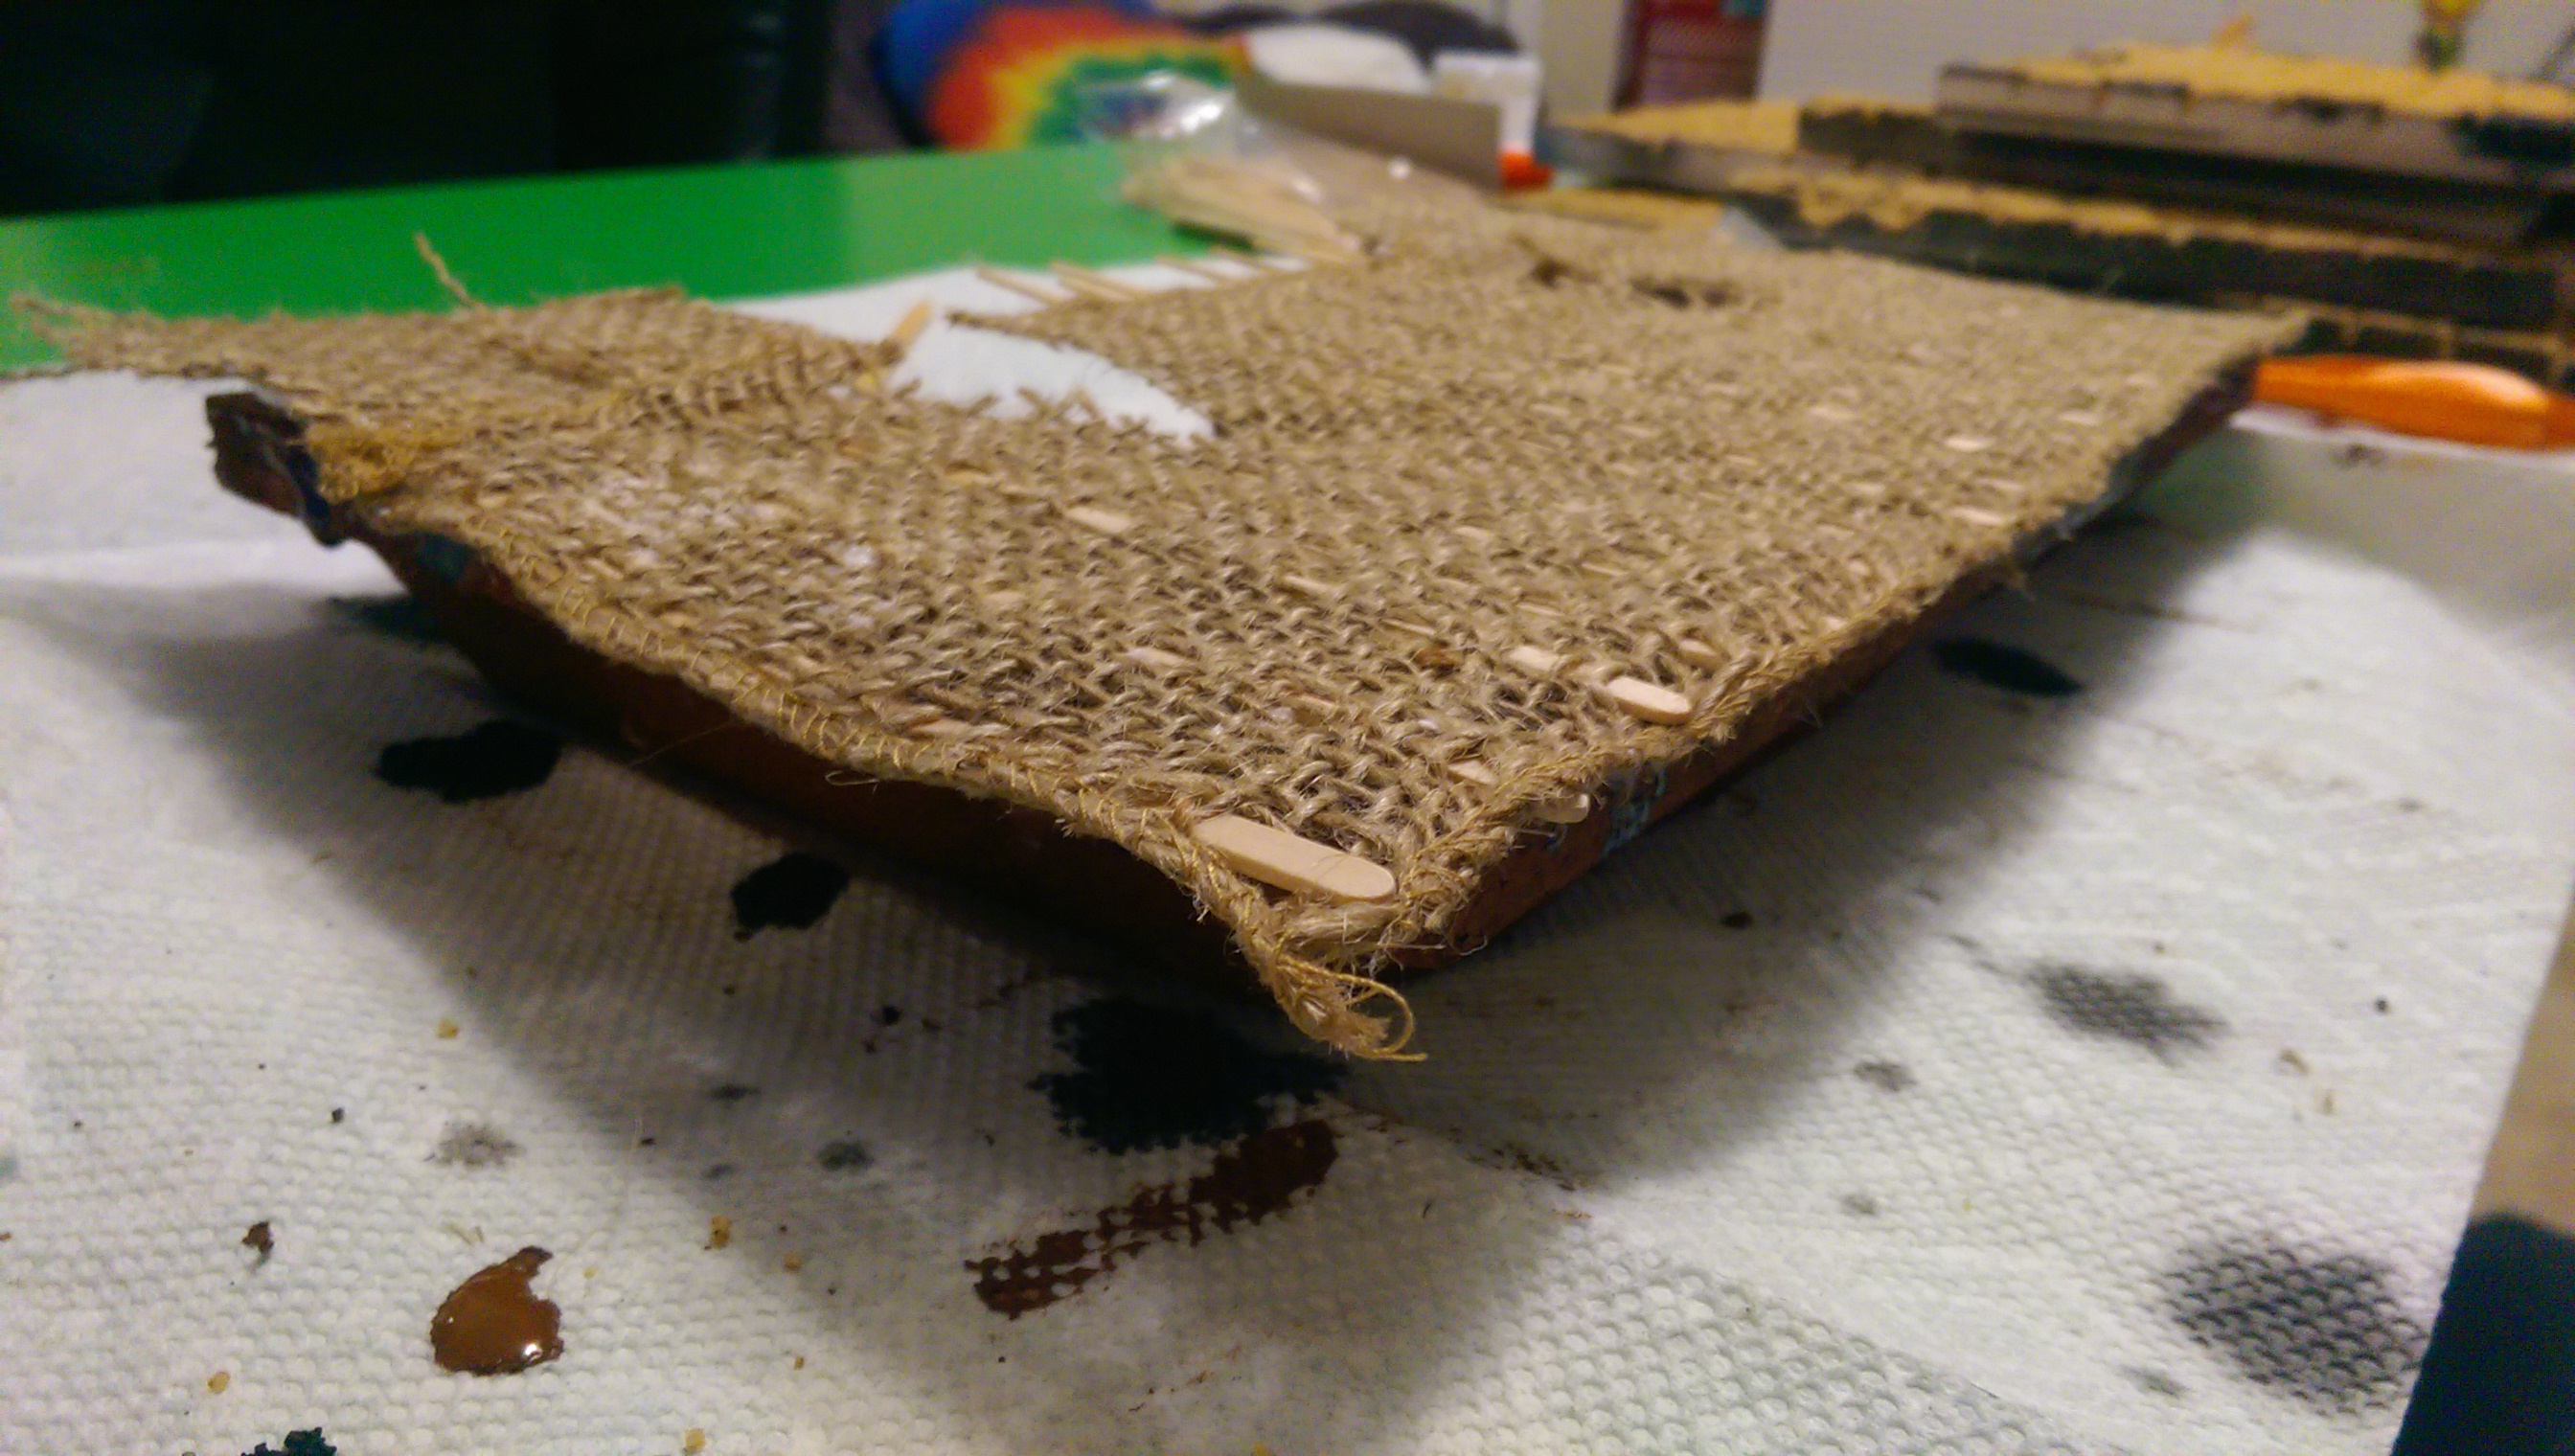
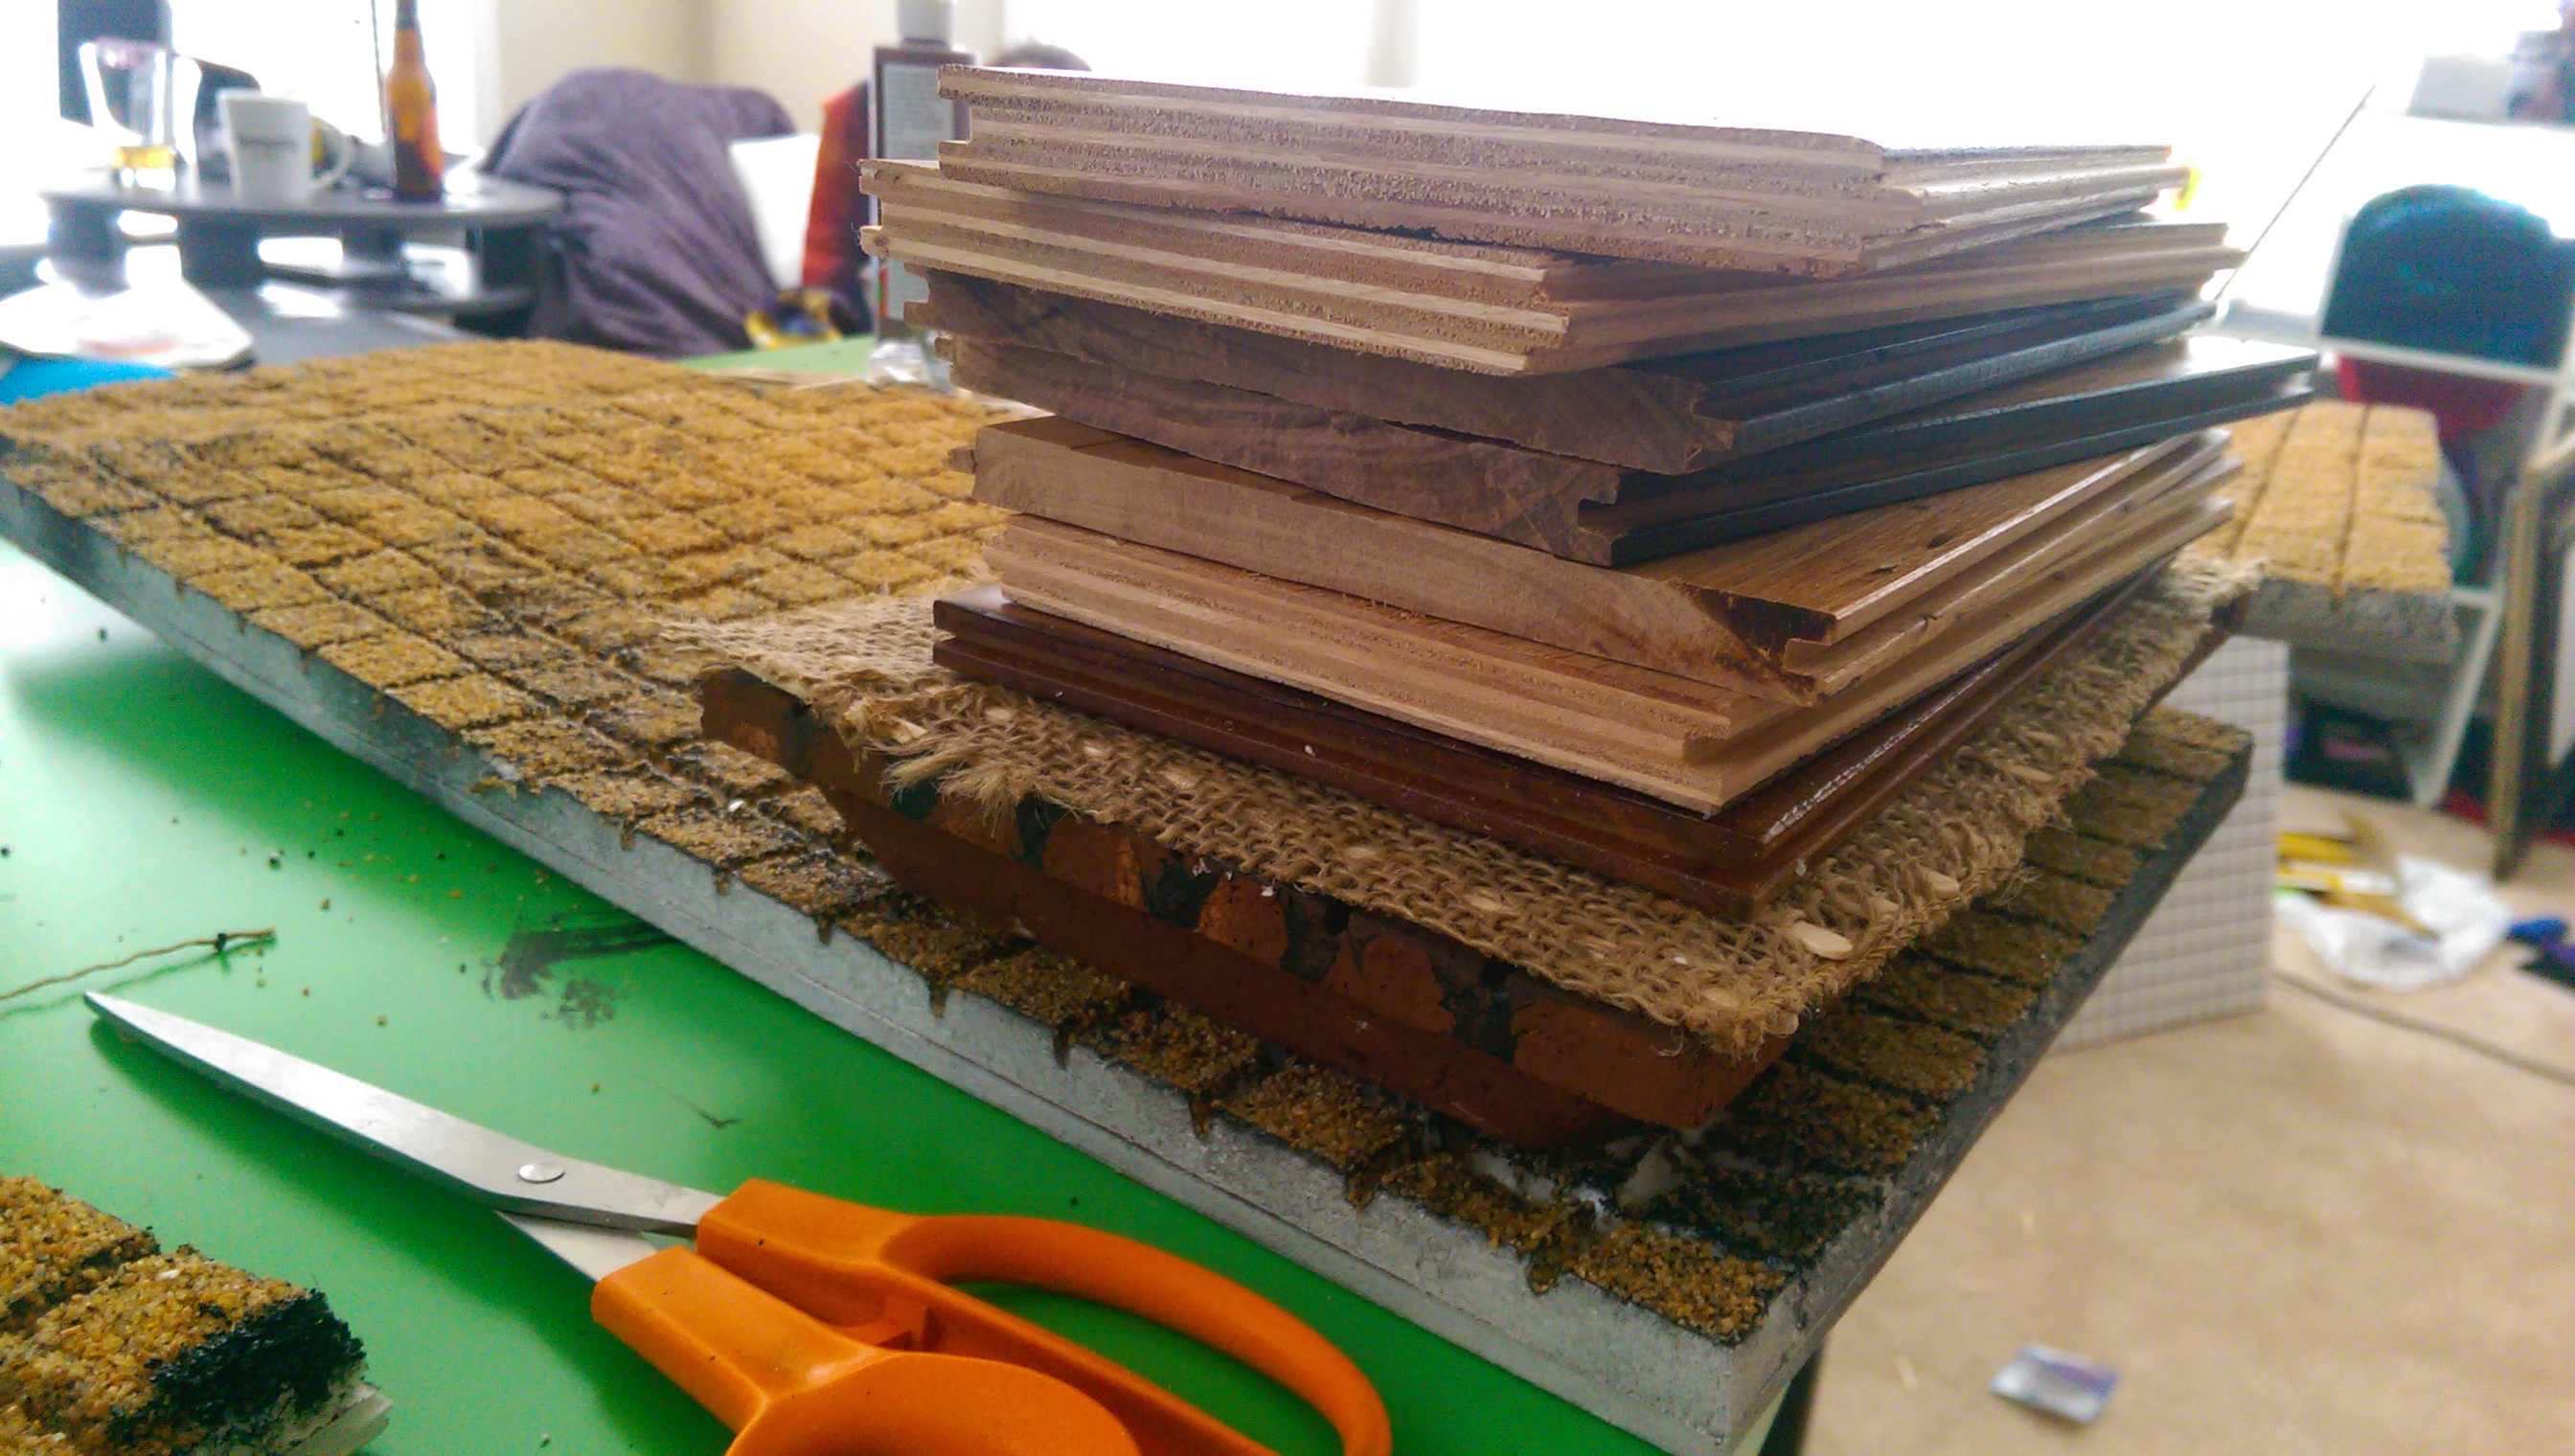
Laying down the burlap, getting some sizing and fitment idea.

Tweaks
Moving onto building the stairs up to the Dais. In retrospect, this might have been better if I made it as one piece with the Dais, but it still worked out okay.
Next day I started up by clear enamel spraying the tiles. The sand really got stuck down with this. The sand kept lightly dusting off the tiles any time I touched them, this enamel completely locked it down.
The clear enamel is…well, it’s clear. I had trouble discerning where I’d coated and where I didn’t….and I got too close. Some of the styrofoam melted away from the aerosol 🙁 Lesson learned…

Glued down burlap, stretched it over the stairs and held it in place, and then used some picks to press it down against the step platforms.
Dais is ready to go on! Placed carefully with ultra tacky glue and weighted. And then…waited.
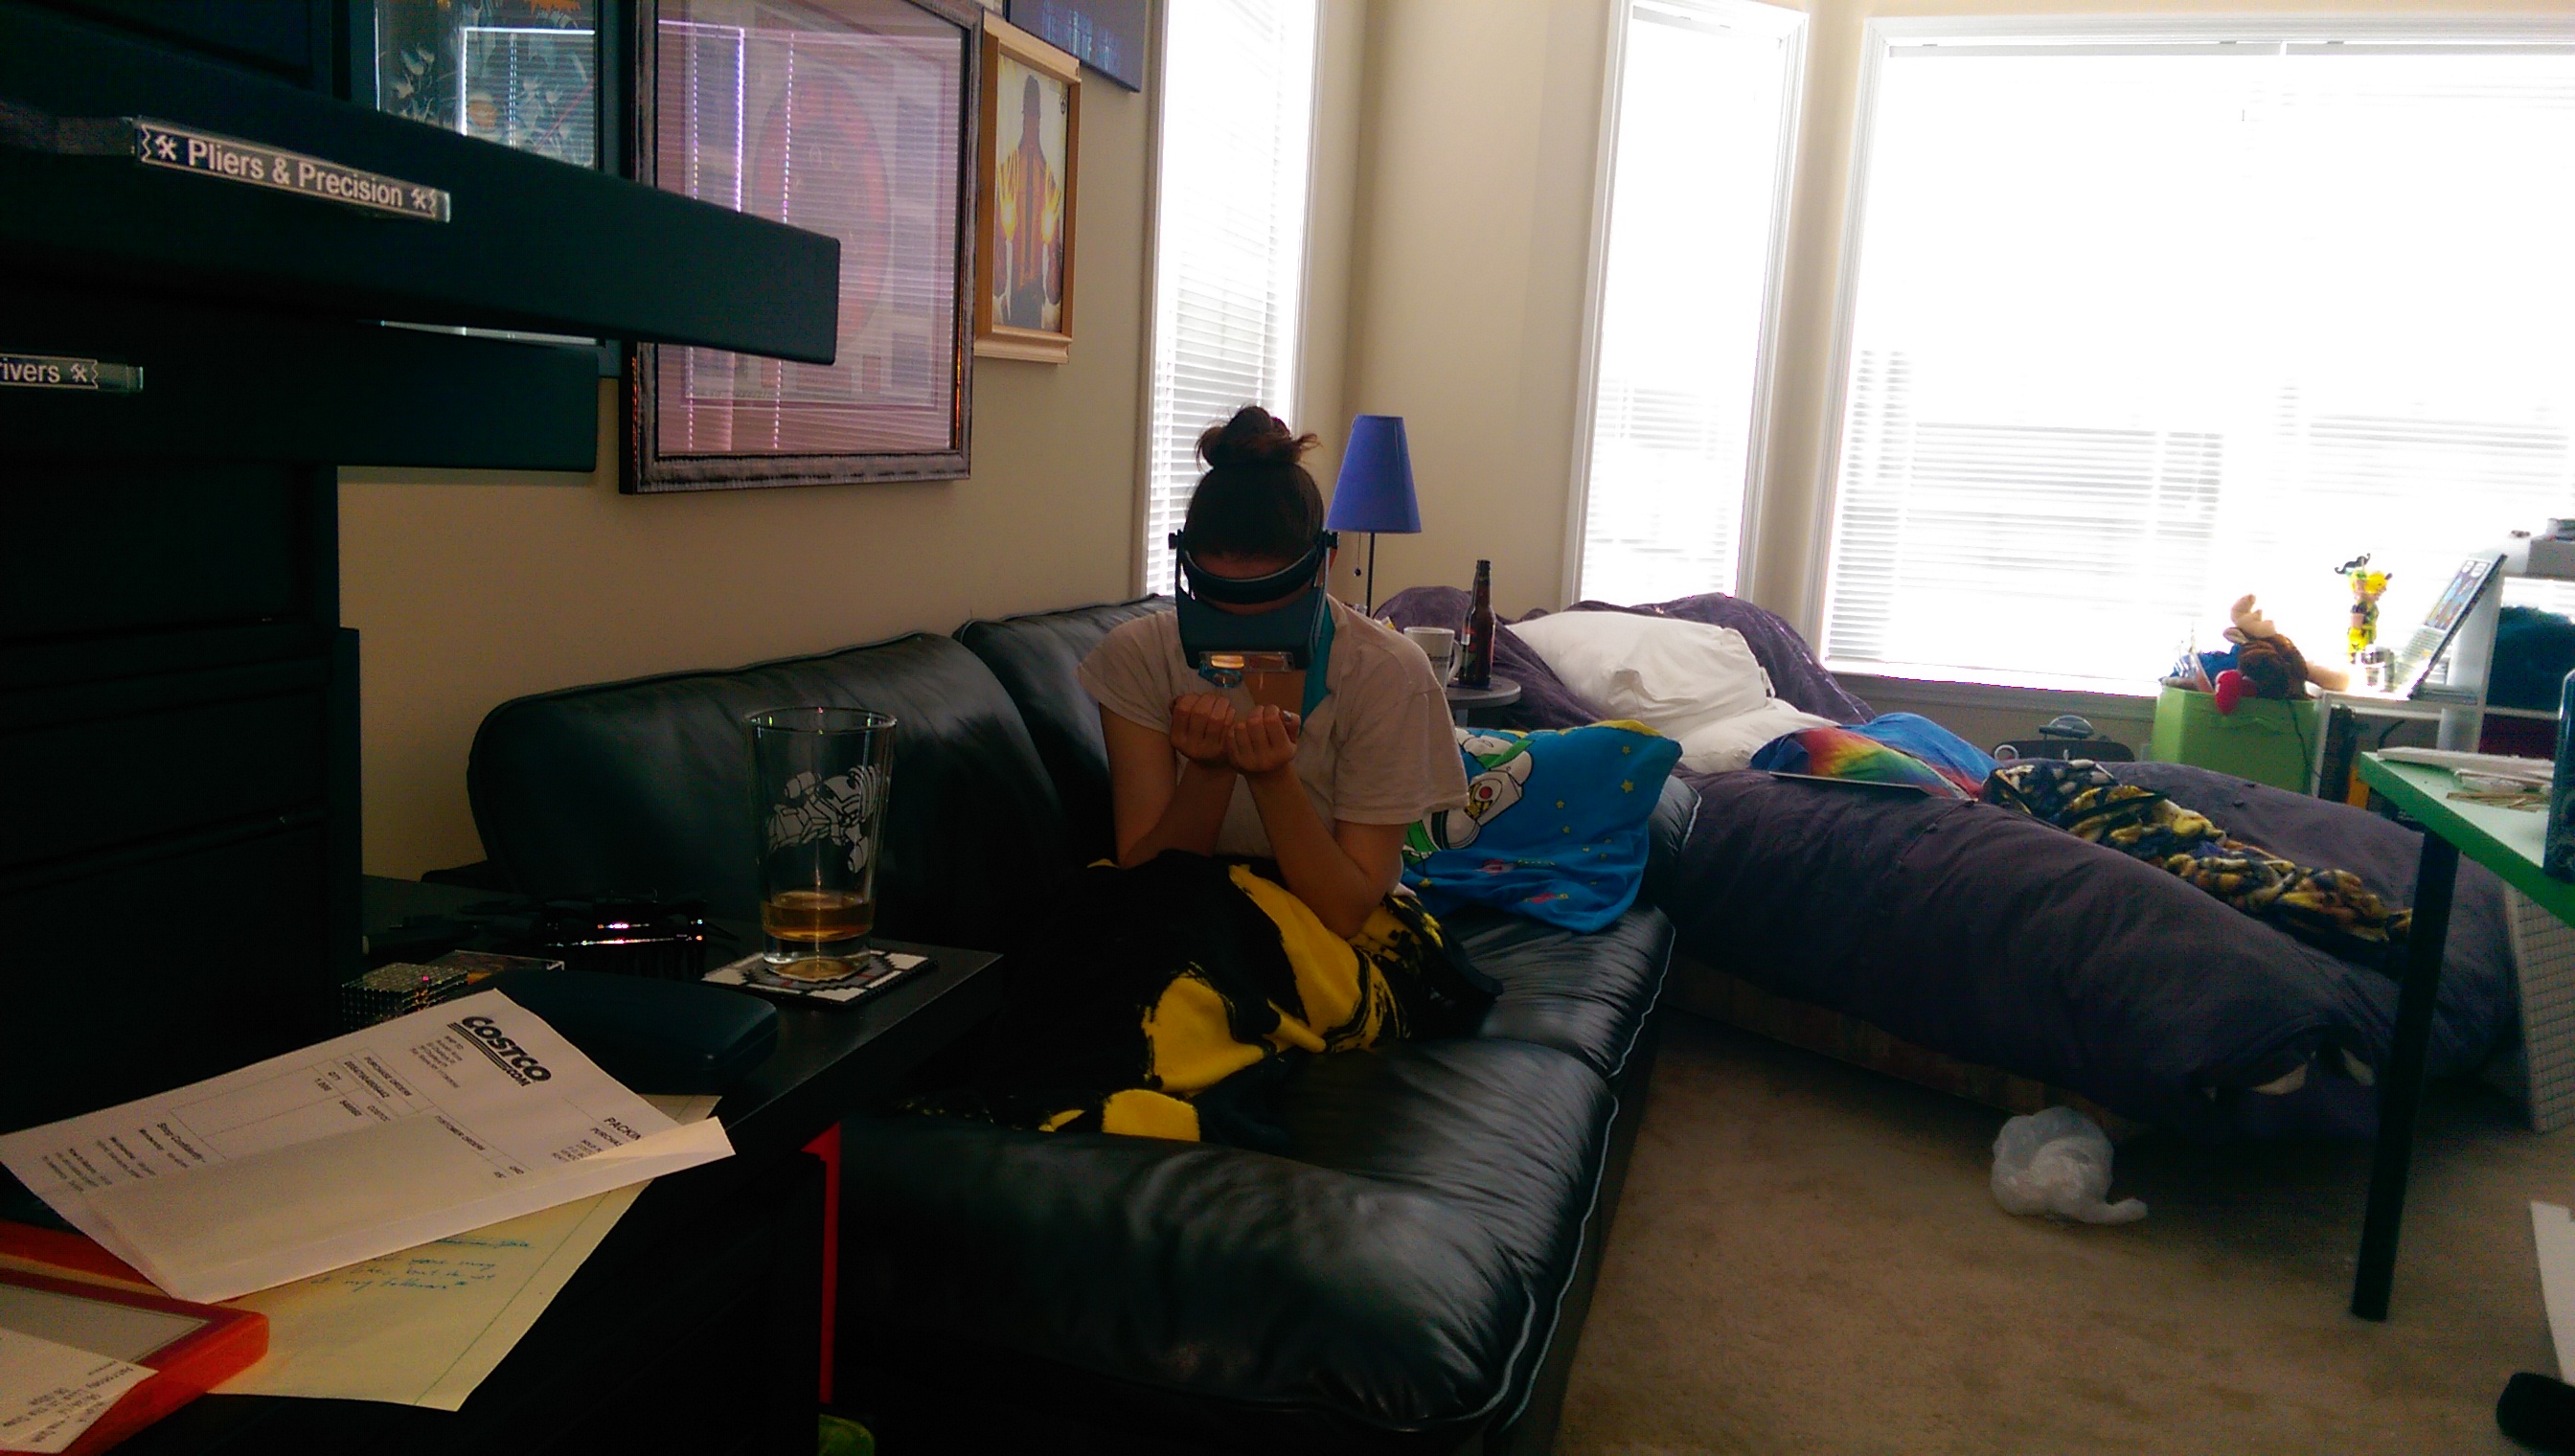
In the meantime, it’s time to play around with the Optivisor! This is cool! She made fun of me for staring at my fingers with them on. Then she put them on and would ya look at this! Photo taken for evidence.
If I turn the stairs, it looks more like the iron throne! But I’m okay with it.
After some more drying.
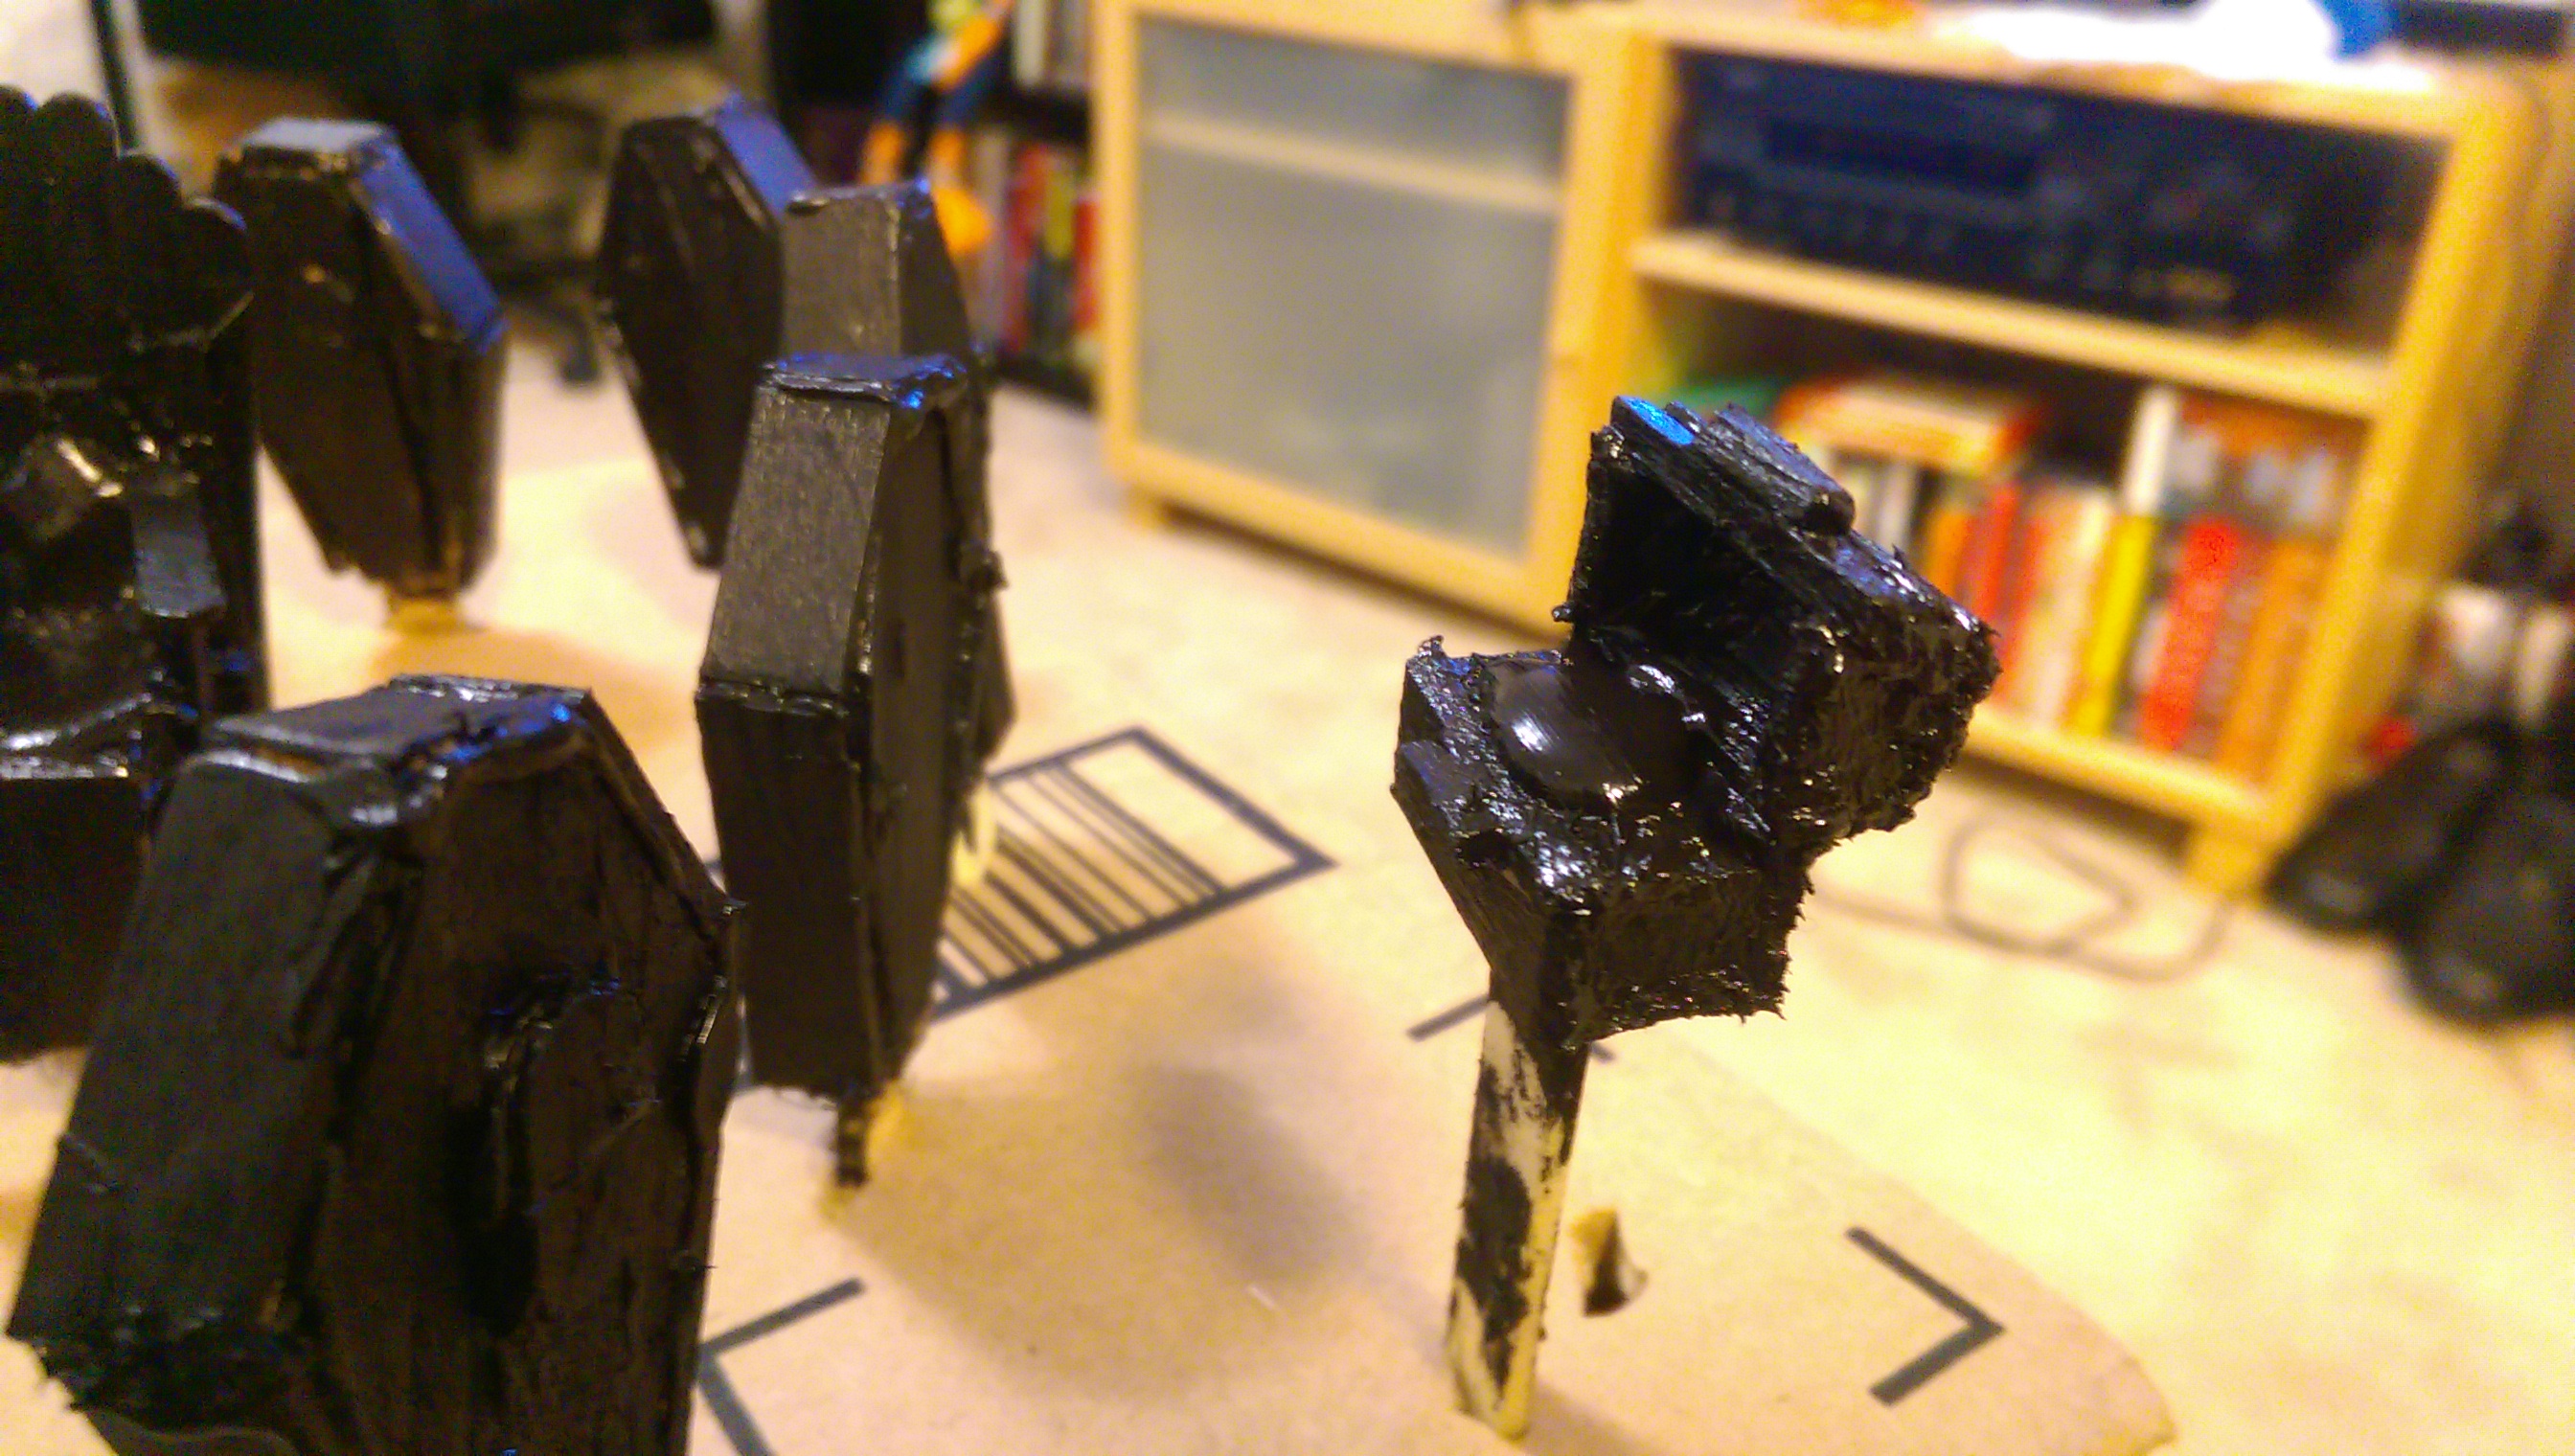
Okay, big pieces mostly done, time for the details that make or break a dungeon. Followed thedmg.info for help on how to build a lot of this stuff. This is the beginning of a coffin
This is my second coffin, the first one was so disastrous I tossed it. Fortunately, this was a lot easier to learn and get the hang of than I thought.
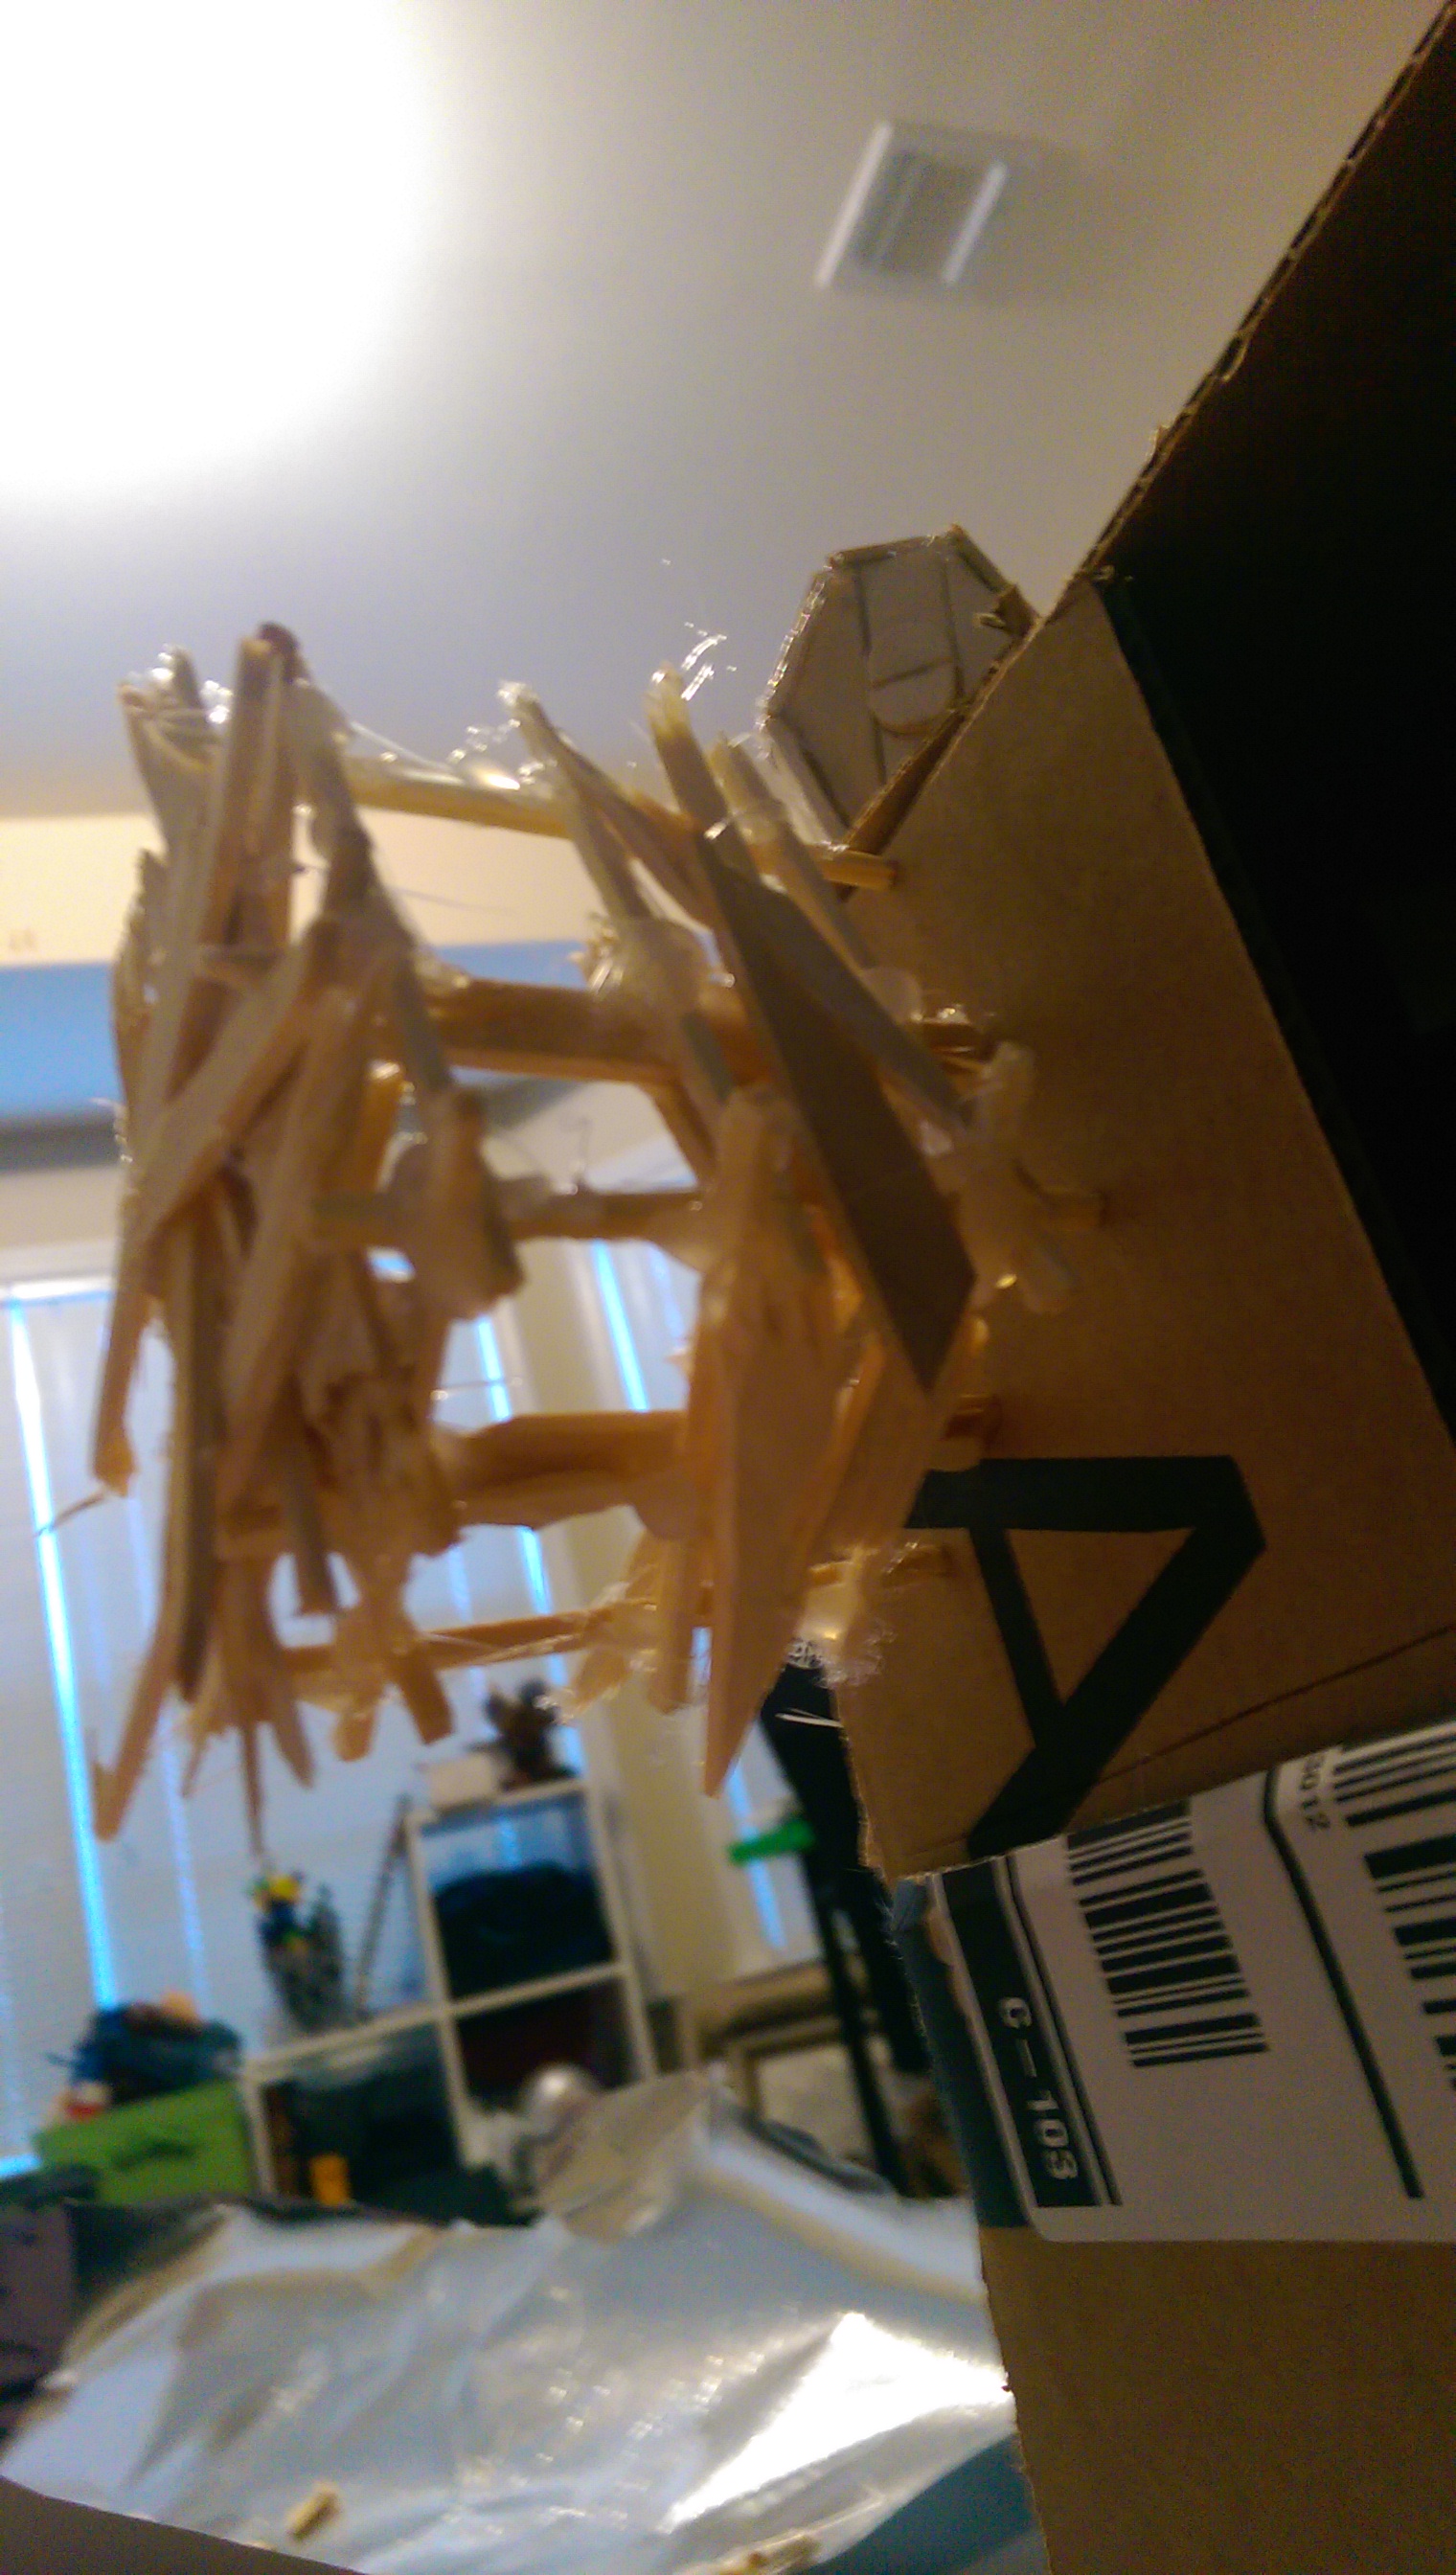
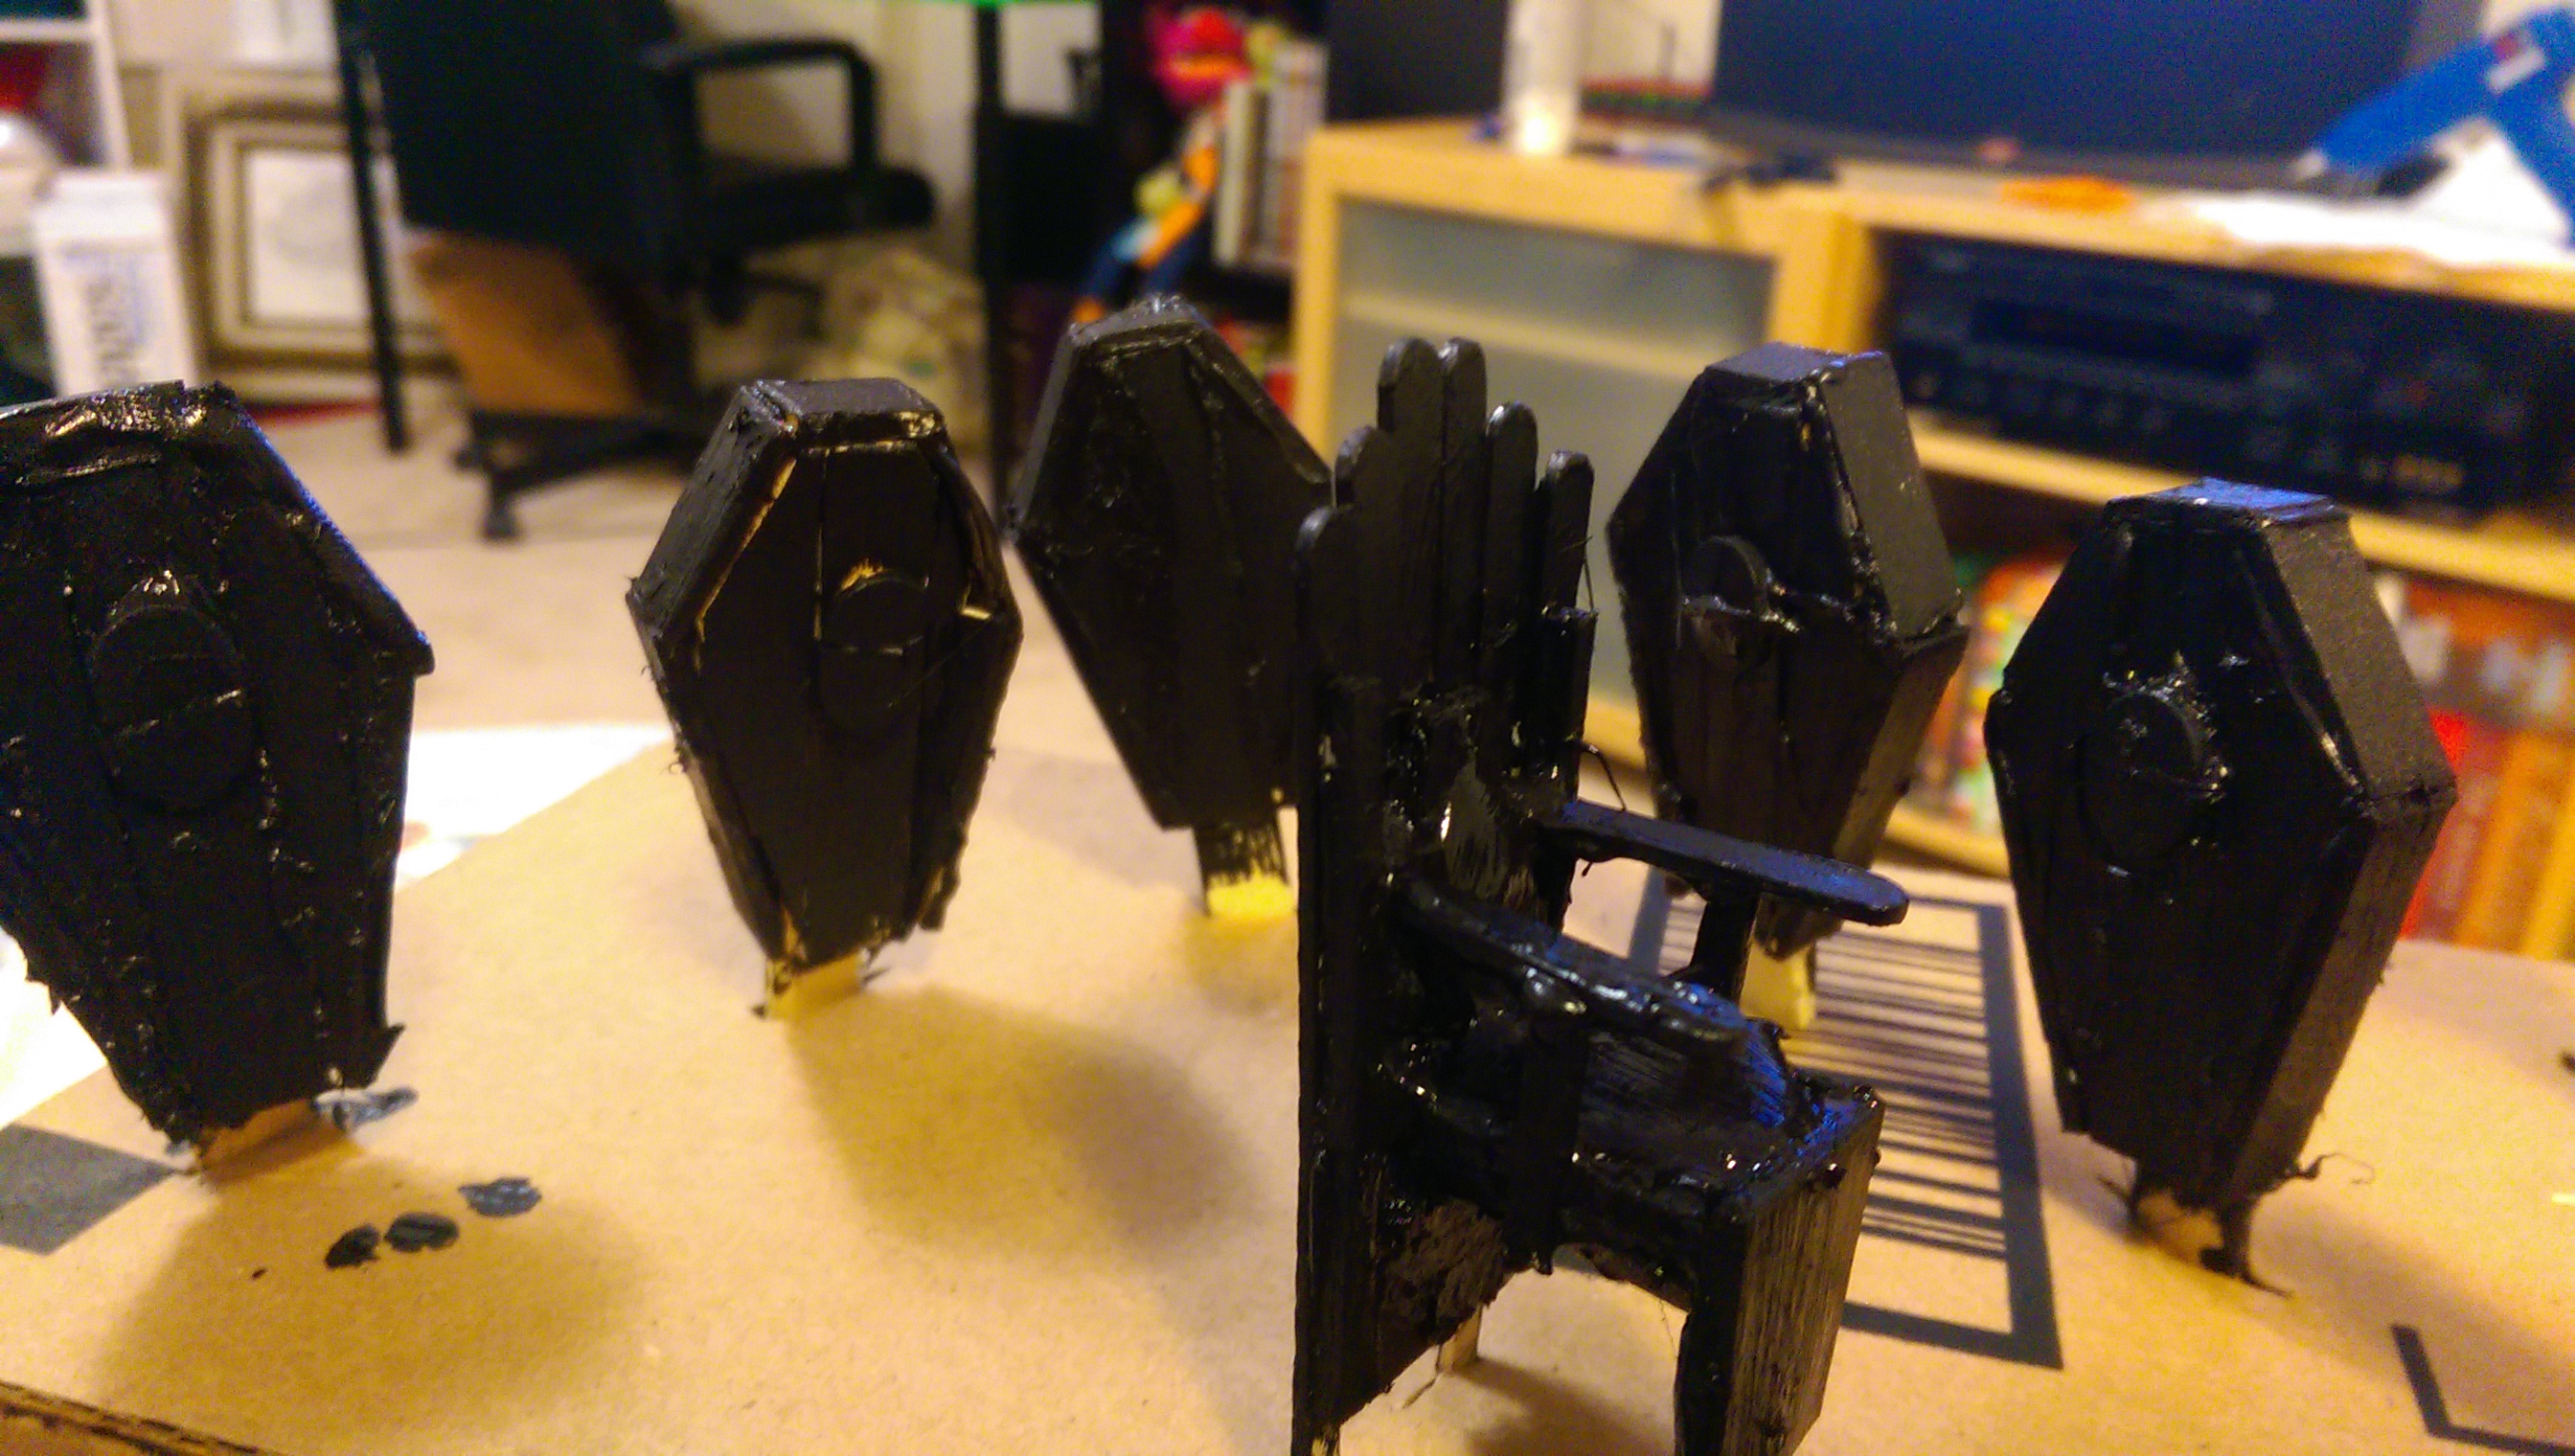
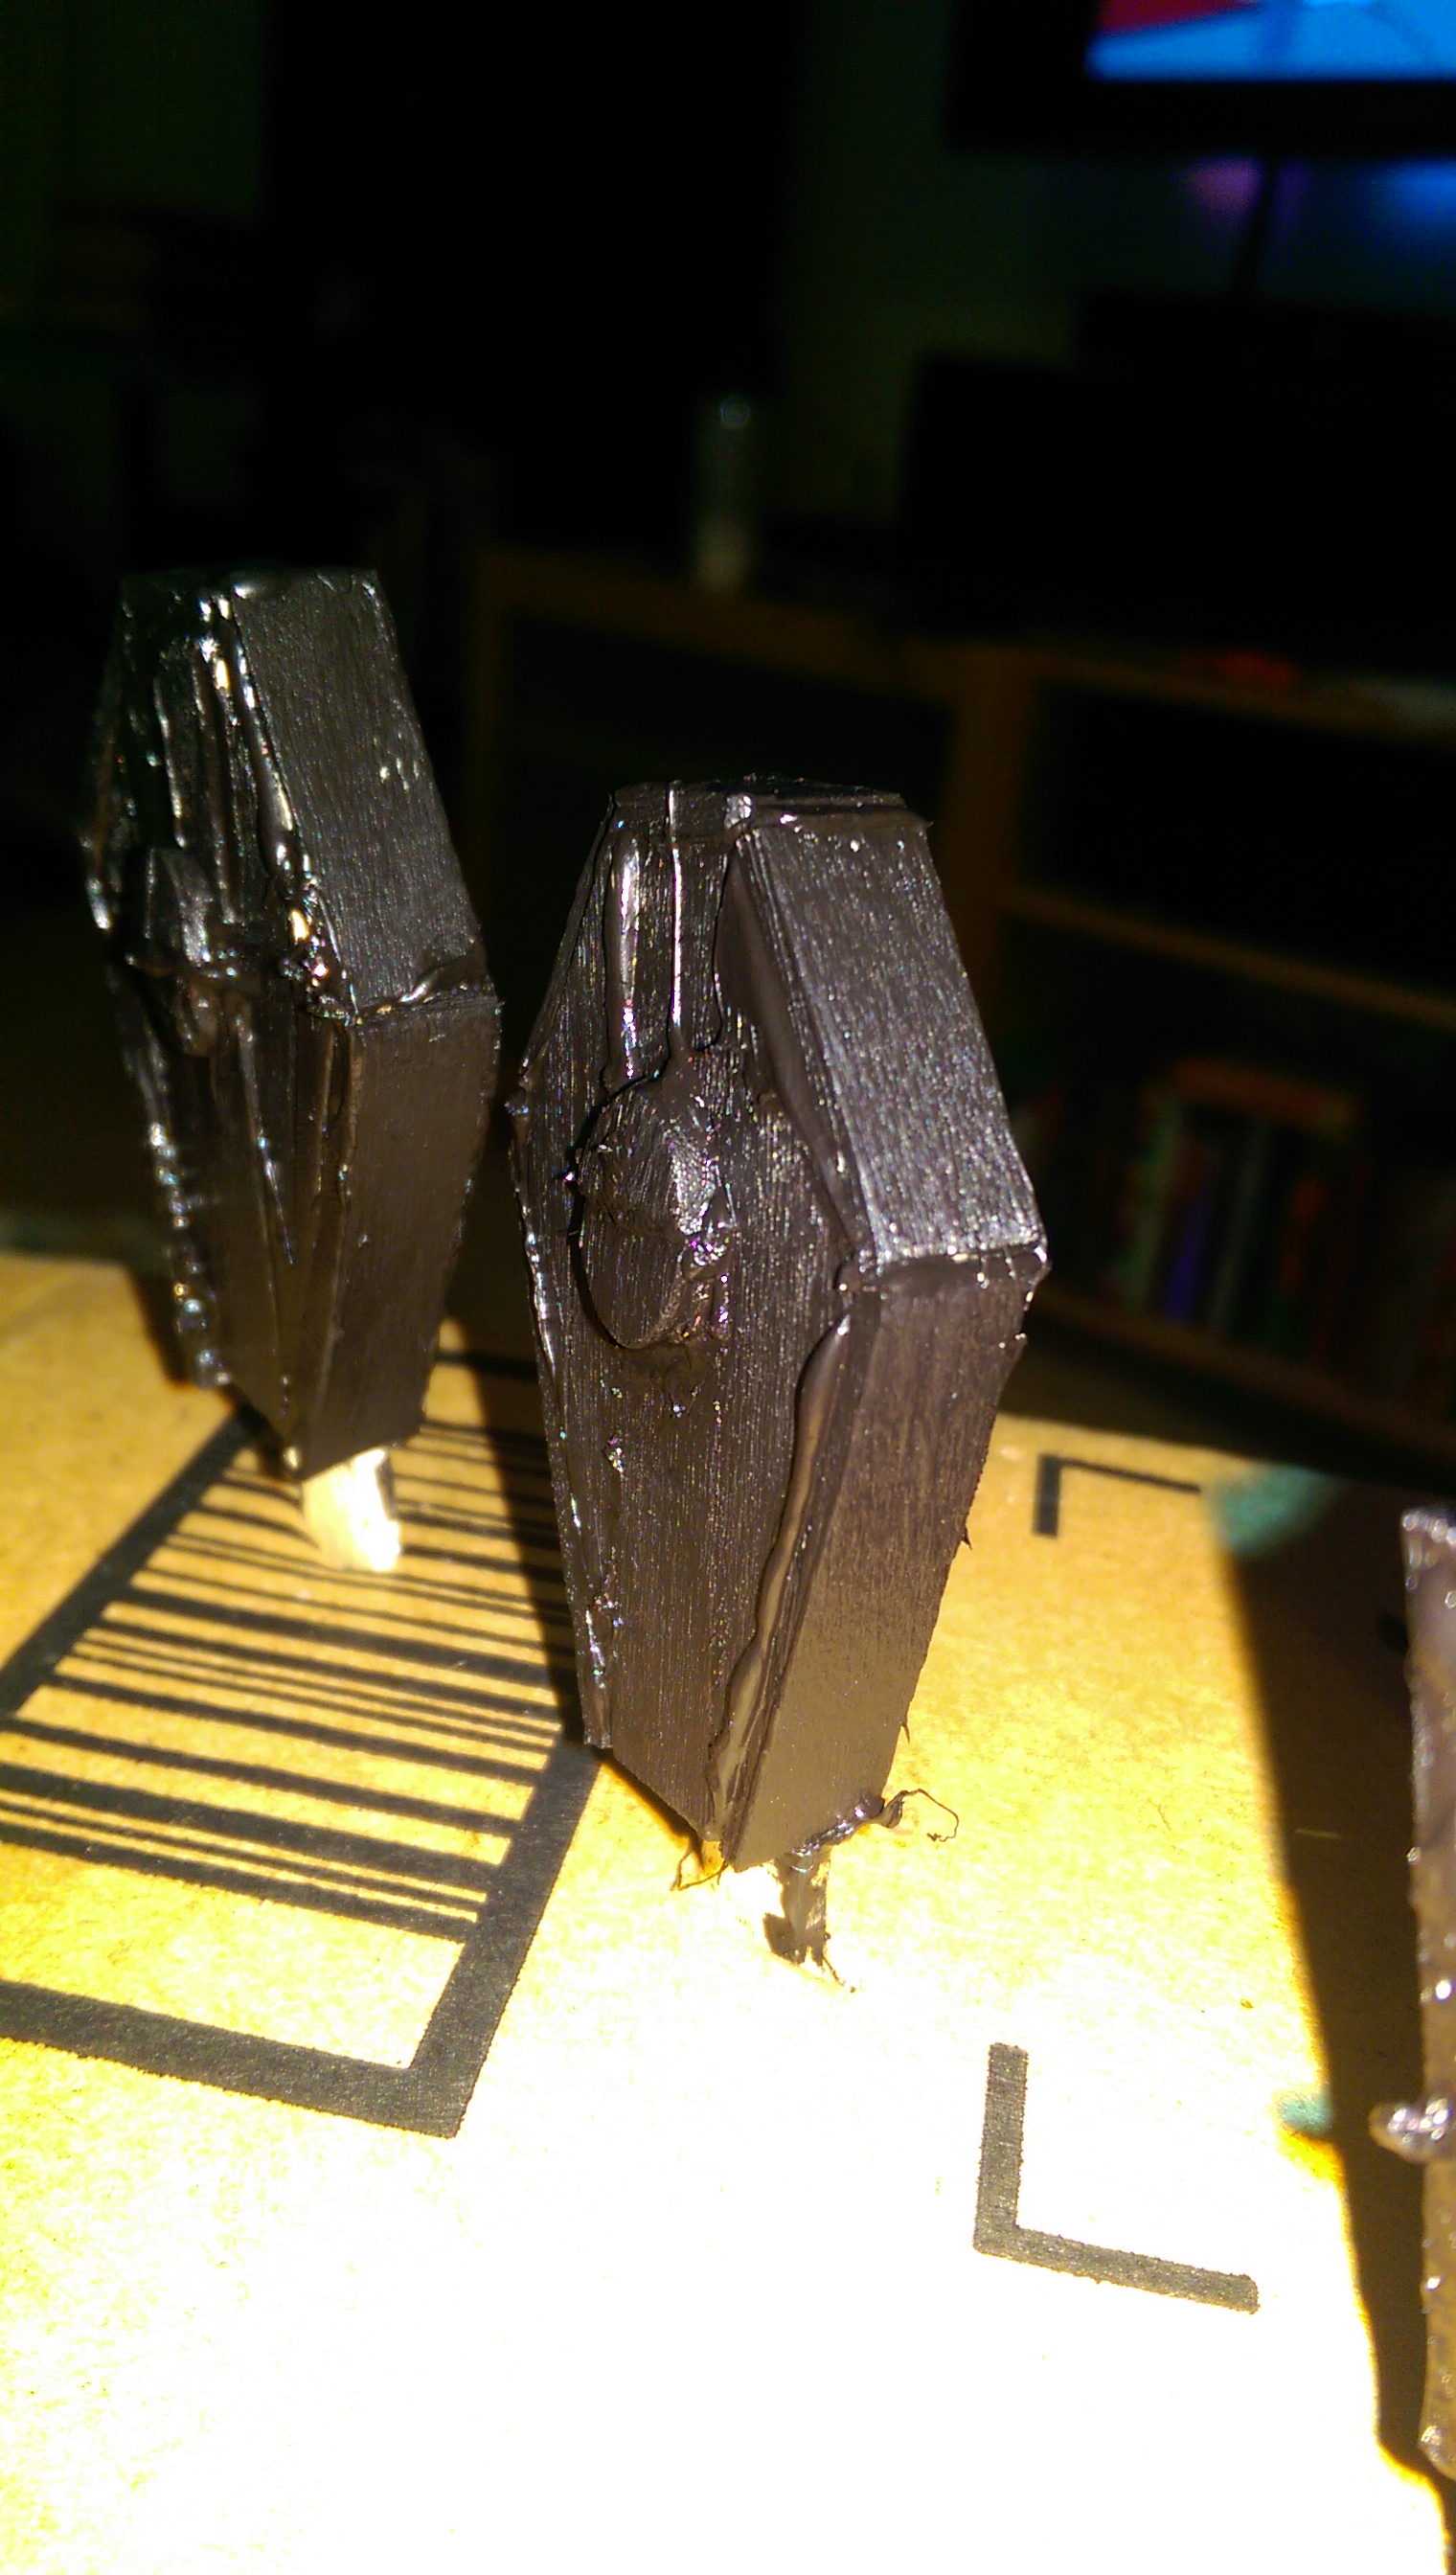
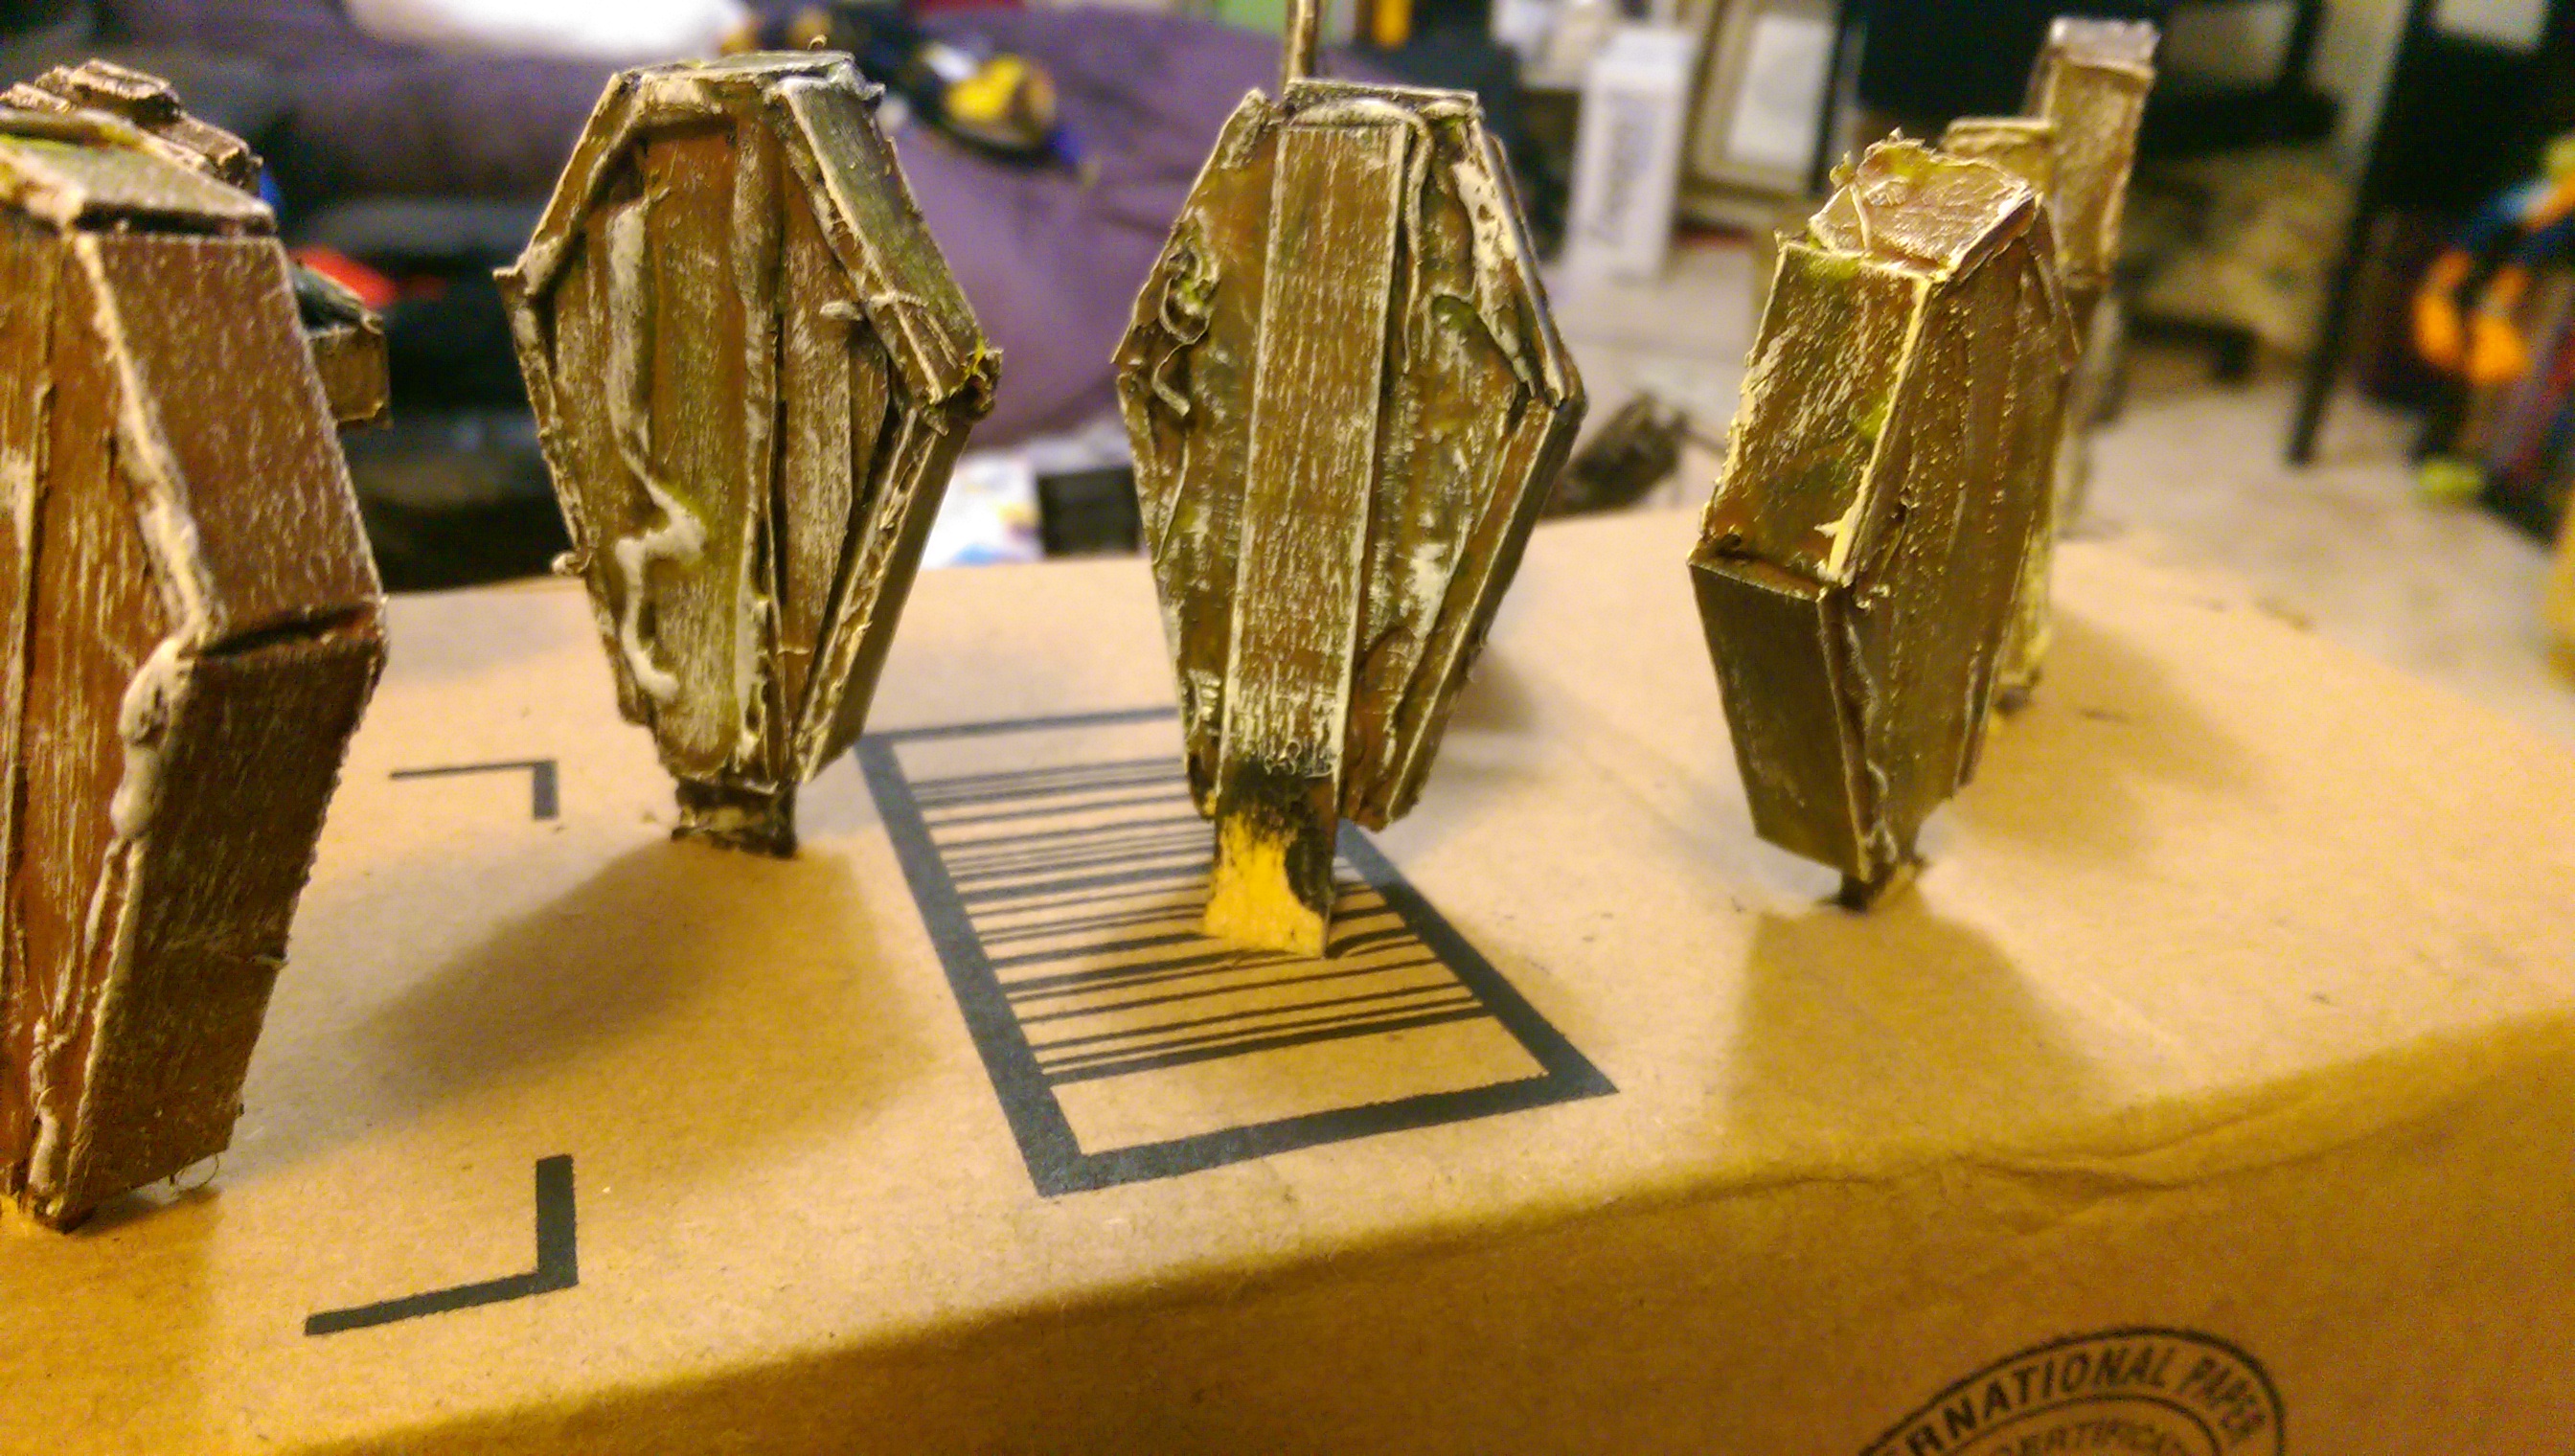
Some coffins! Glued them on sticks on the inside, this will help in my speed painting.
I ended up losing pieces when I cut them, scissors caused them to fly all over. I decided to start marking the popsicle sticks before cutting, it made them a LOT easier to find in all the rubble of splinters and hot glue.

Stuck them into the side of a cardboard box! Ready for paint.
What did I do with all the splinters I made? Created a crude looking cage! I have no actual need for this. Just for fun.
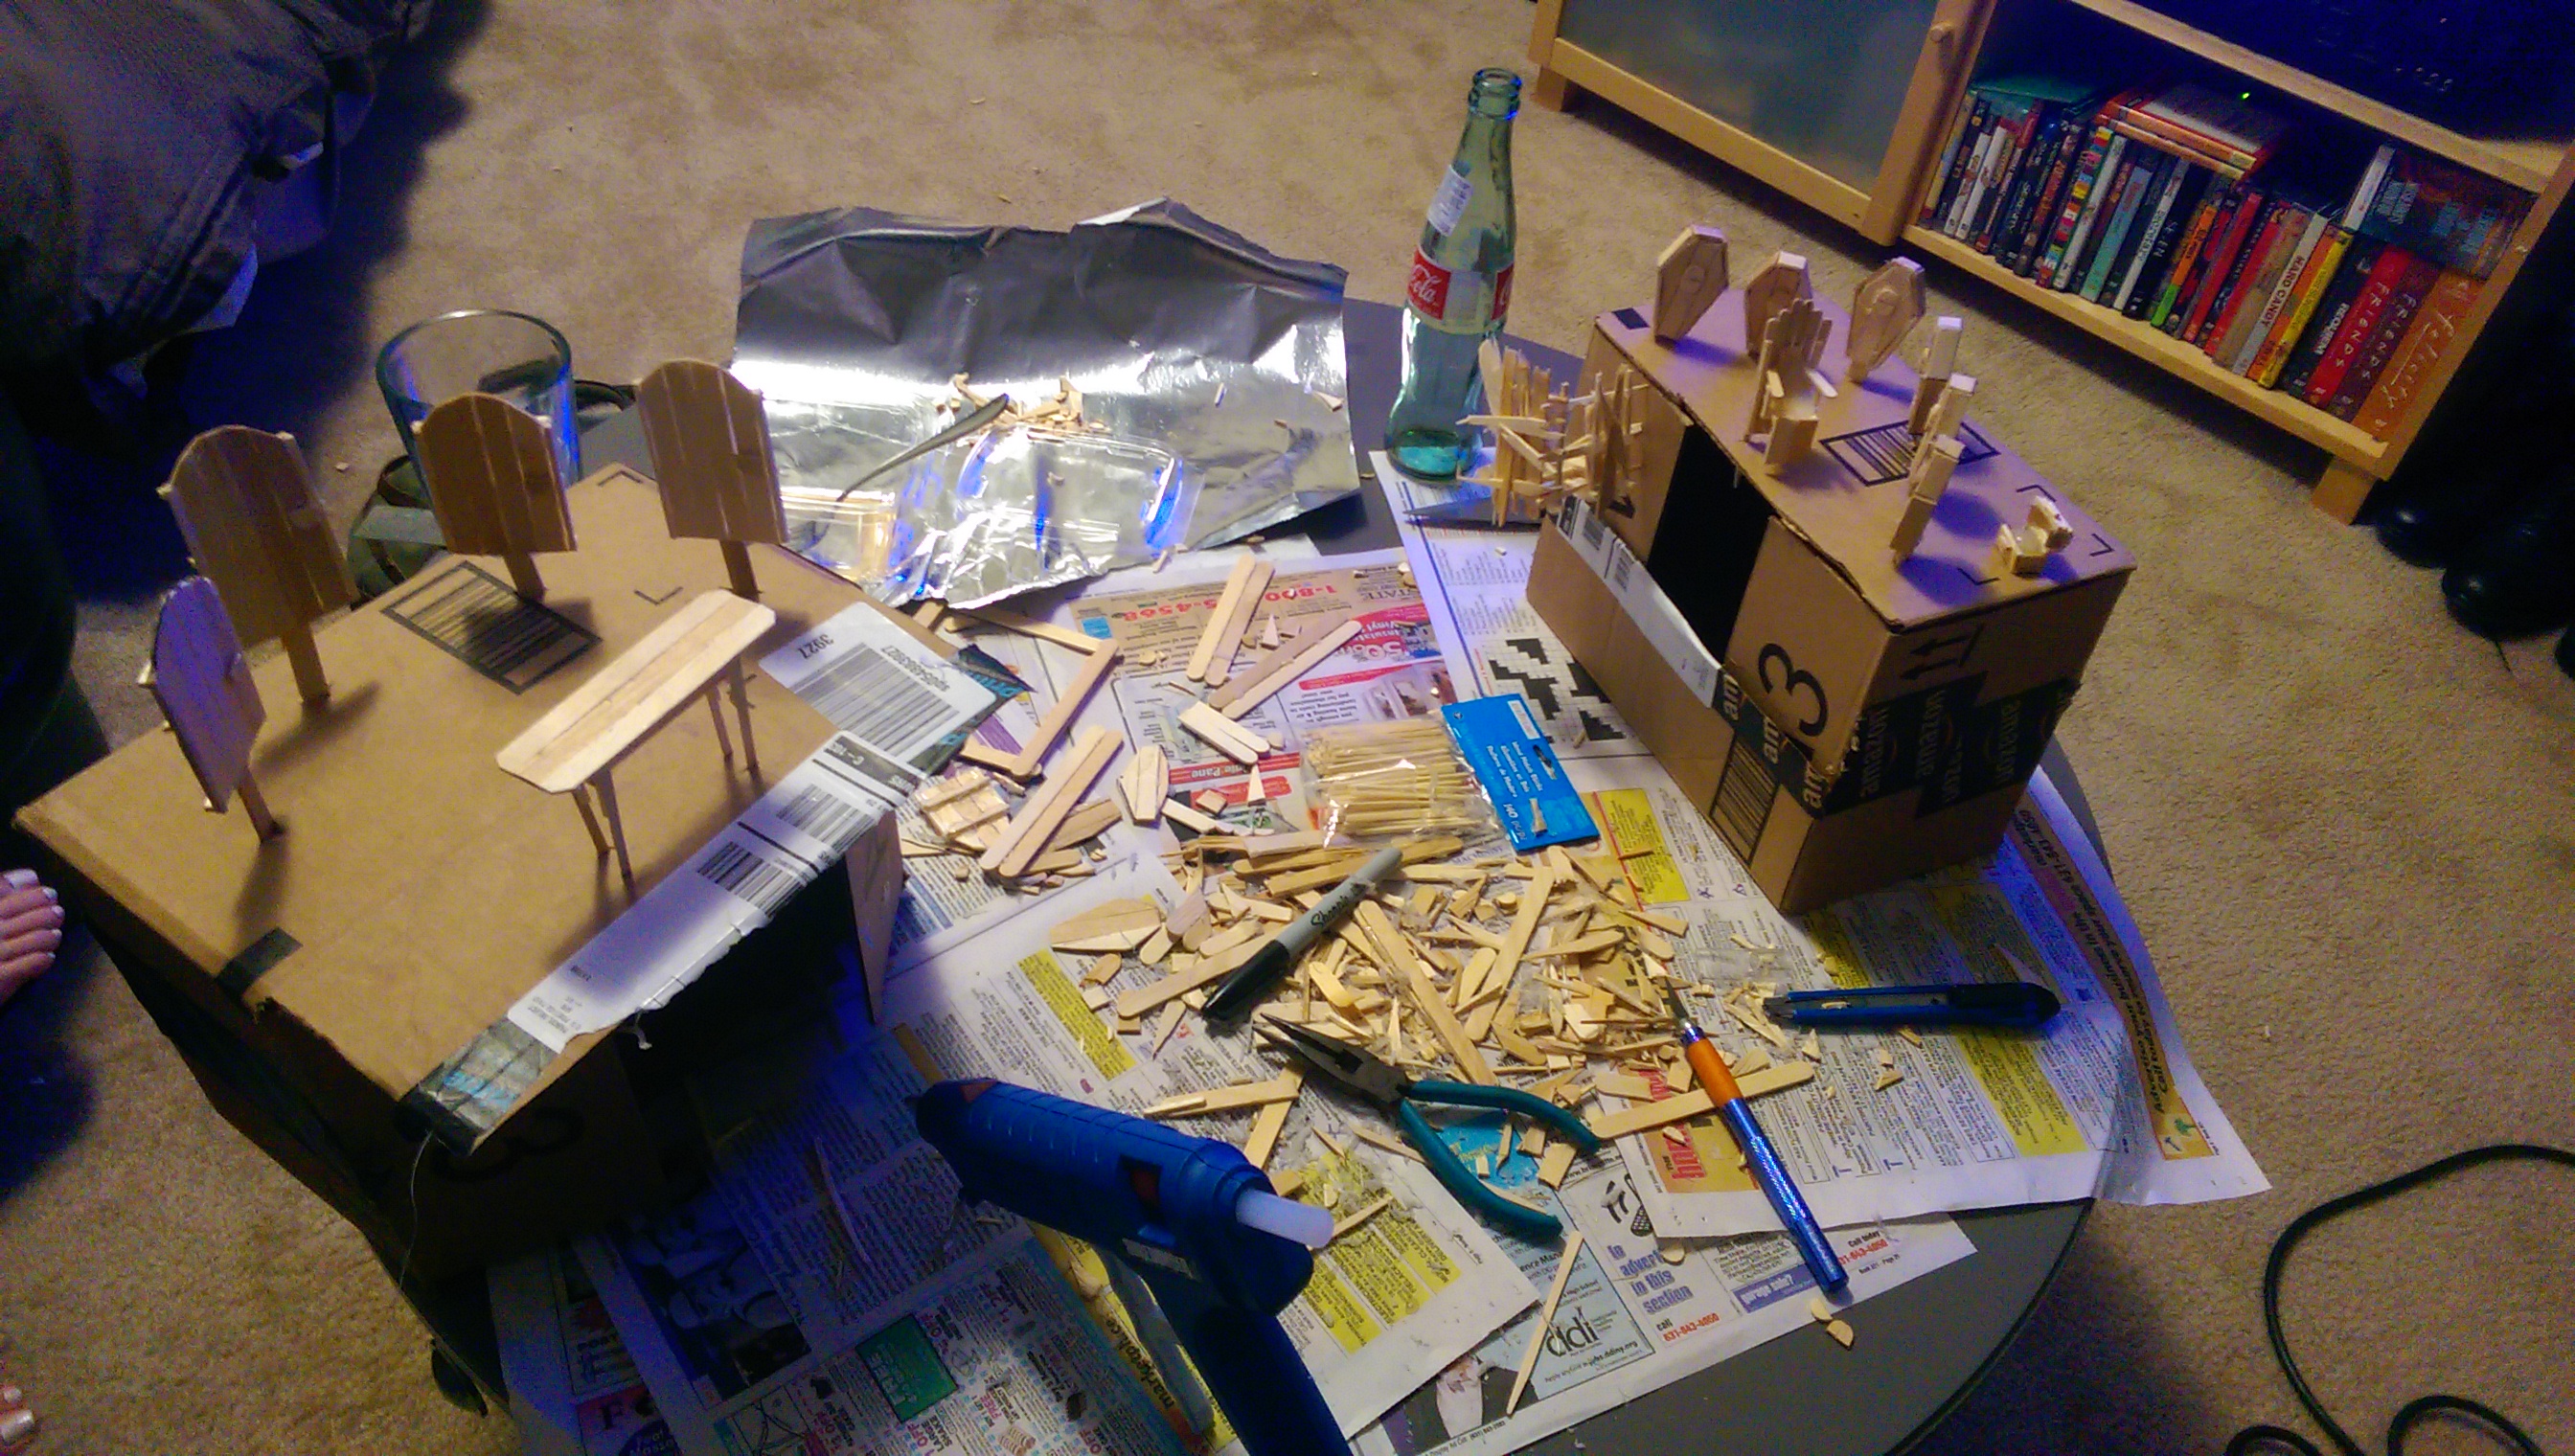
So. Much. Scrap.
I meant to take more process shots, but really, thedmg.info does this WAY better than me. If you actually want to know how to do it, watch his video tutorials.

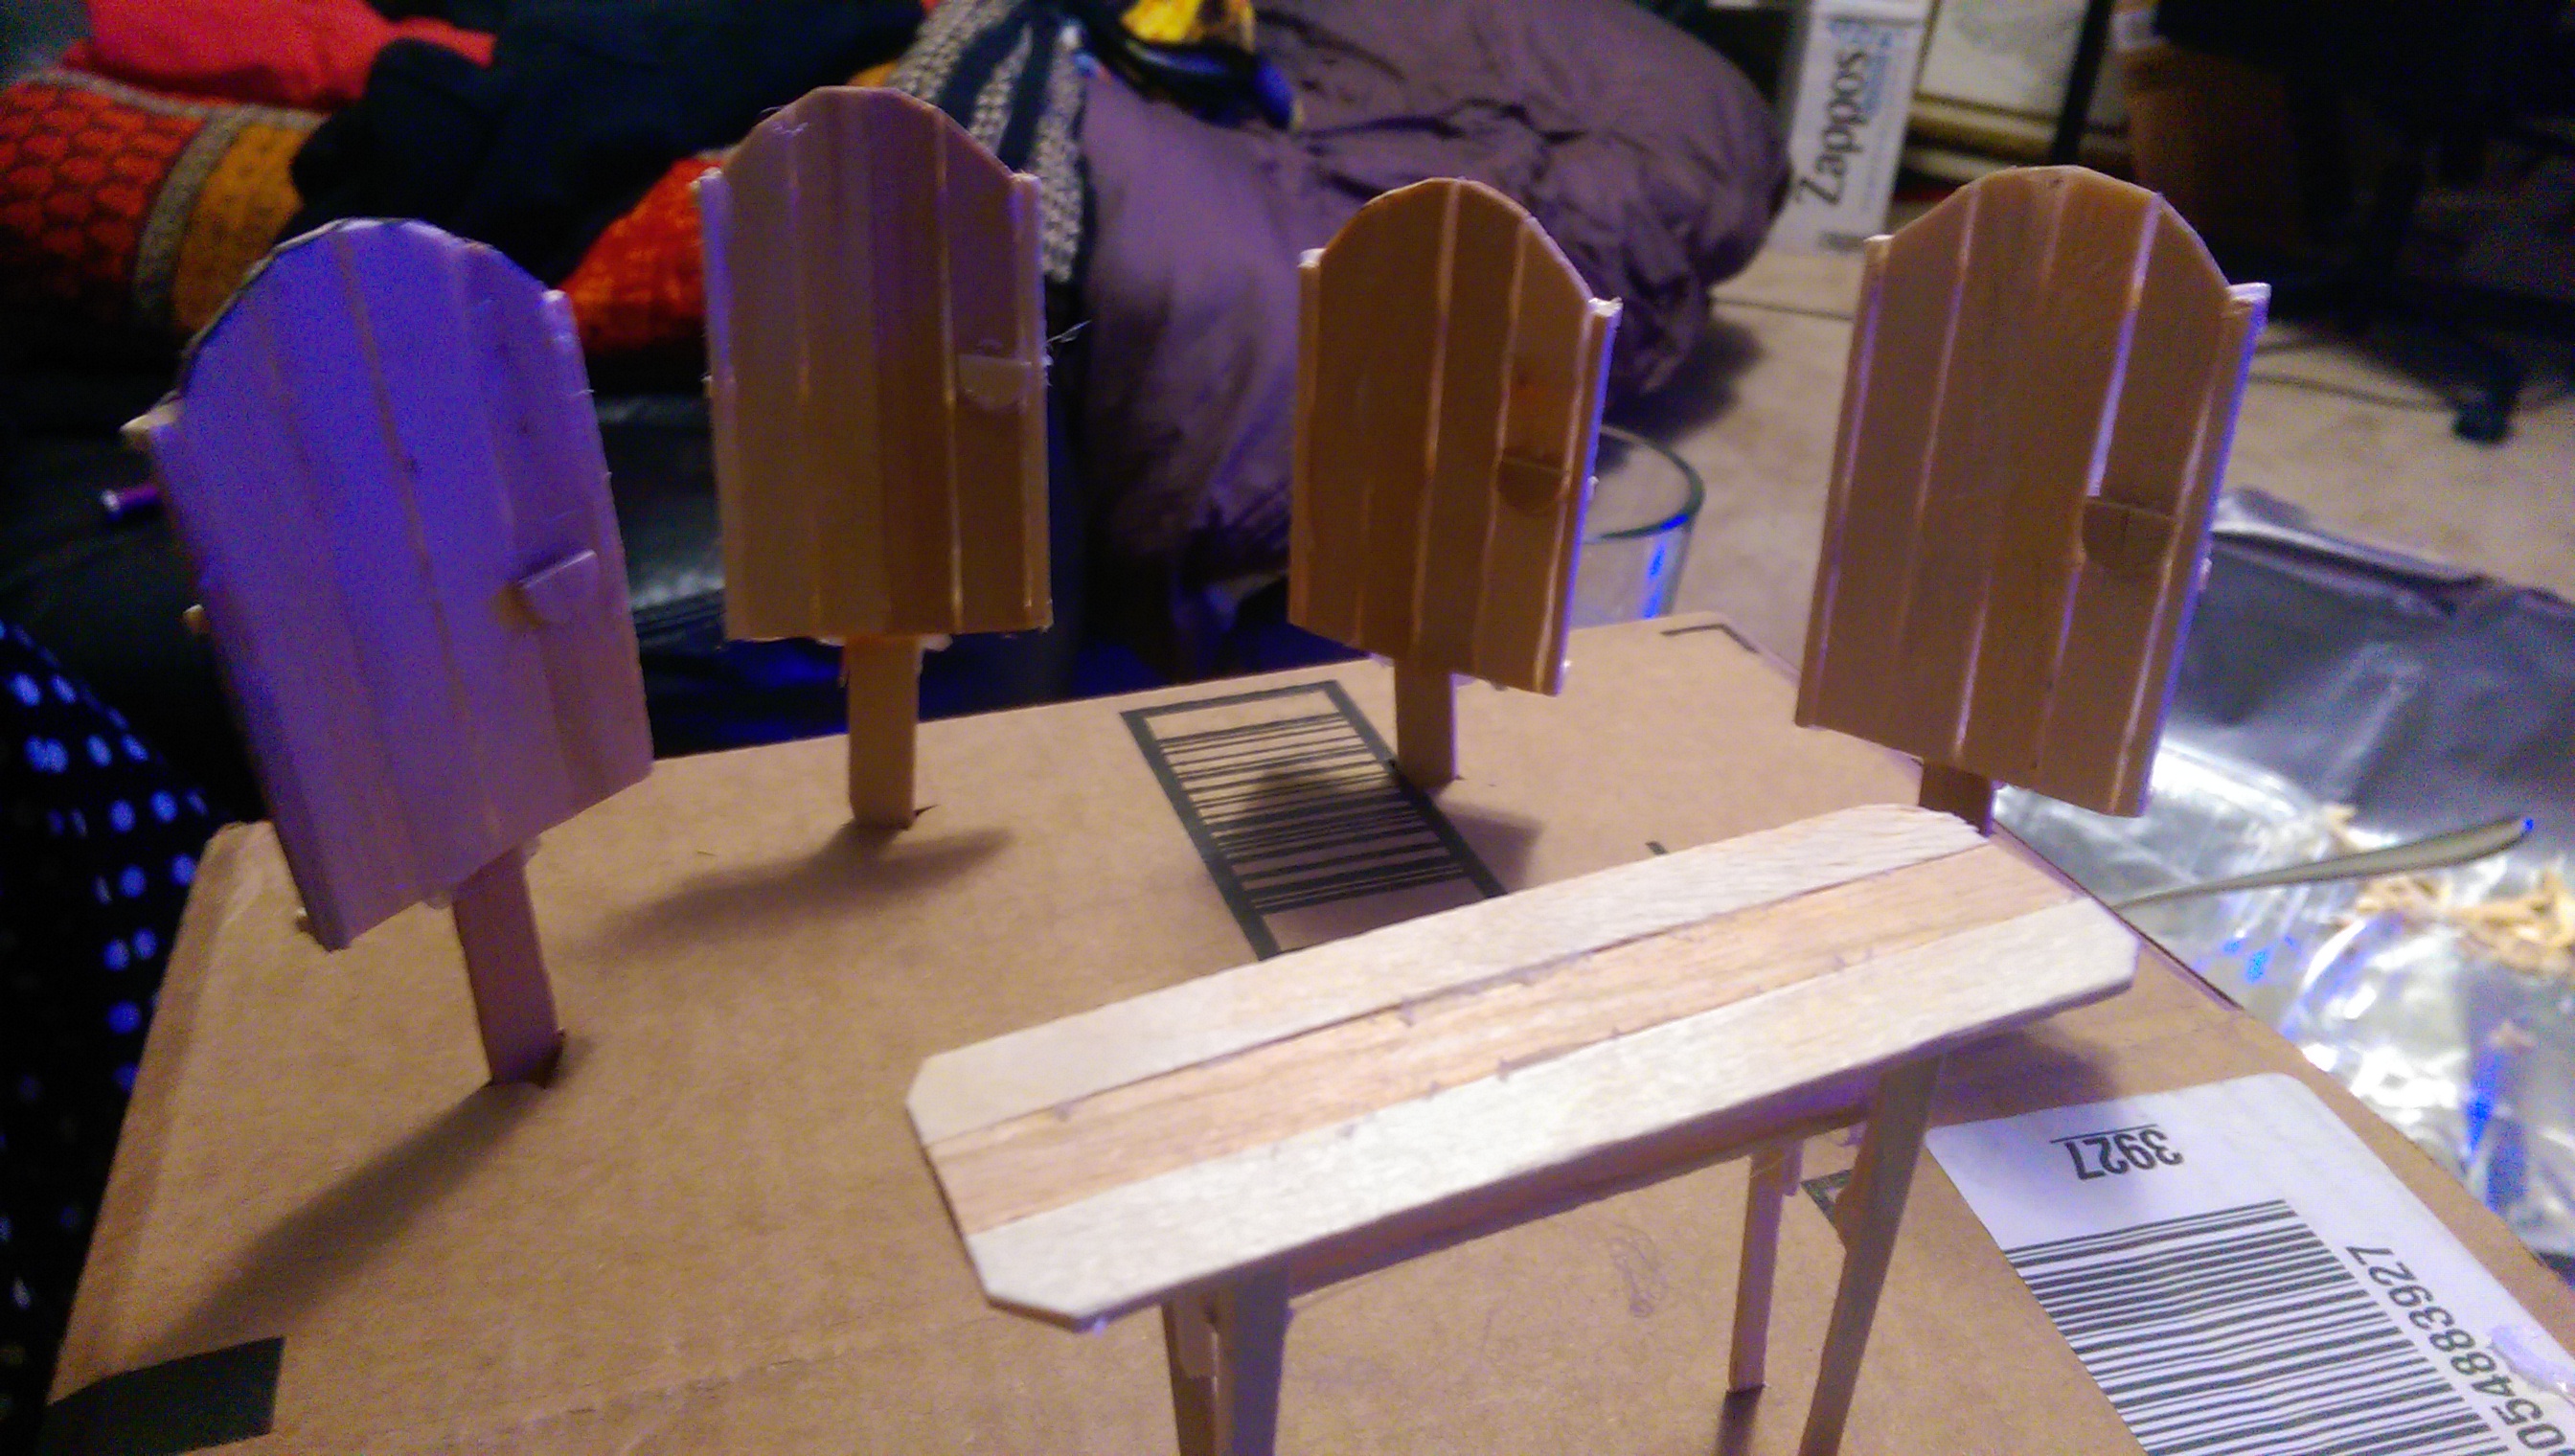
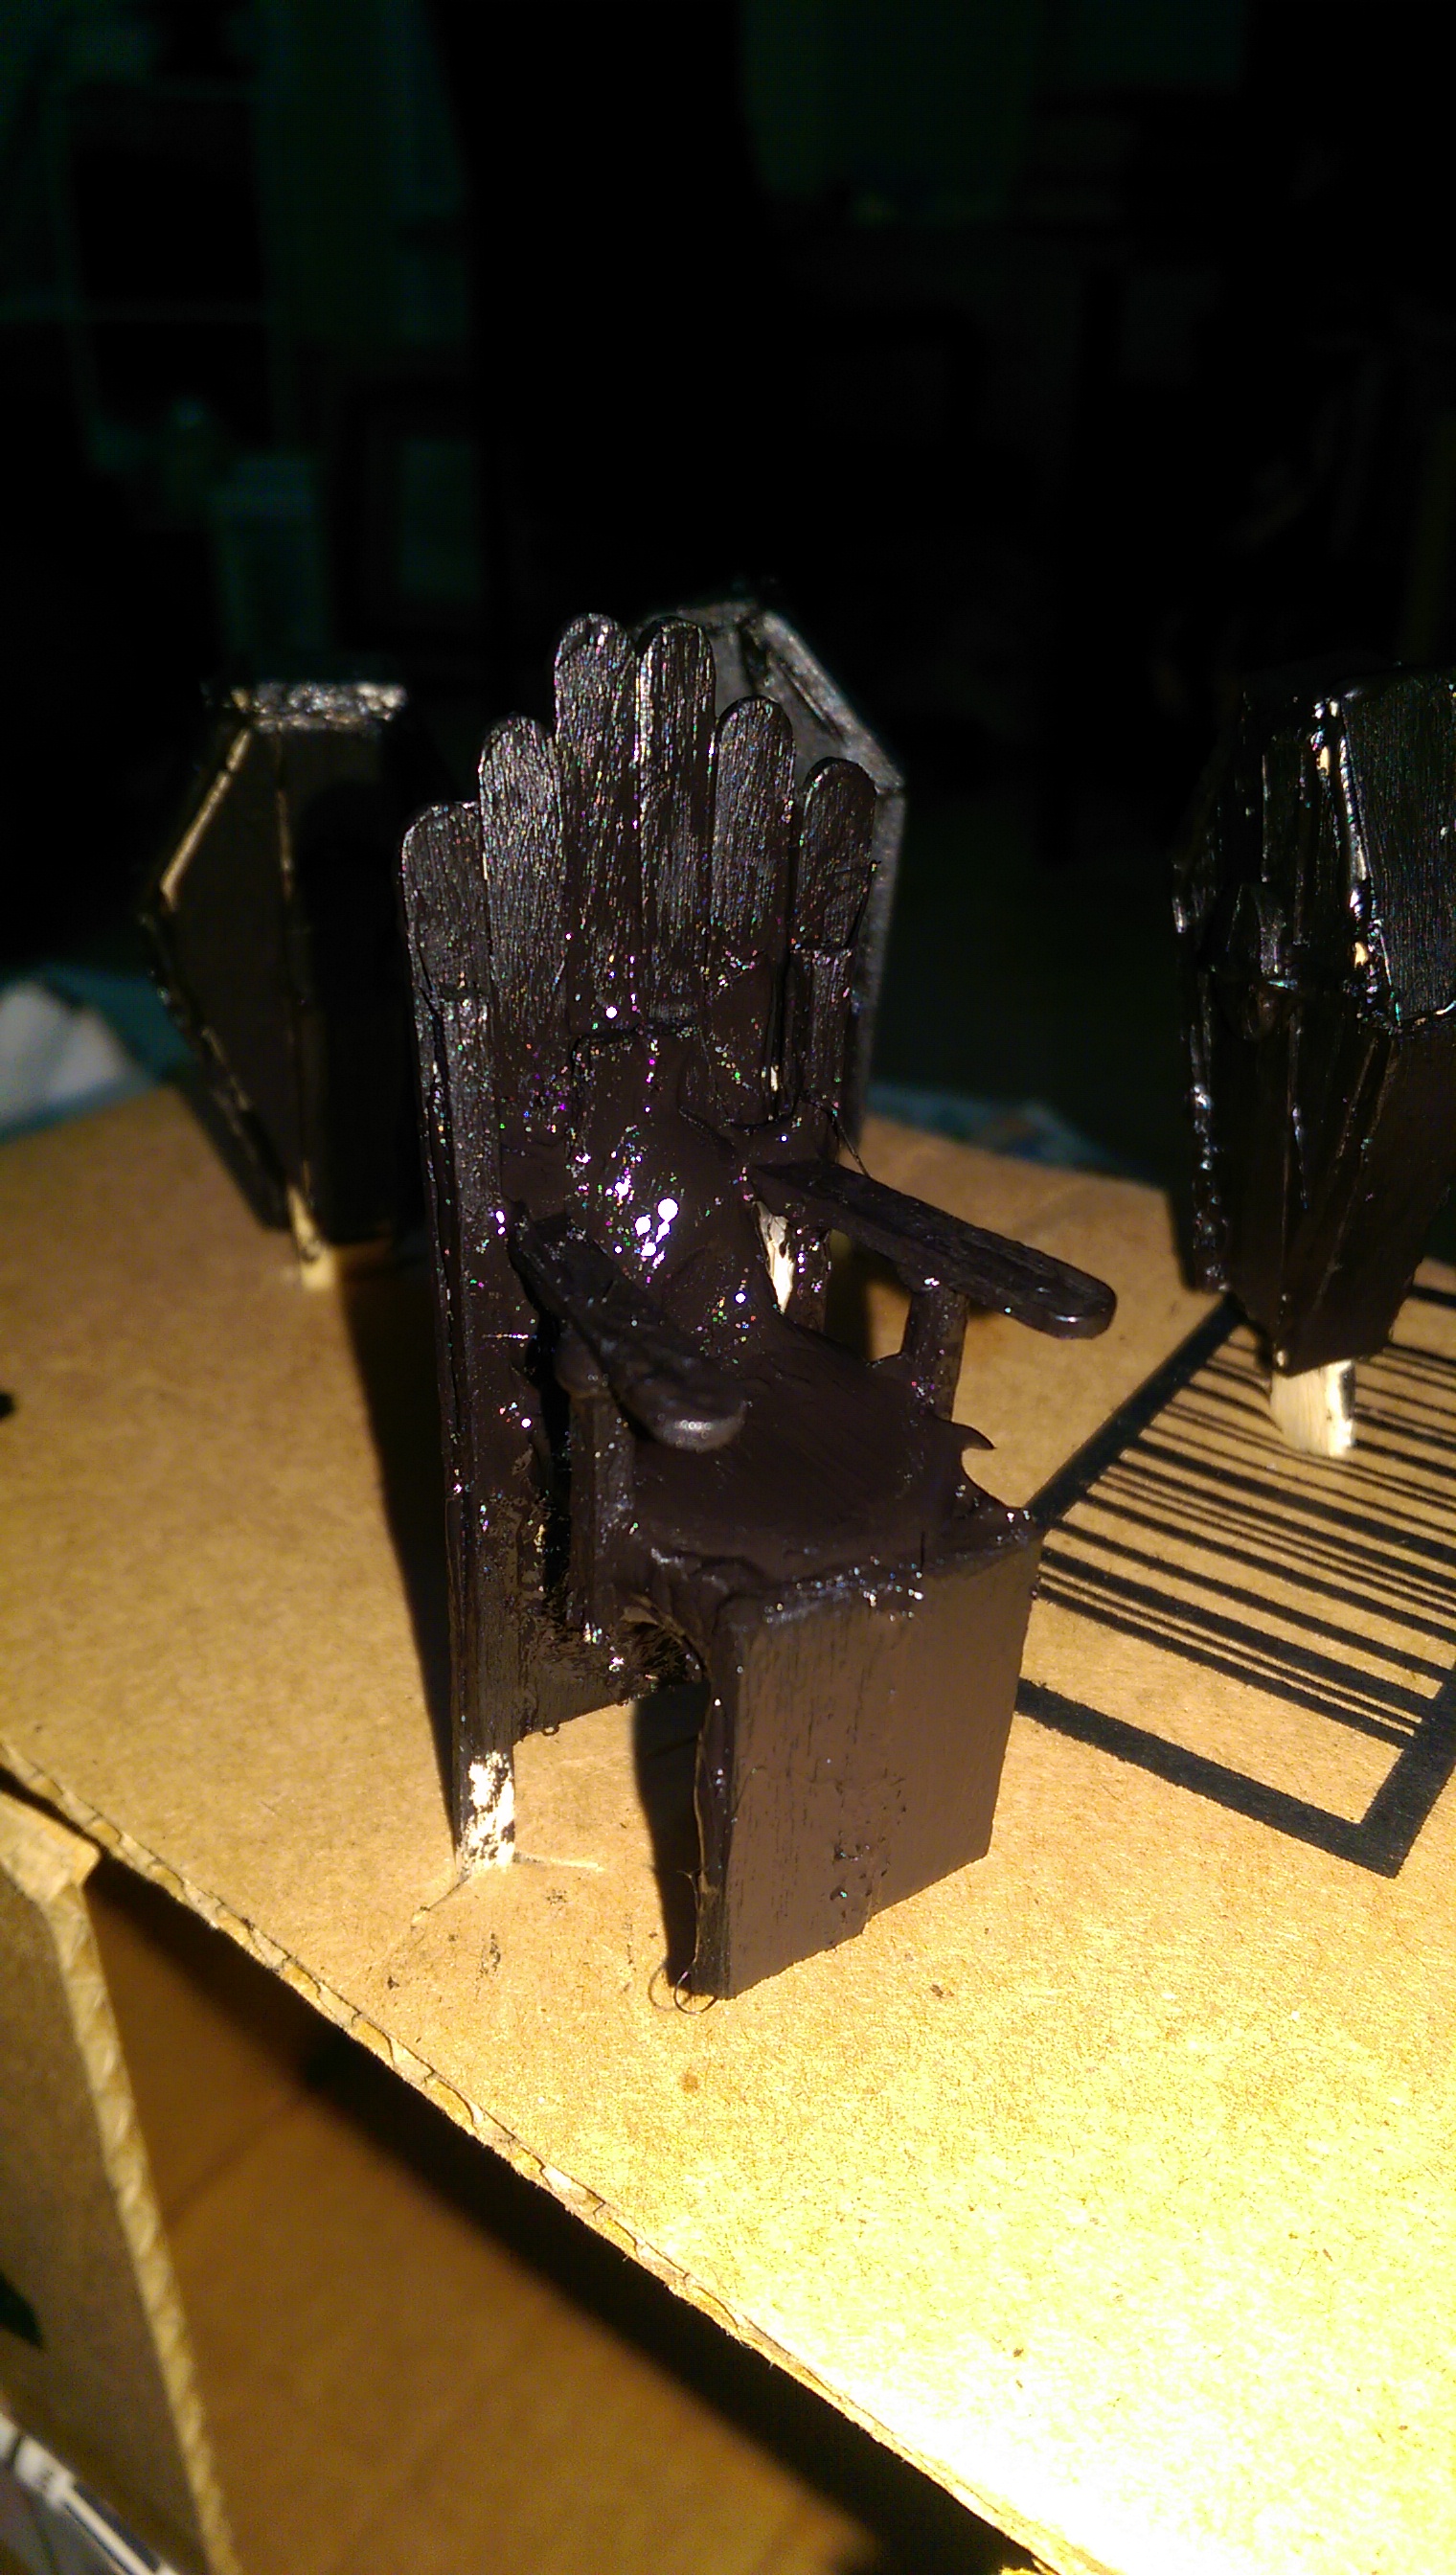
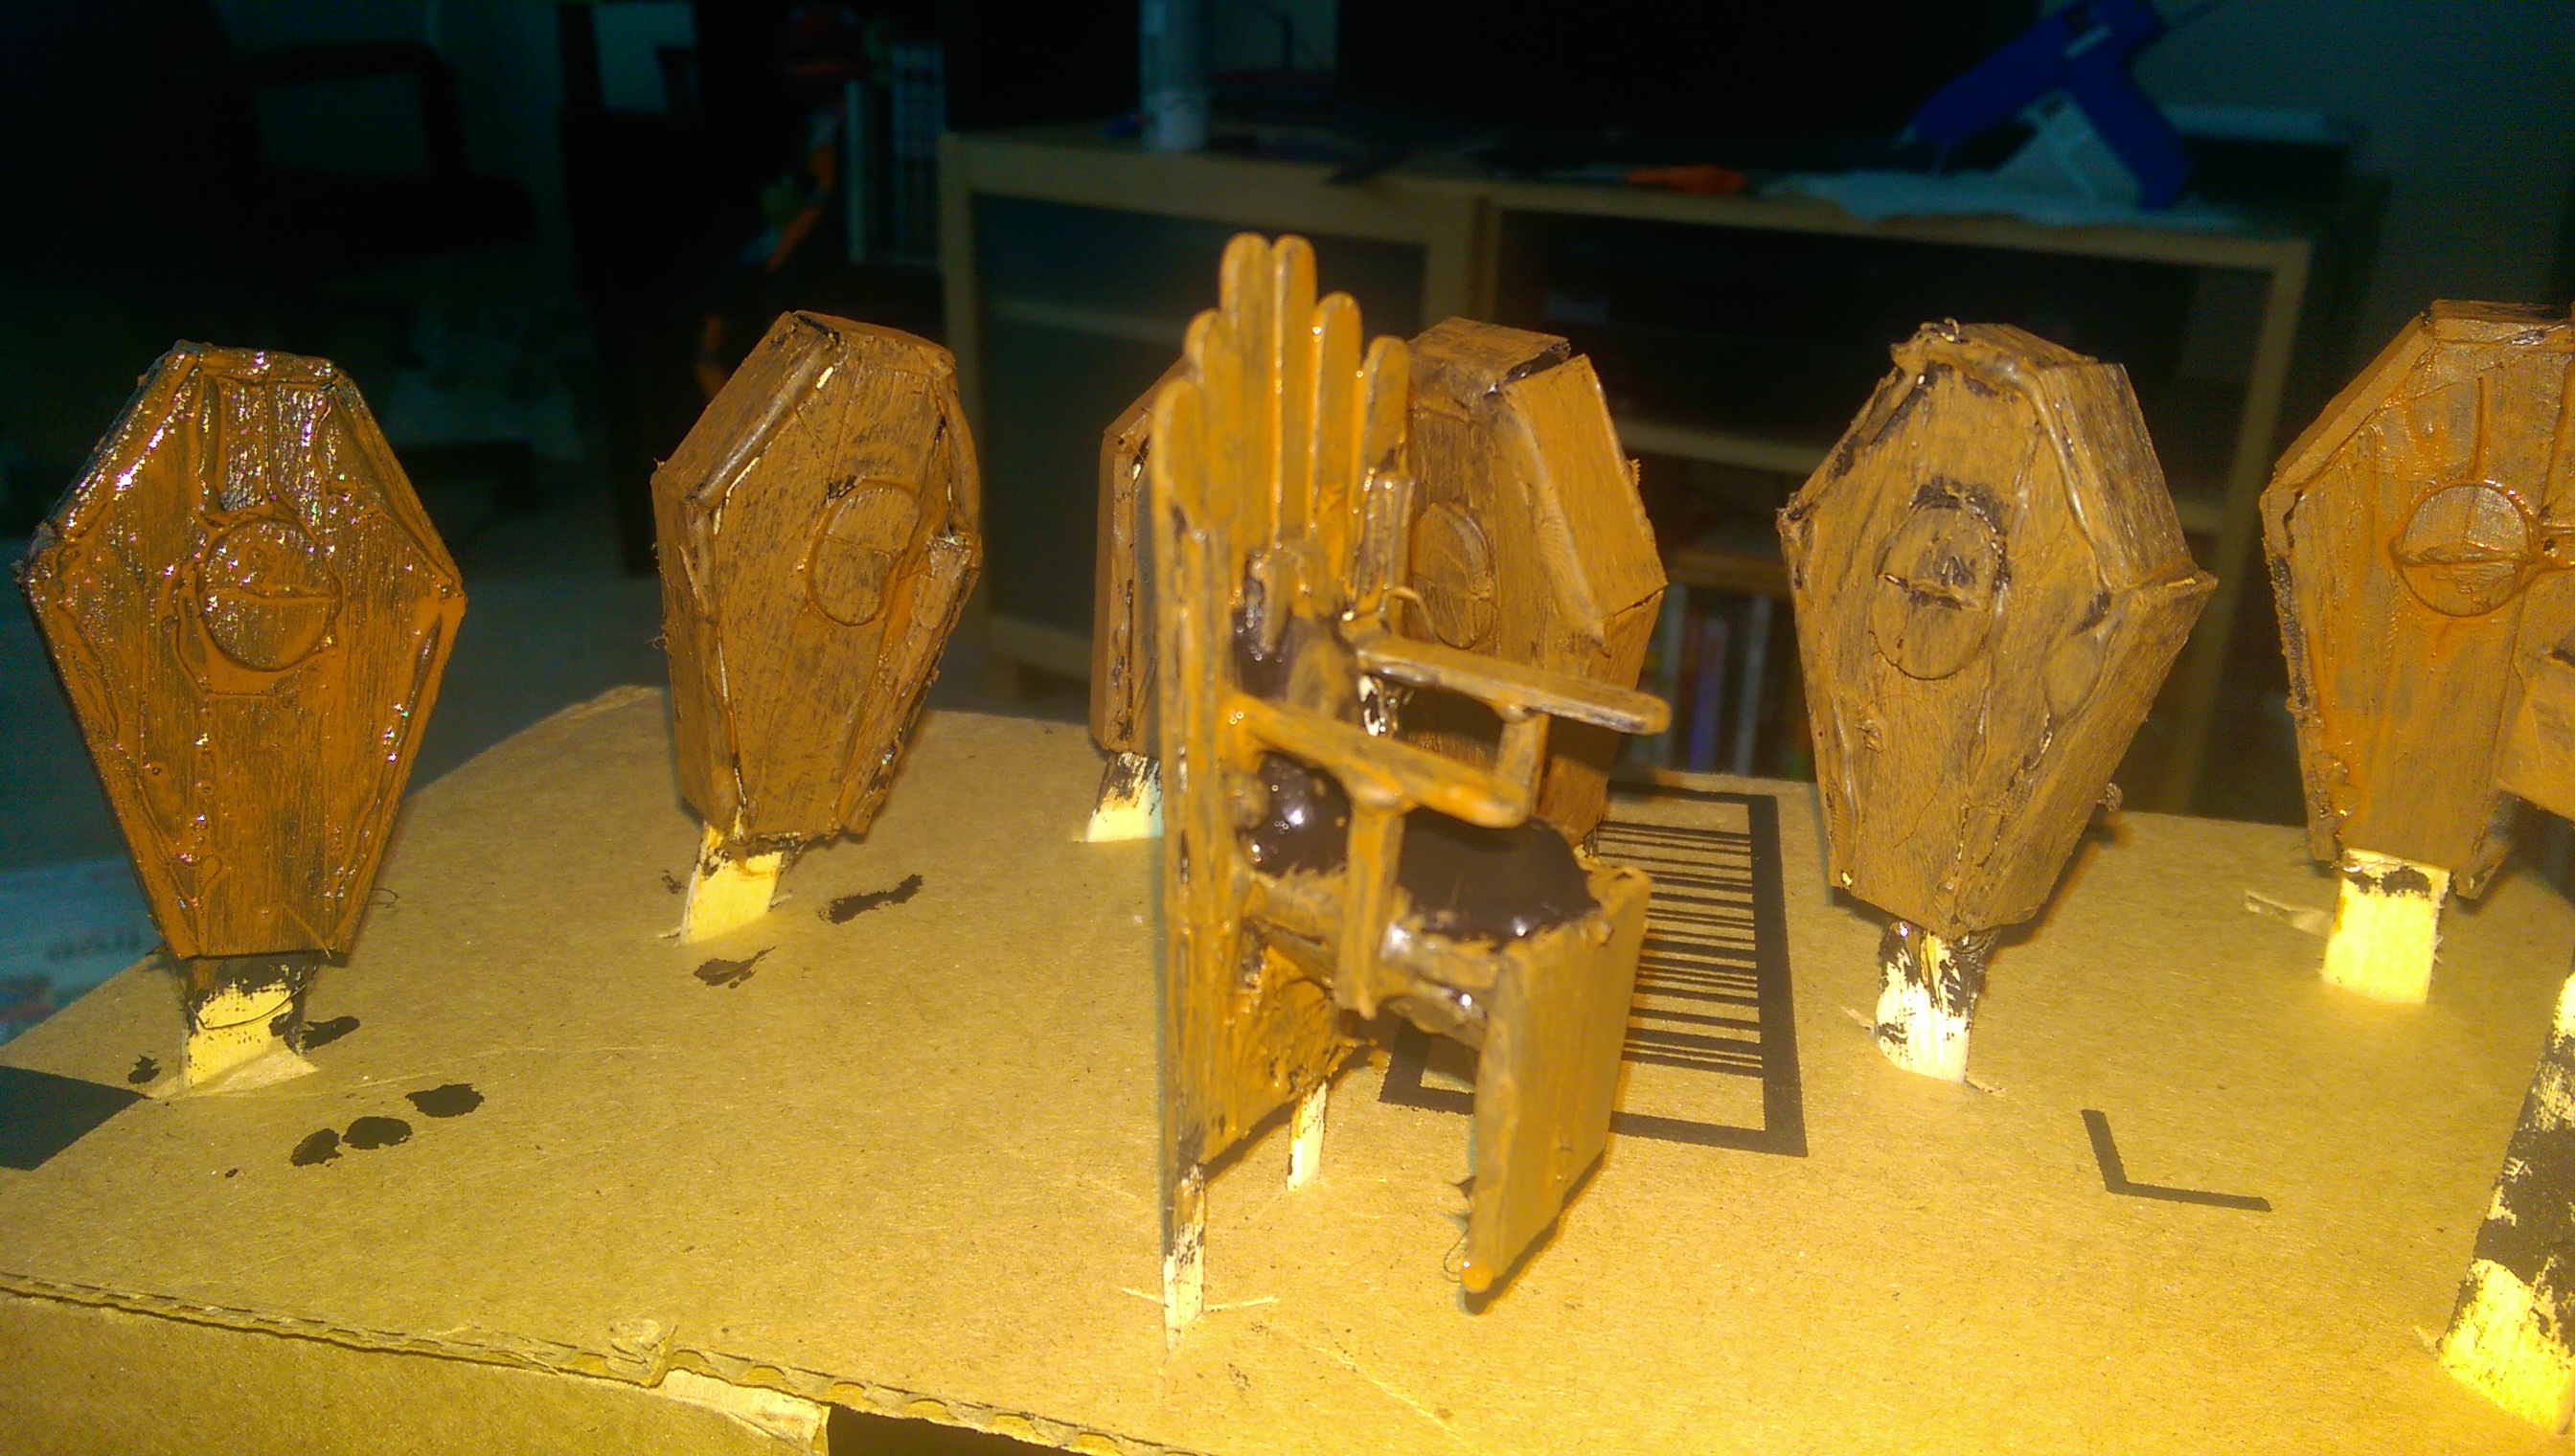
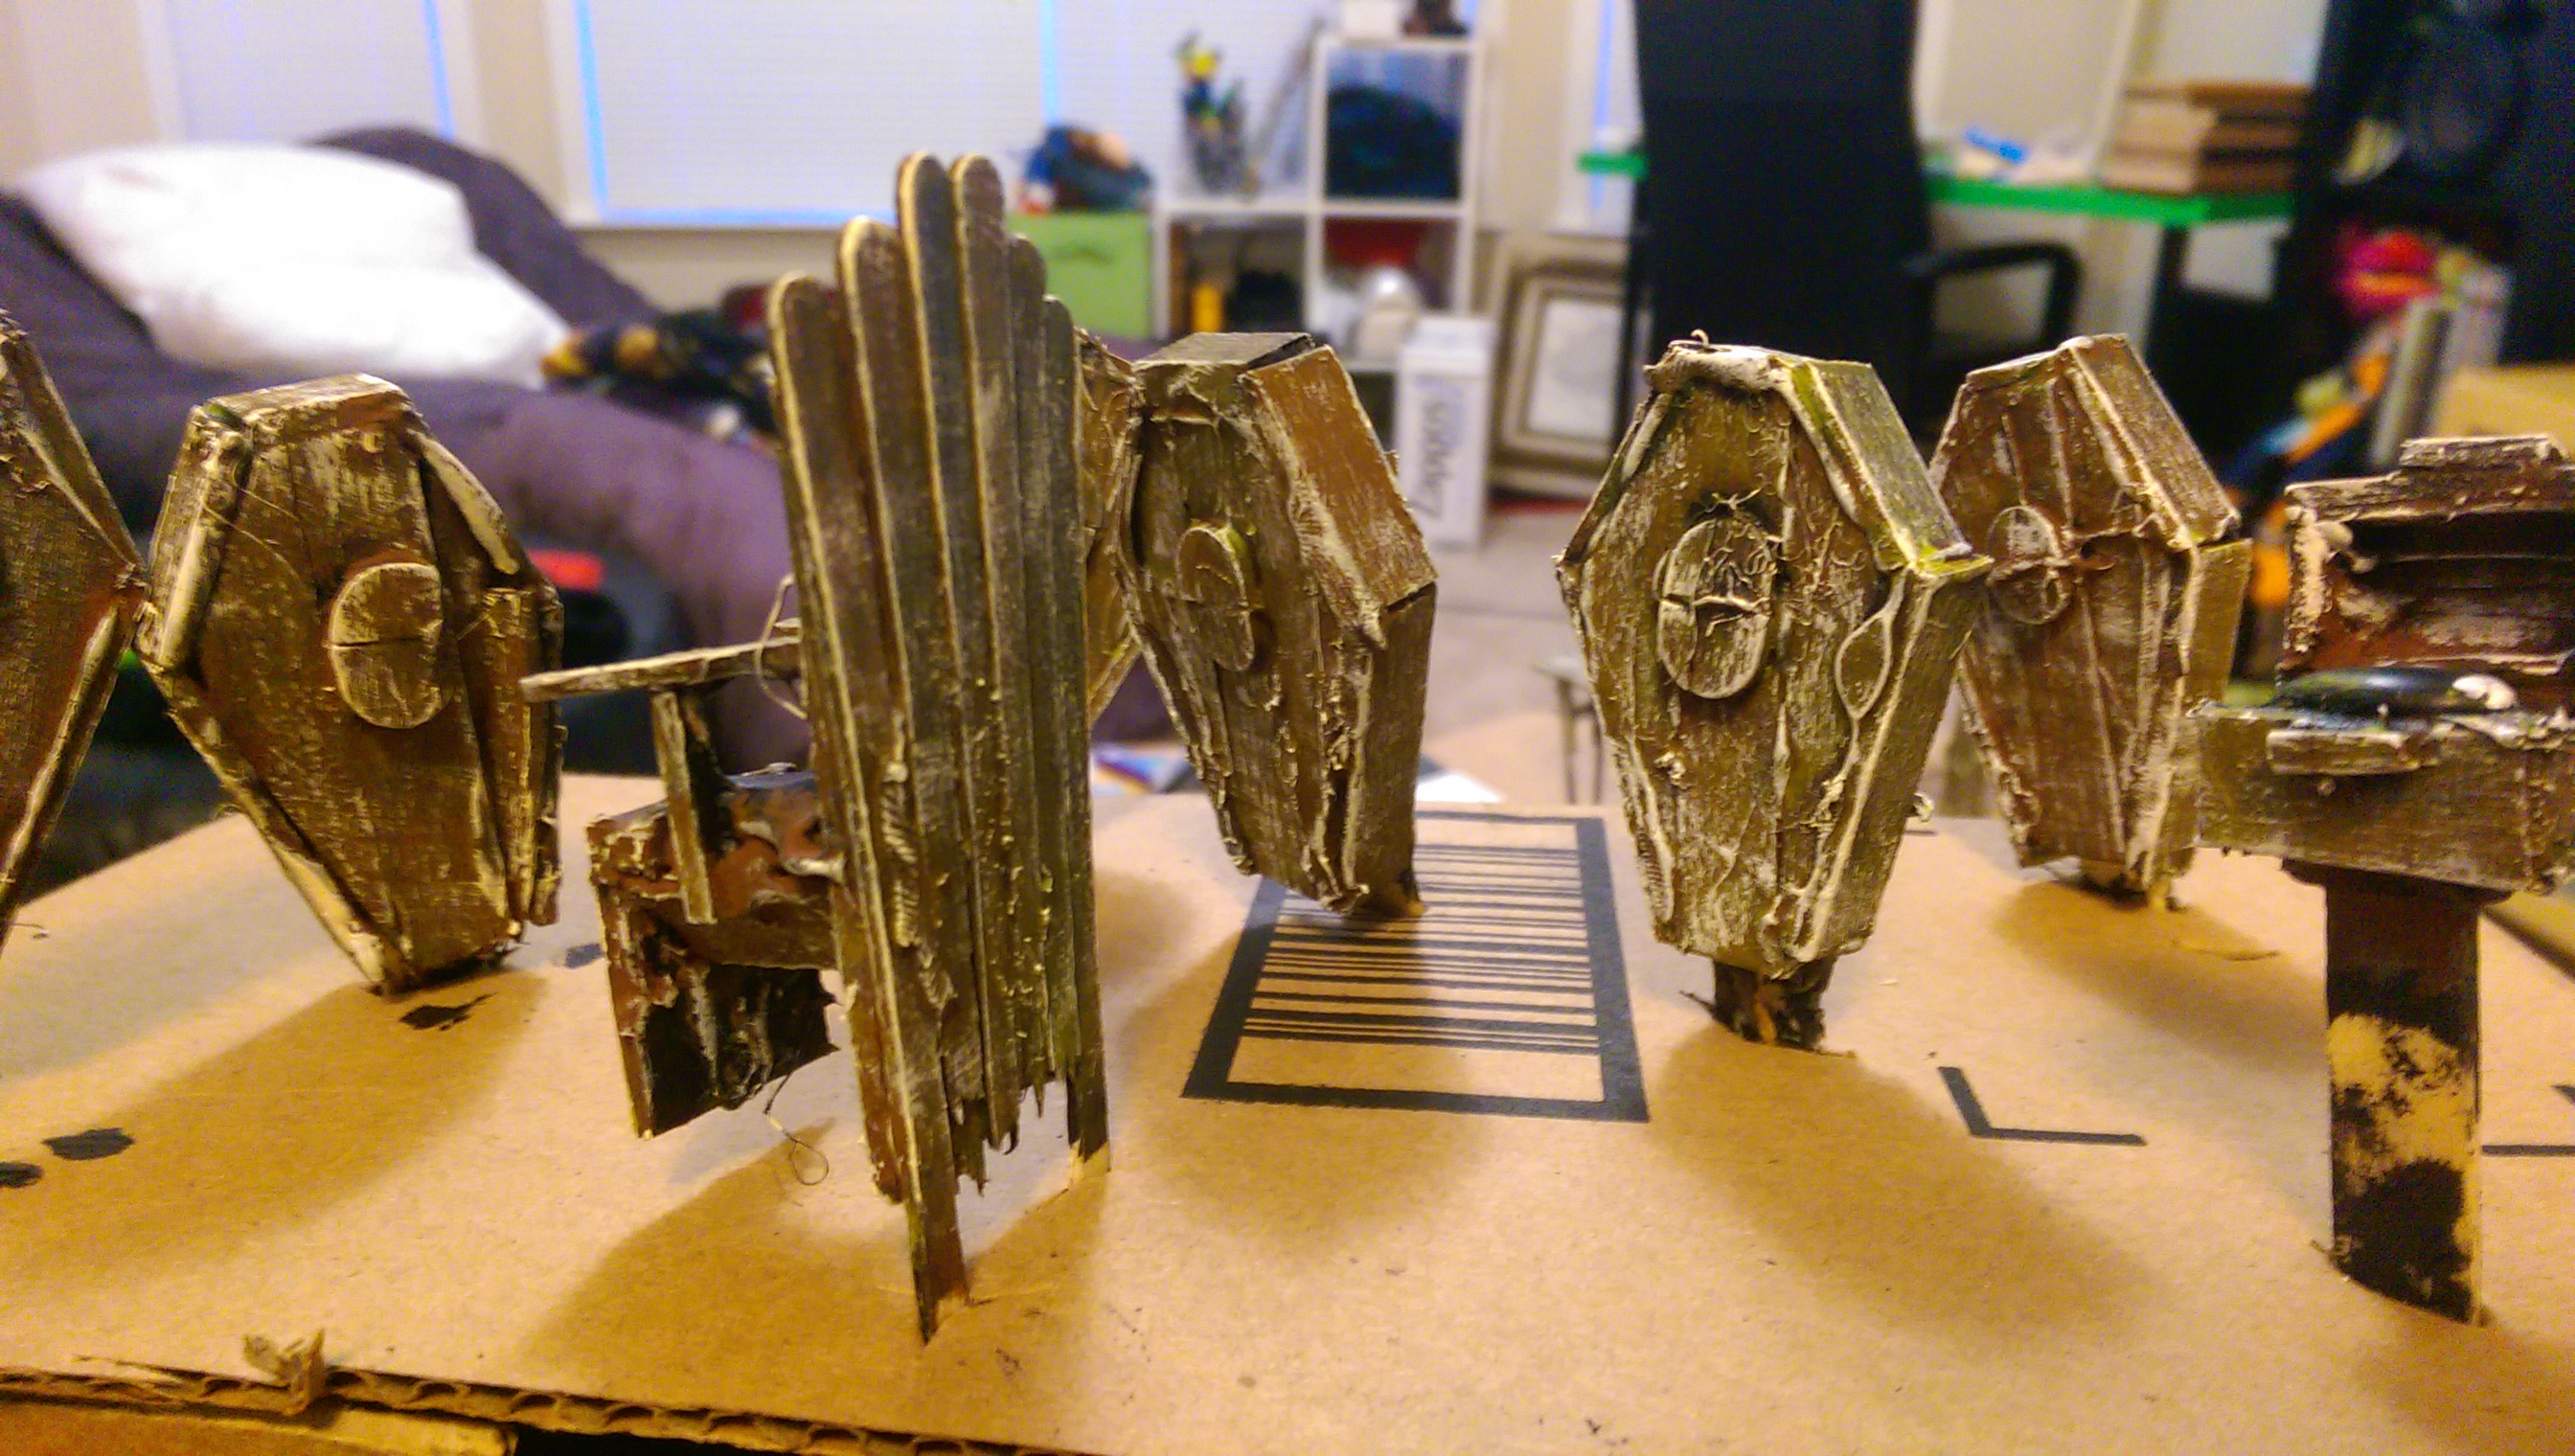
(Intentionally) cruddy throne
Fat Loots.
Priming! Black acrylic, nothing special about it, just regular acrylic paint. It’s very rough, absorbent wood, so it’s perfectly good at taking paint without primer.

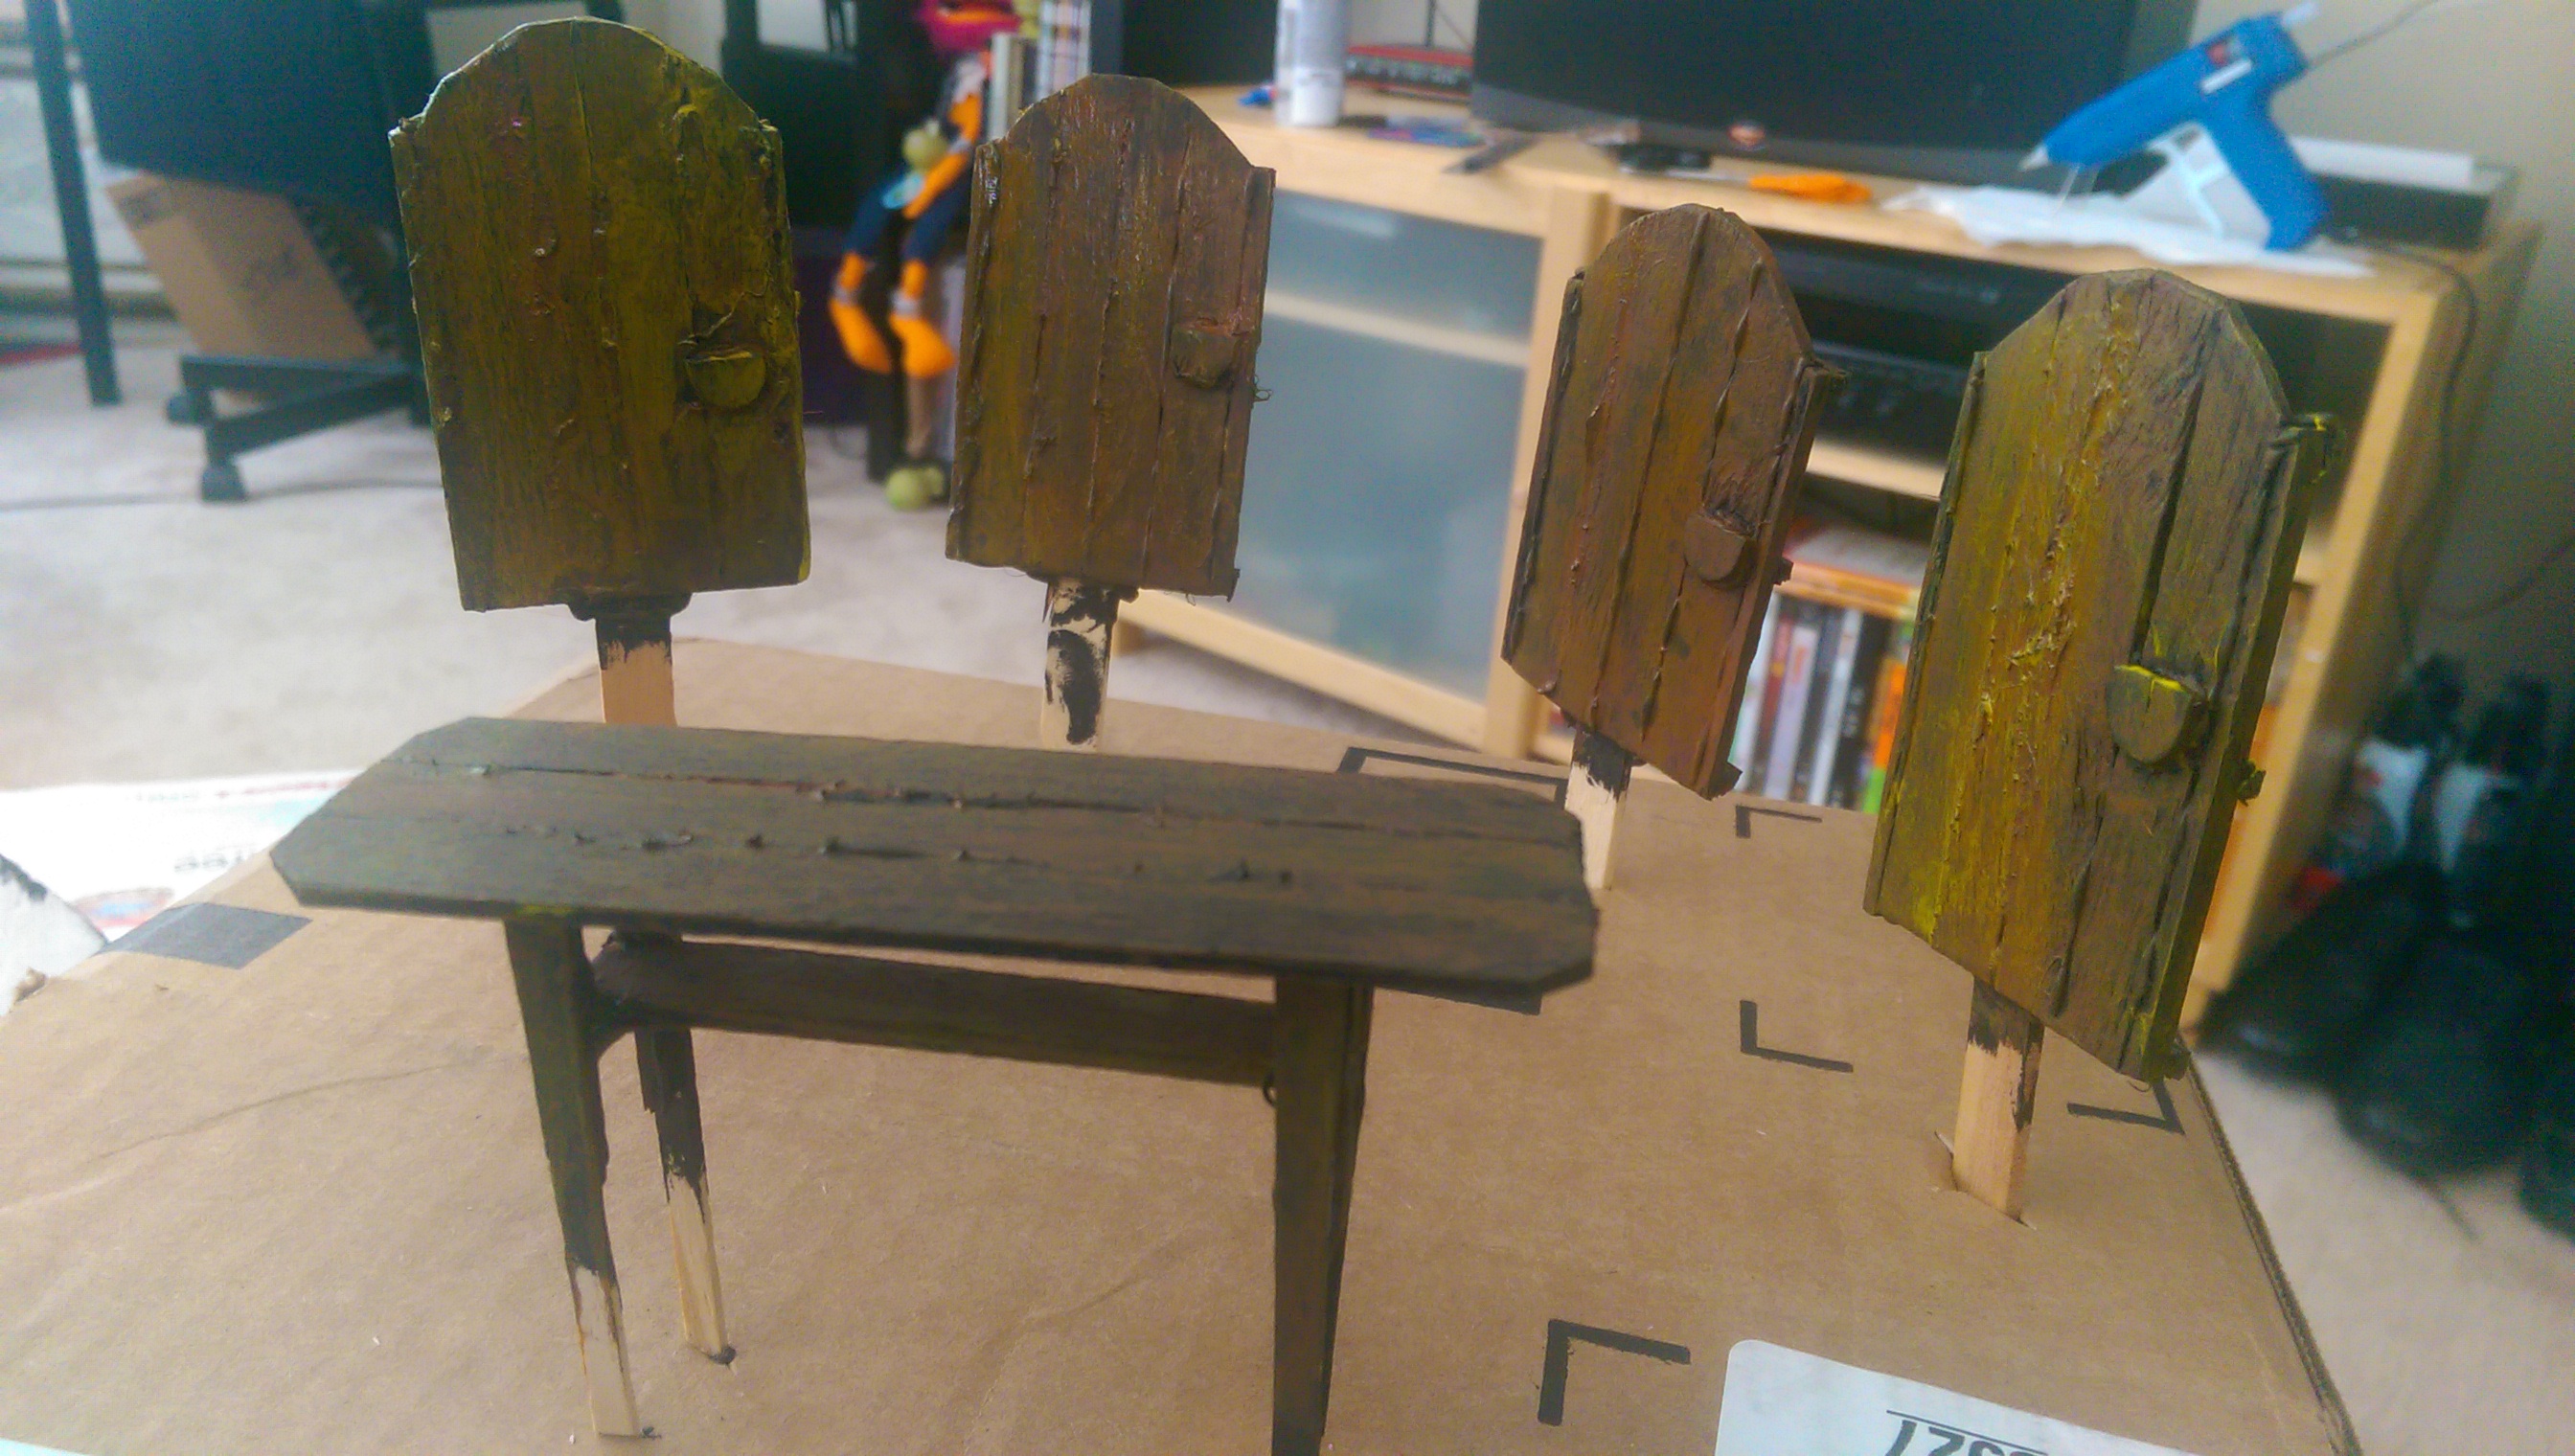
Now for the wood-ing. Brown coat on (almost) everything. Semi dry. Or rather, just not slopping wet strokes like I did for the black.

Dried!
Time for the yellowing. This was thedmg.info, again. I couldn’t have come up with this paint scheme on my own. It doesn’t come together until the very end, no way I would have been able to do it like this.
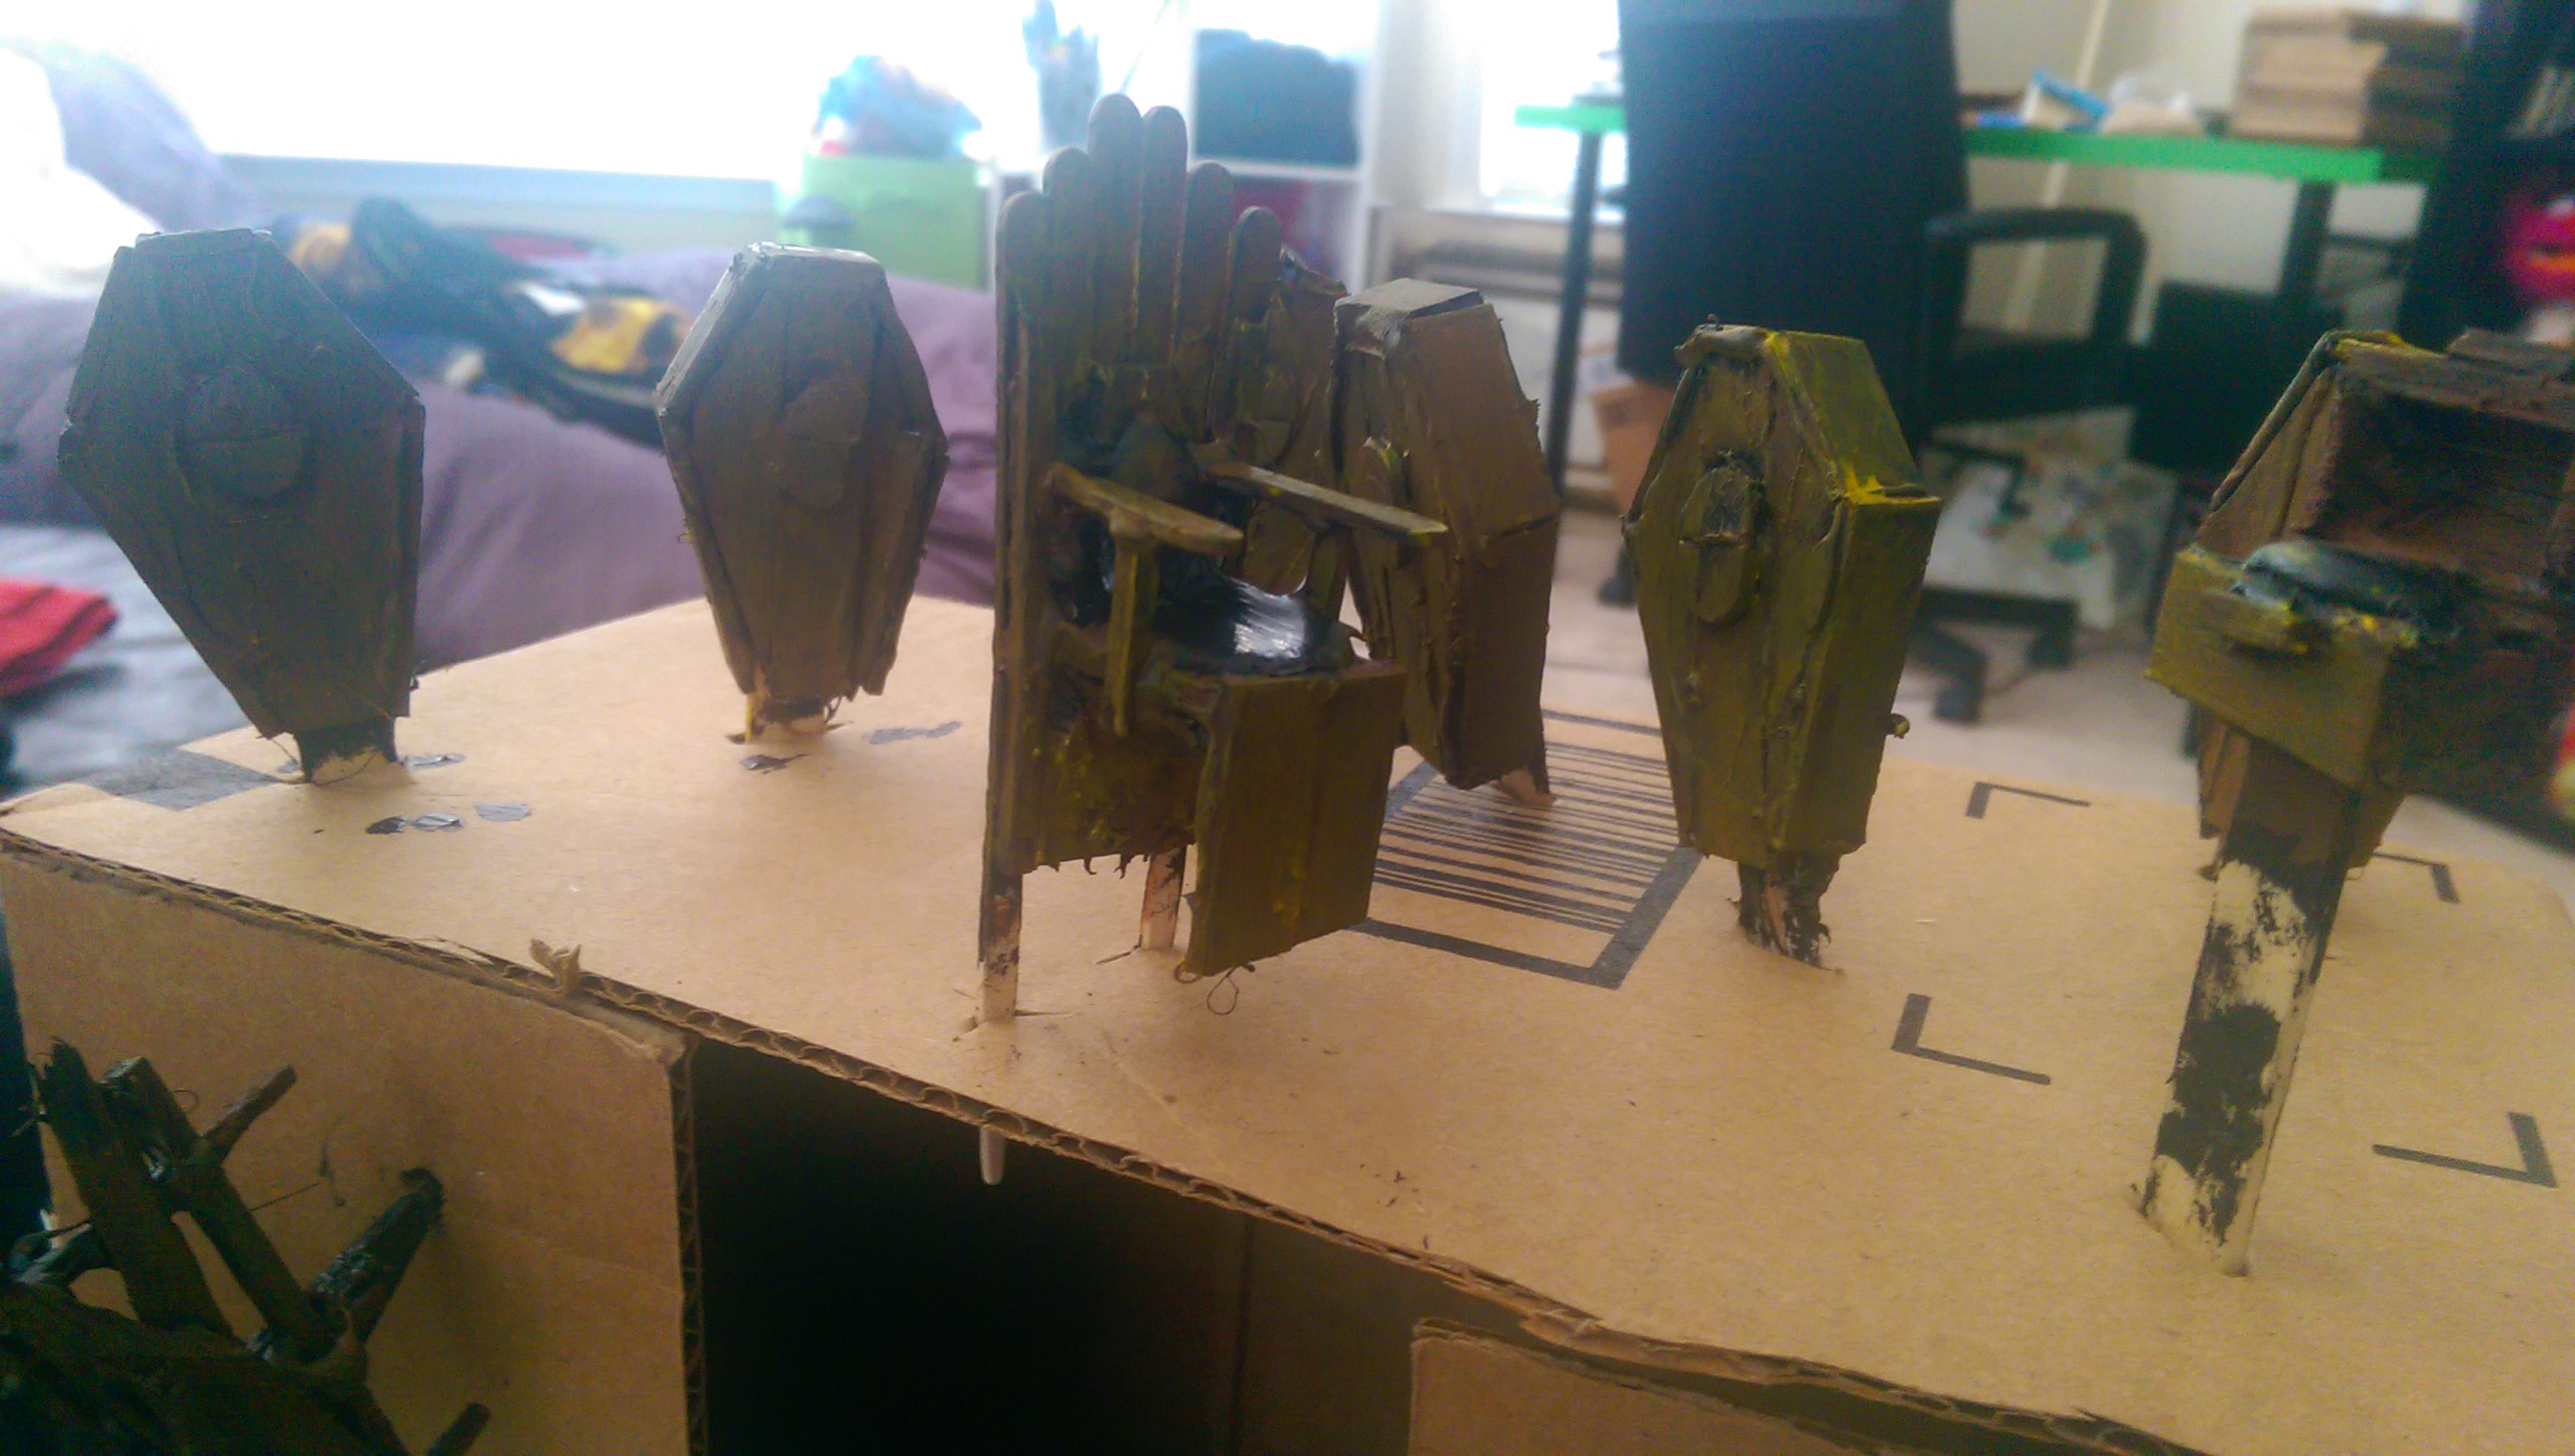
More yellowing. When i go back with the white dry brush, you’ll see it.
Taking a break on the parts to let them dry a bit, moving back to the Dais.
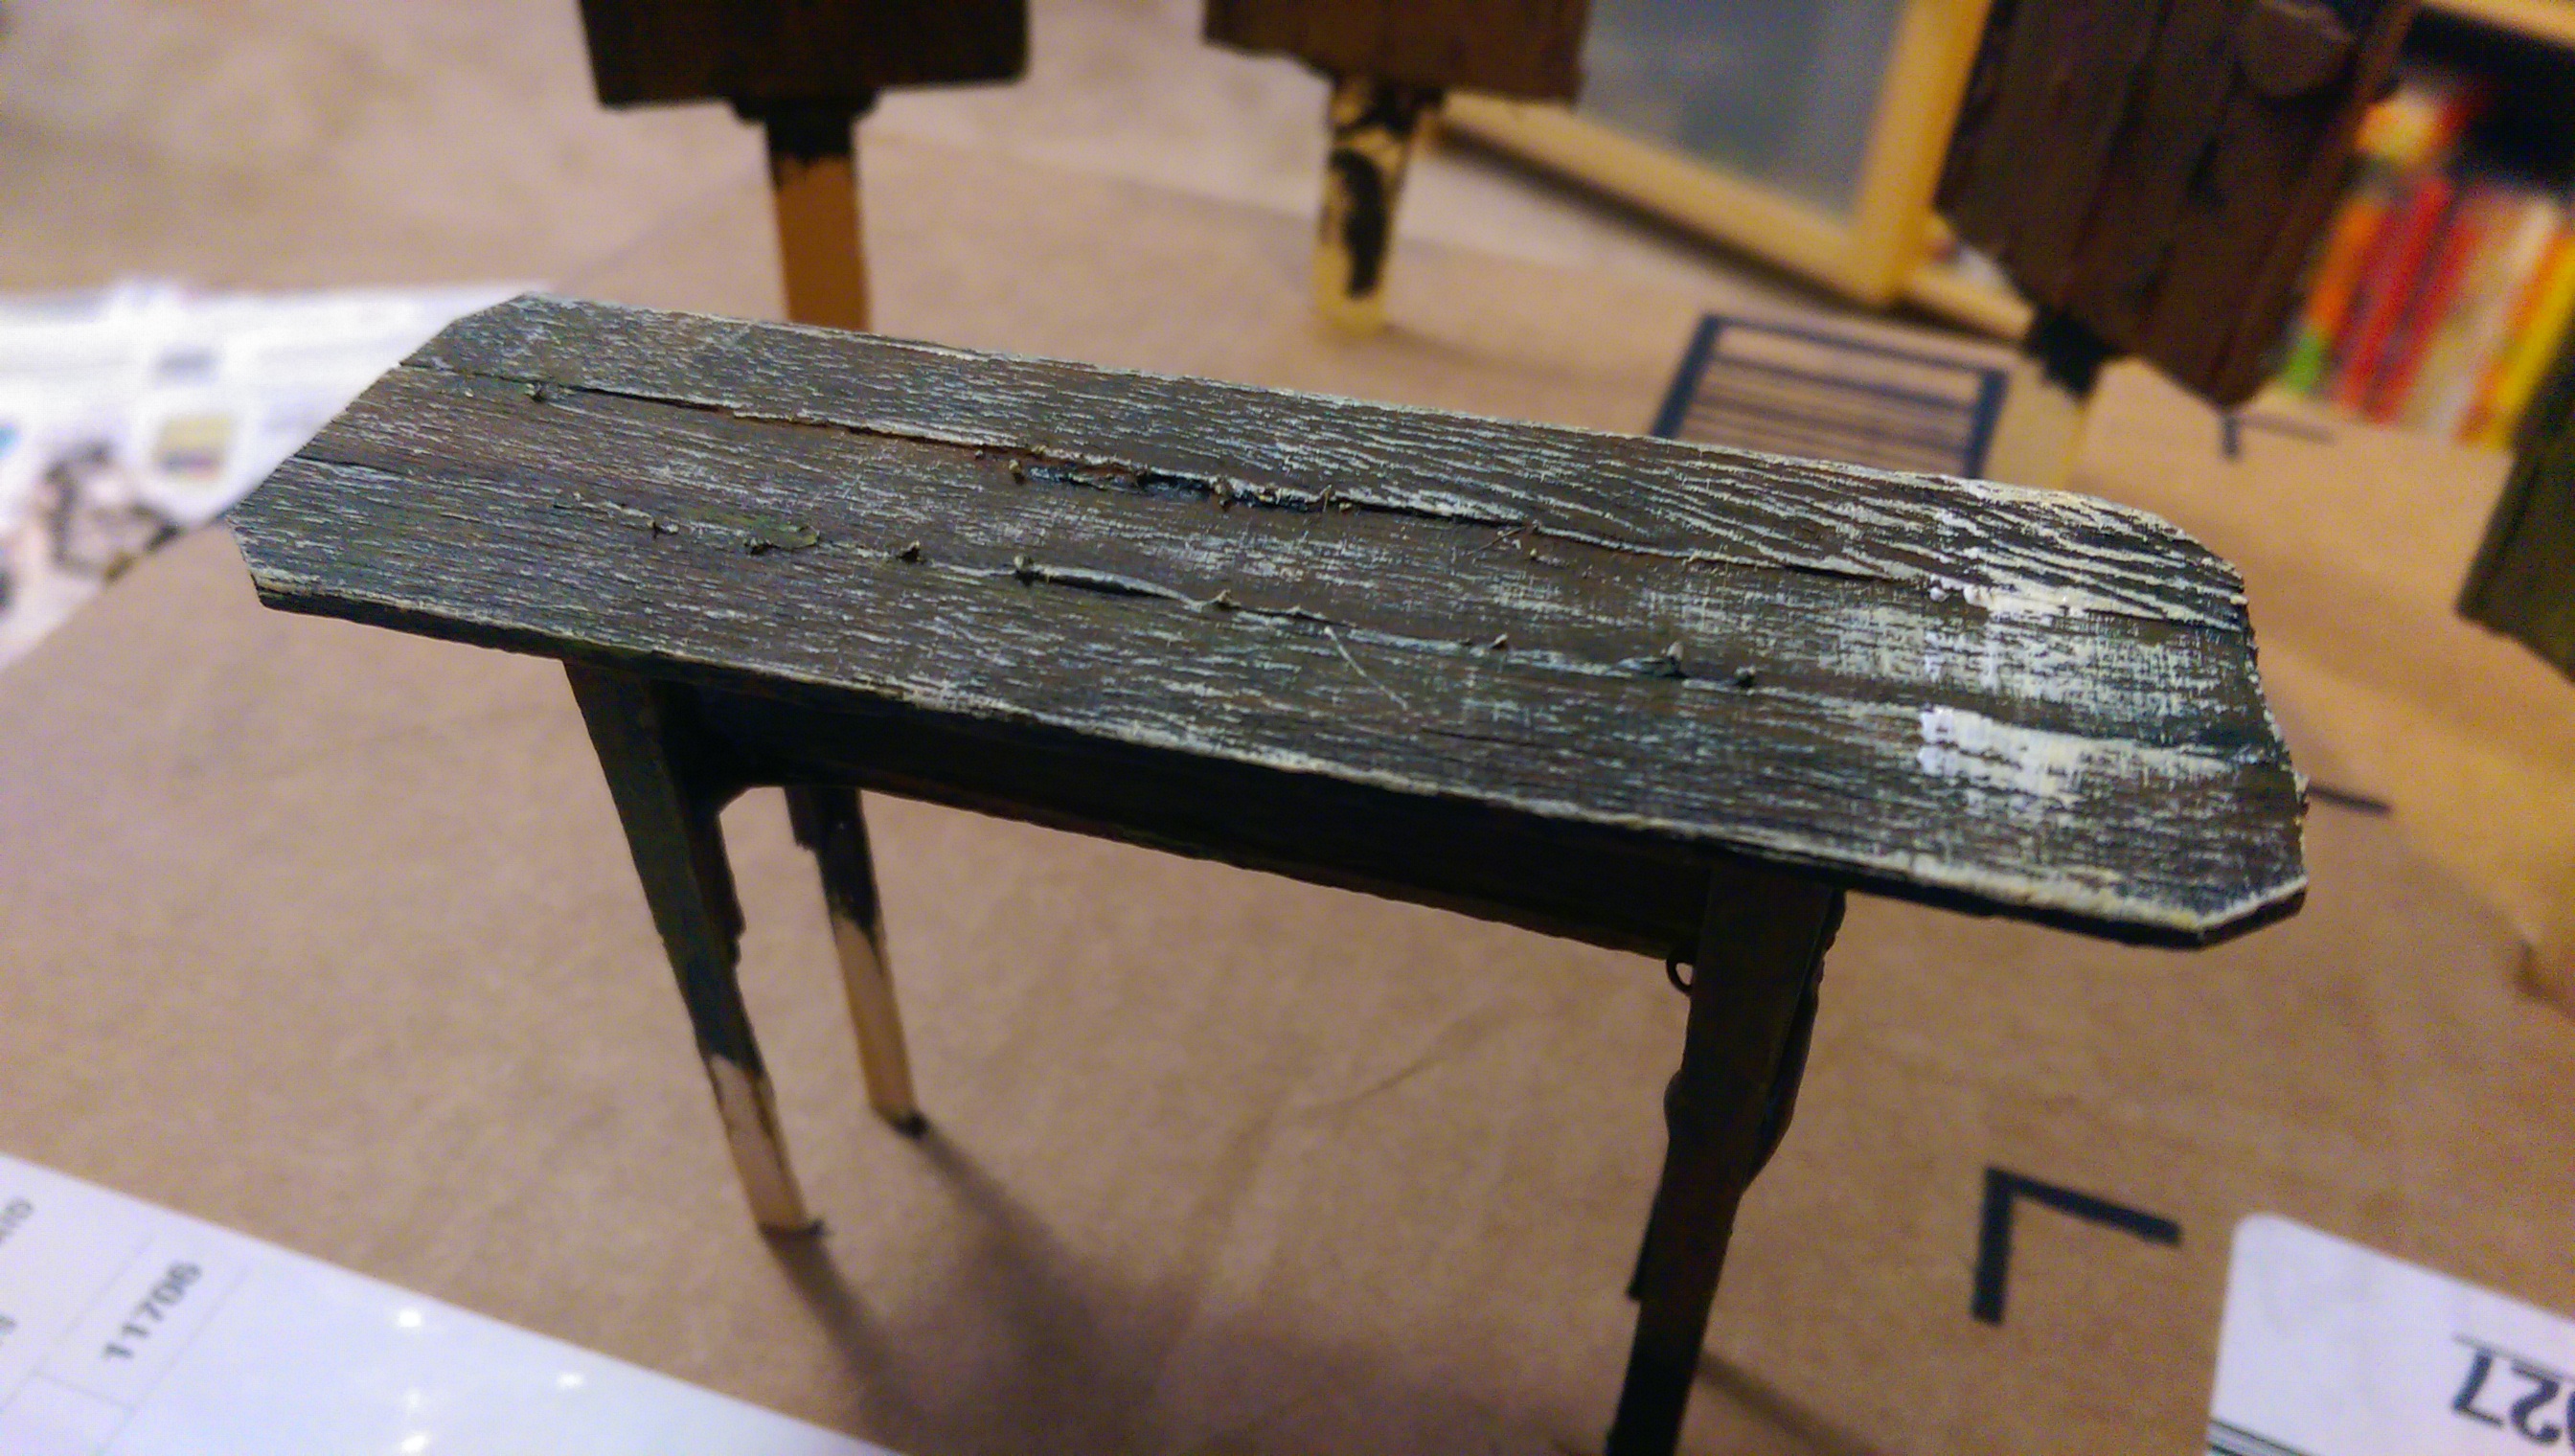
Okay, here’s the white dry brushing! This is a lab table
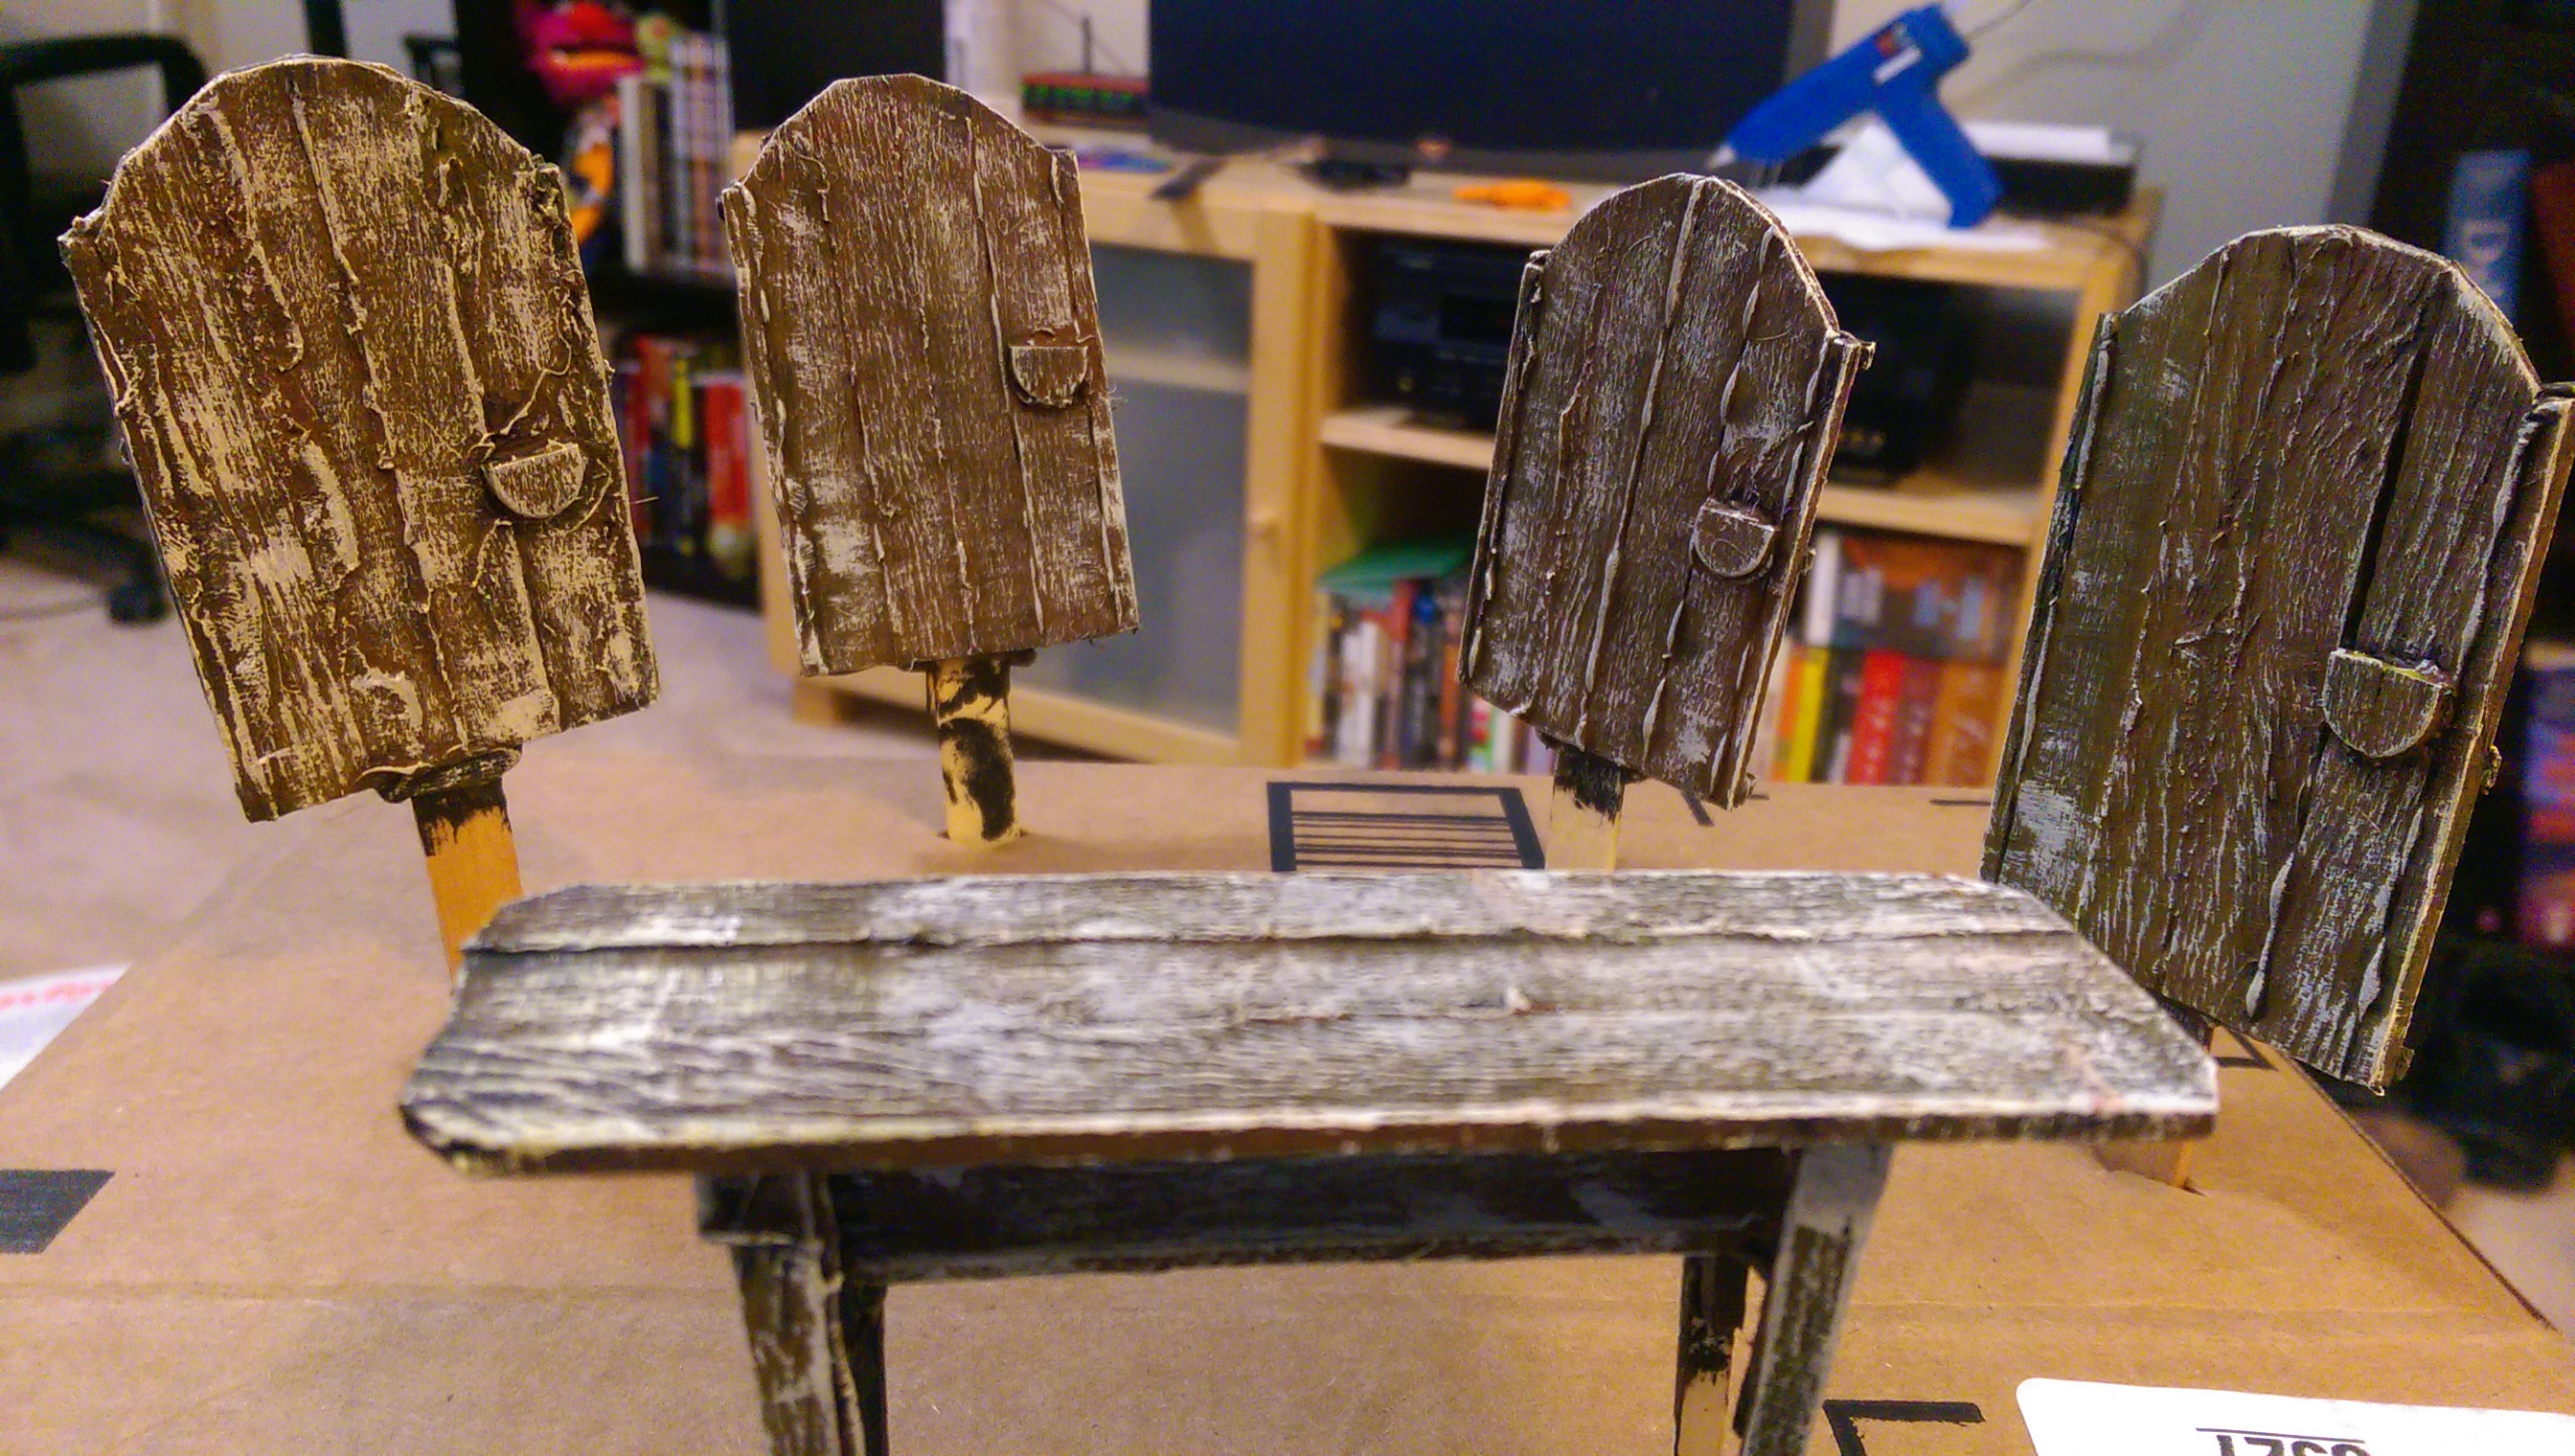
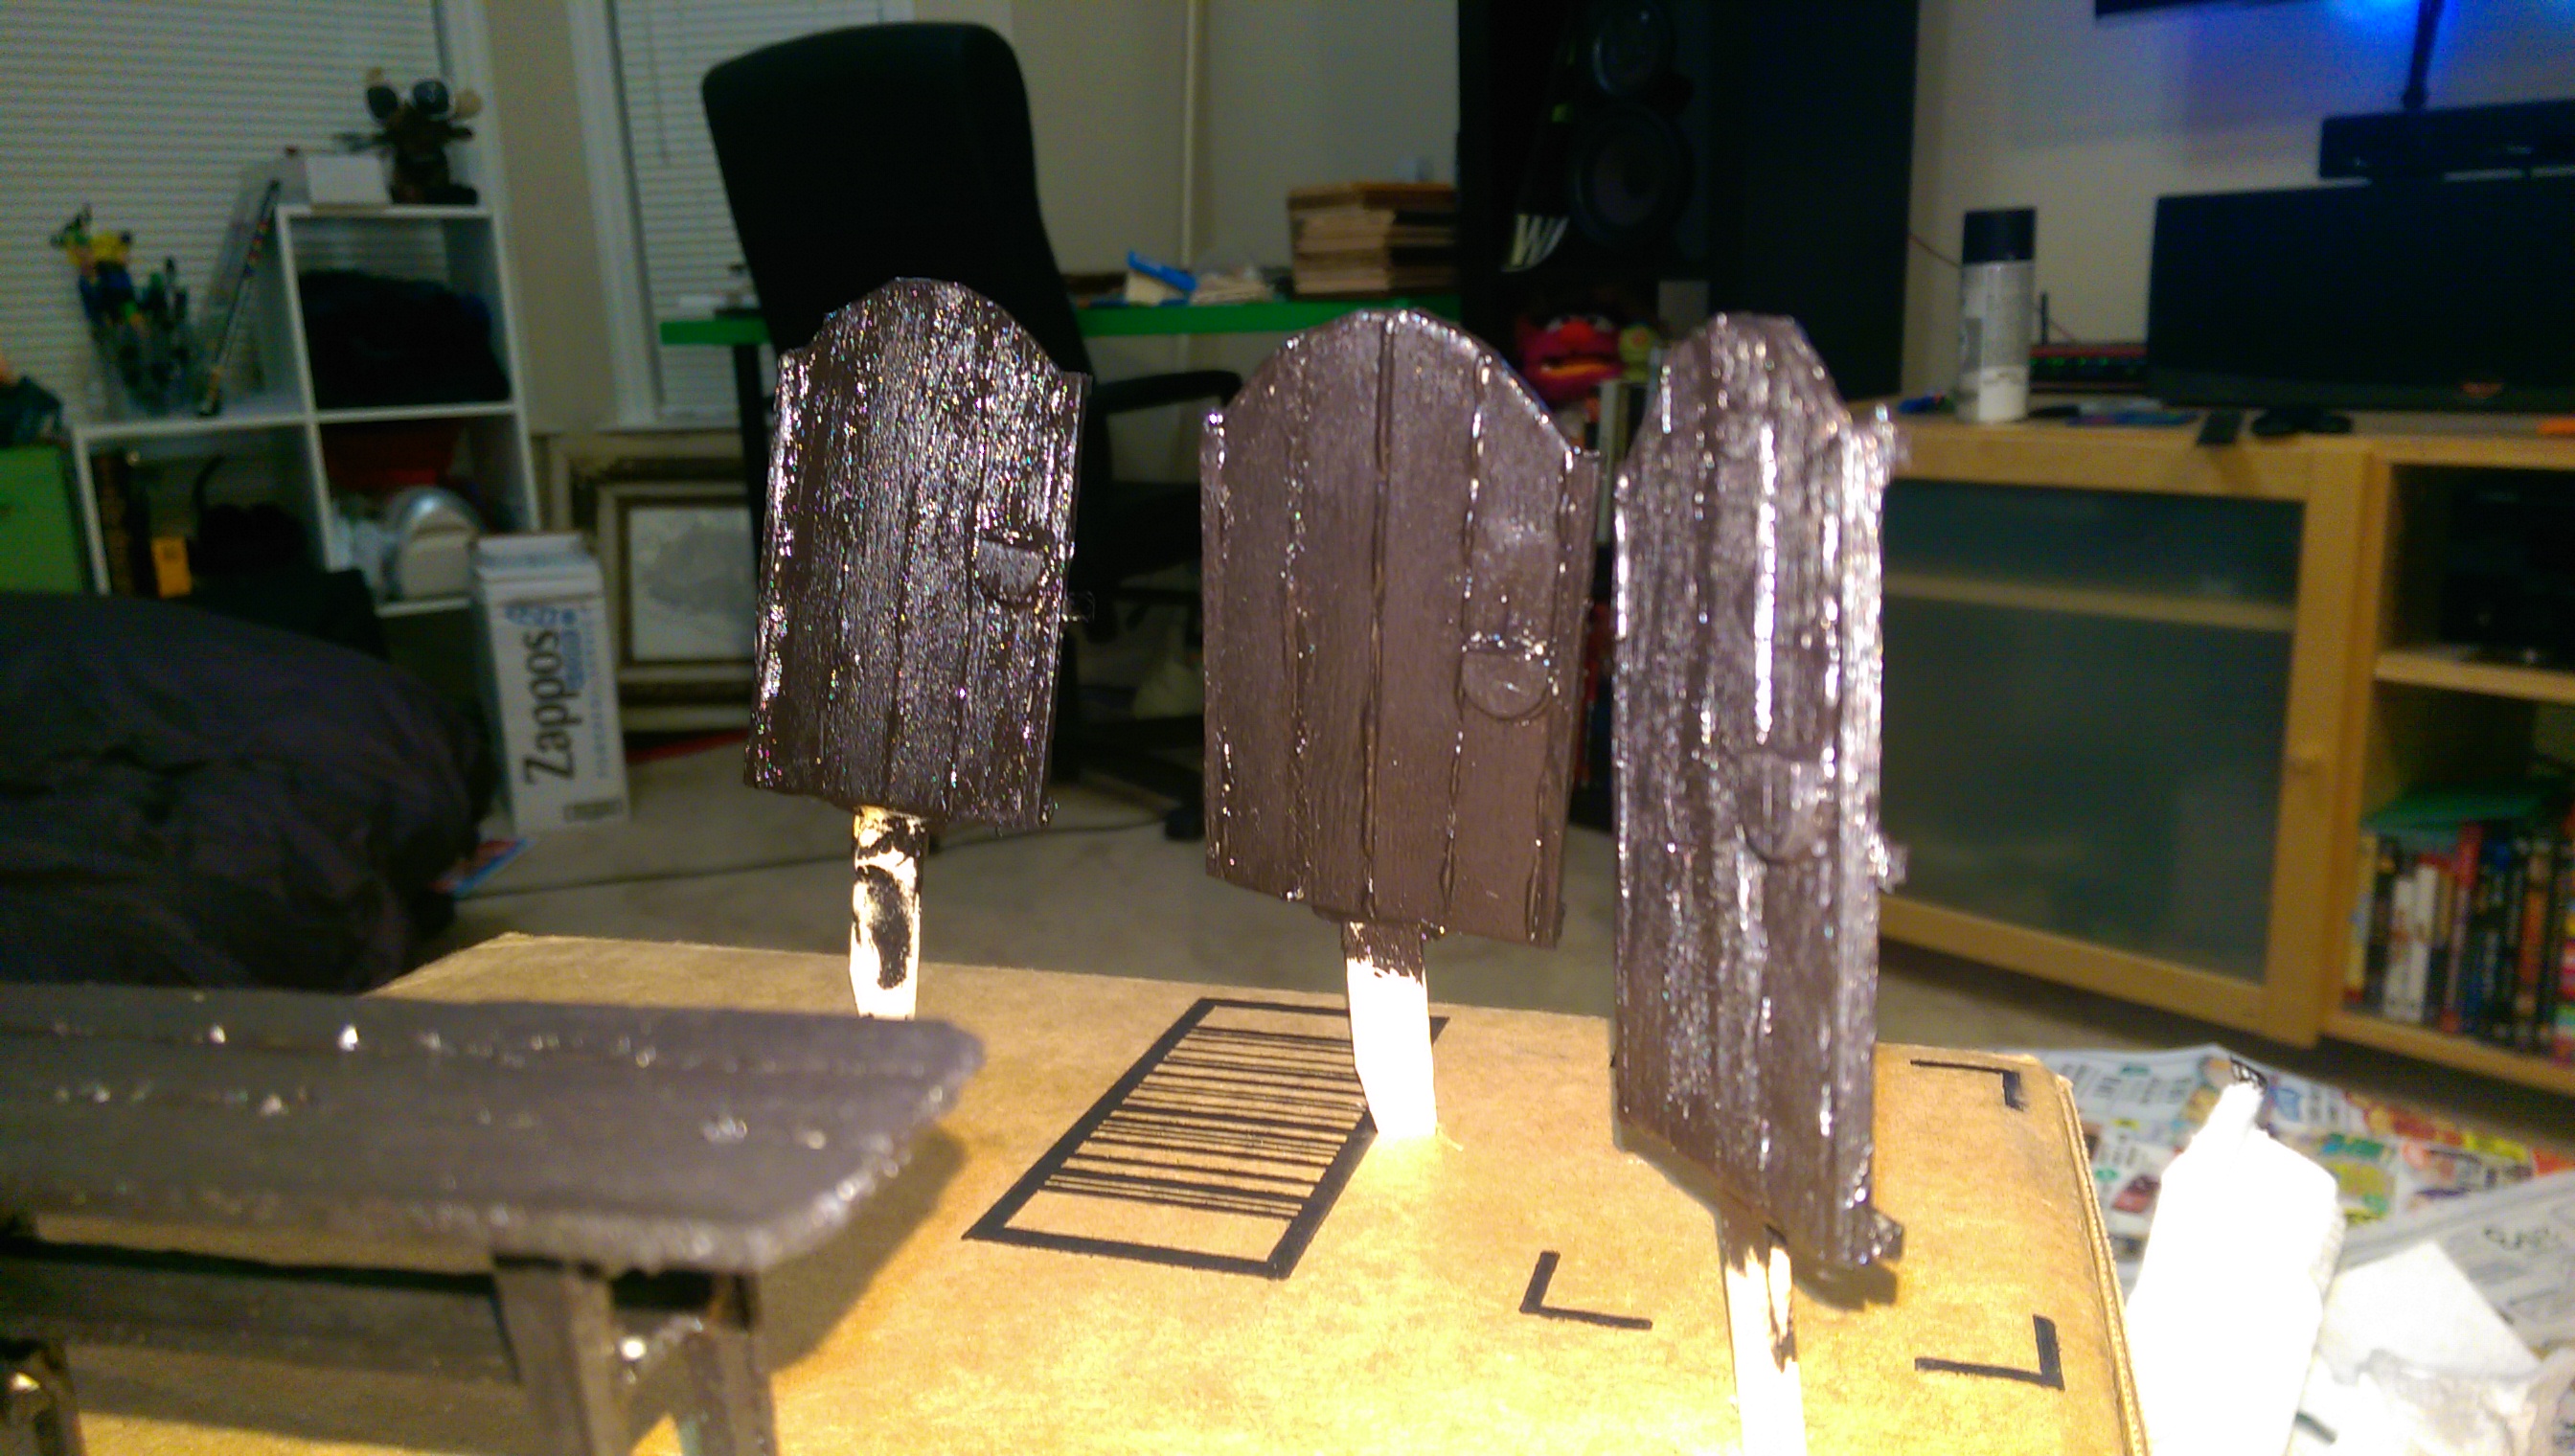
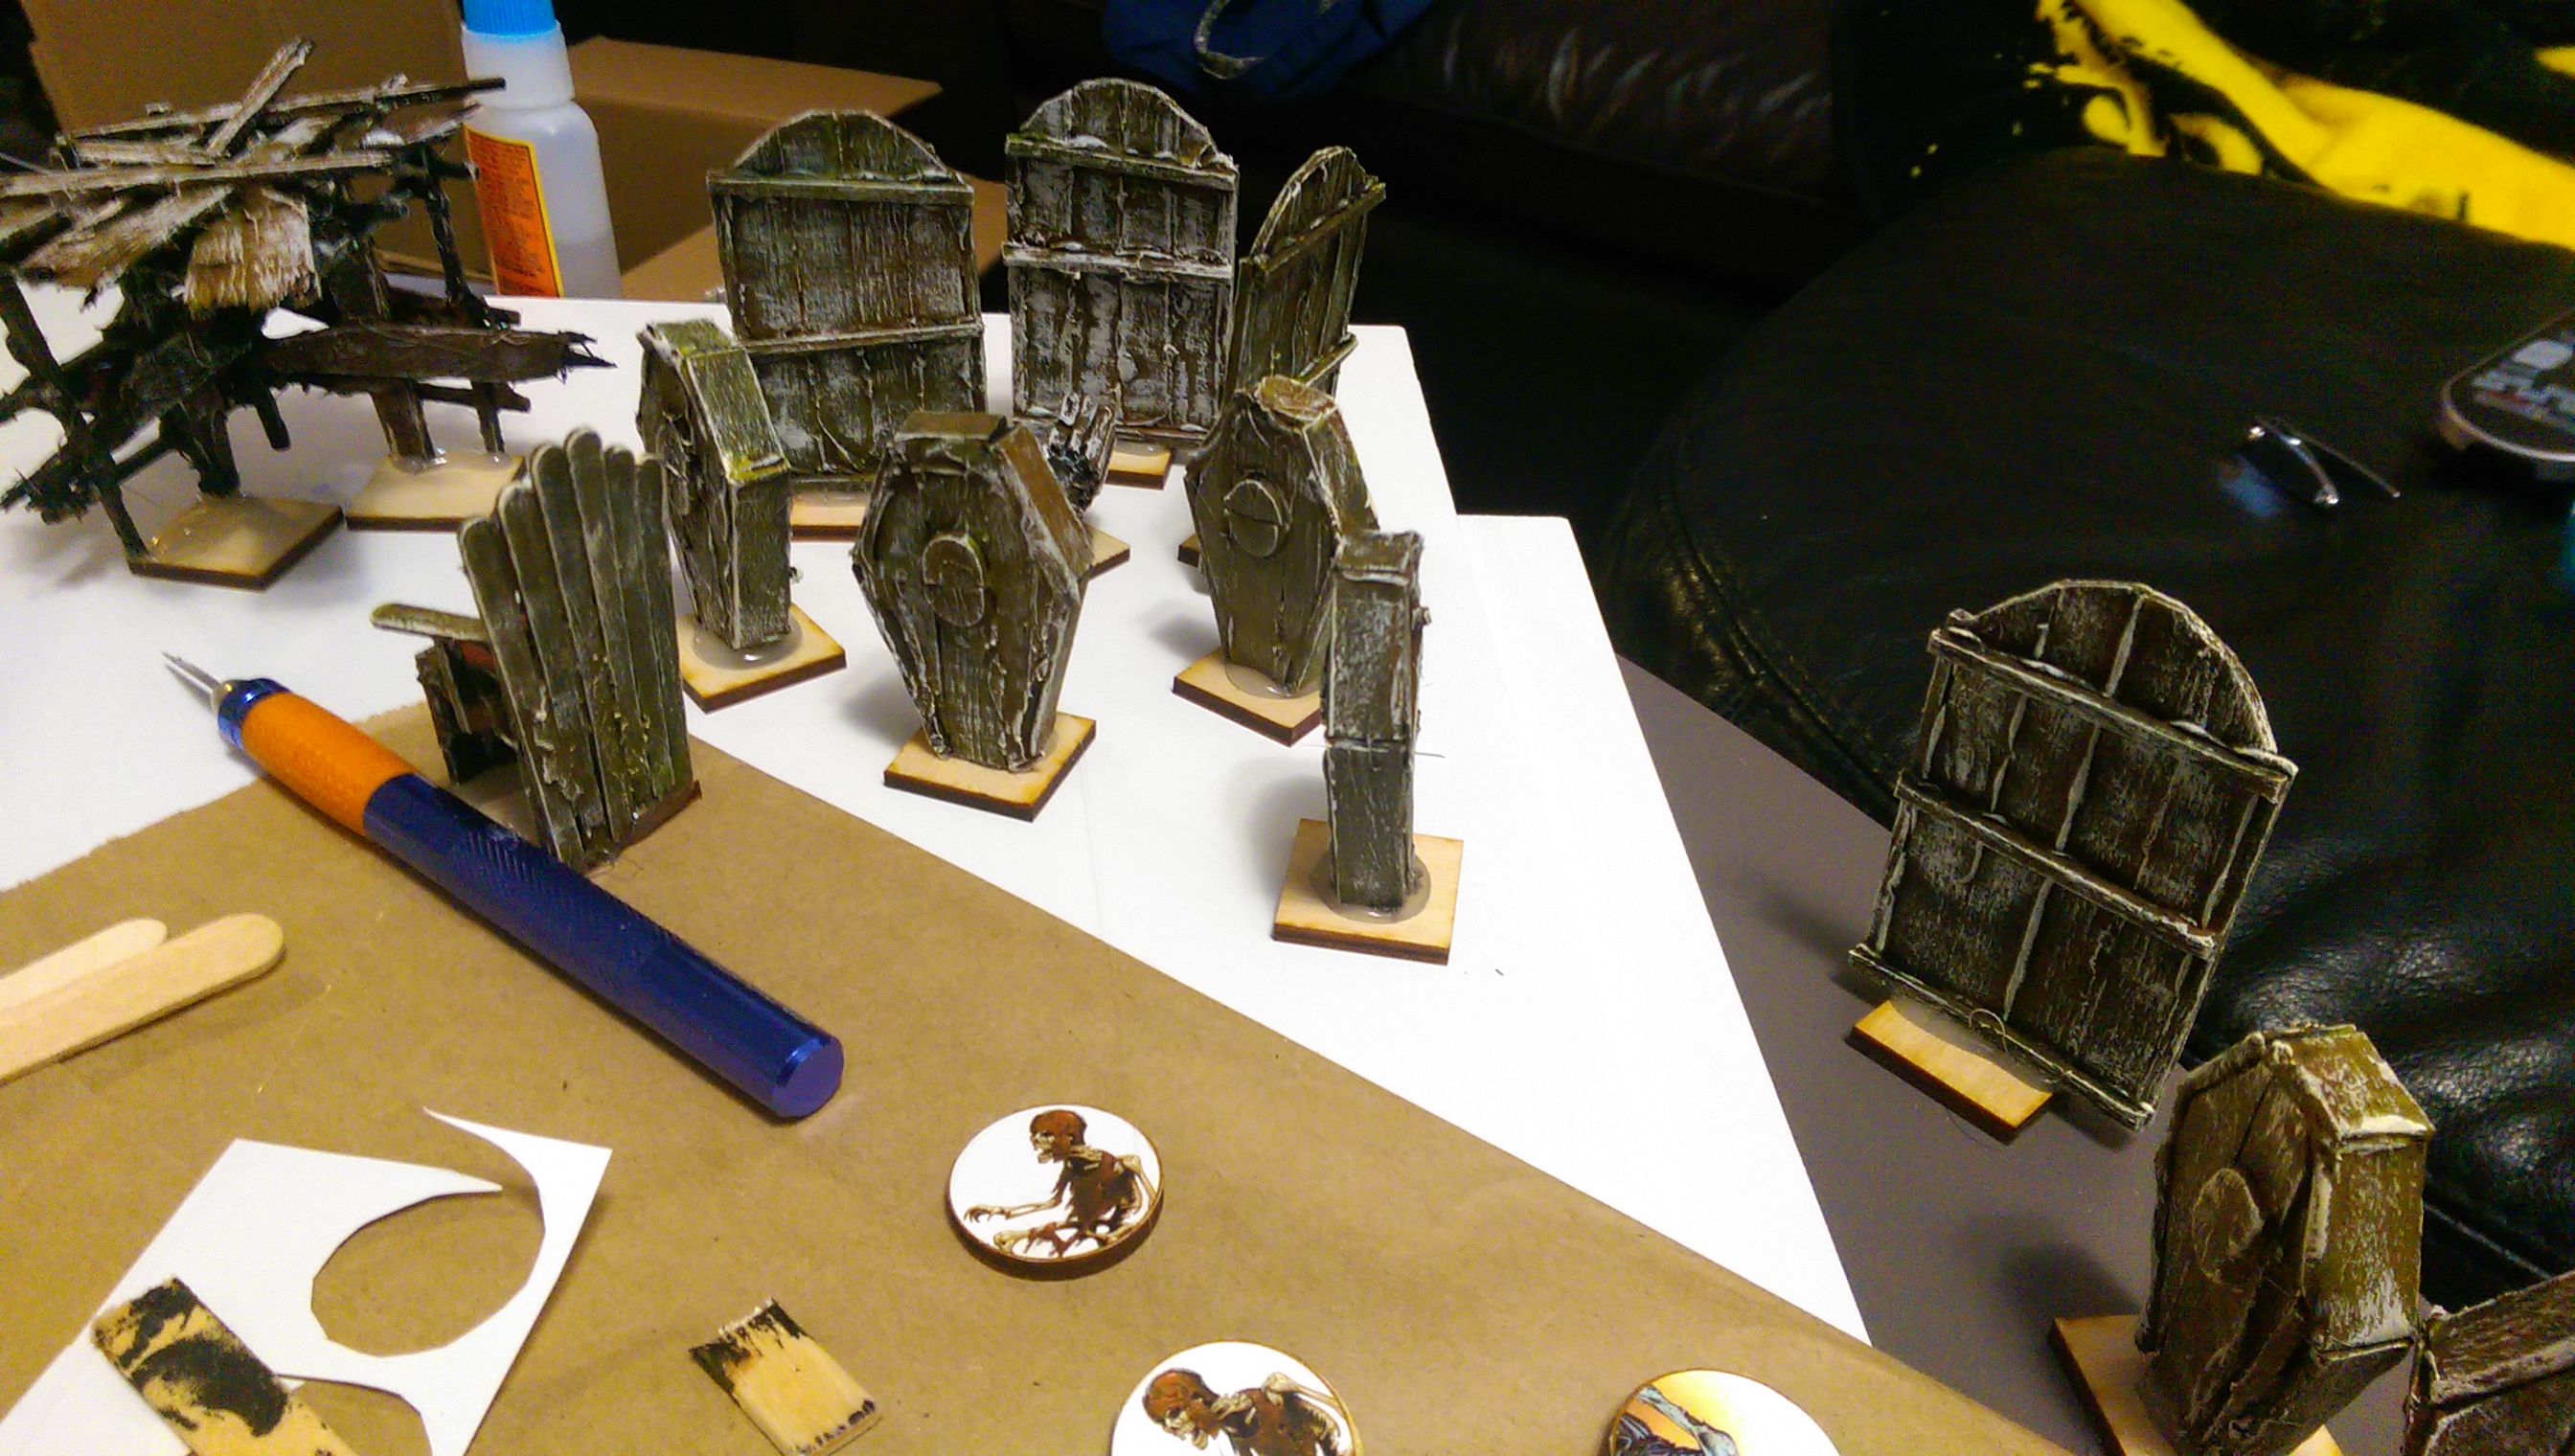
Doors
Was so in love with the effect, I just did it on everything.
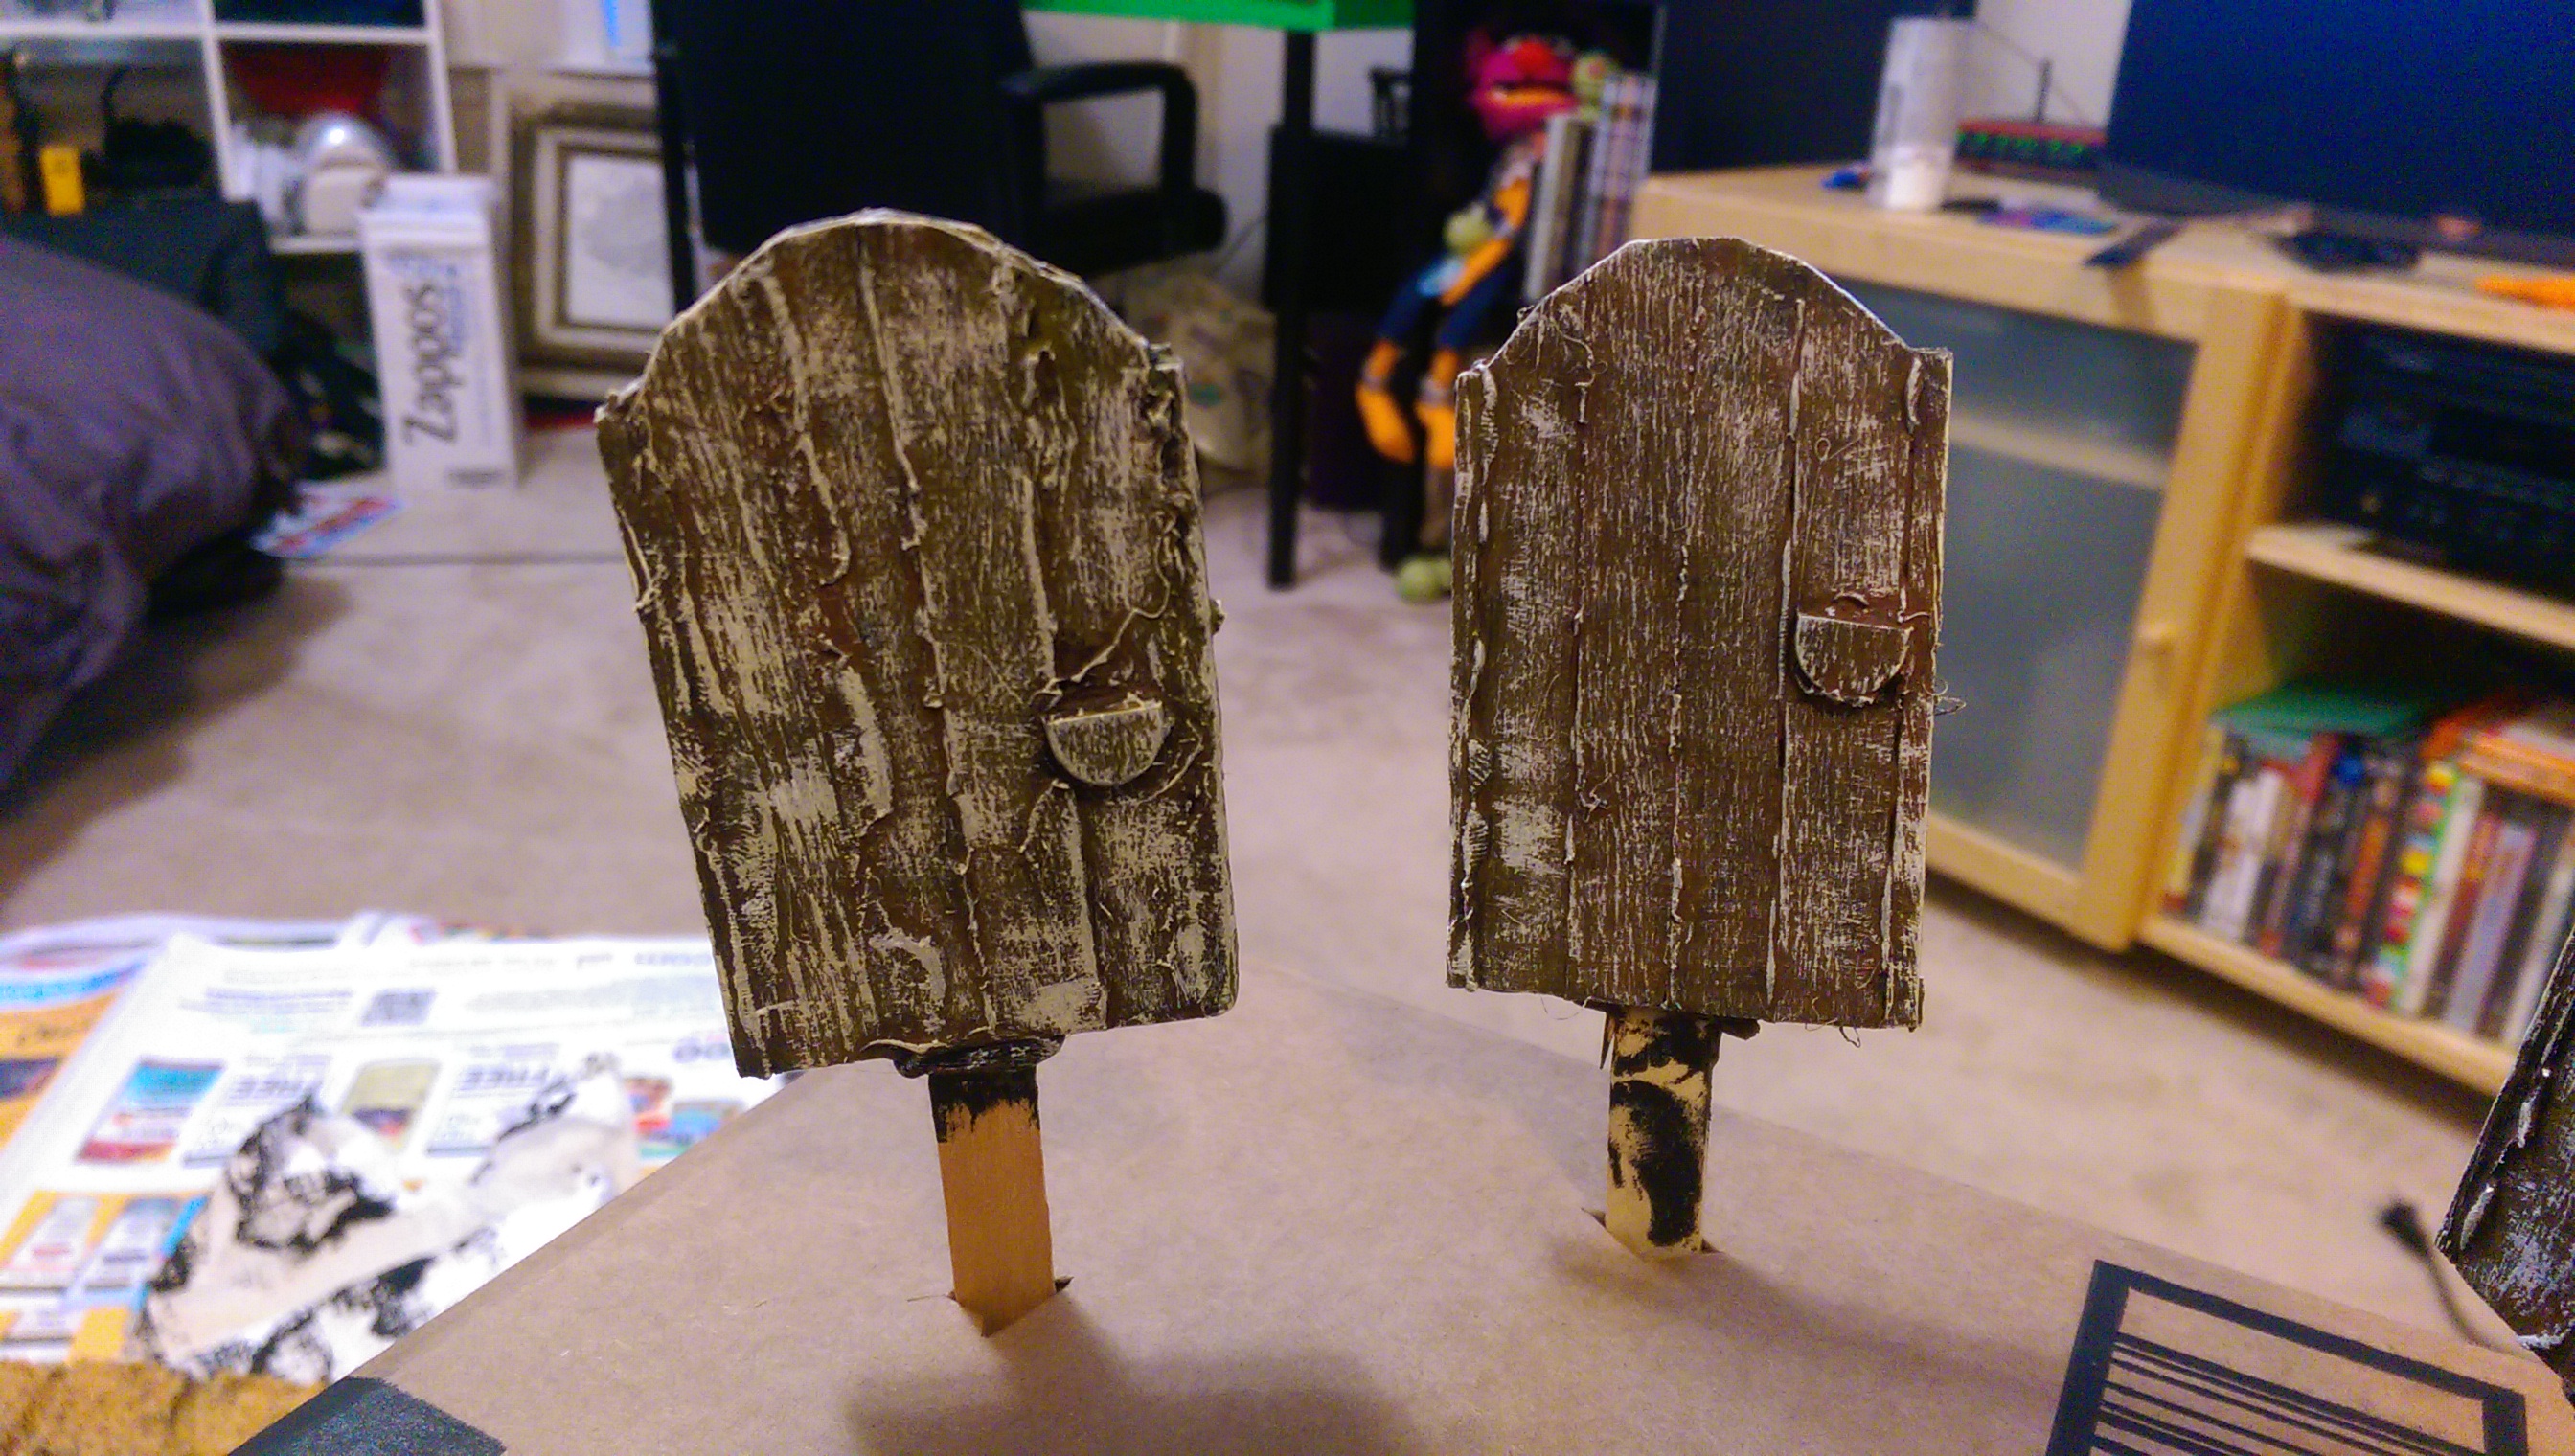

 Yeah. Saving this brown, yellow, white paint method in the memory bank. Love it.
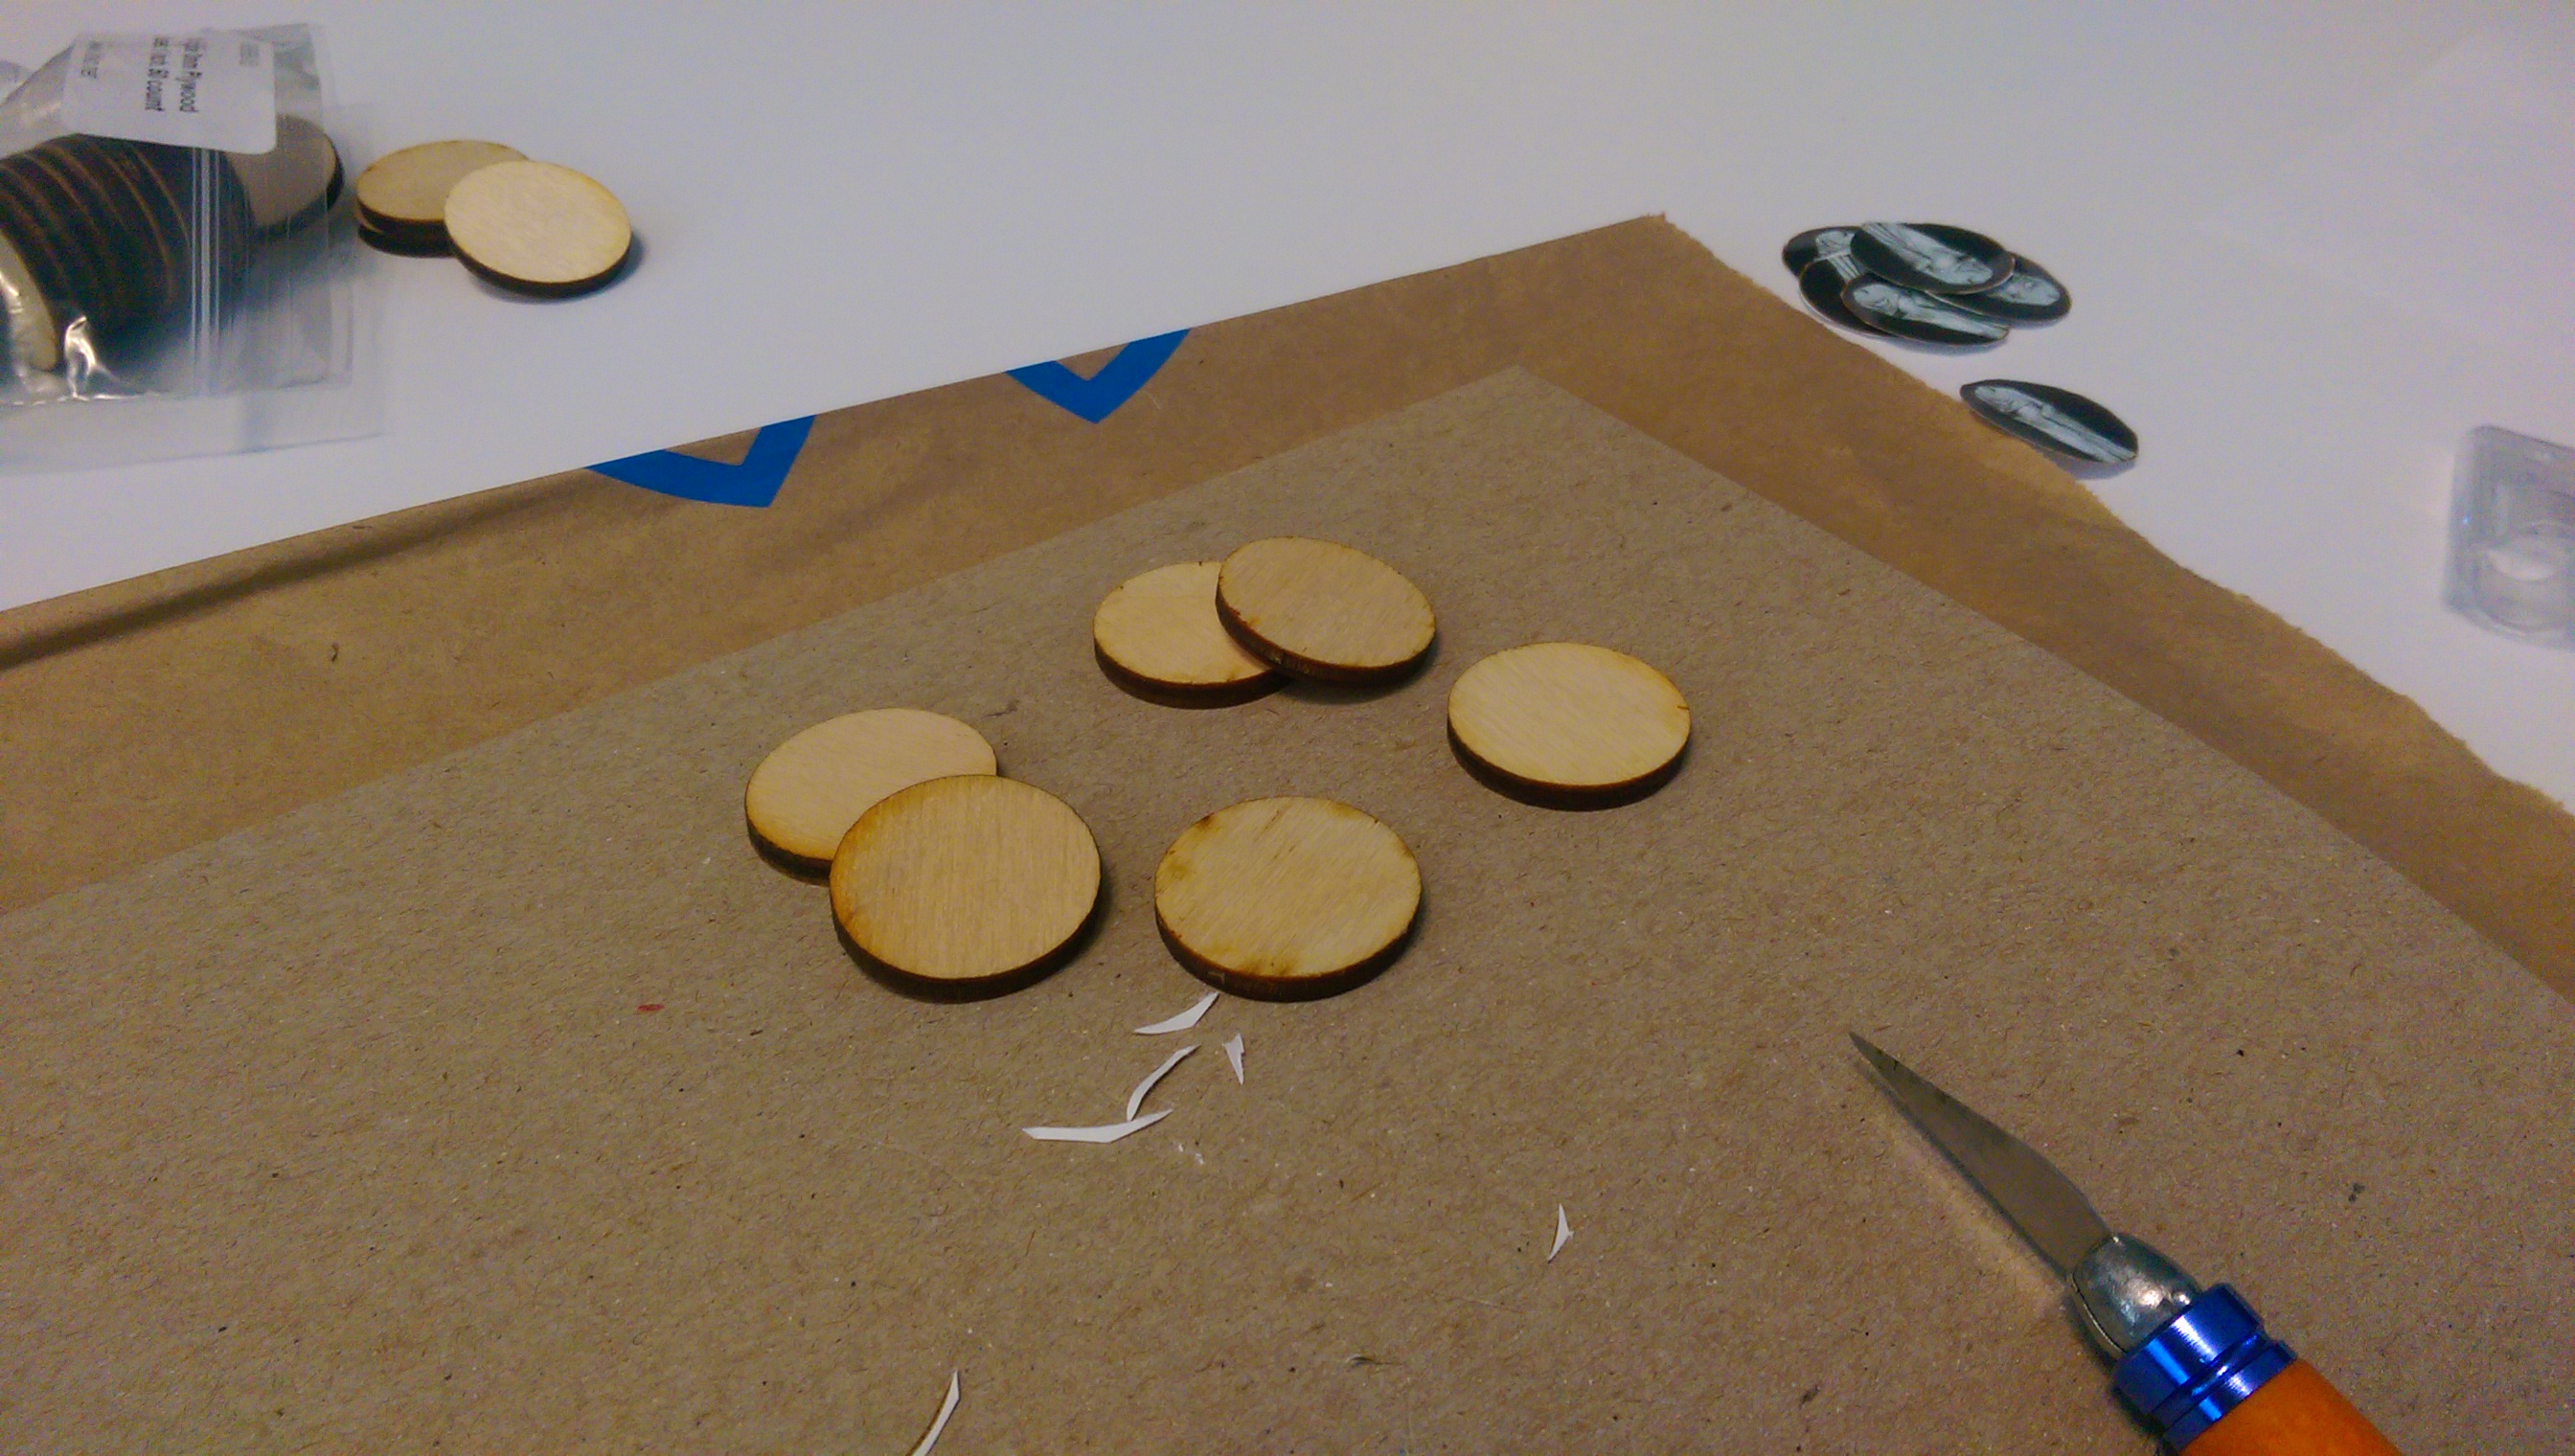
Now, some tokens! Ordered these tokens from litko.net. Love the quality, the burned edges from the laser cuts. Love it all. Was skeptical about spending money on wooden discs, something I could easily make myself, but very glad I did.
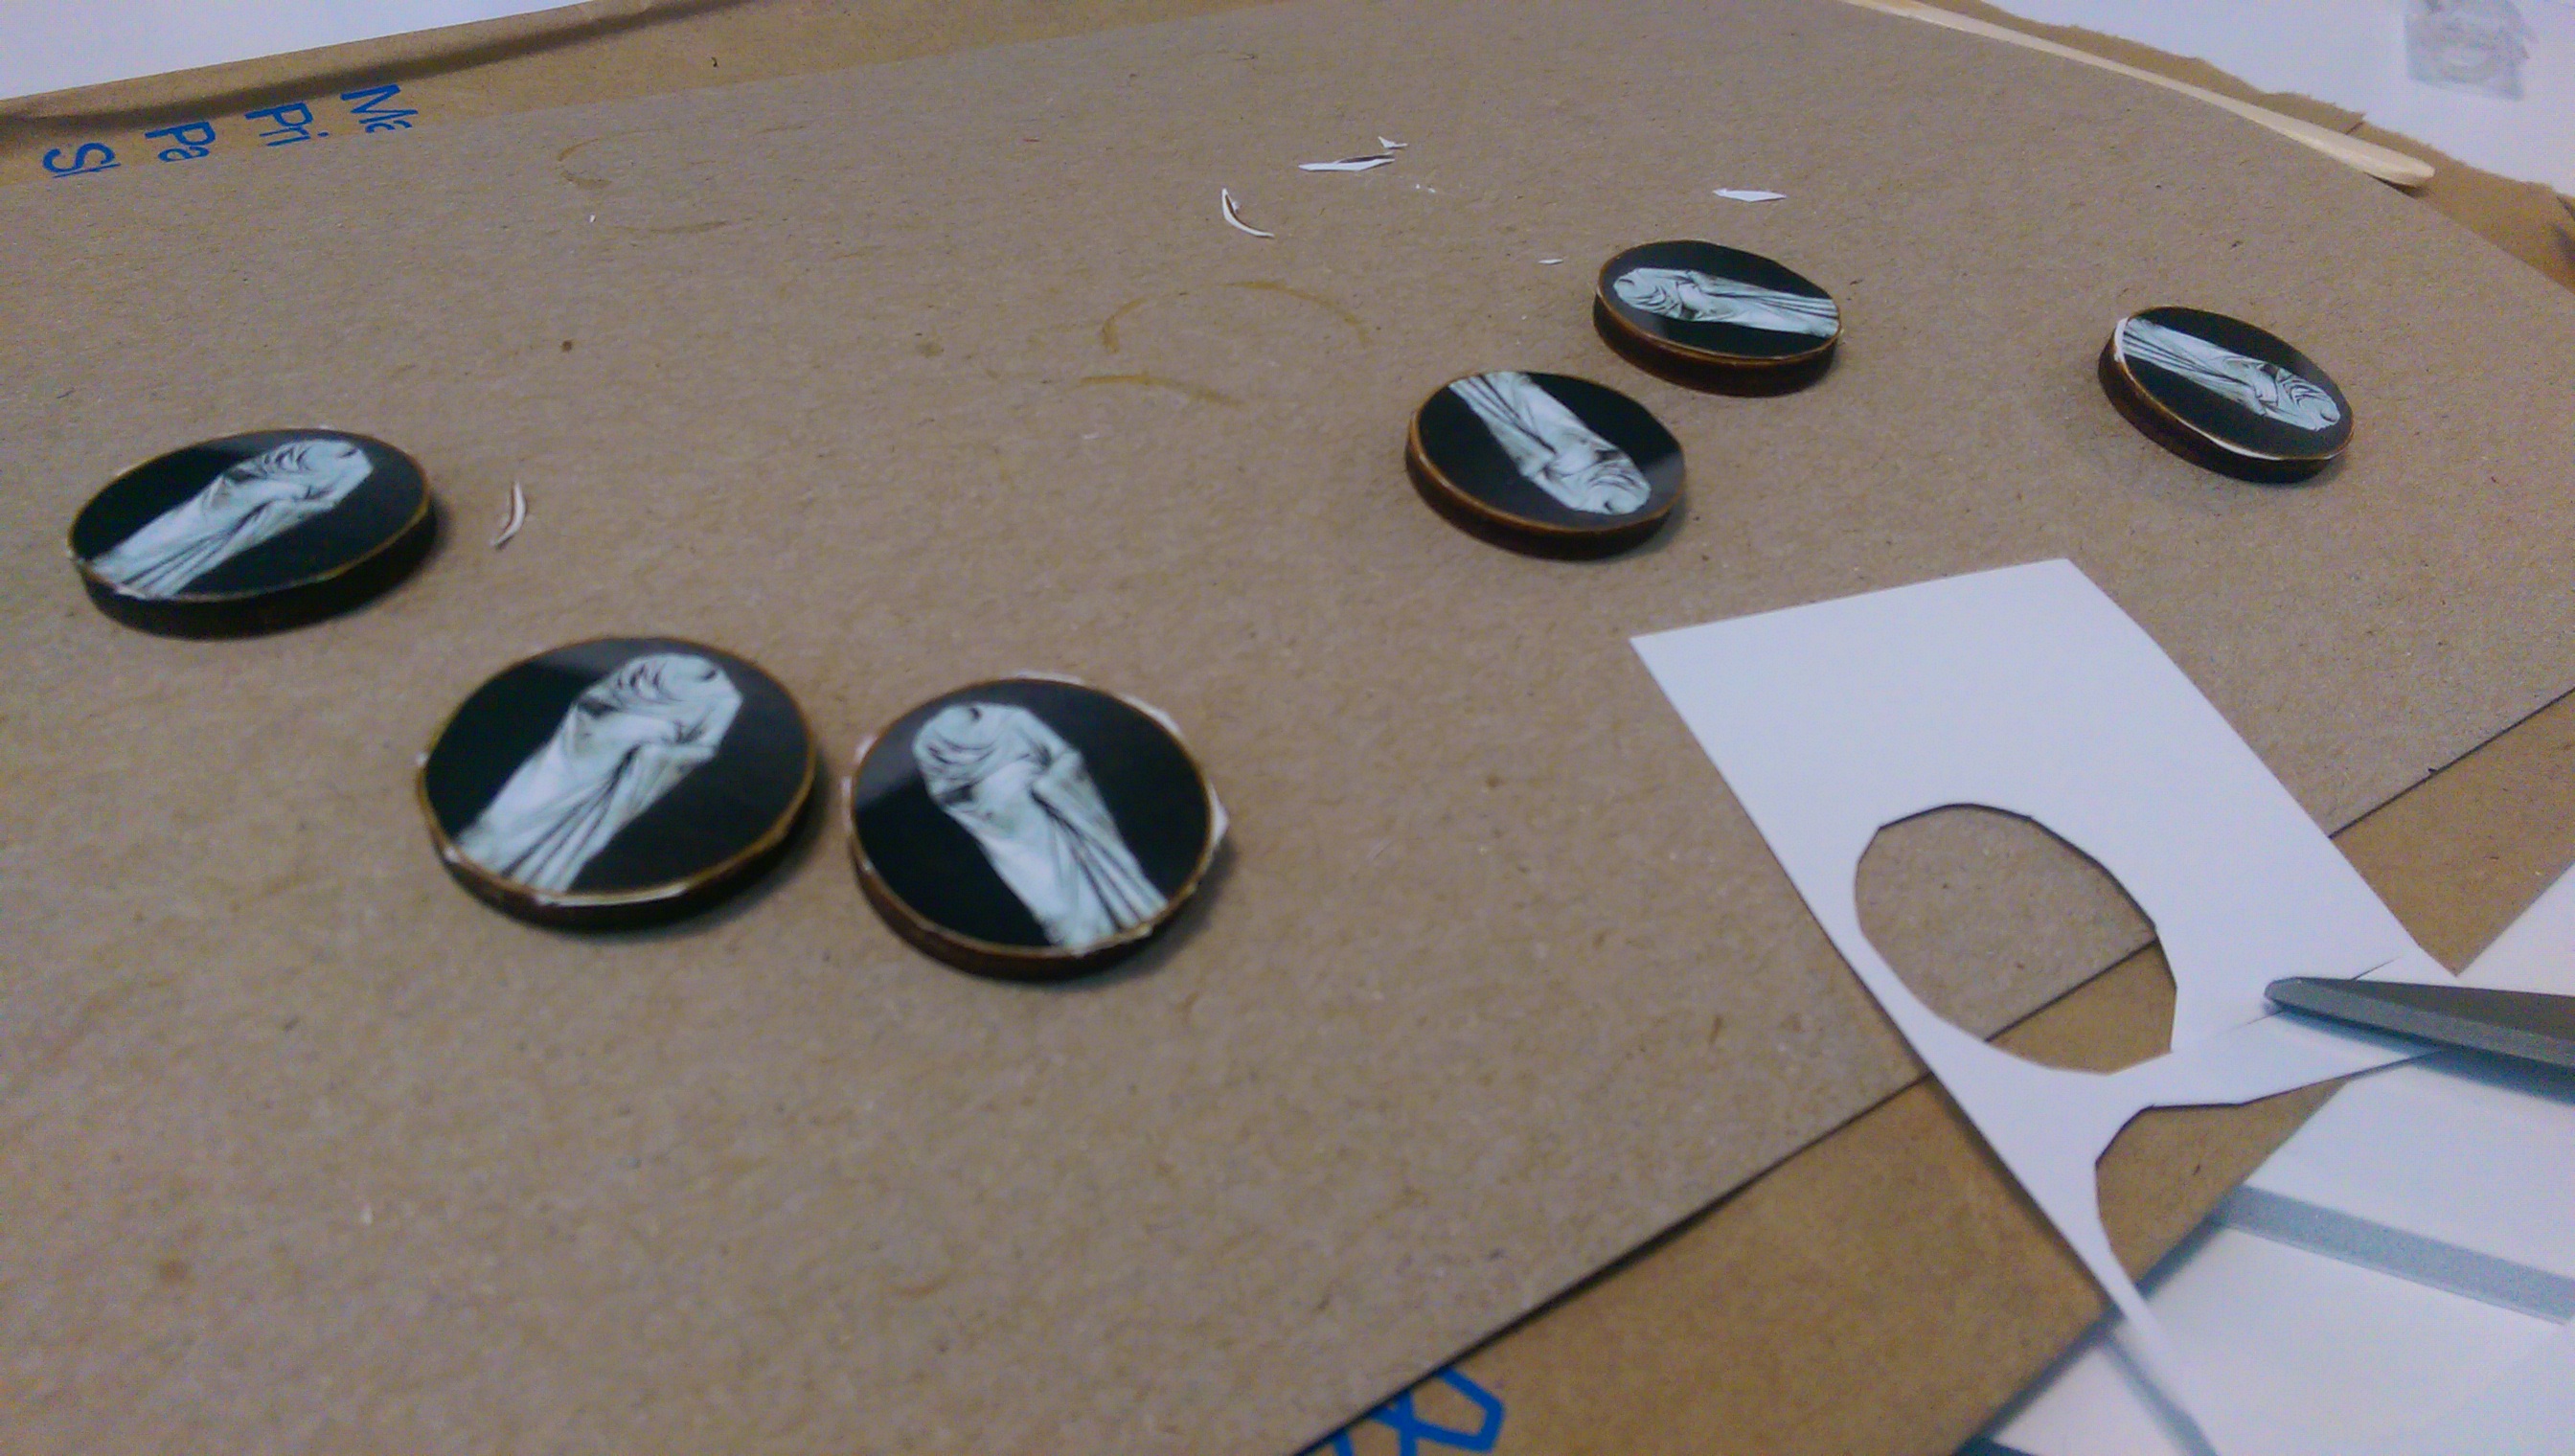
Found a bunch of images via google image searching, and designed my own tokens based on that. Scaled and sized and all, then send them off to Kinkos for full color photo printing at 300dpi. These are the headless statues.
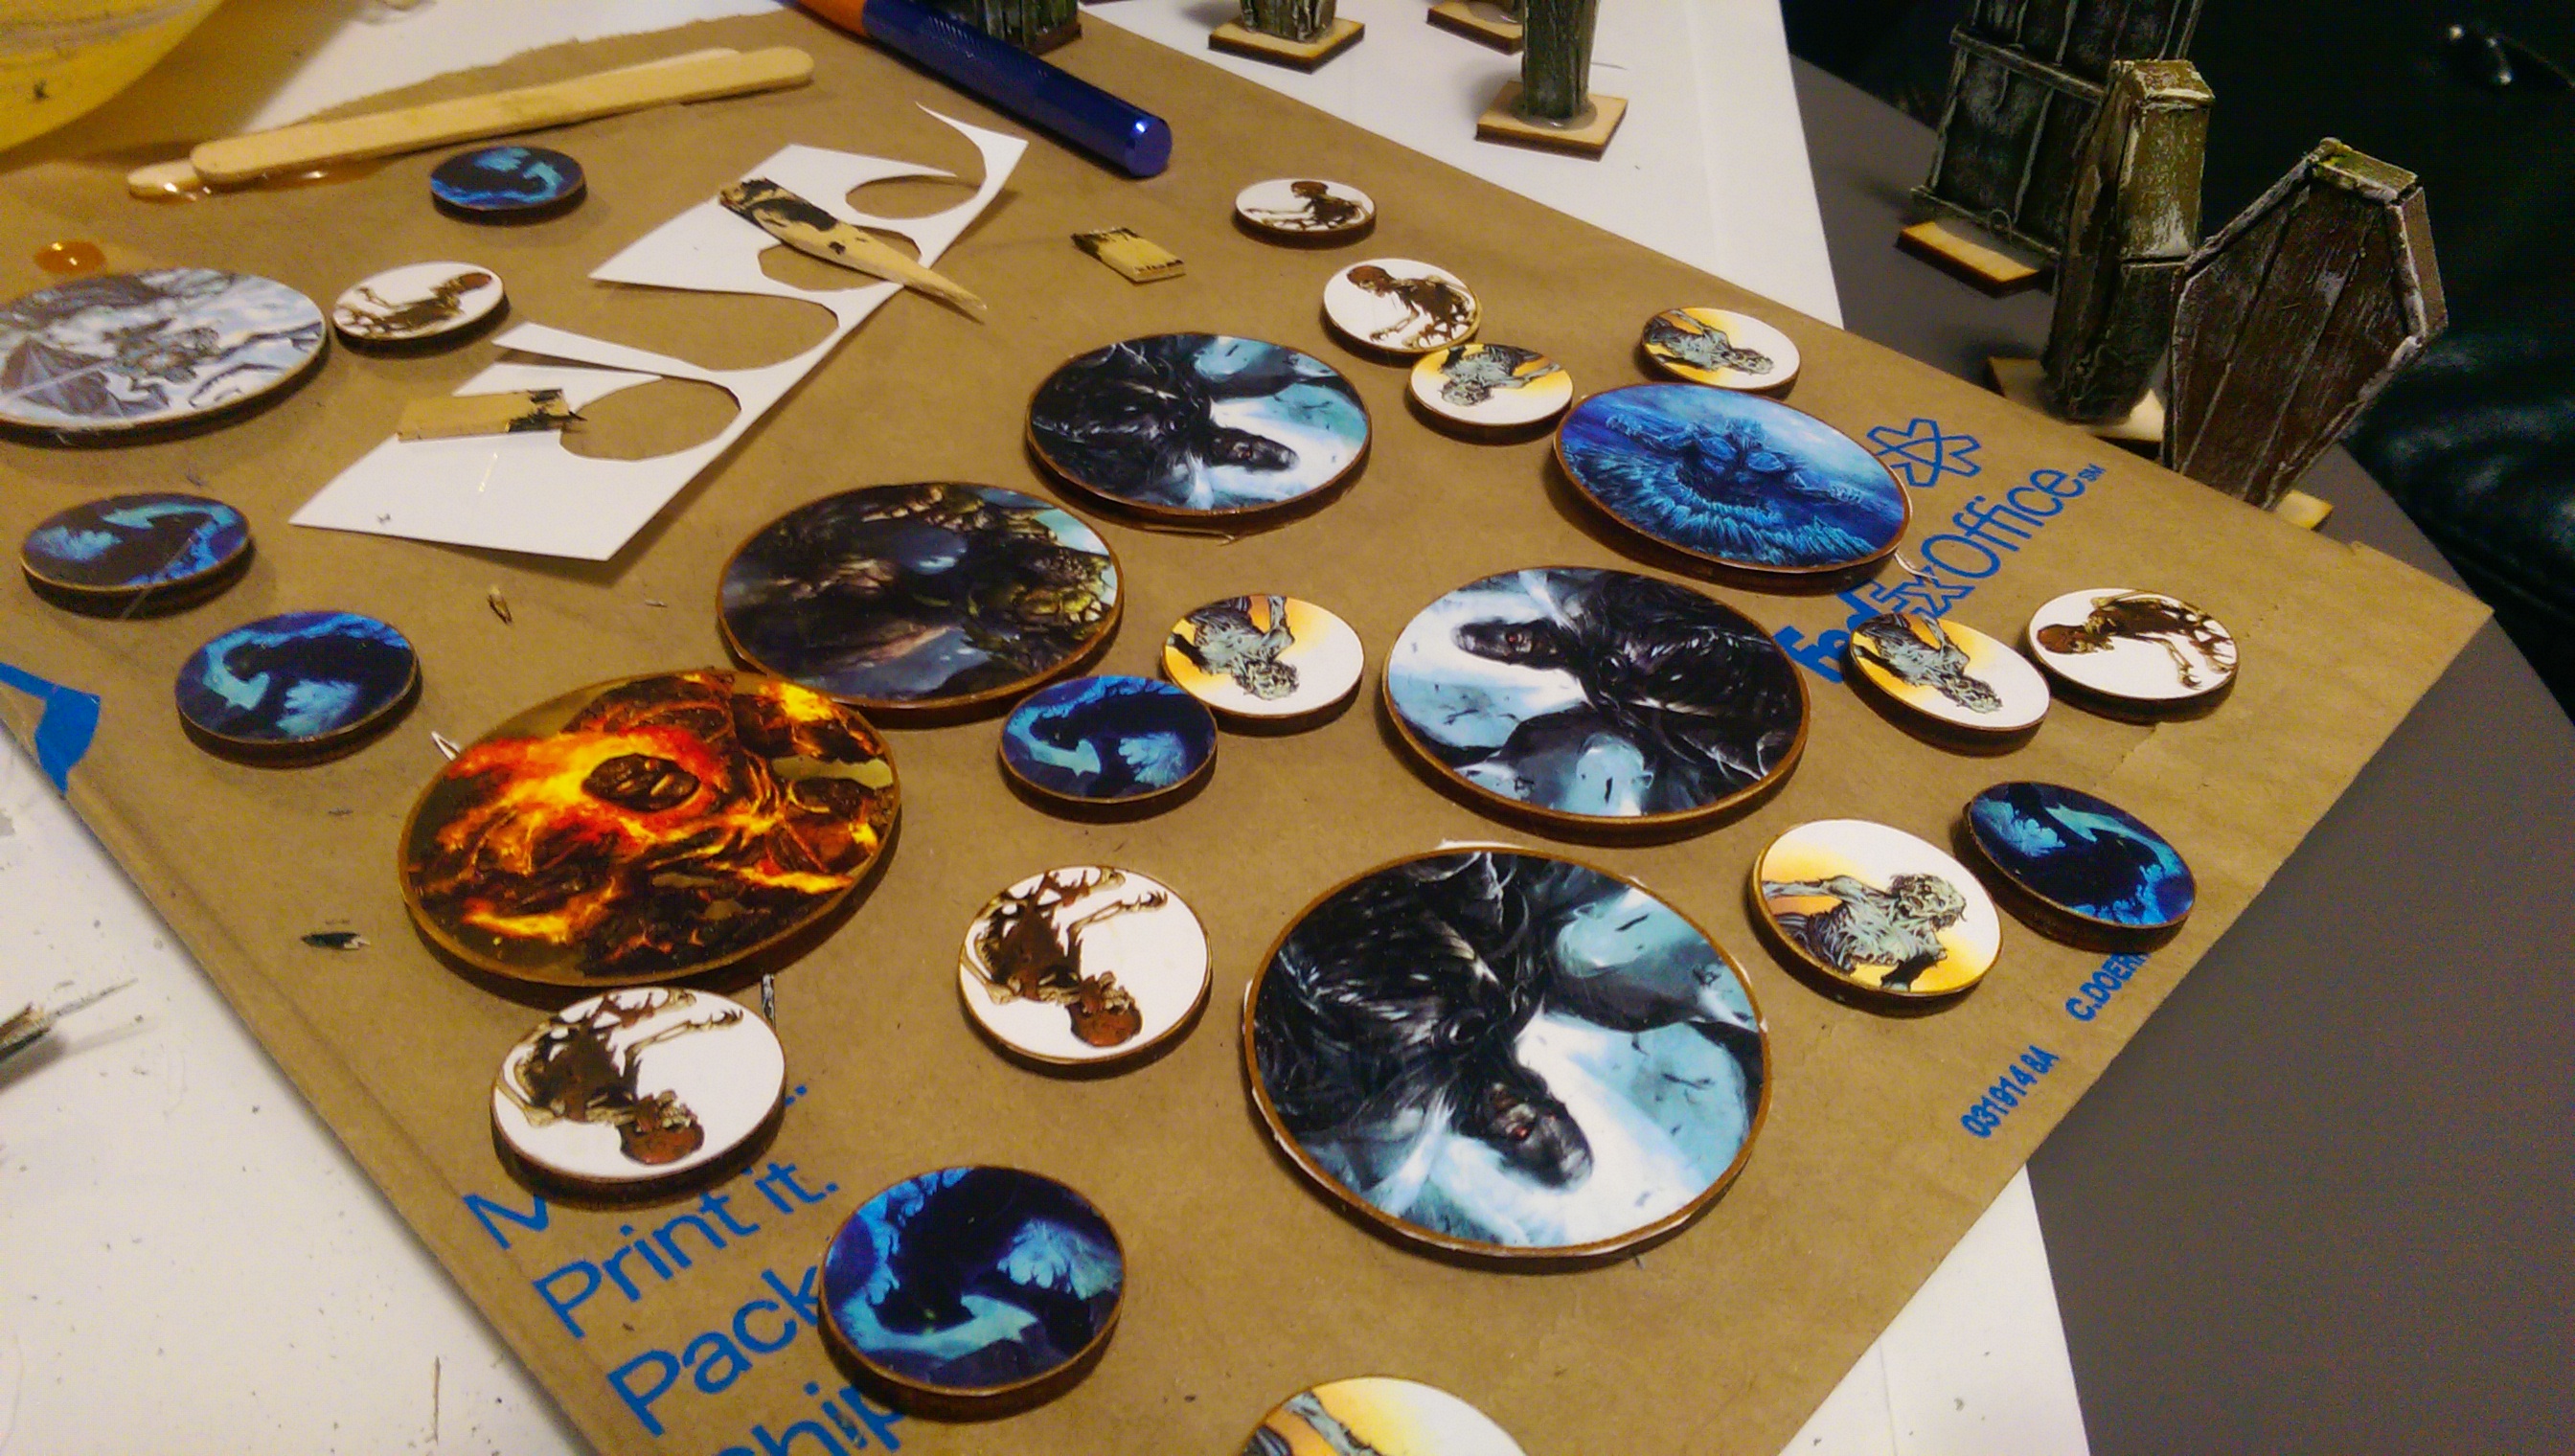
And this is almost everything else.
Chopped the stilts and glued the pieces onto base tiles (also from litko)
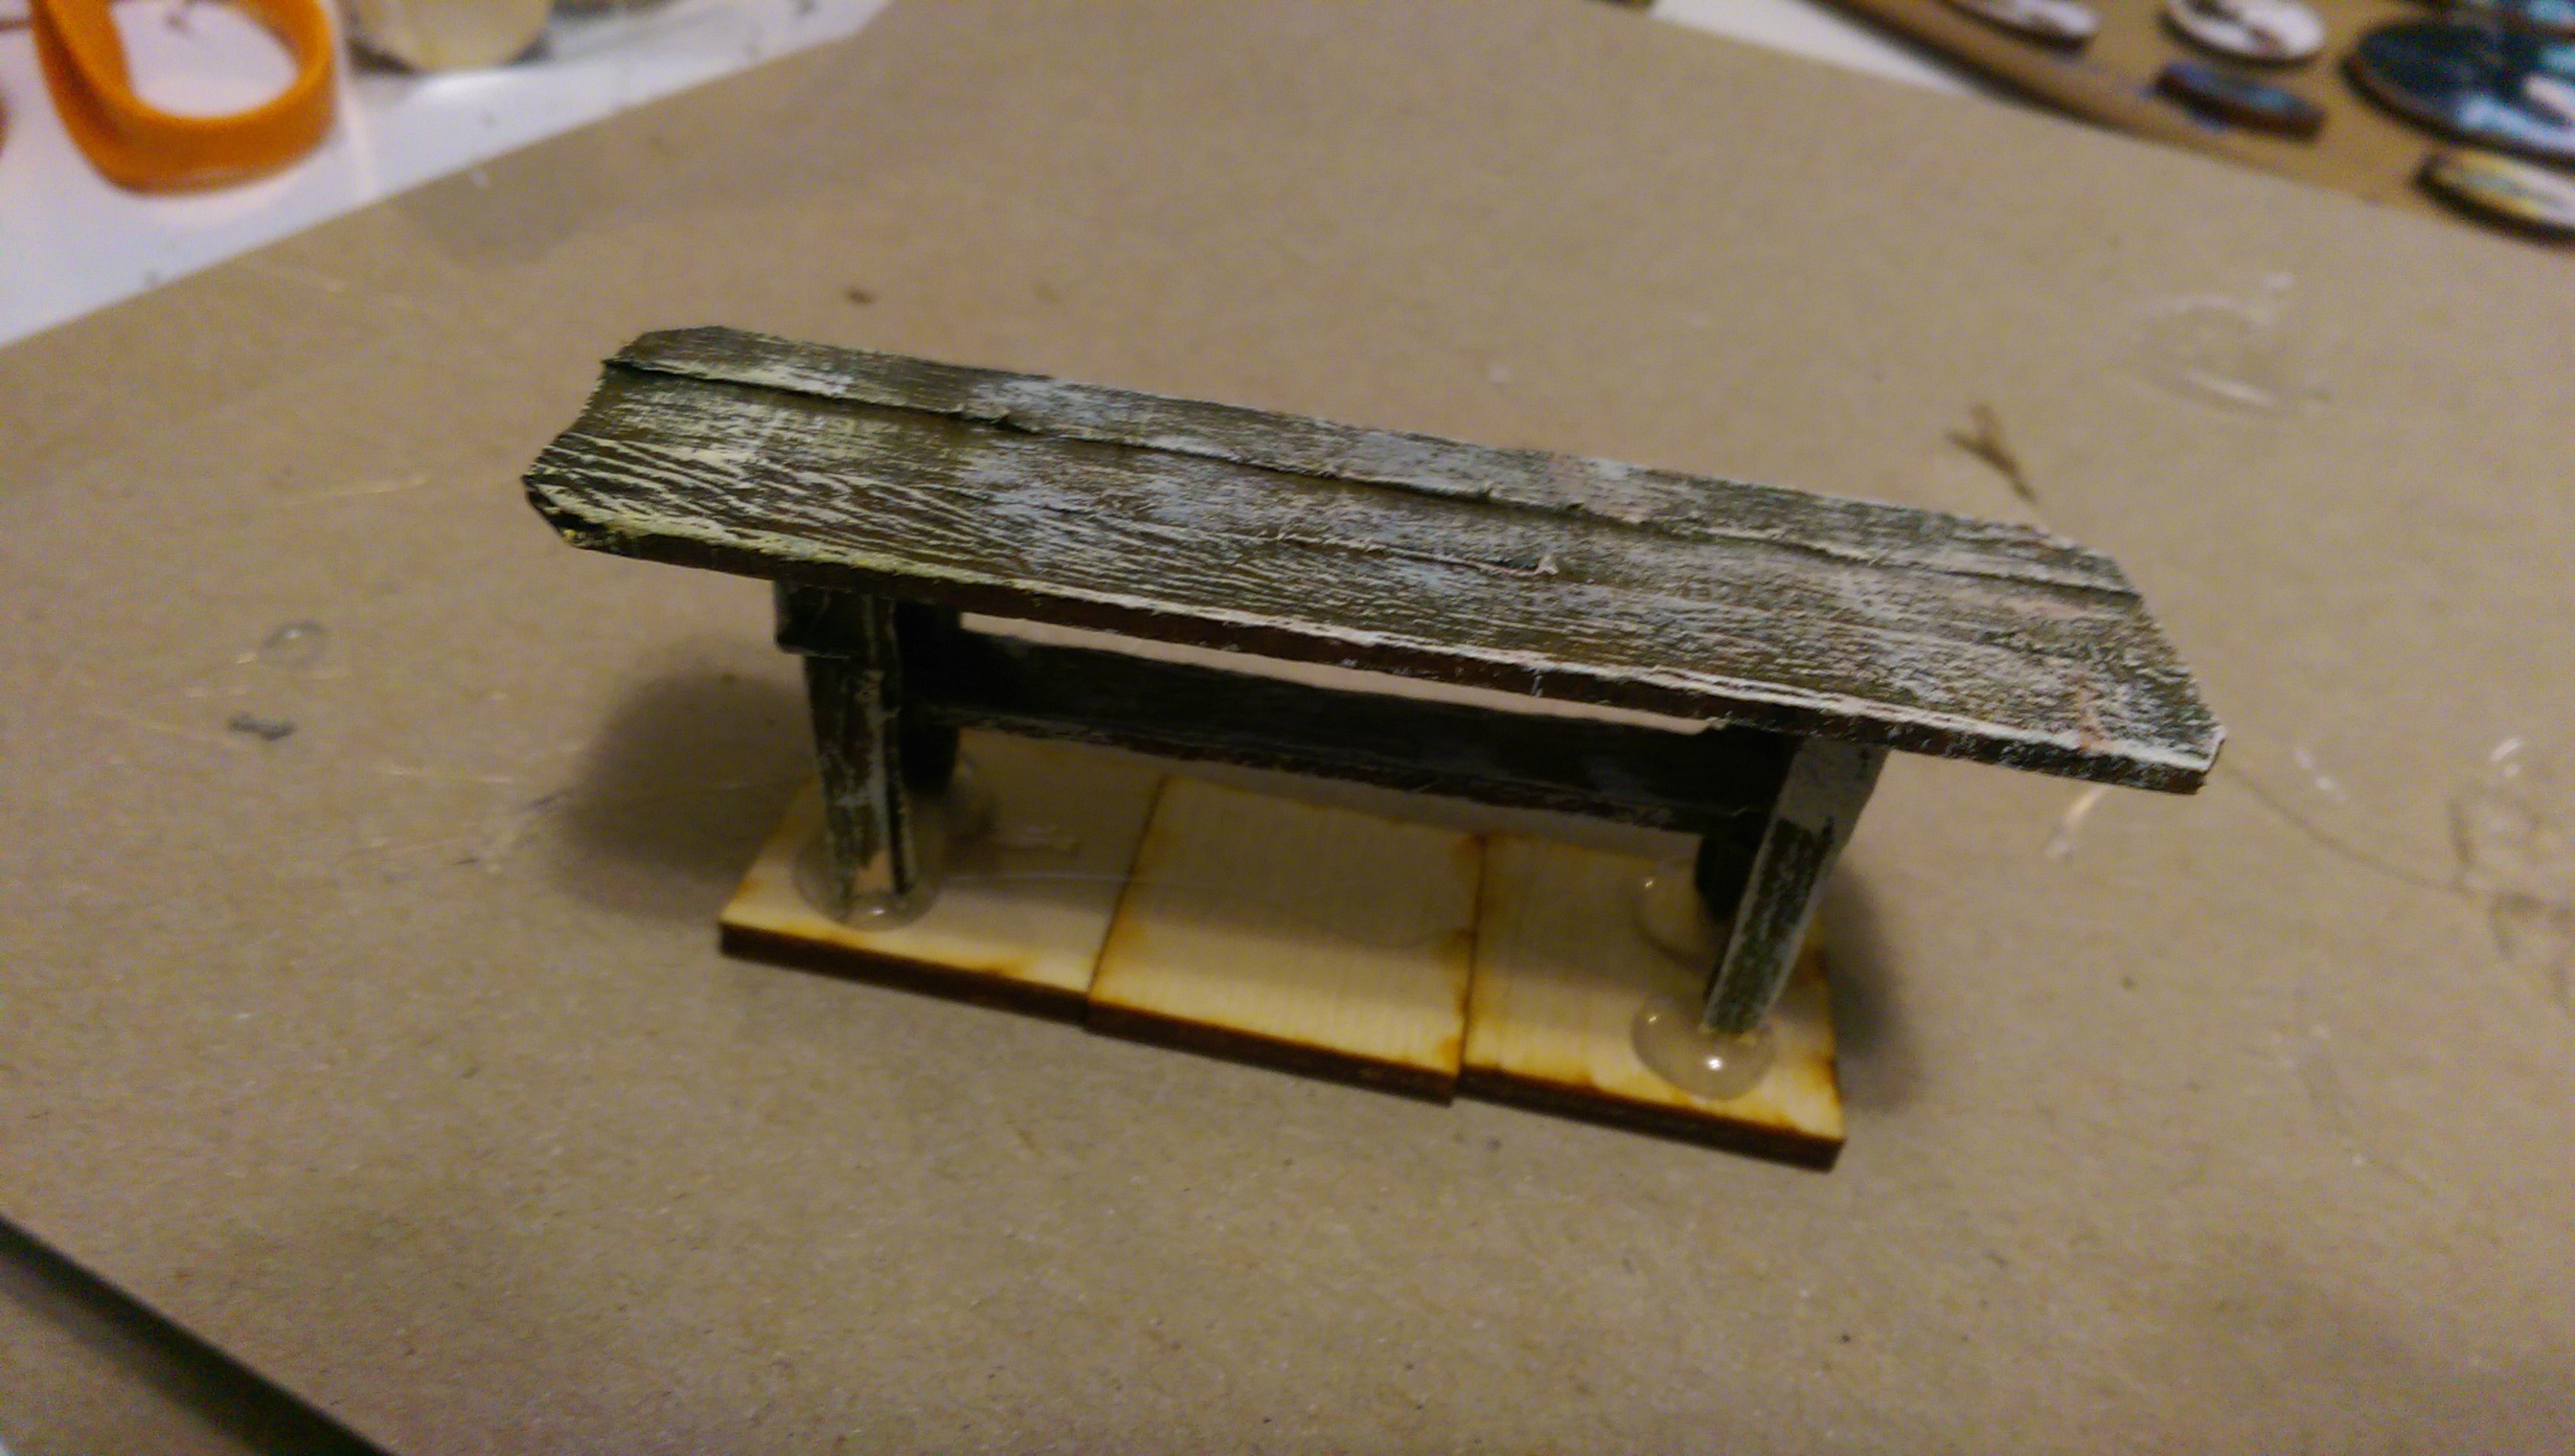
This was a tad tricky, I wanted to make sure the tiles fell on game tiles, so I used a square in between to get the spacing just right. Doesn’t really matter, but sometimes I like to think if I don’t get the tiny things right the world will end.
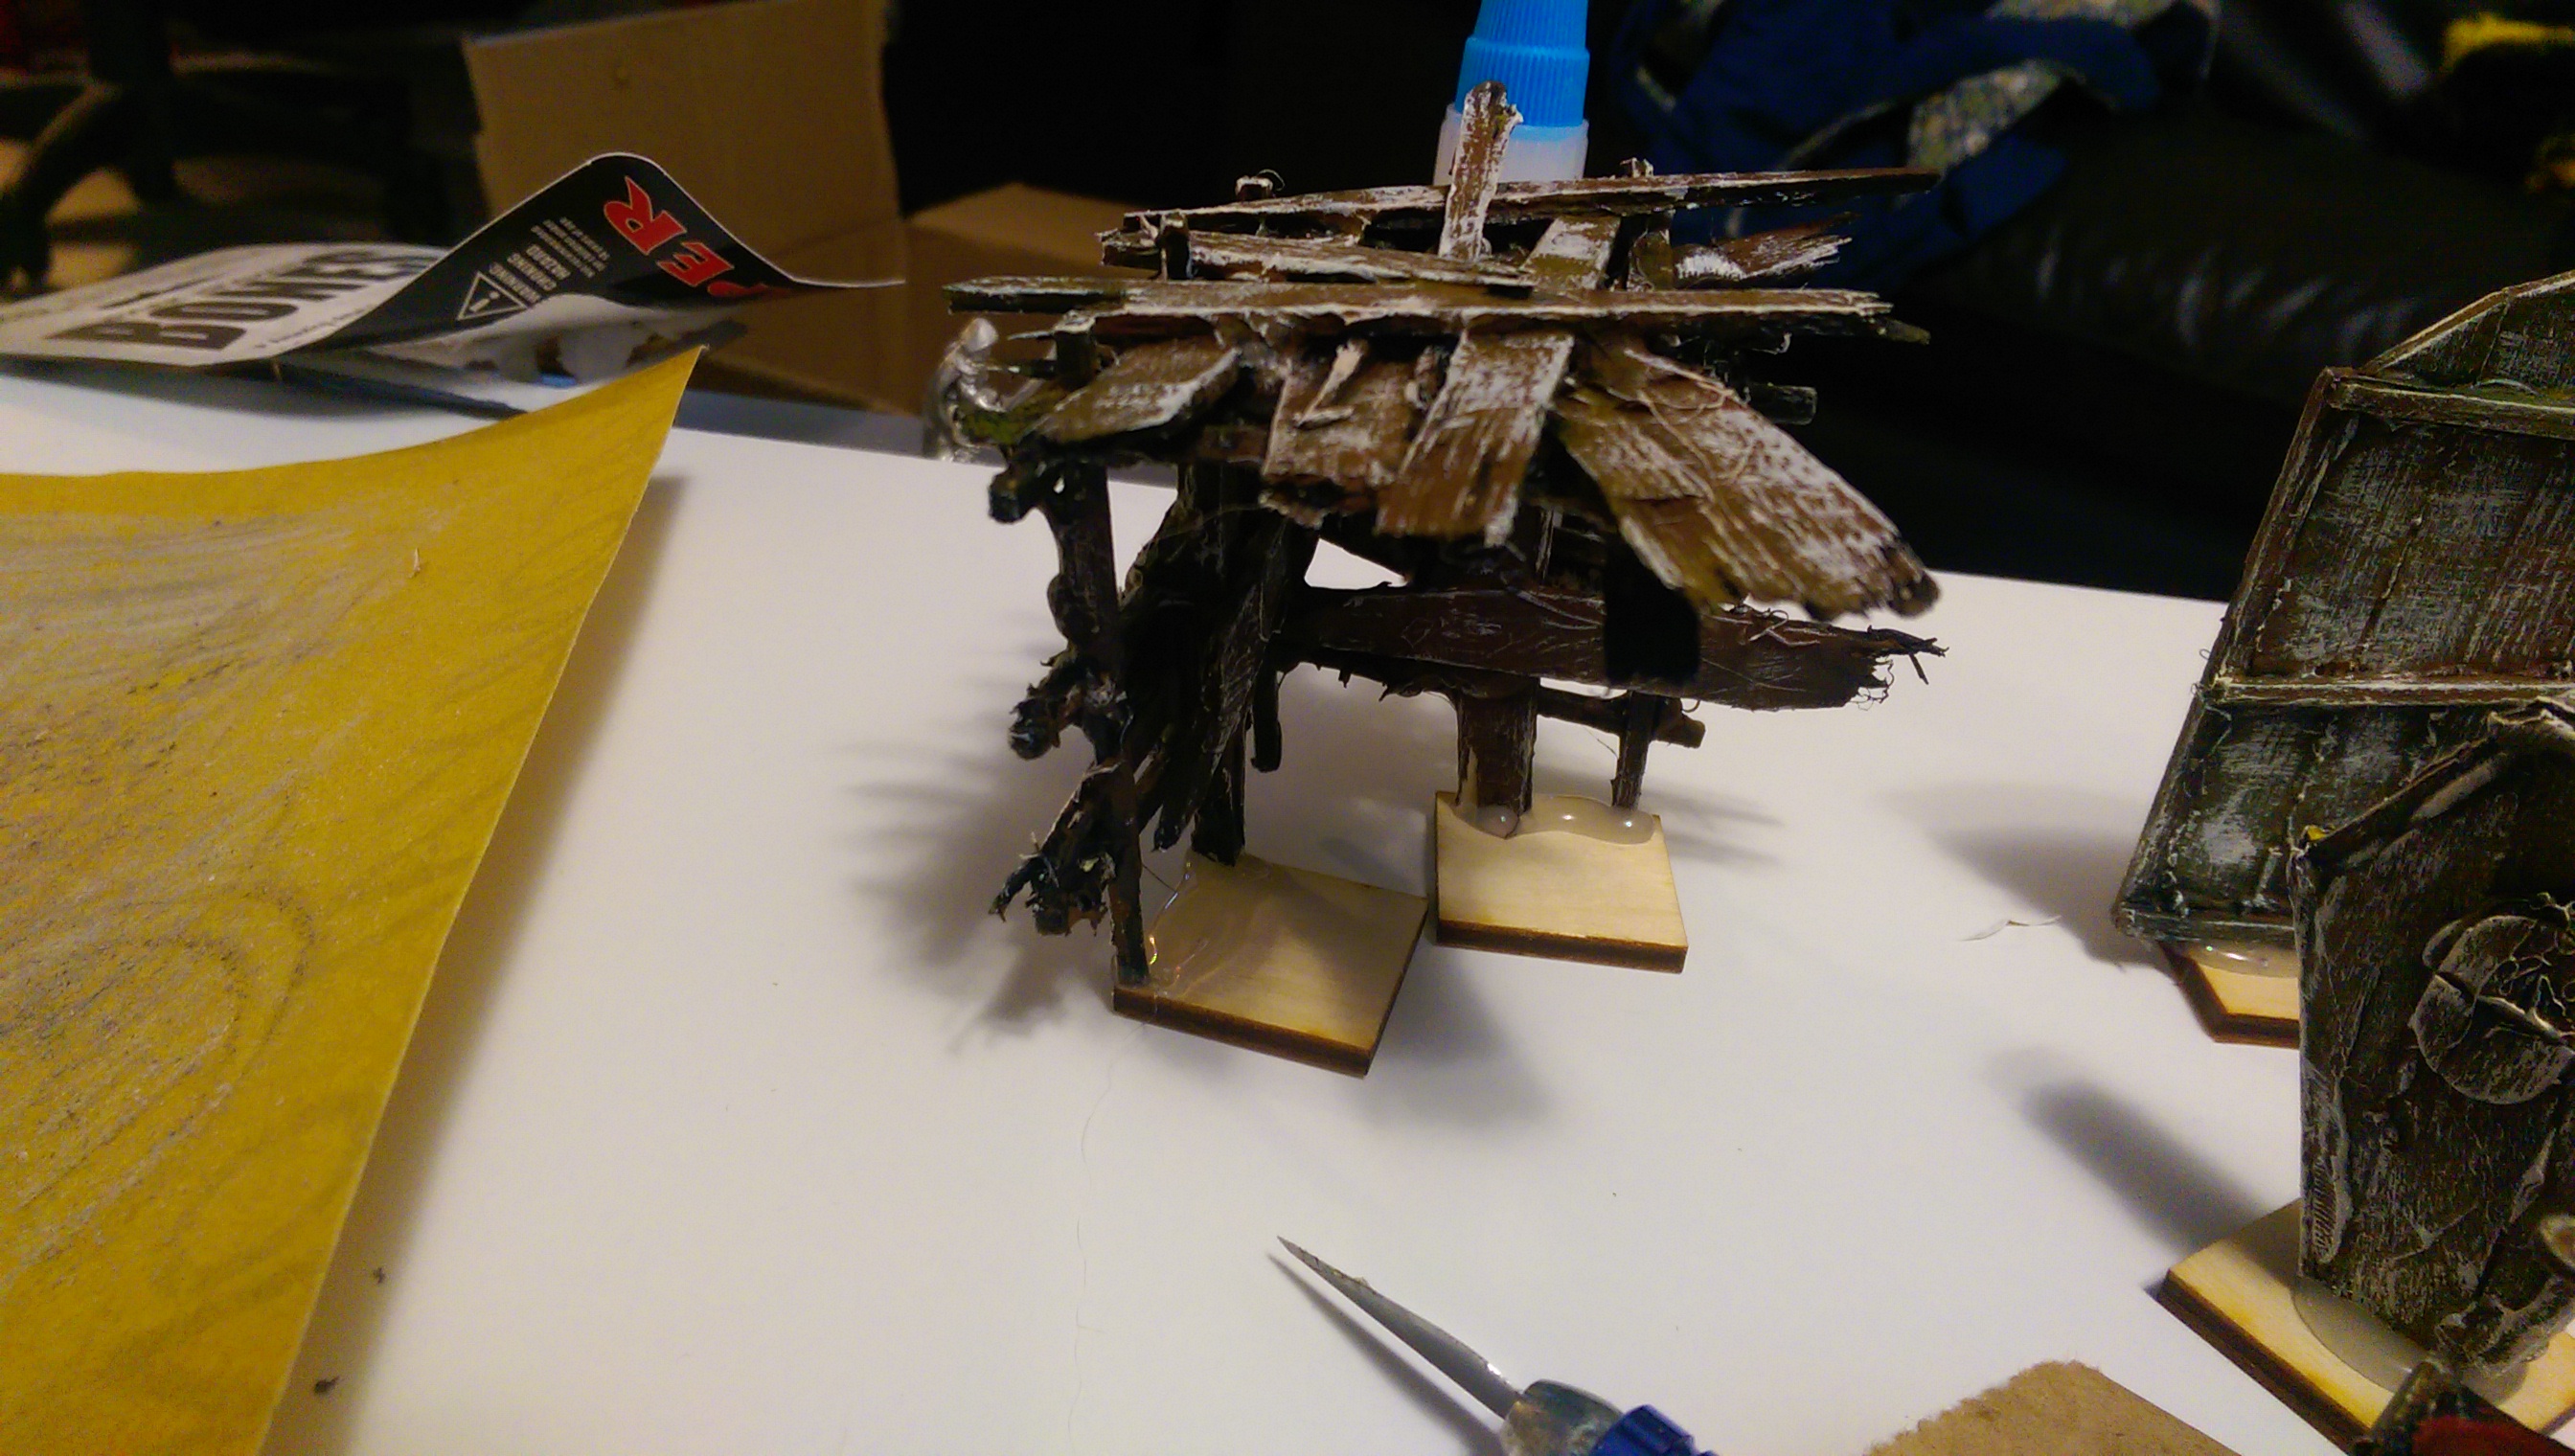
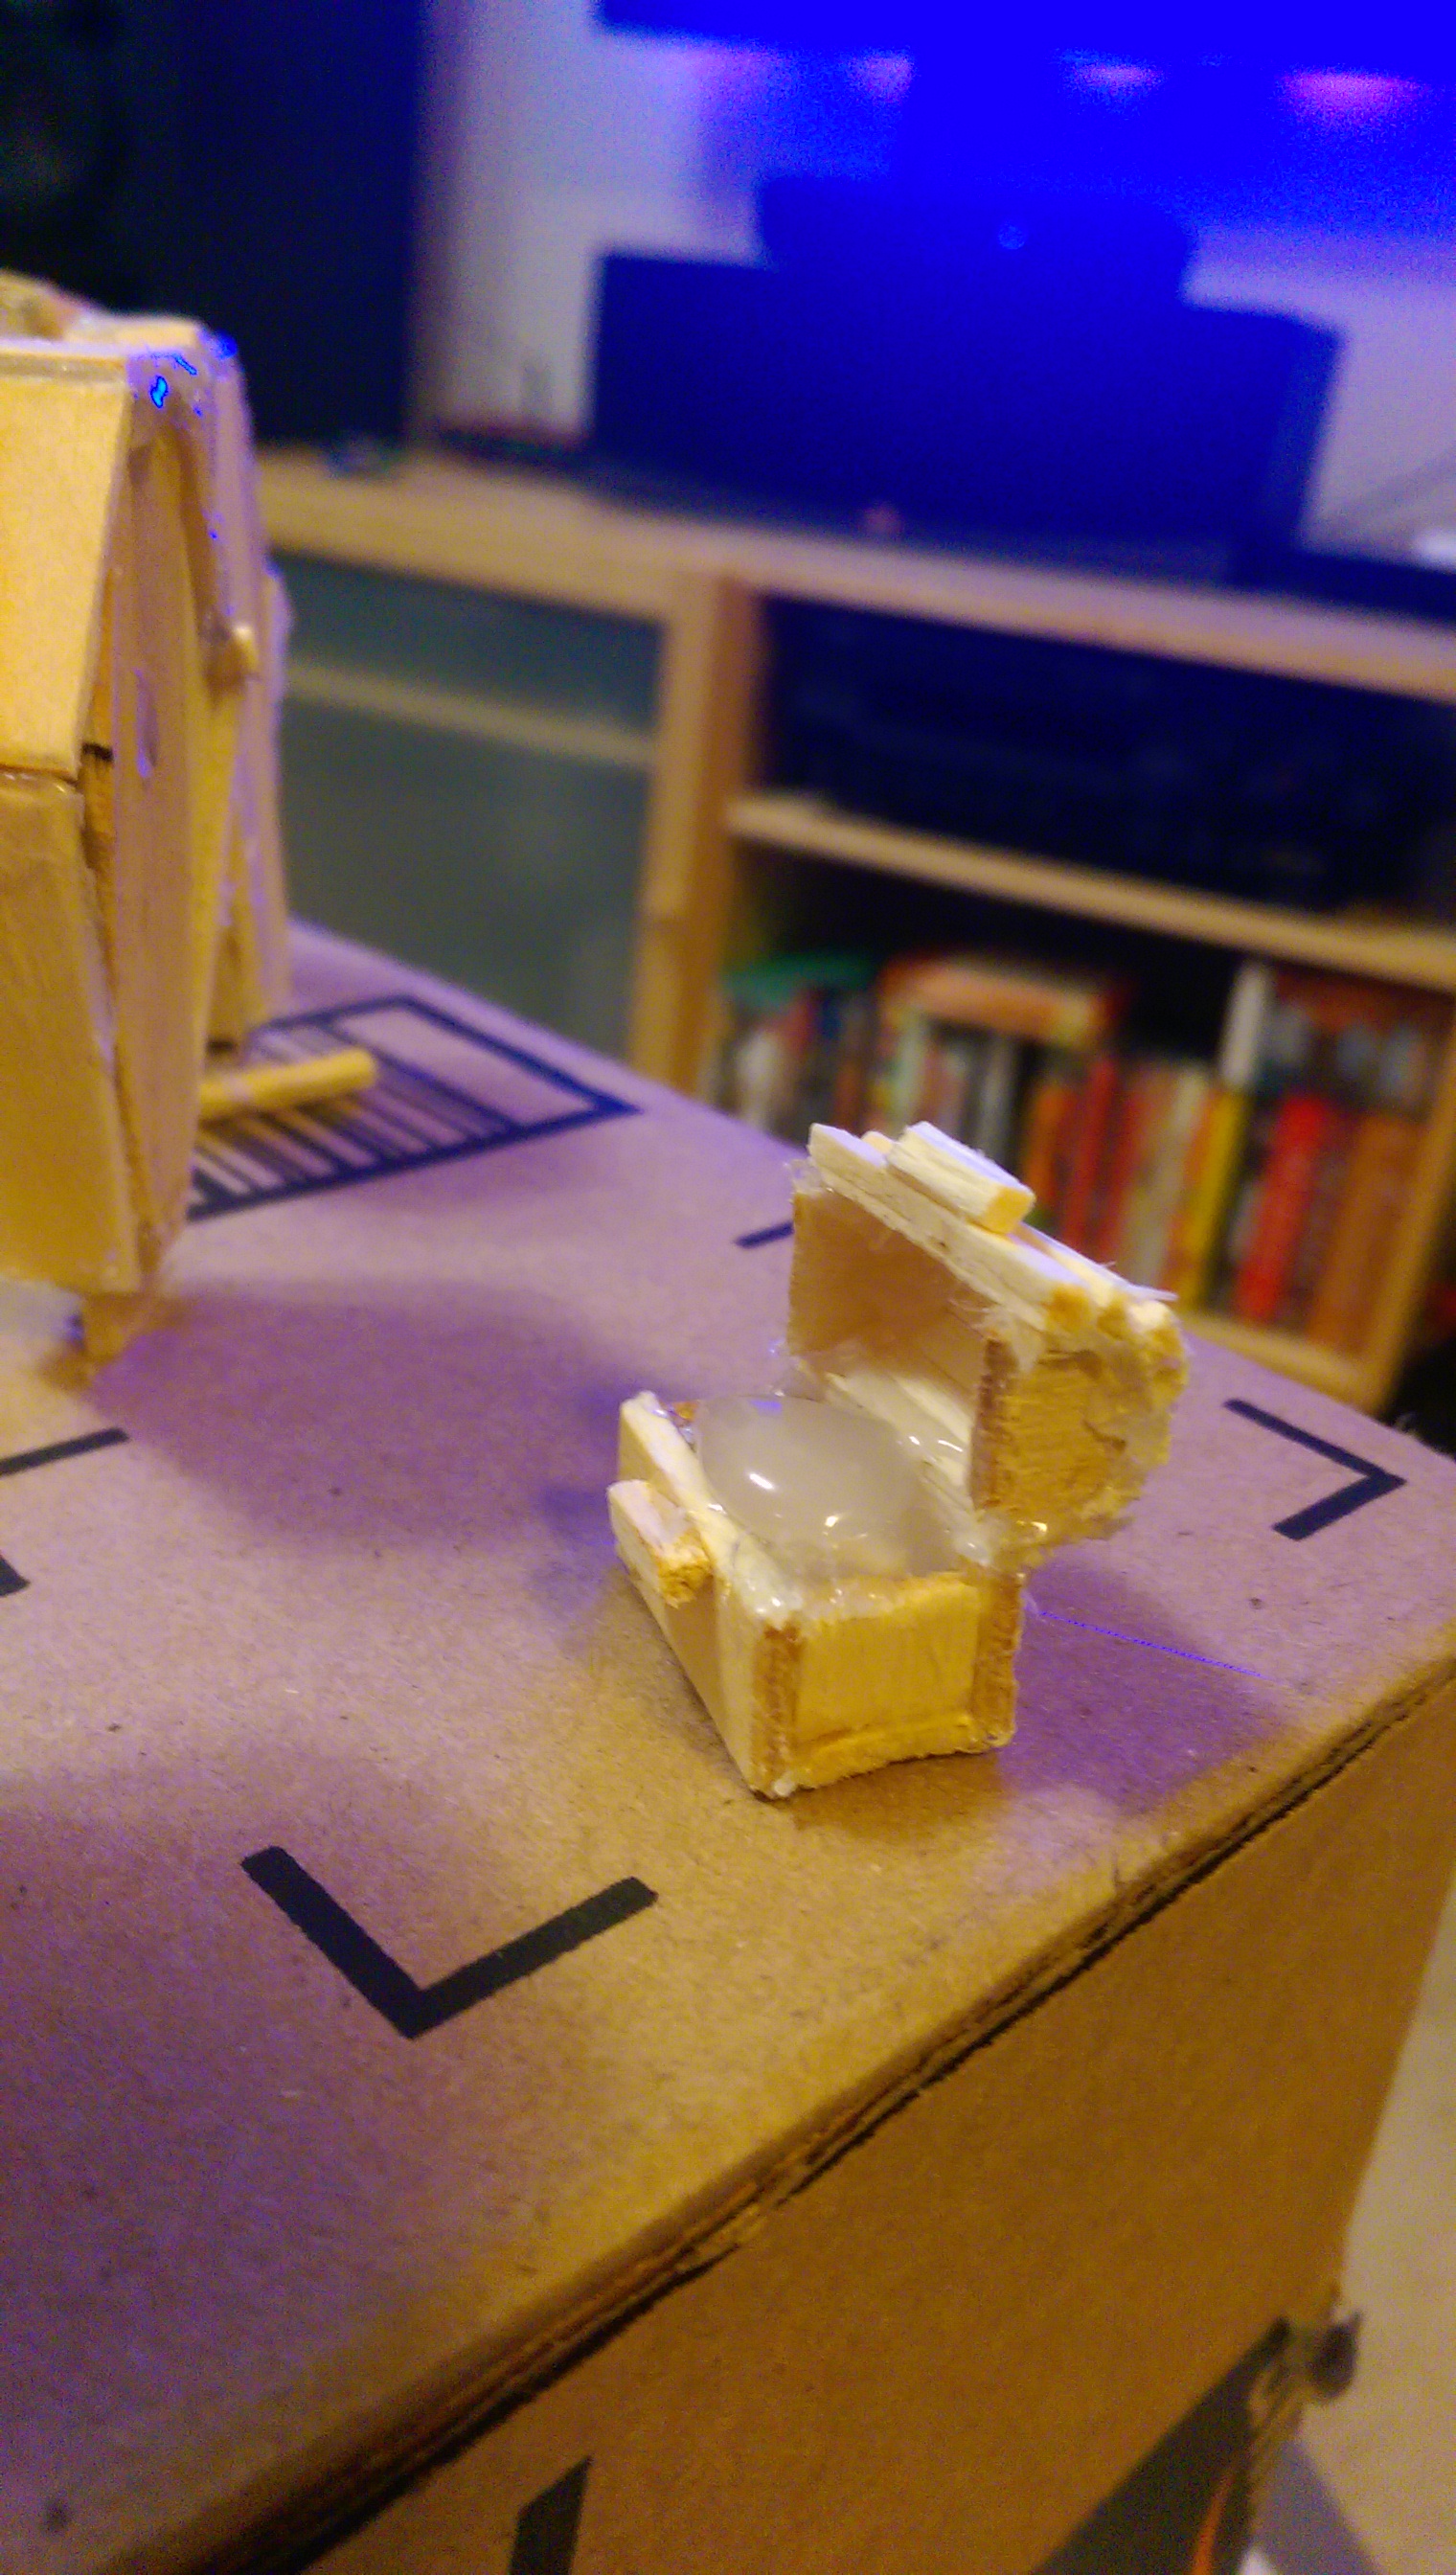
This one was really tricky, mostly to get it to balance so it could dry. It’s mostly right…just don’t breathe on it too hard.
I hot glued the miniatures in a cardboard box, and then taped up the sides so I could remove them one panel at a time and spray paint from all sides (for priming).
Hot glue does not look clear when dried, like at all. I won’t try this again.
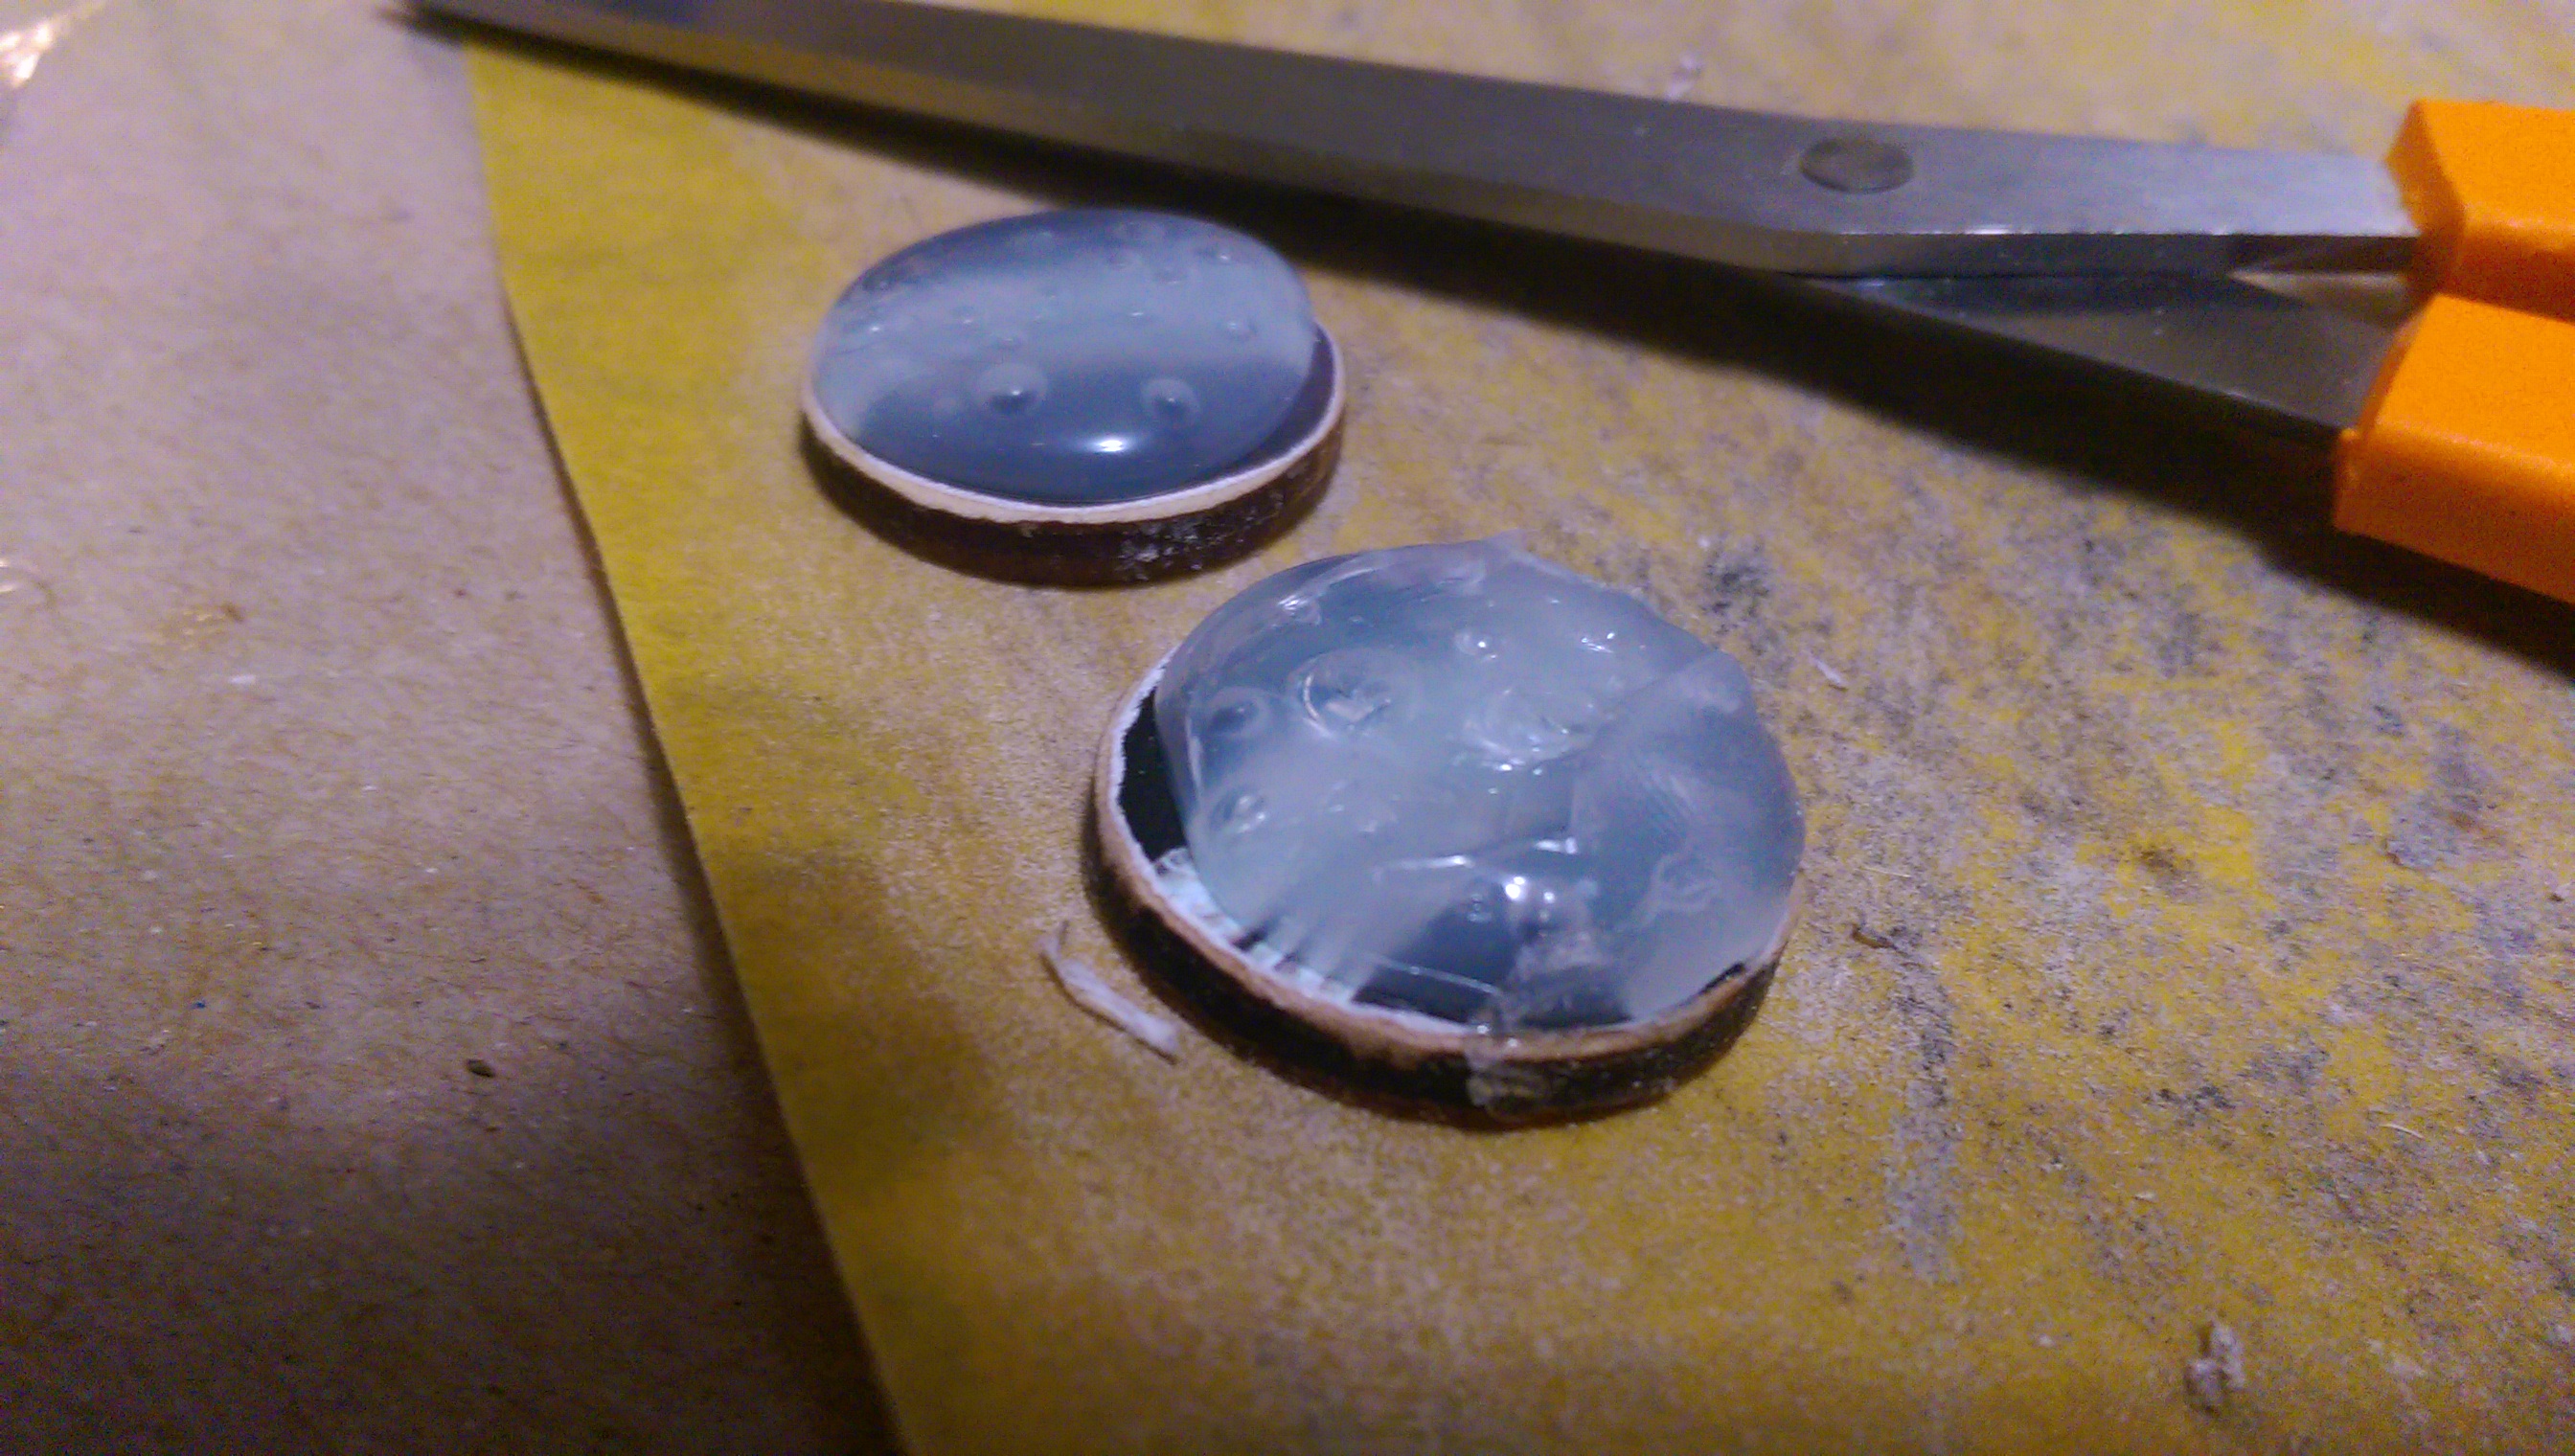
Okay…I tried it again, yeah it’s definitely not the right thing for the job, if I wanted to do it, I should have gotten clear epoxy. Screw it, I don’t want it that bad.
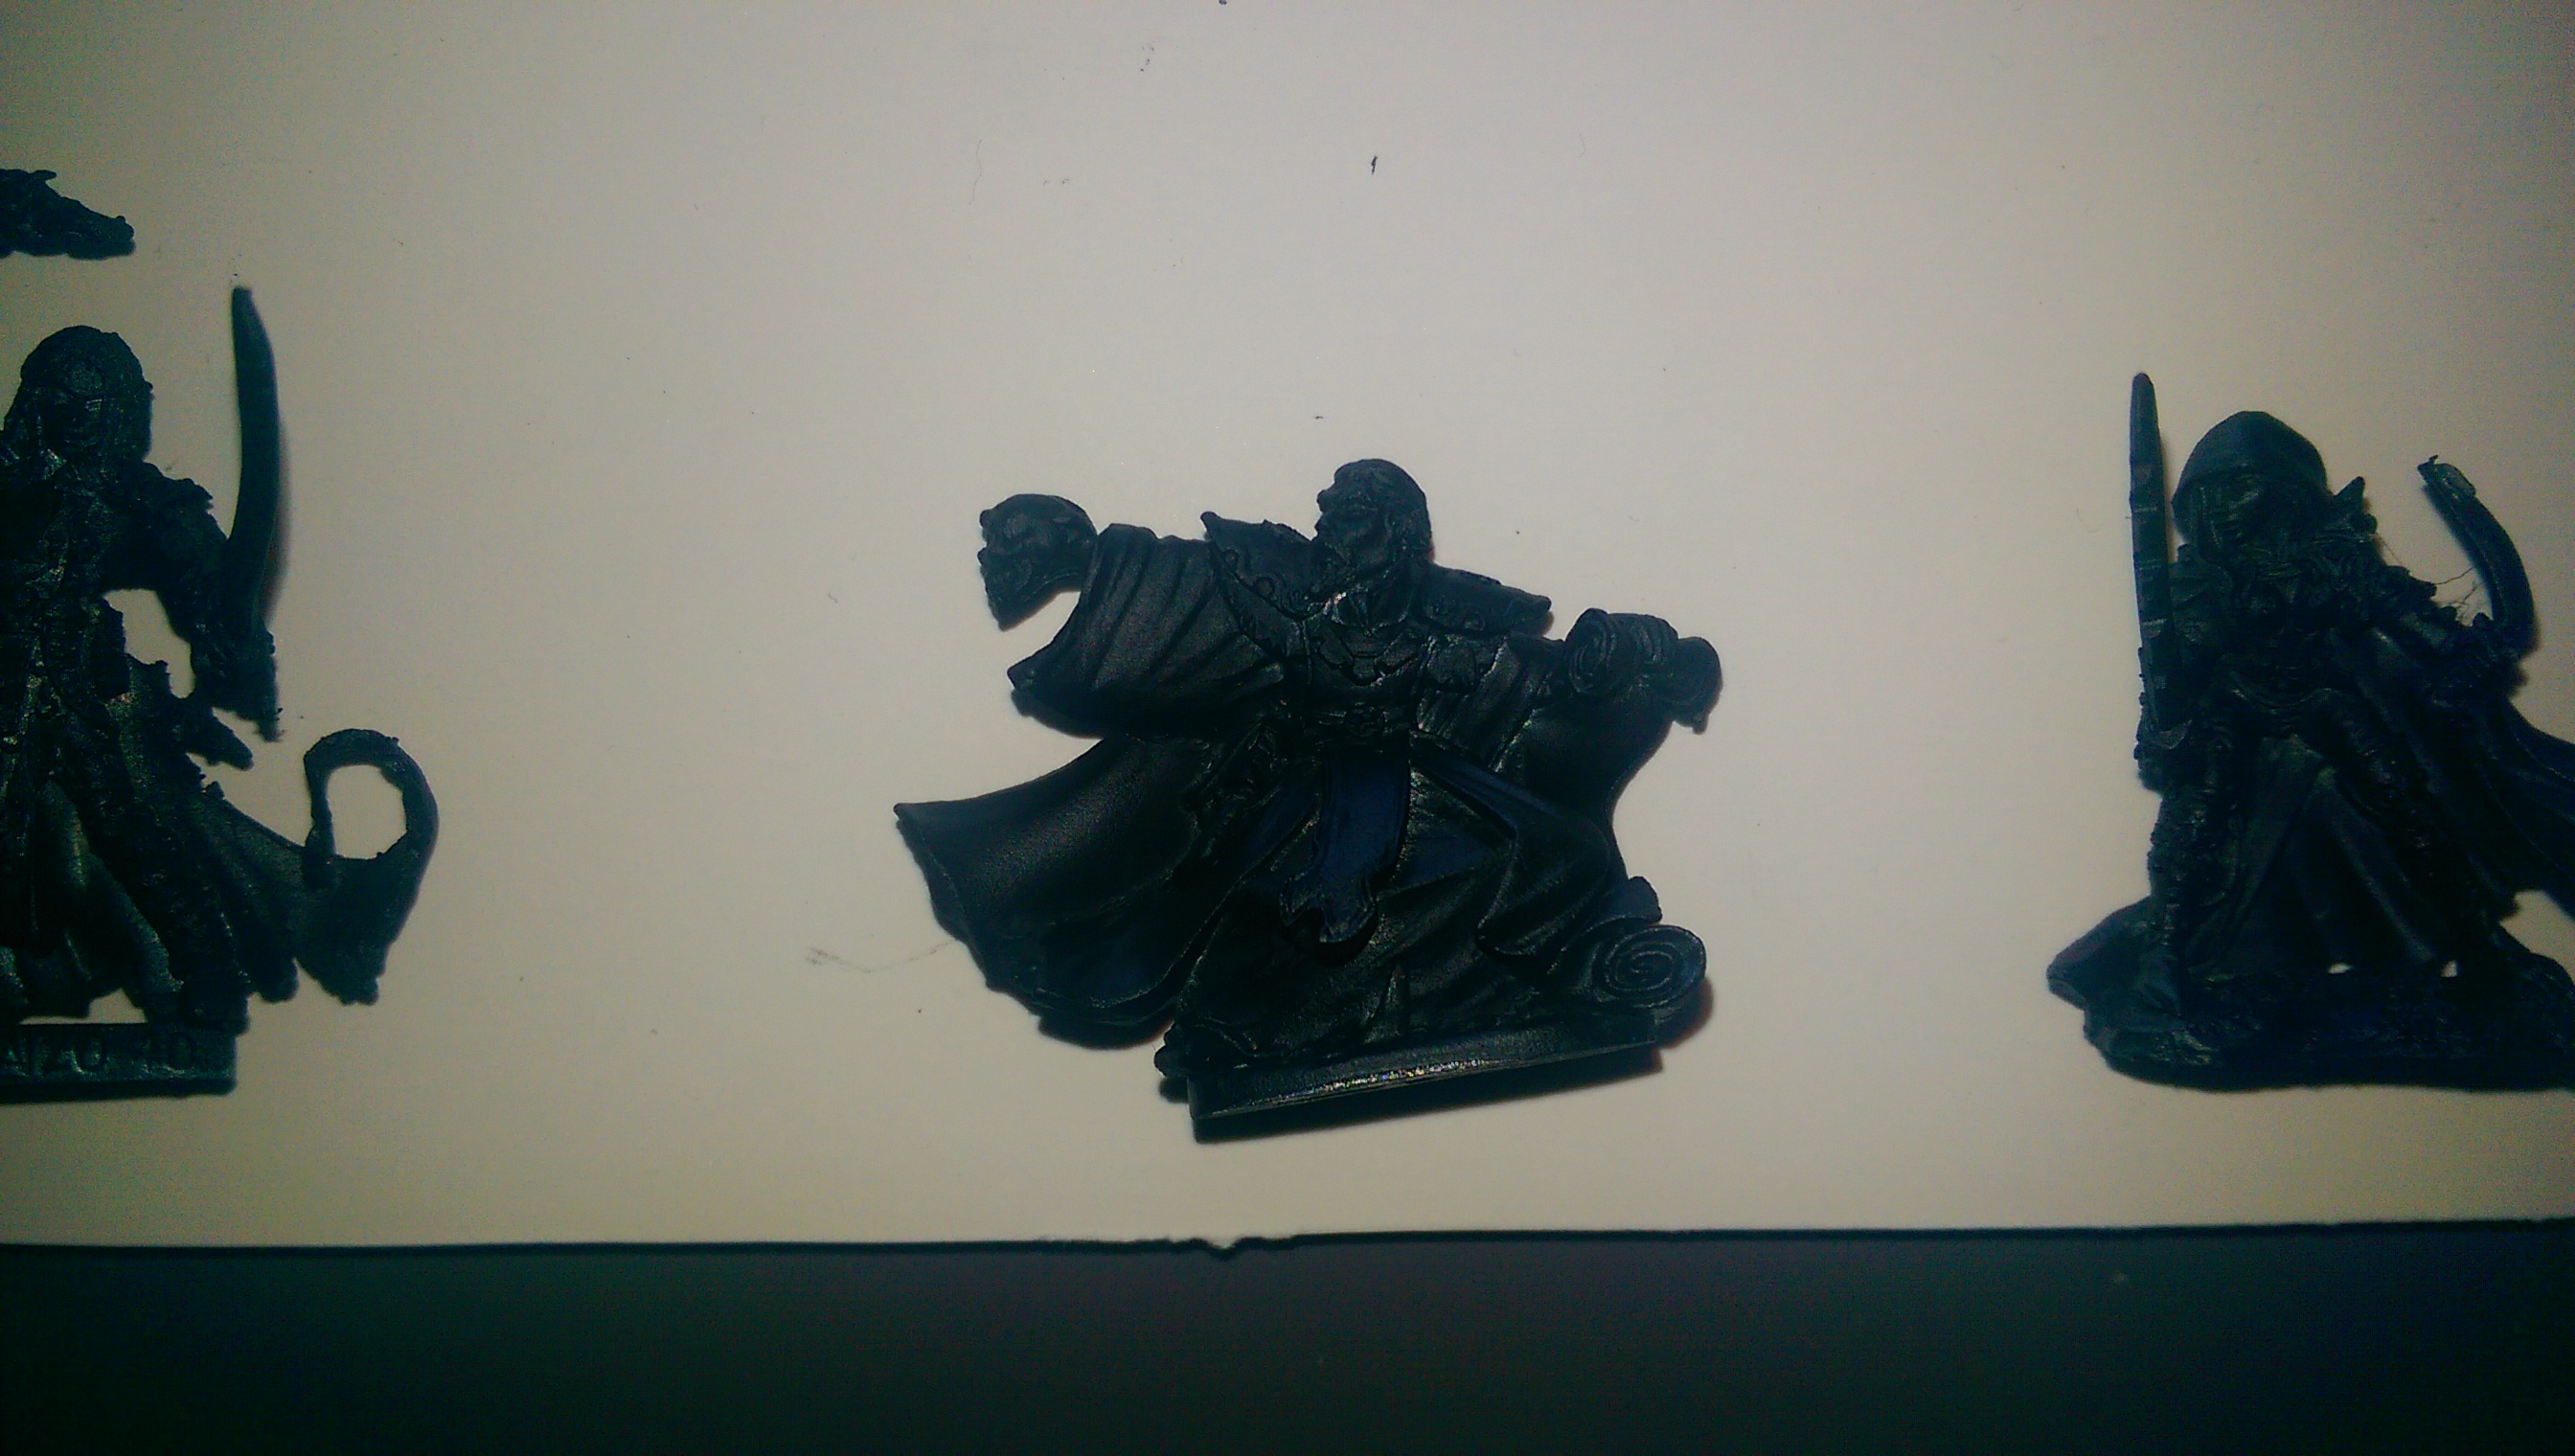
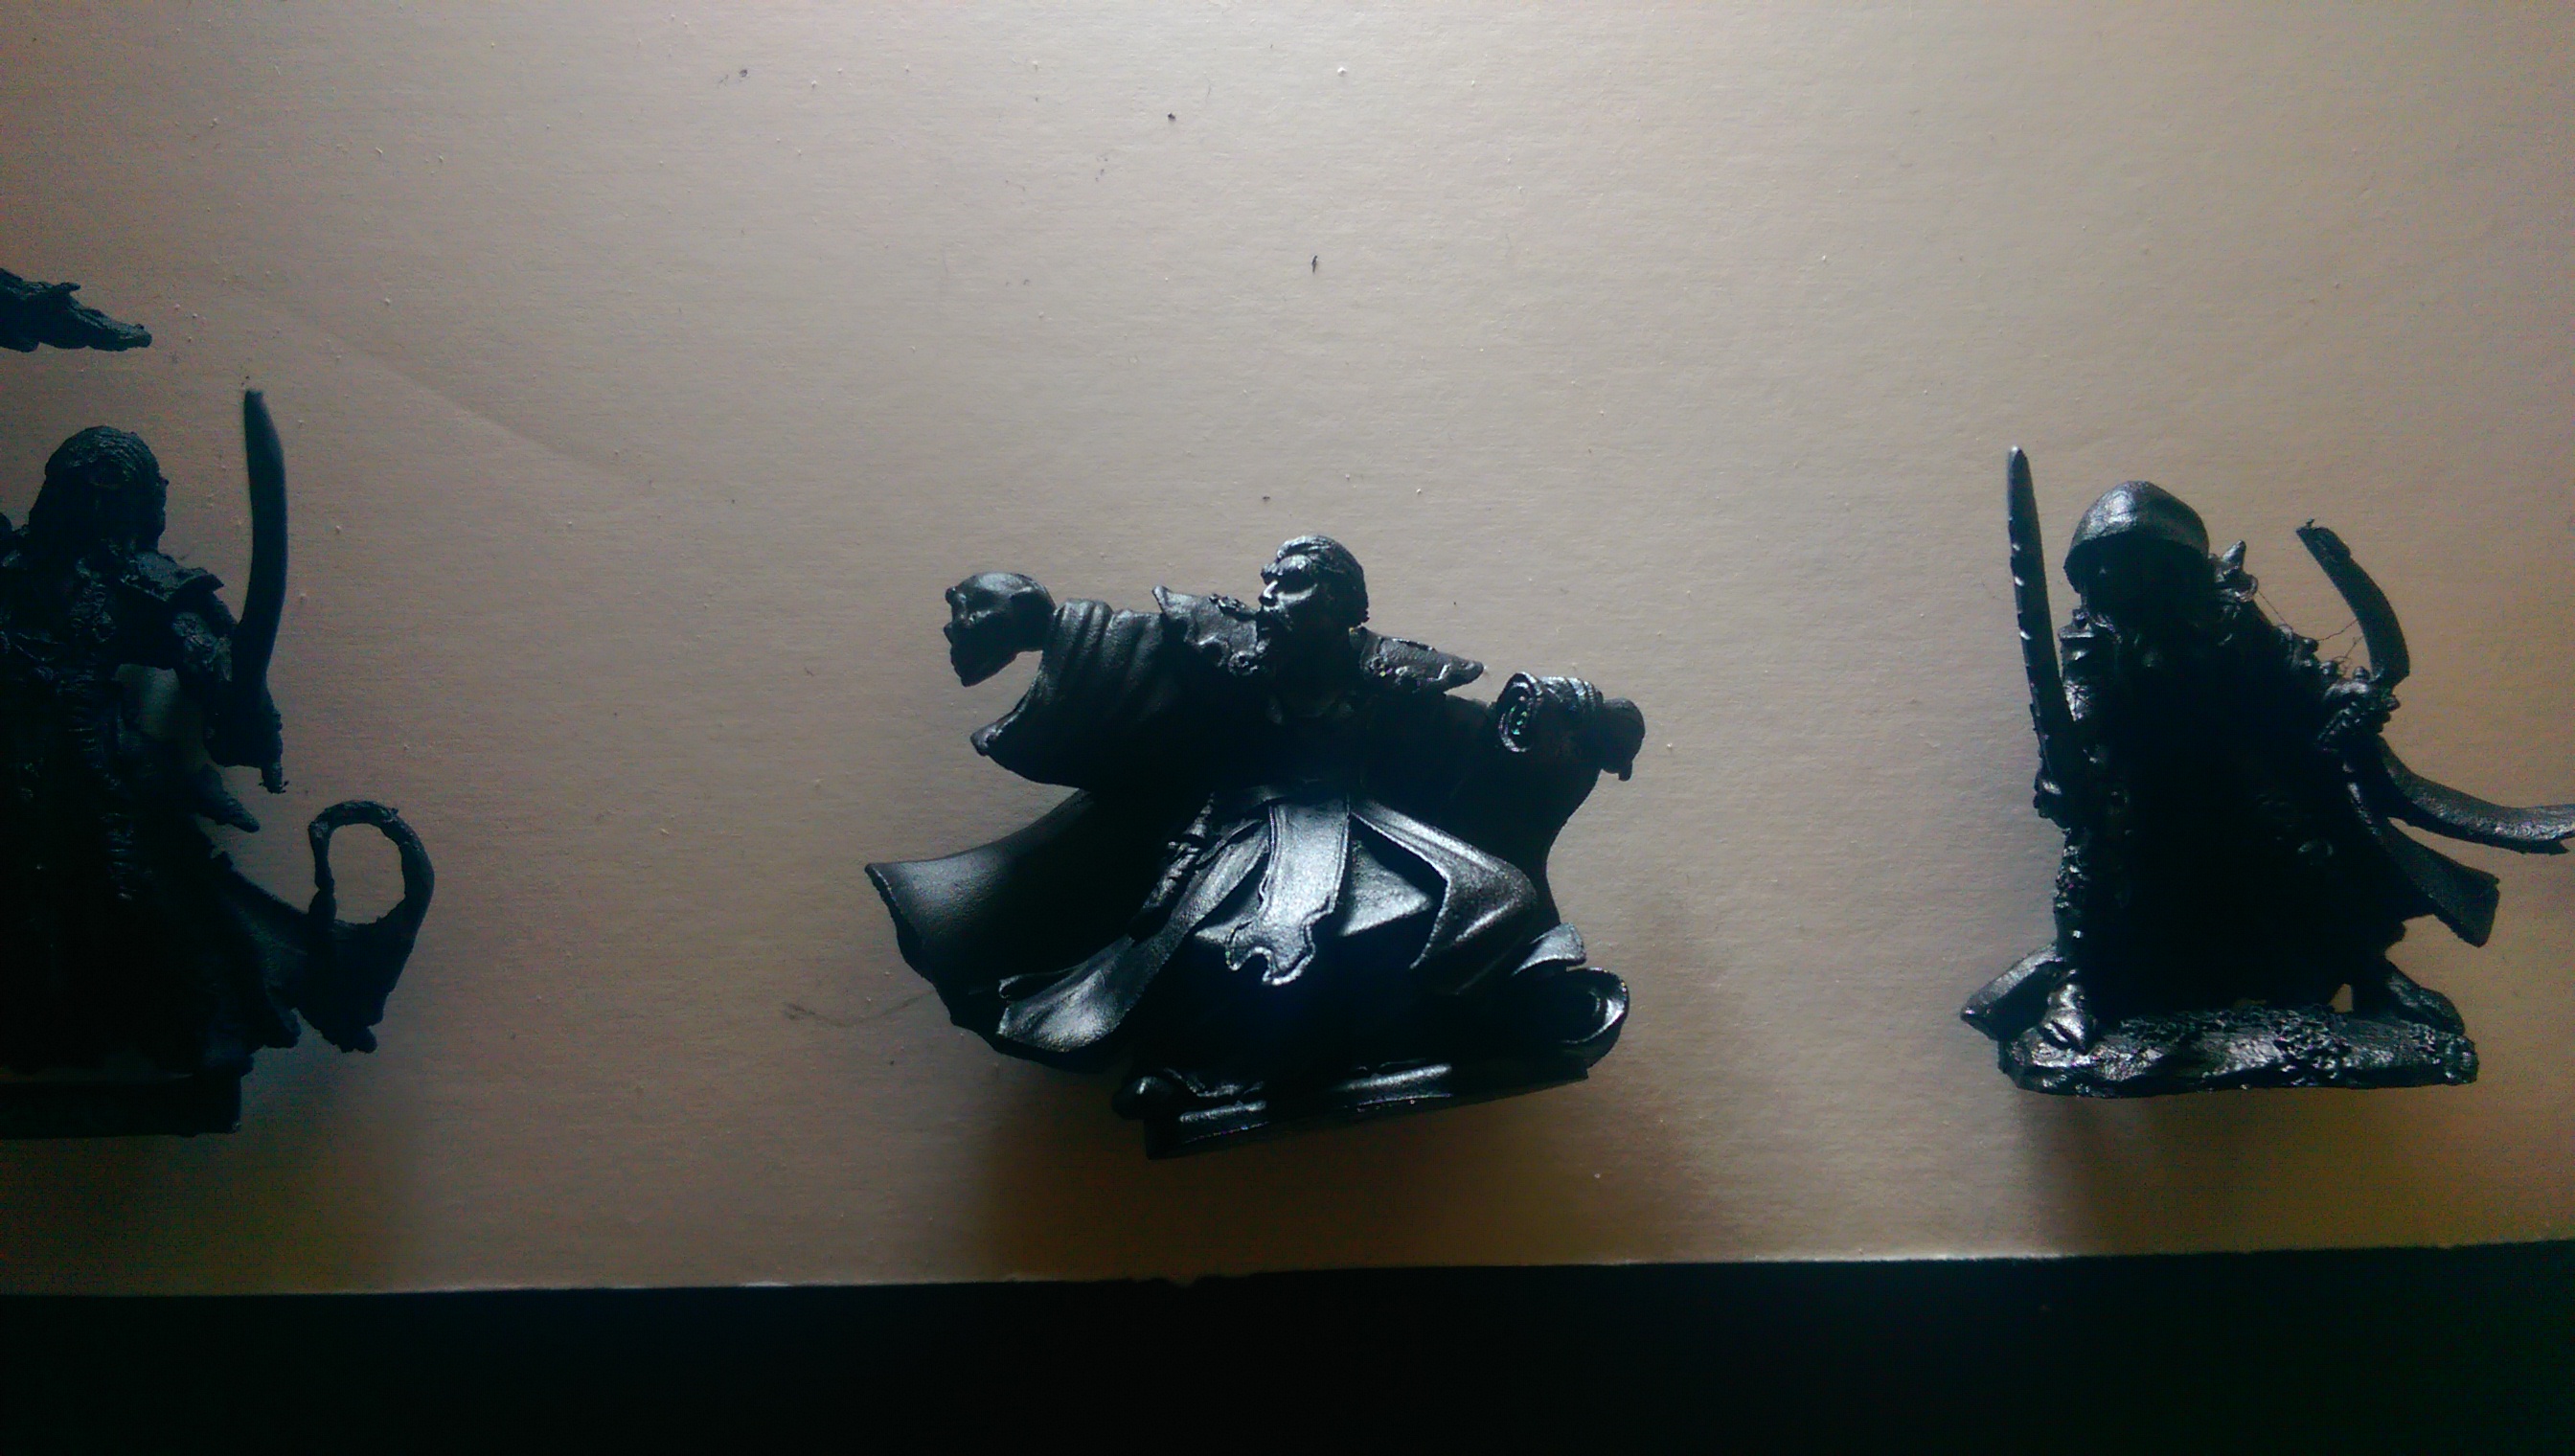
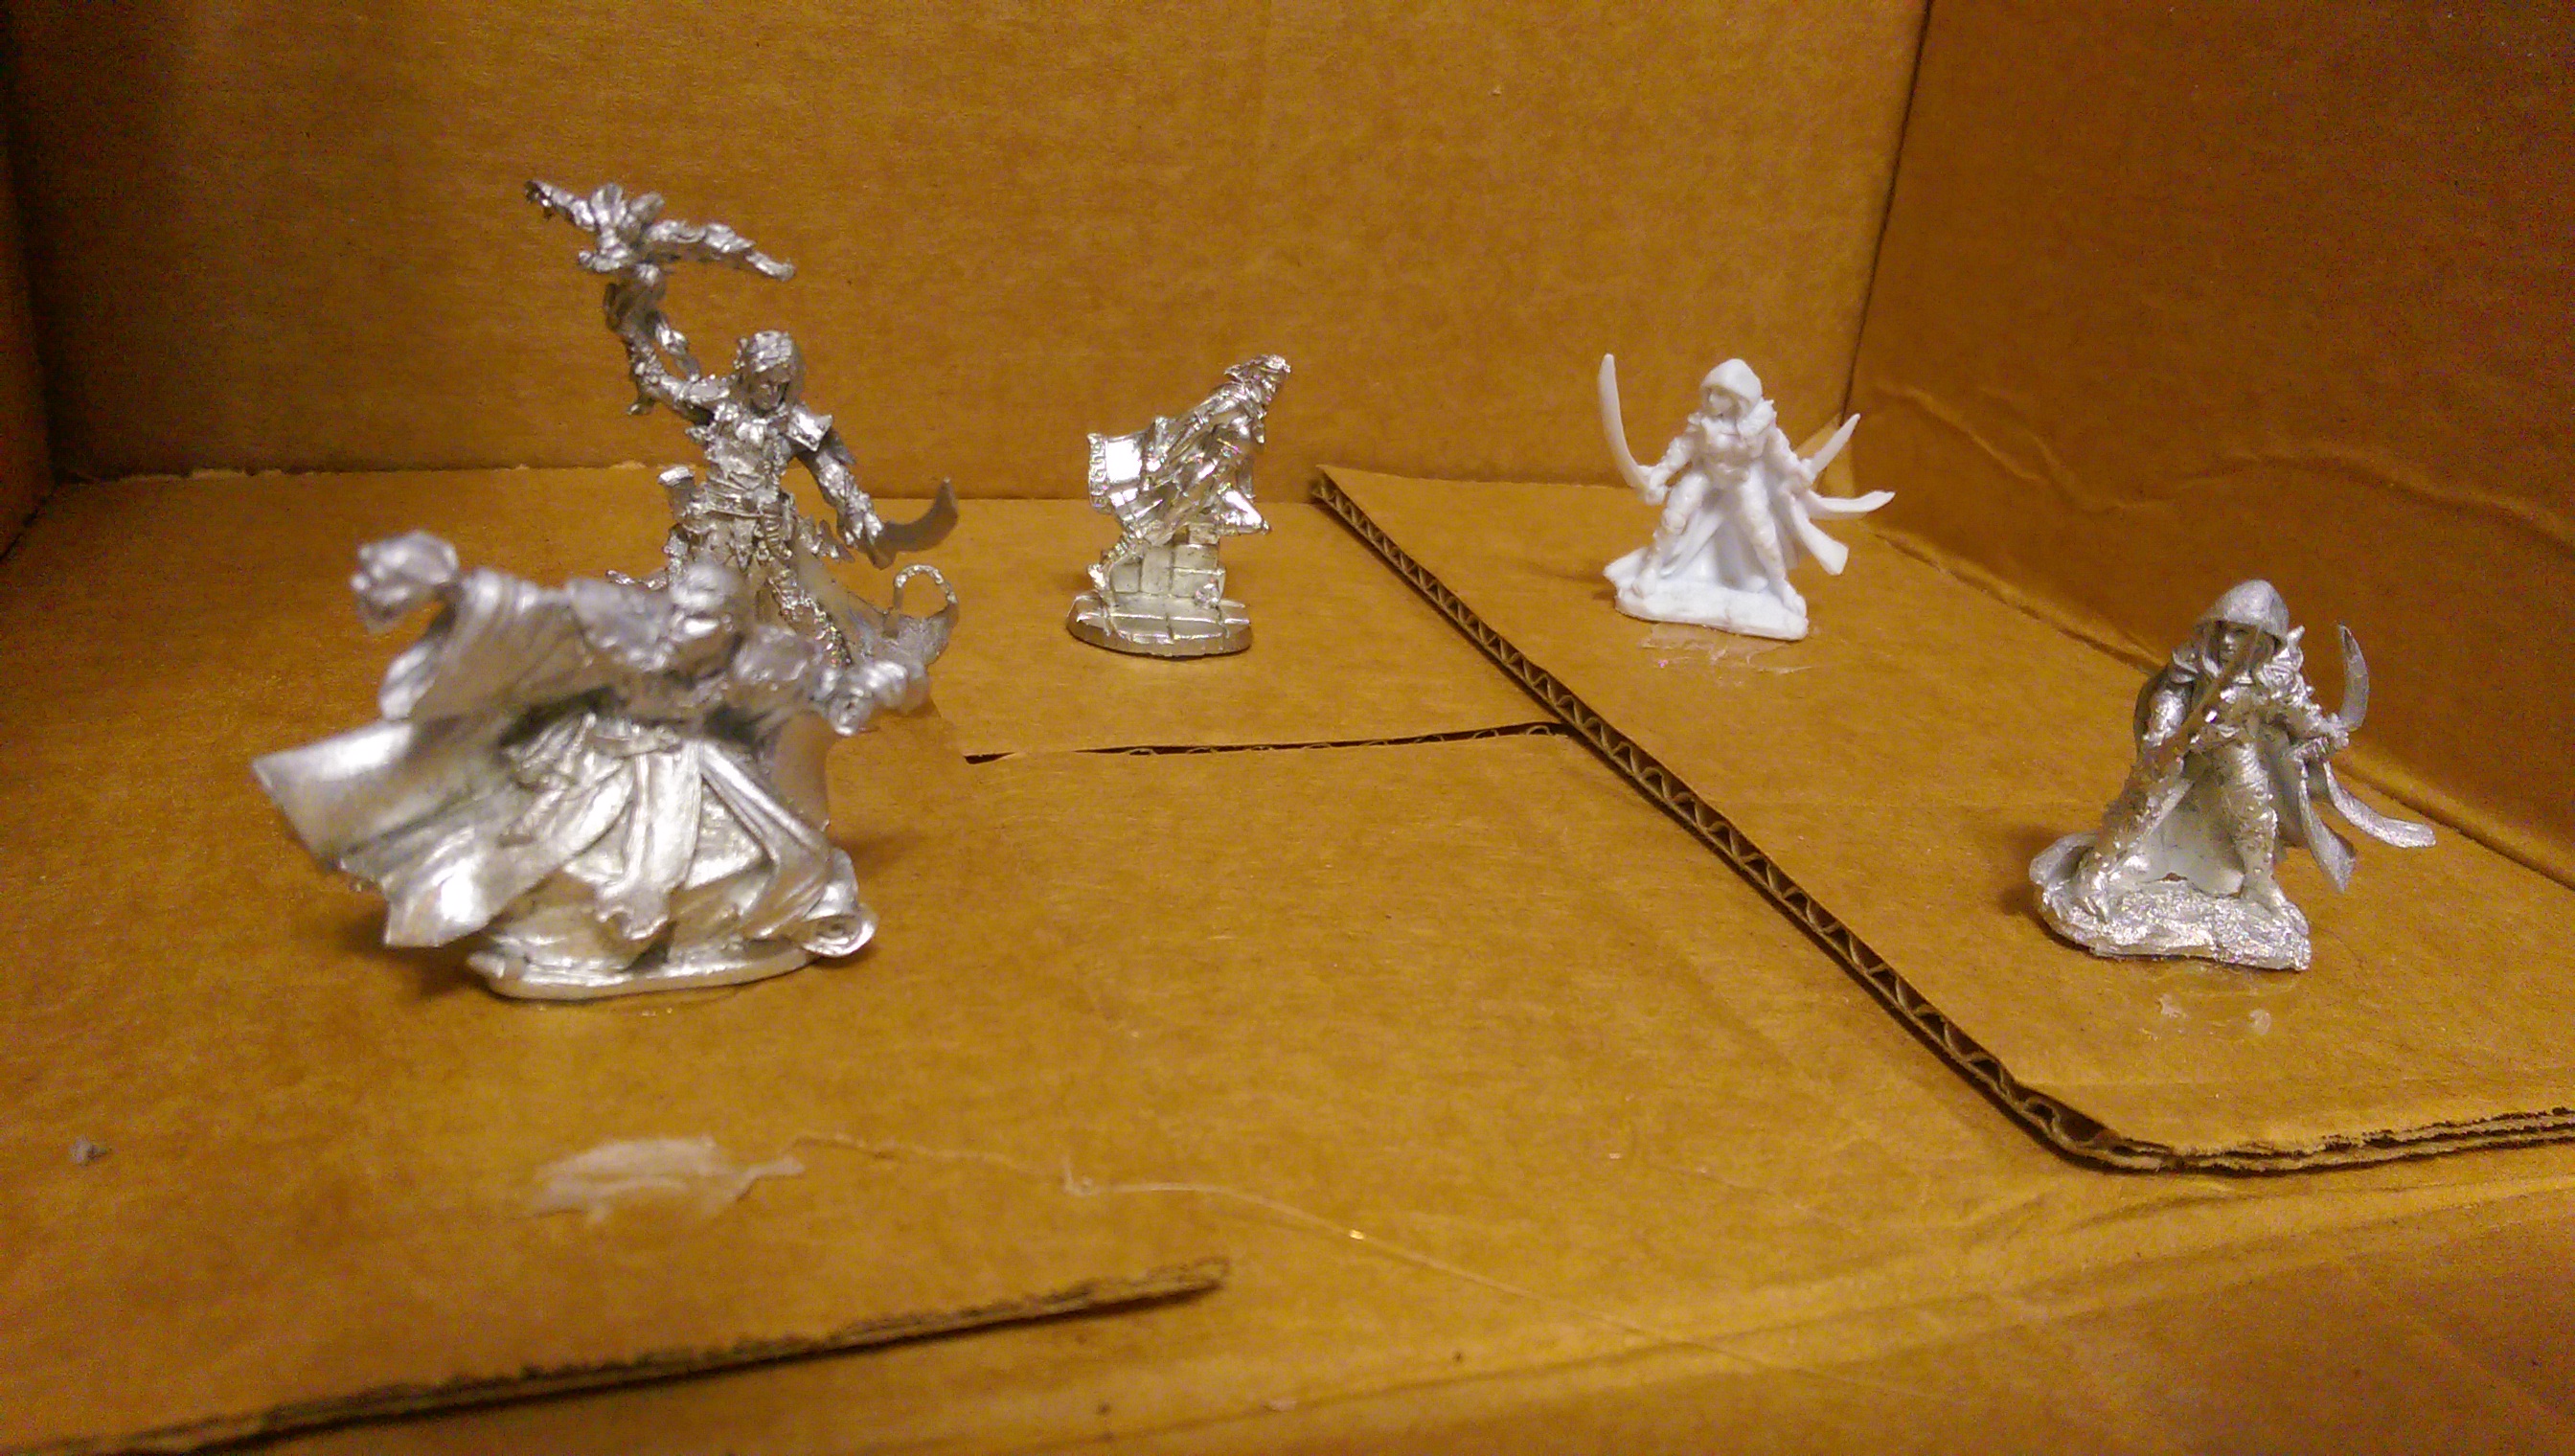
This is my miniature. I did the stark lighting photo as a “light study” to see where light would naturally fall. World, meet Salim Farstrider.

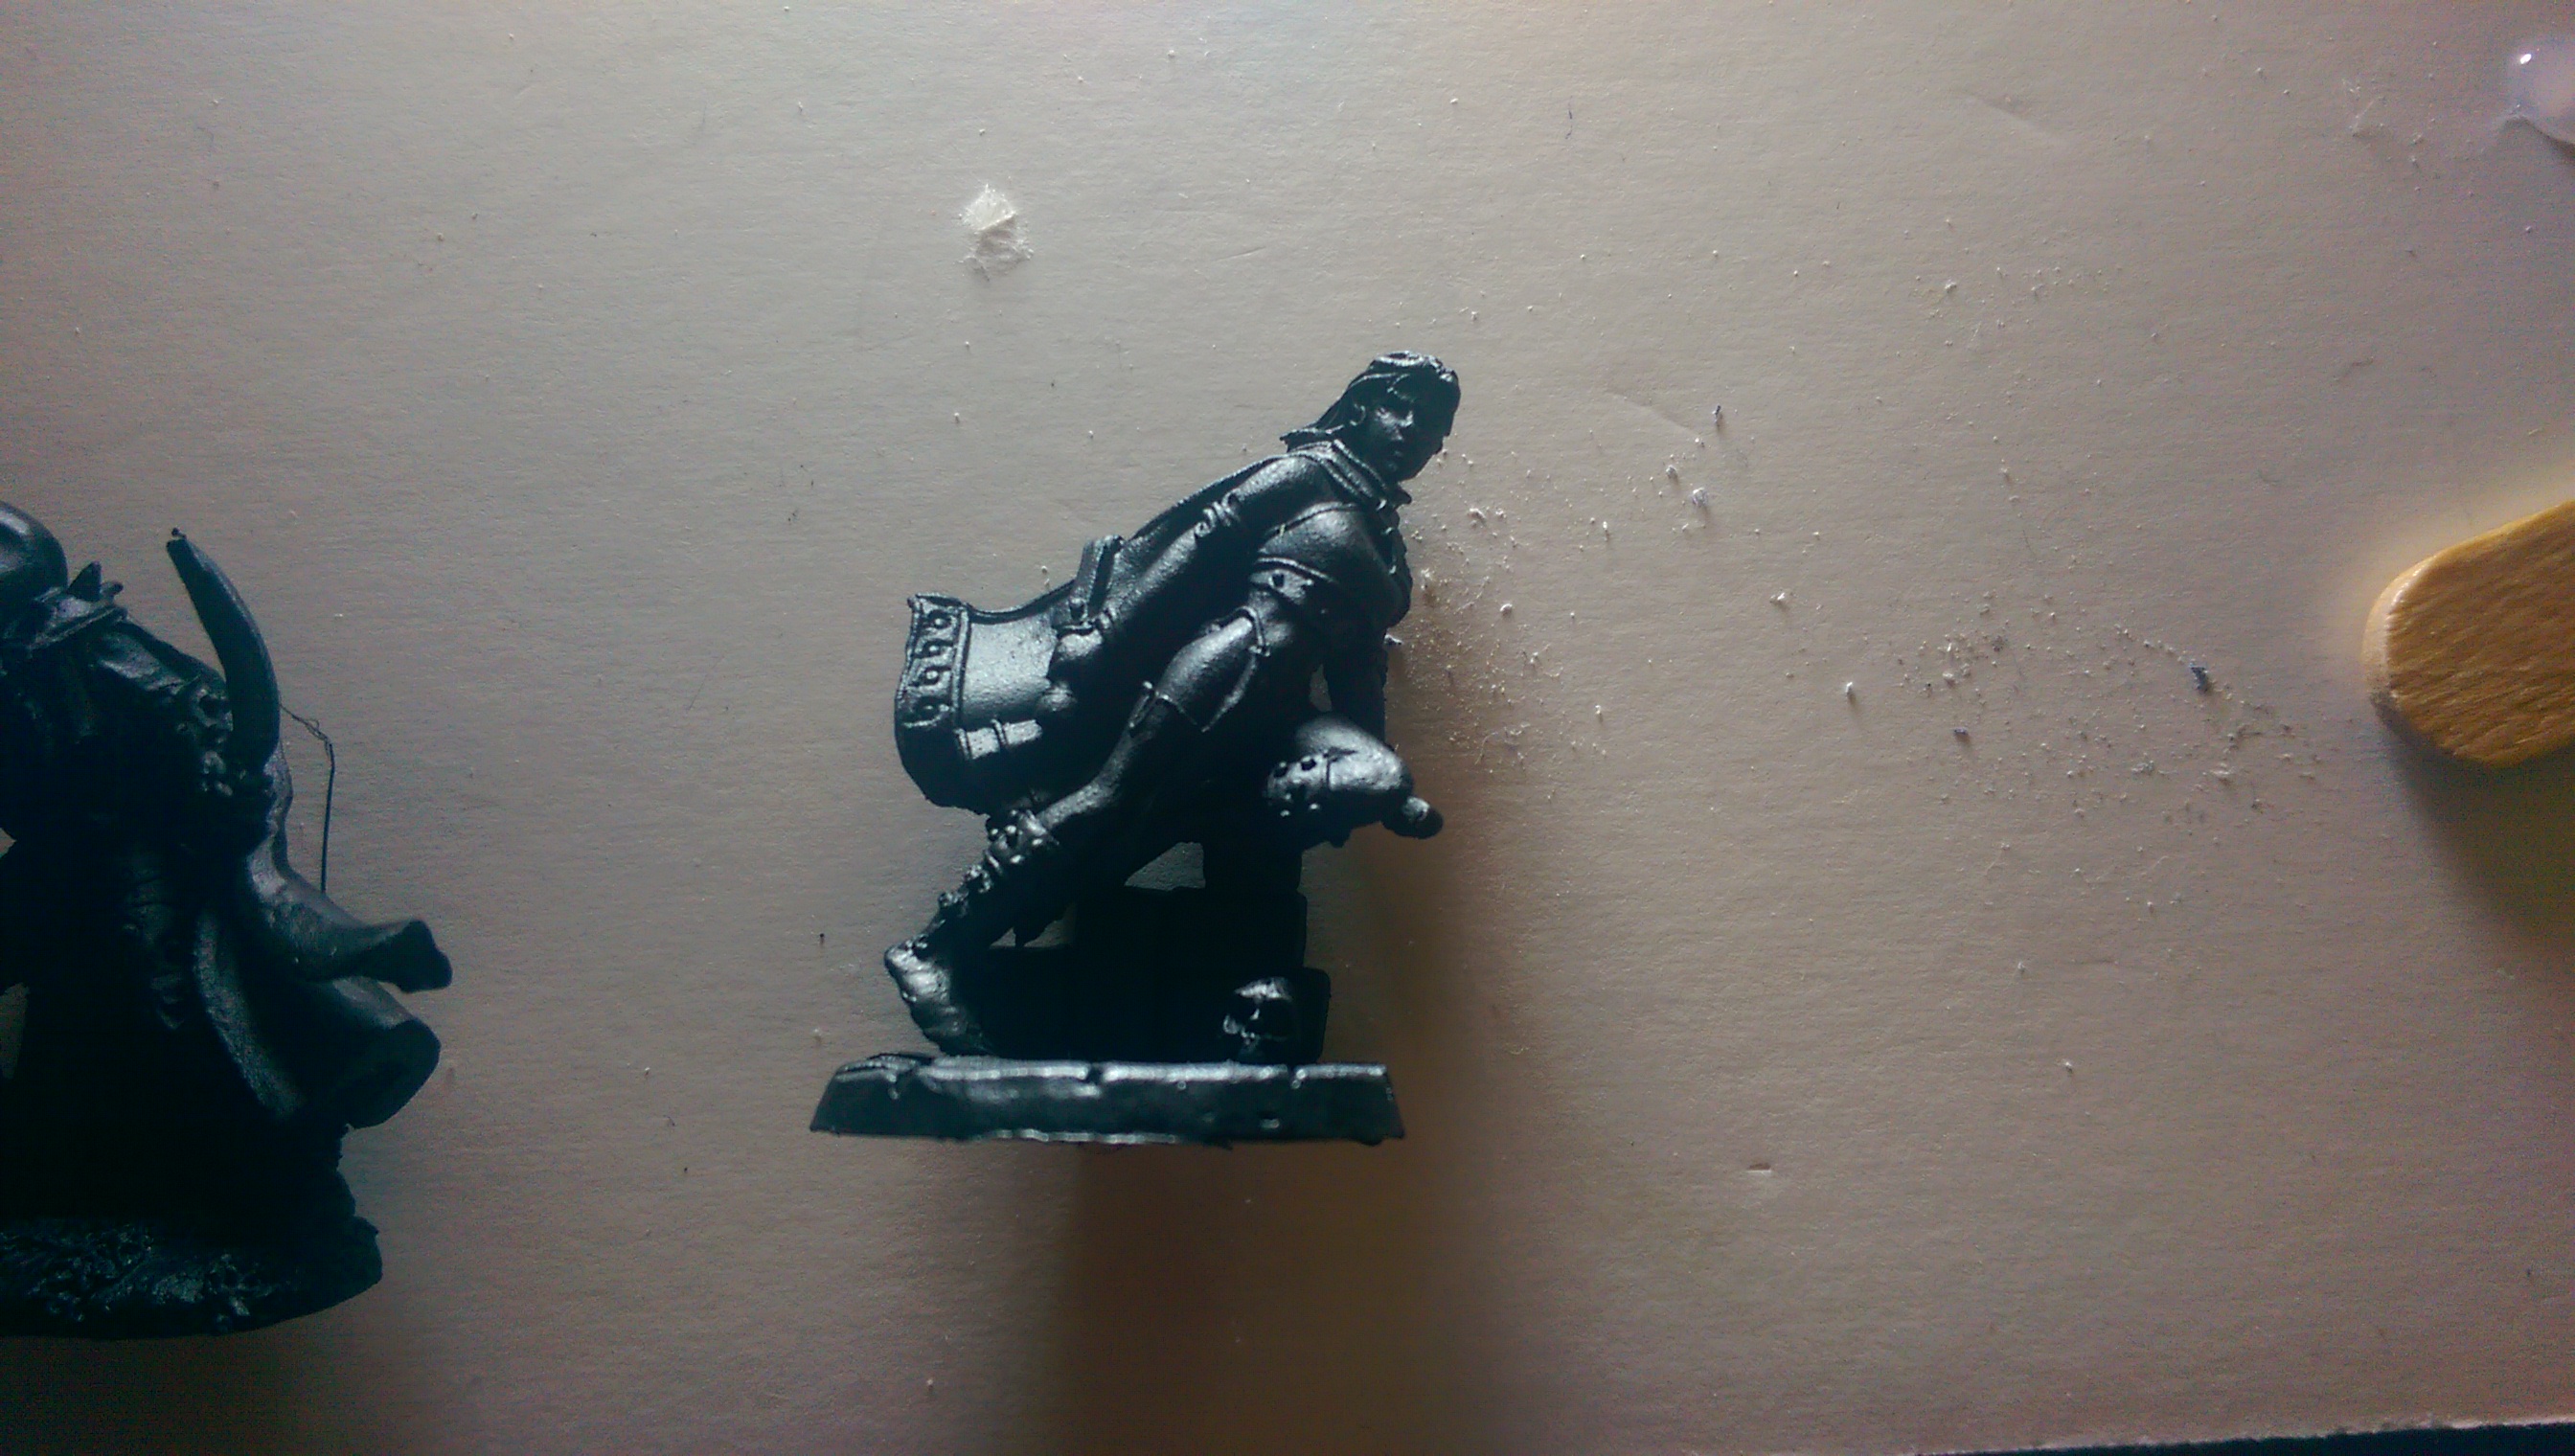
And this one is going to be Robin’s character, Neffie.
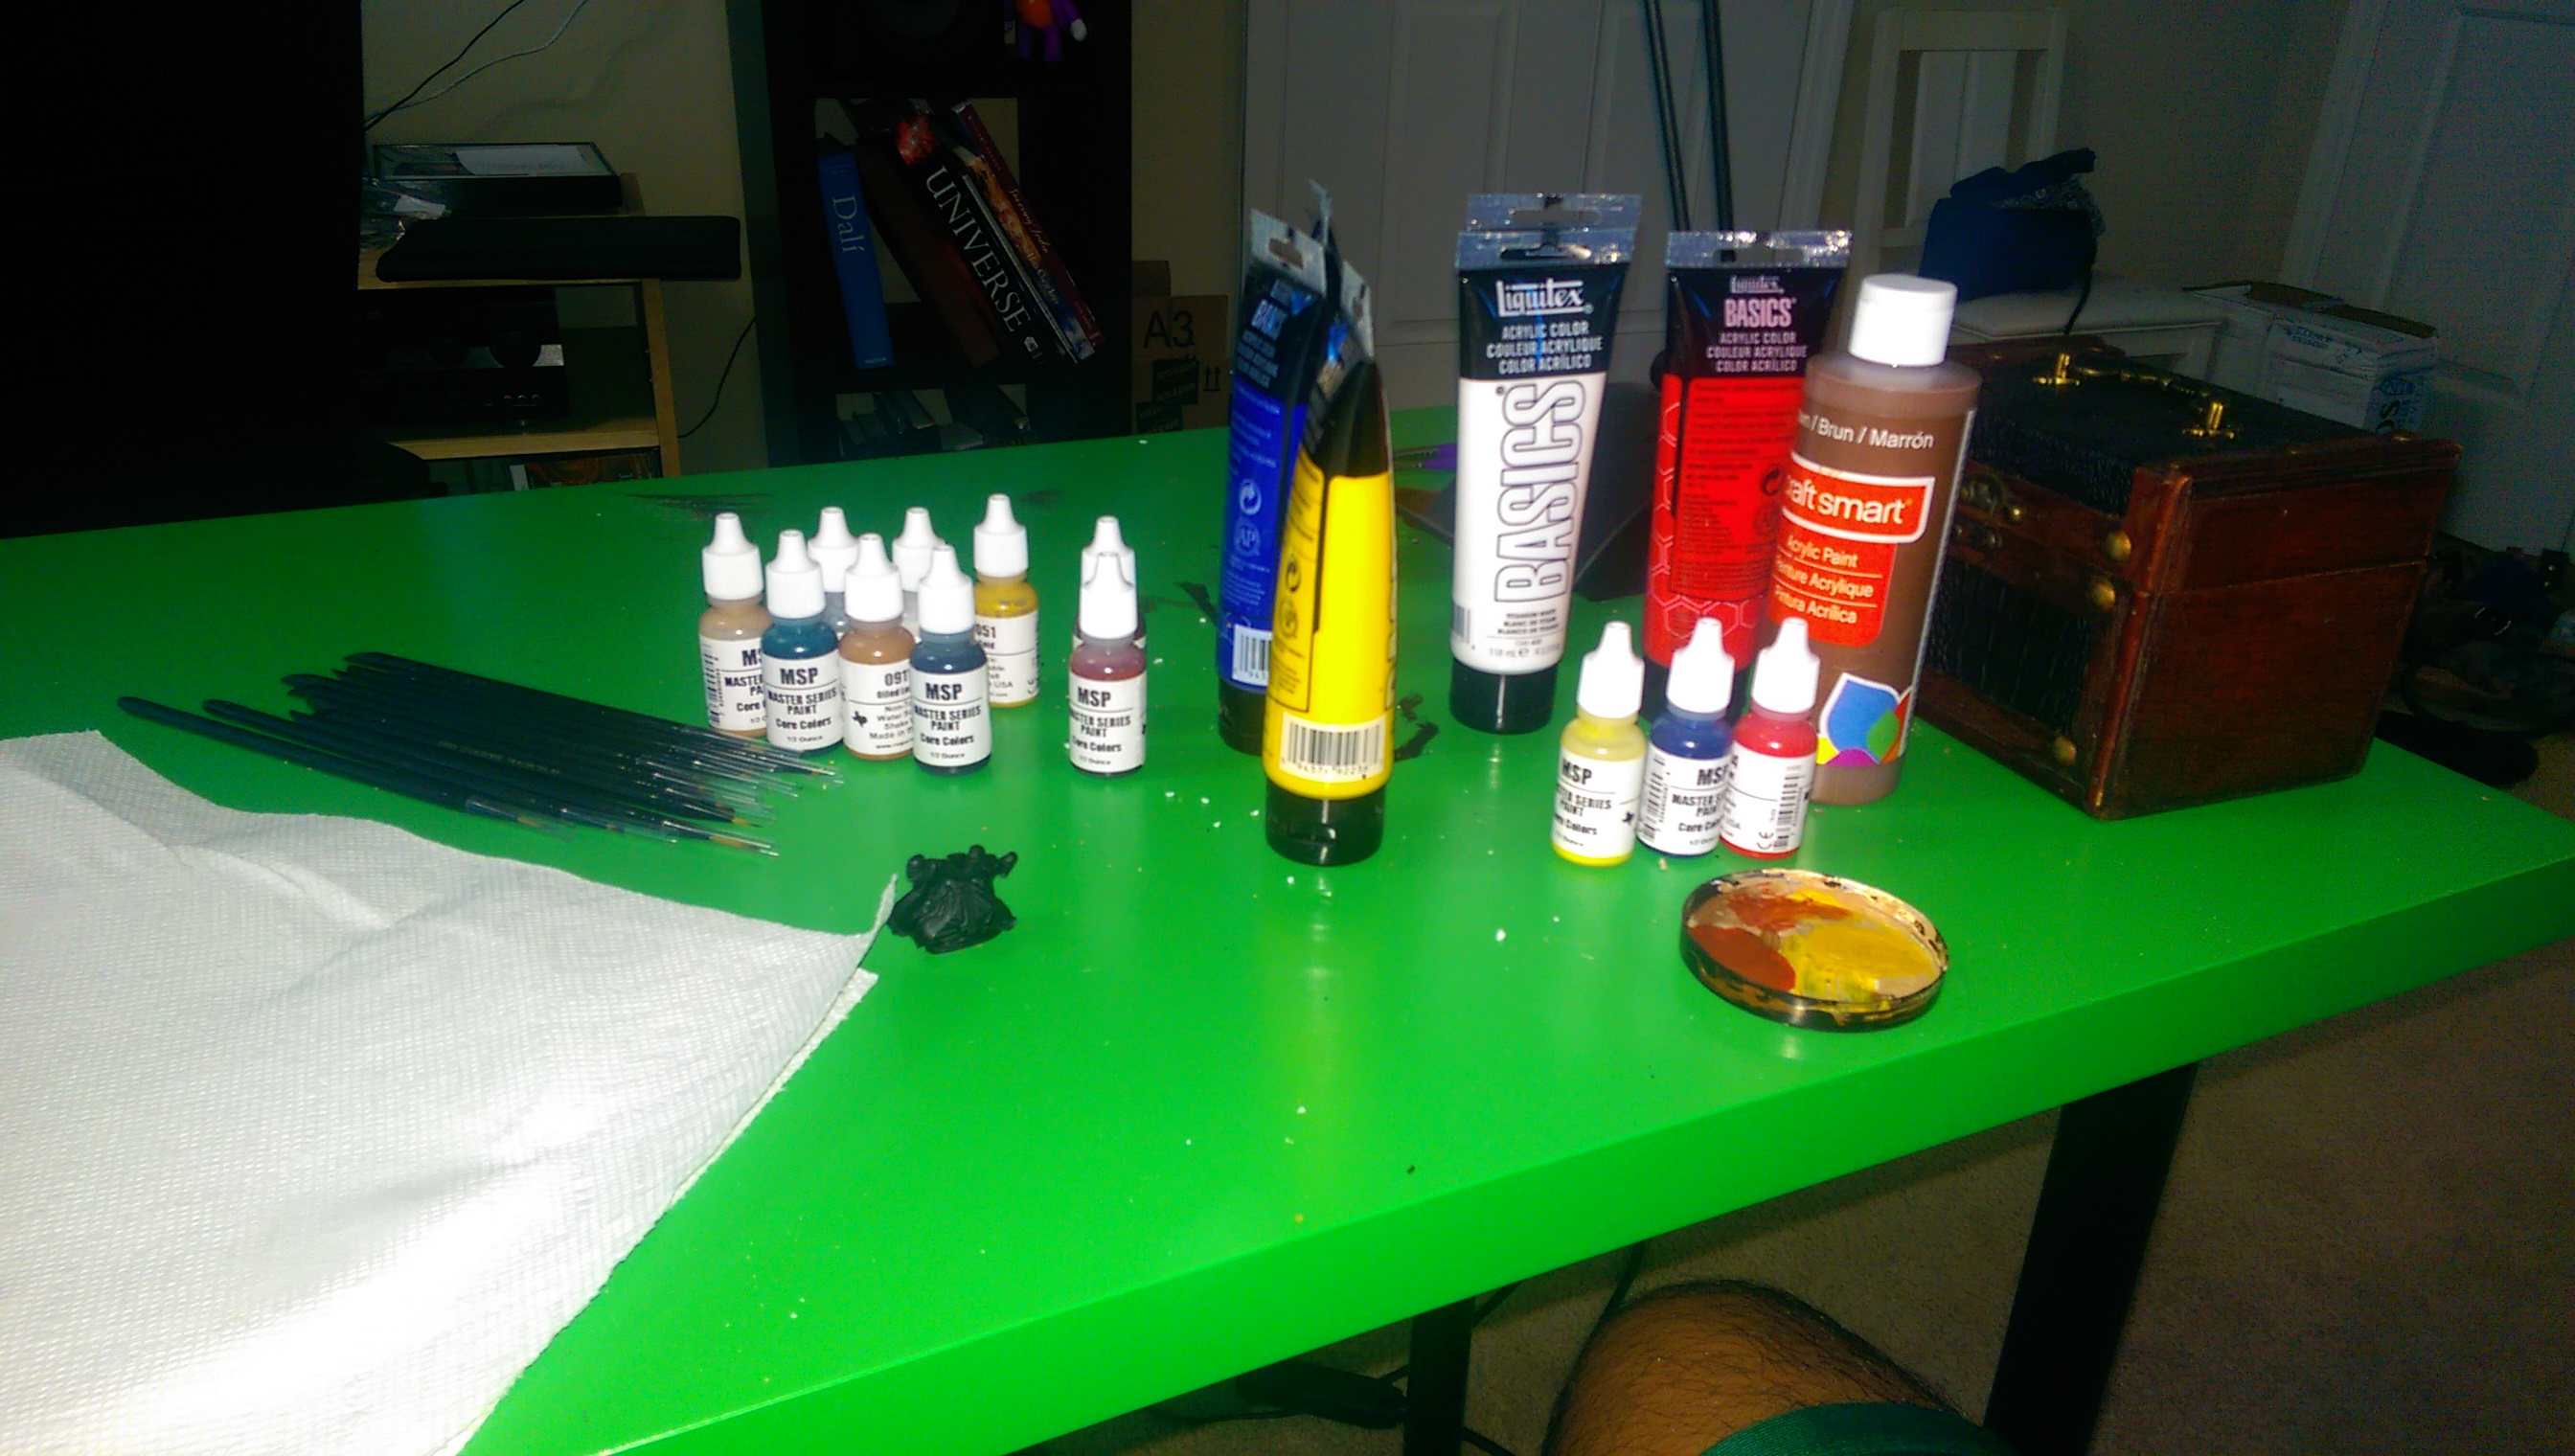
I’m about to dive into the world of miniature painting…
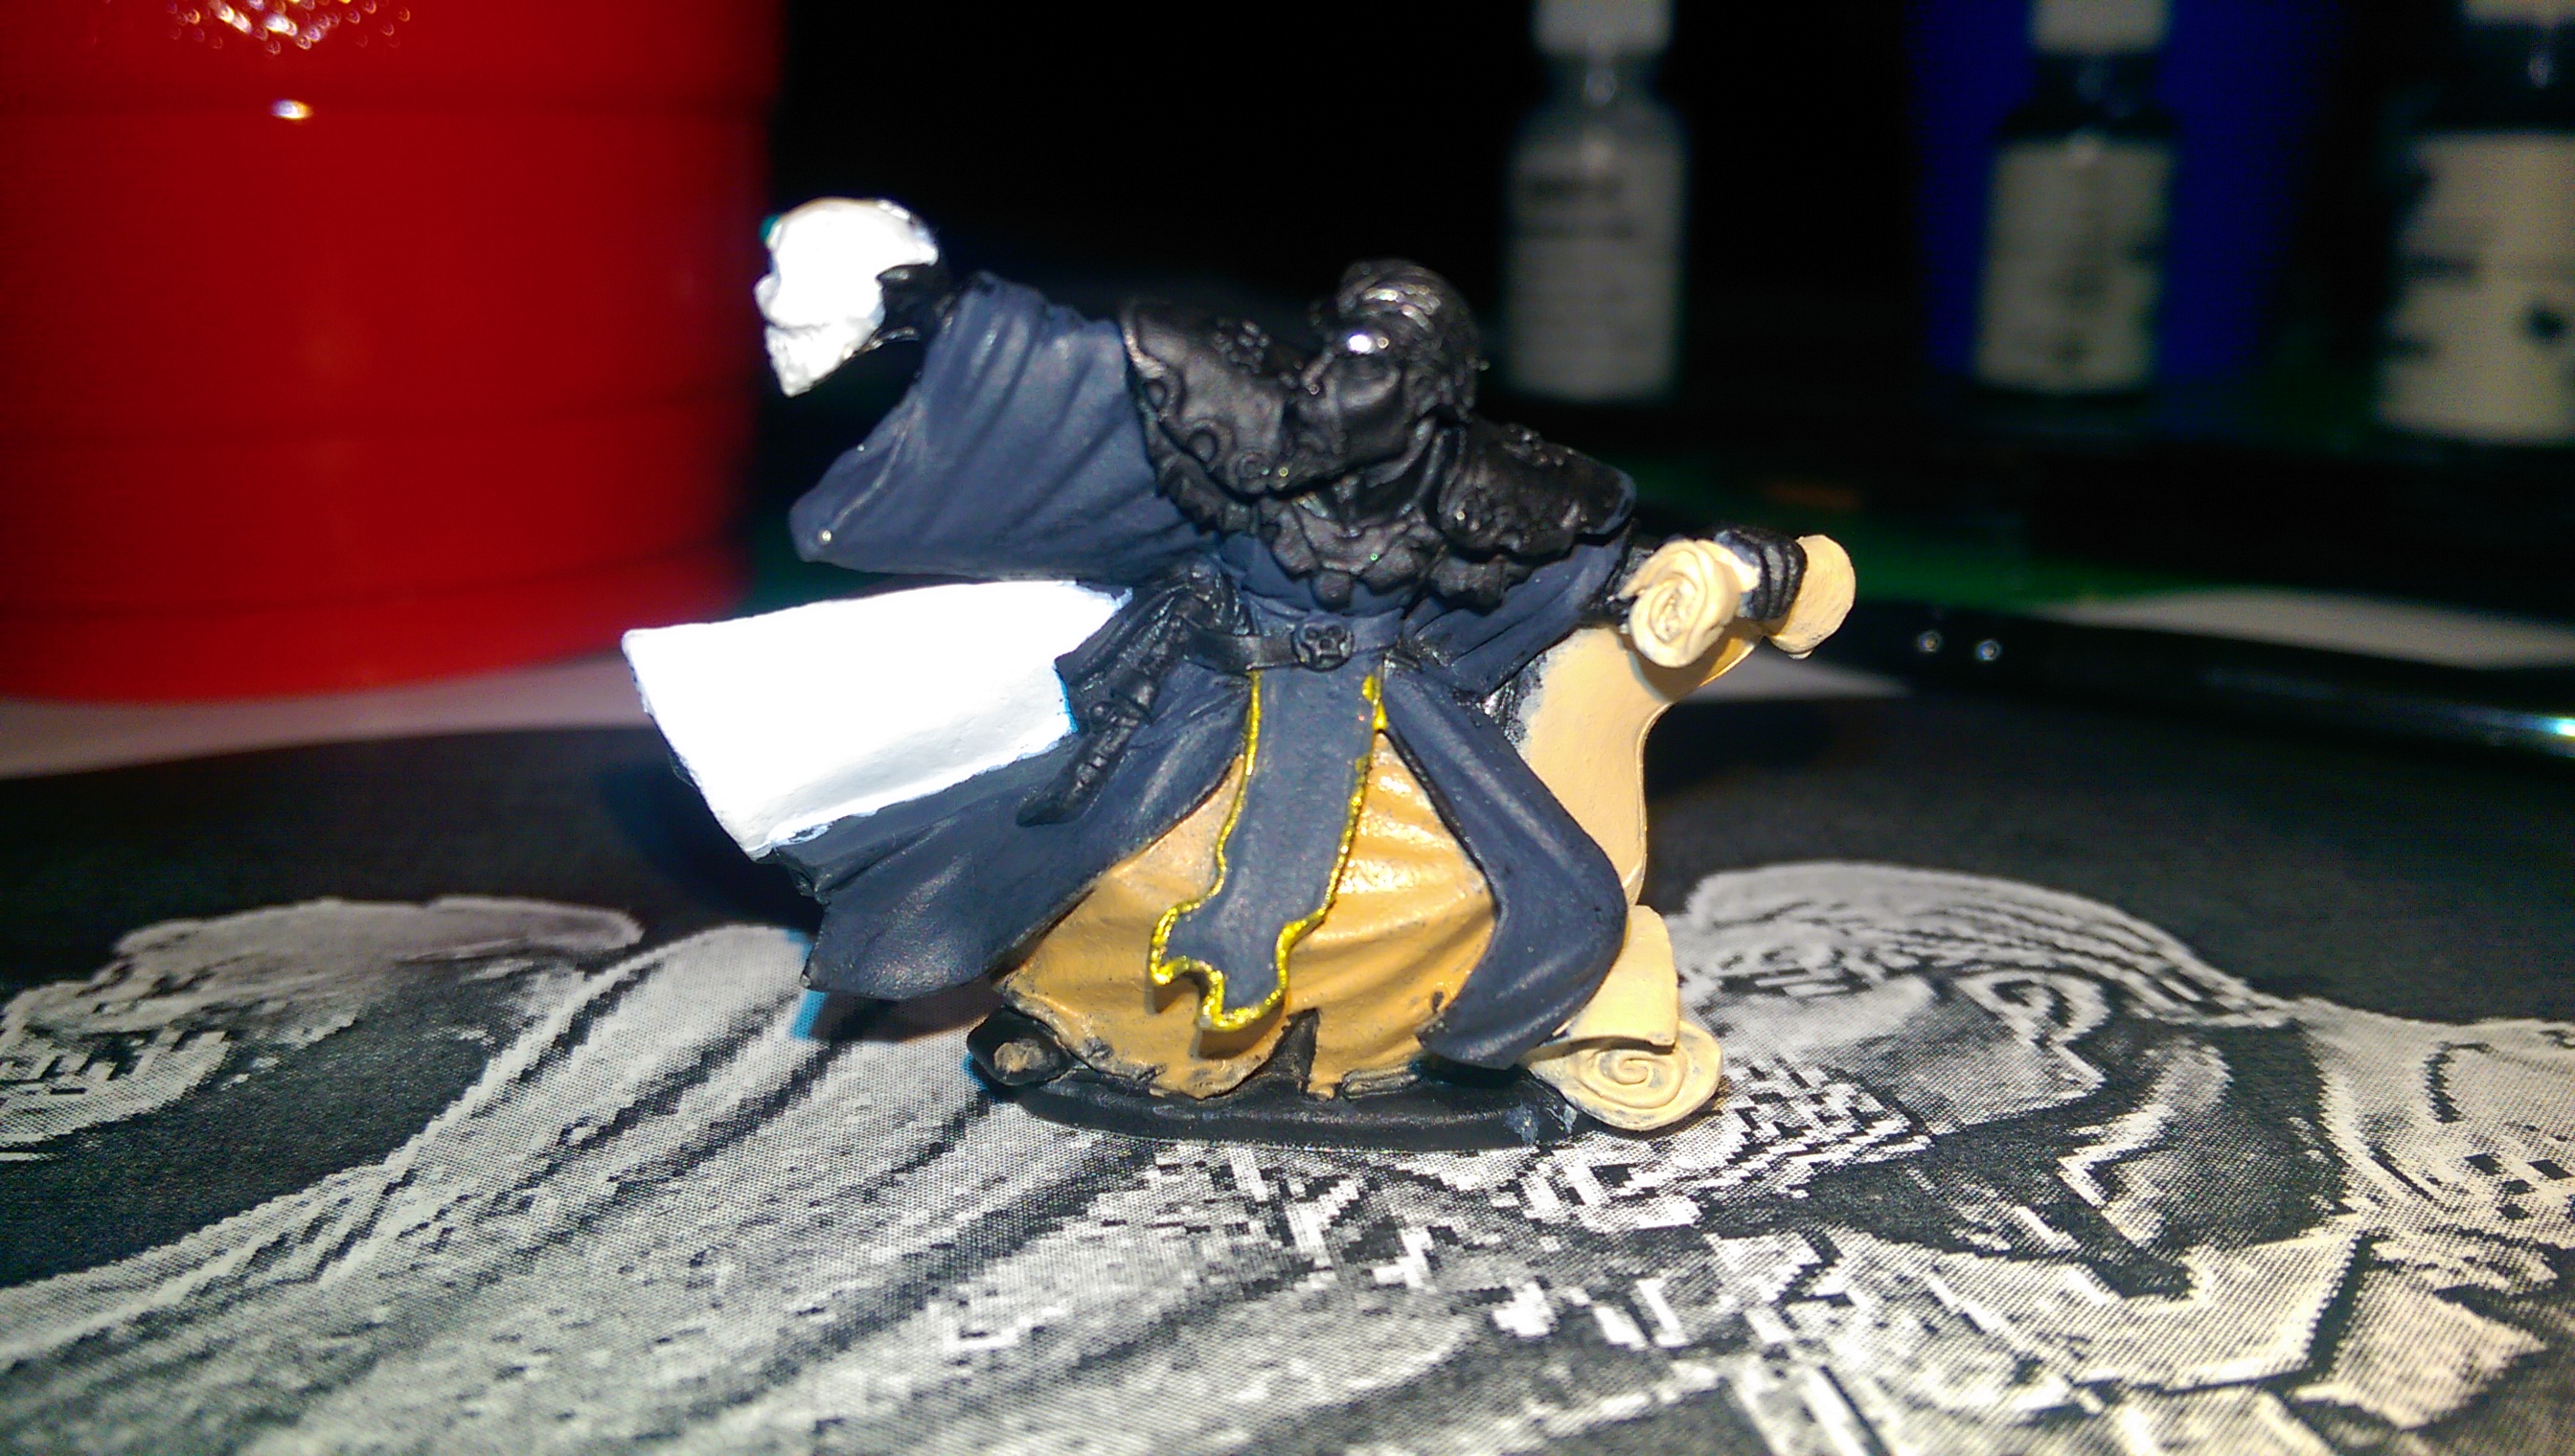
Very tedious, but once I started getting into it, it was really satisfying to watch it come together.
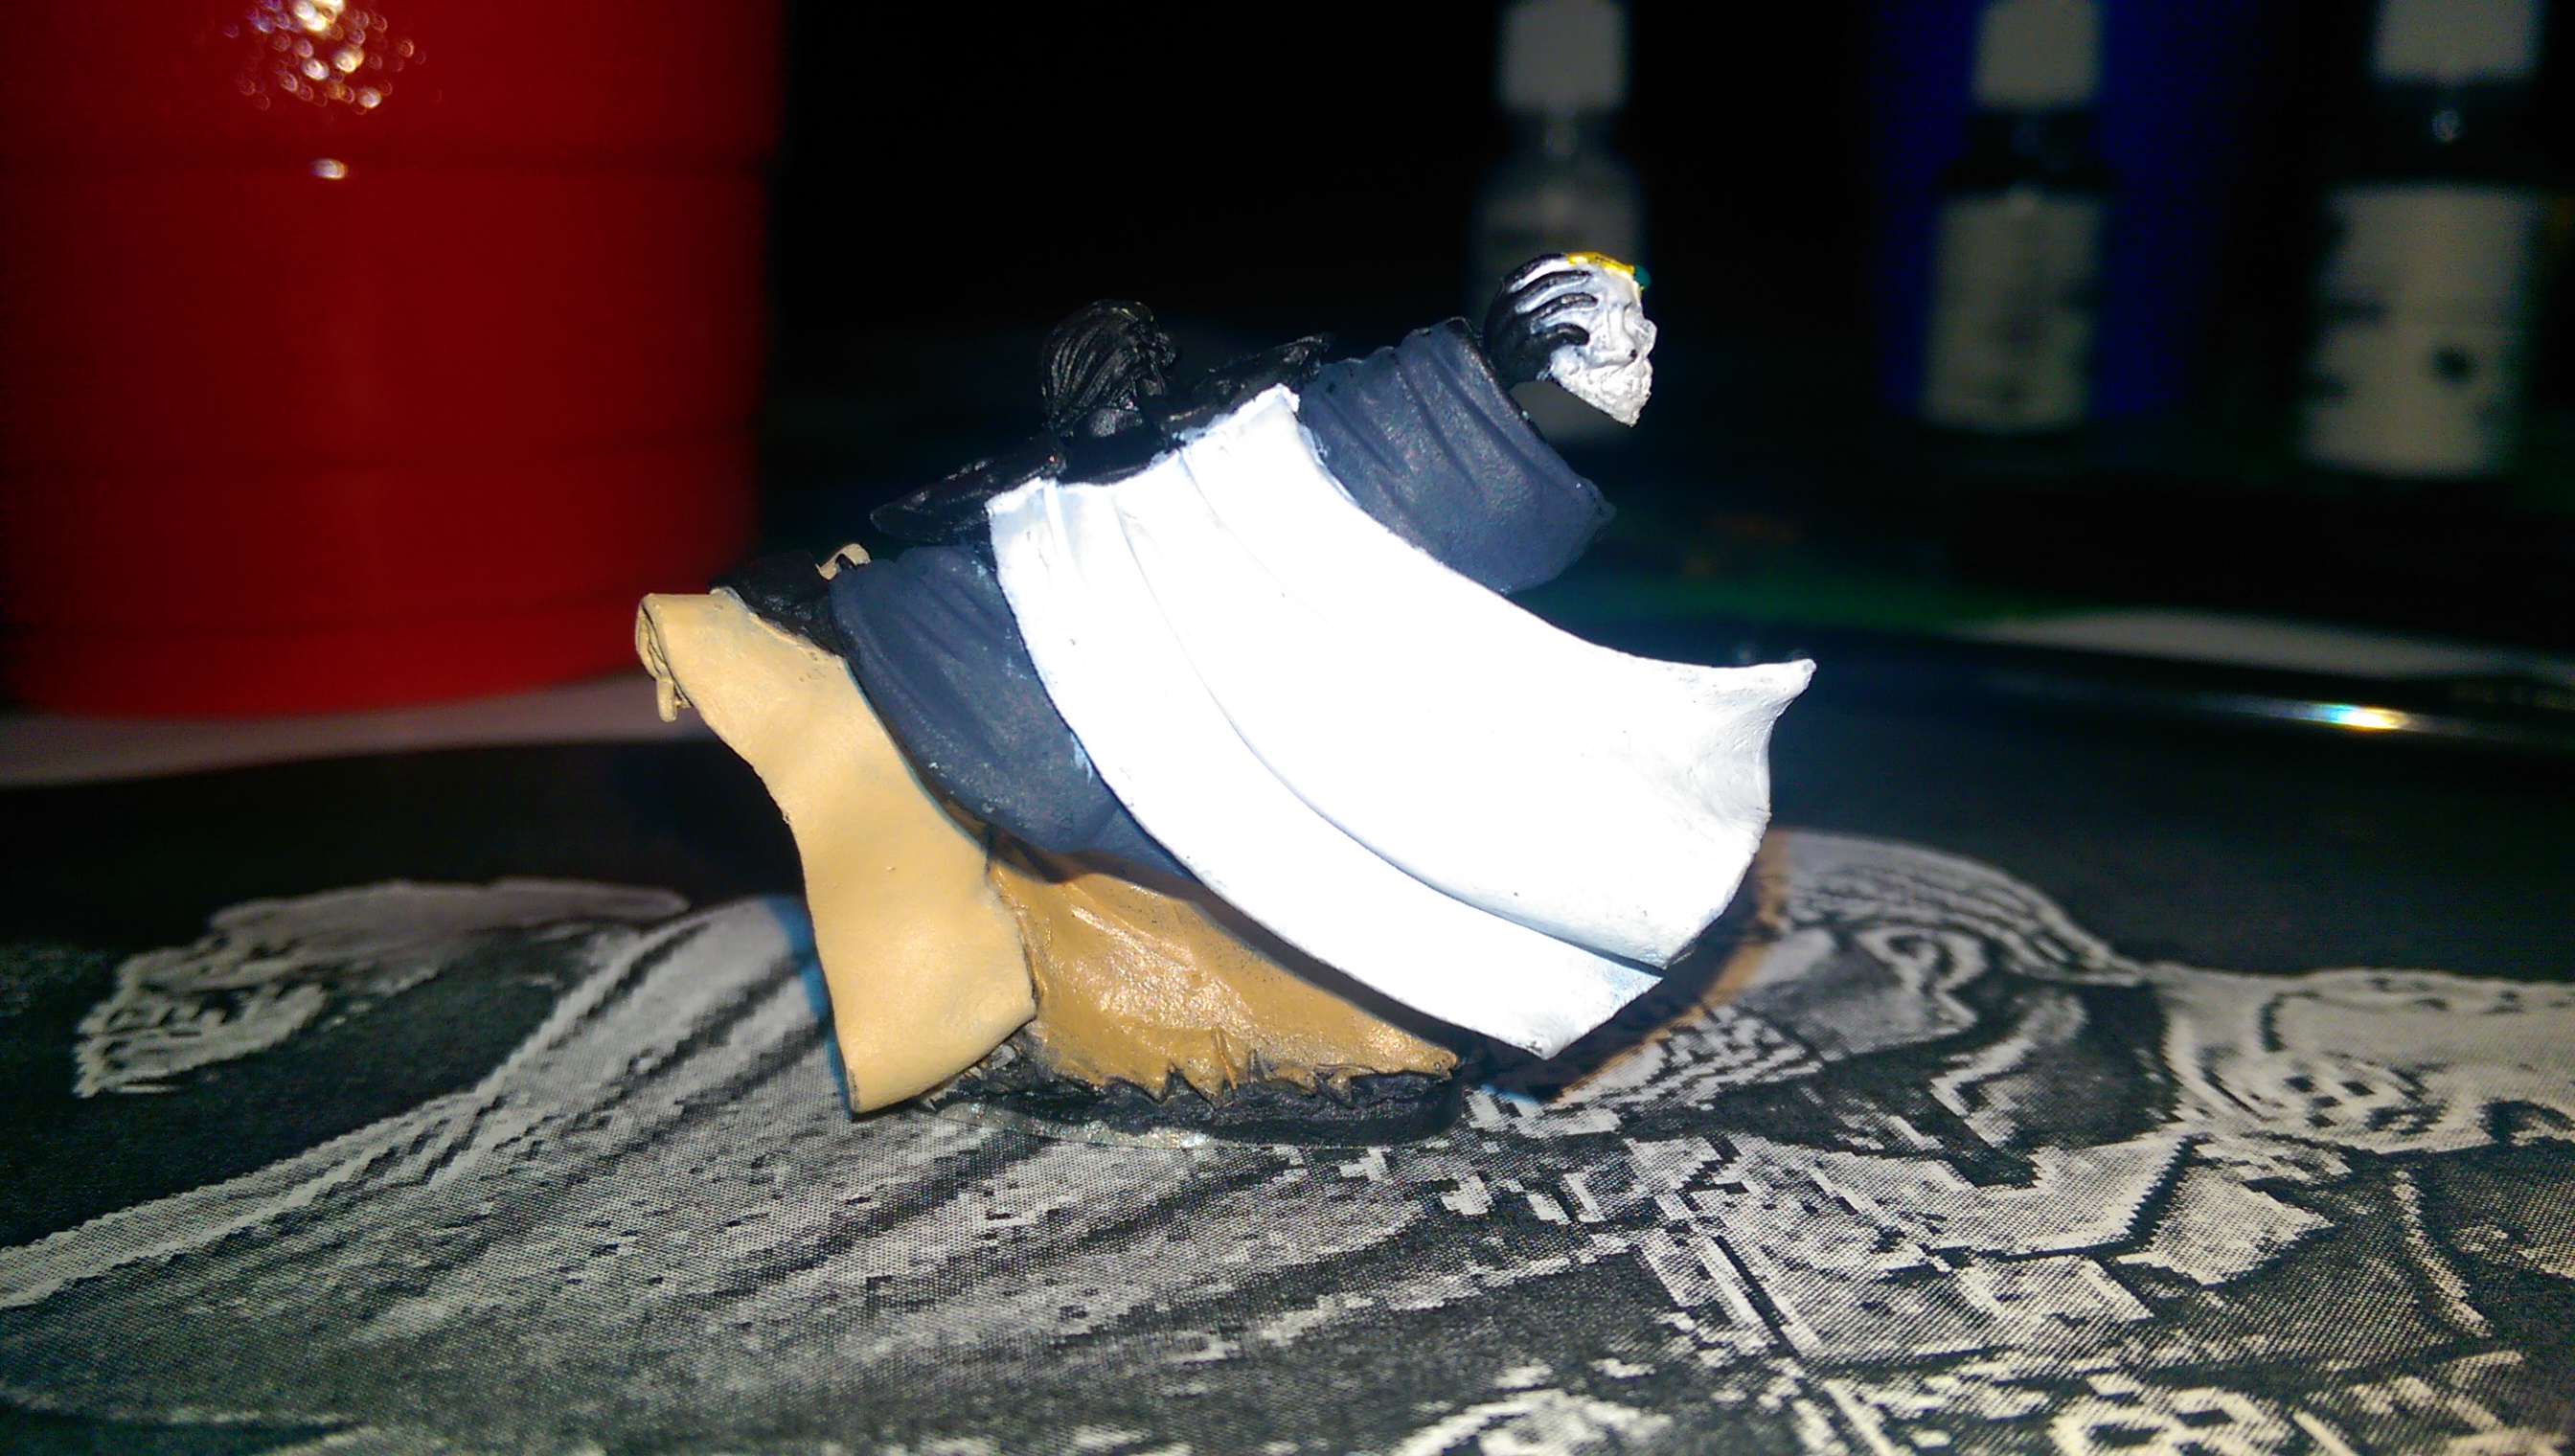
The famous “Skunk” look that my players vaguely recall.

Some washing, some more coloring.
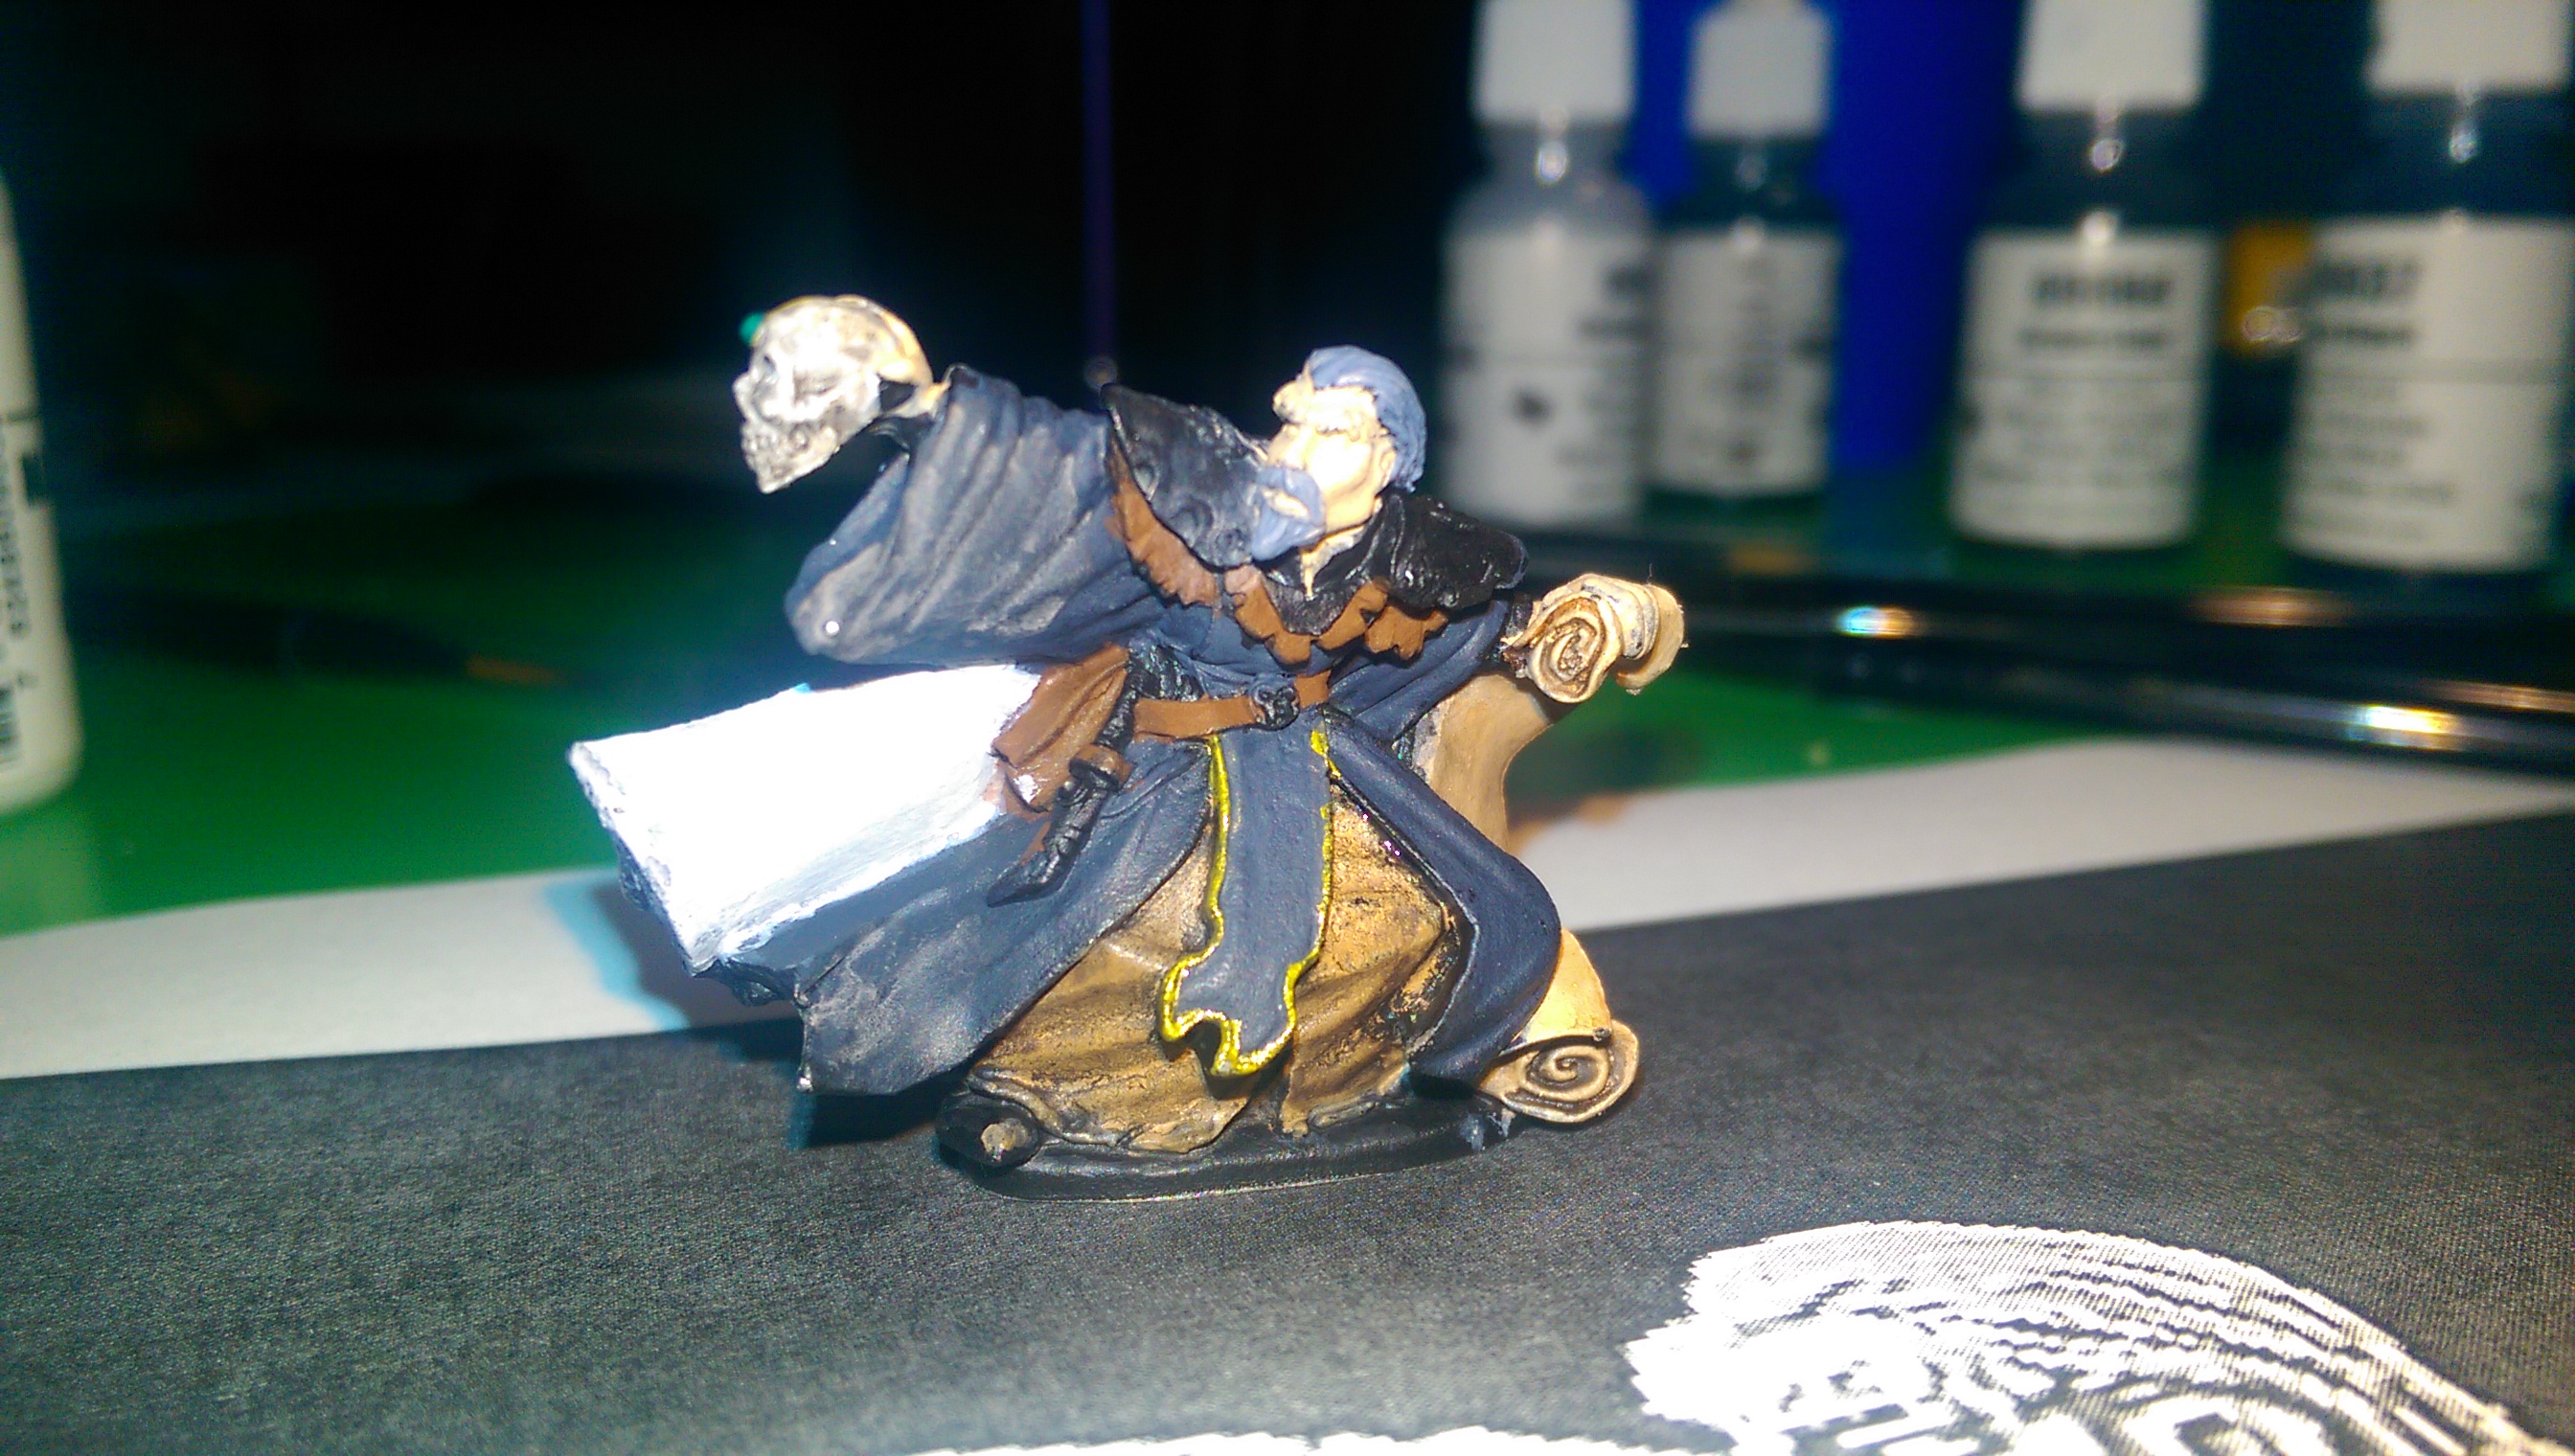
The face! He’s aliiiiive!

Fortunately, he’s a necromancer. If he were anyone else, his eyes would look ridiculous.
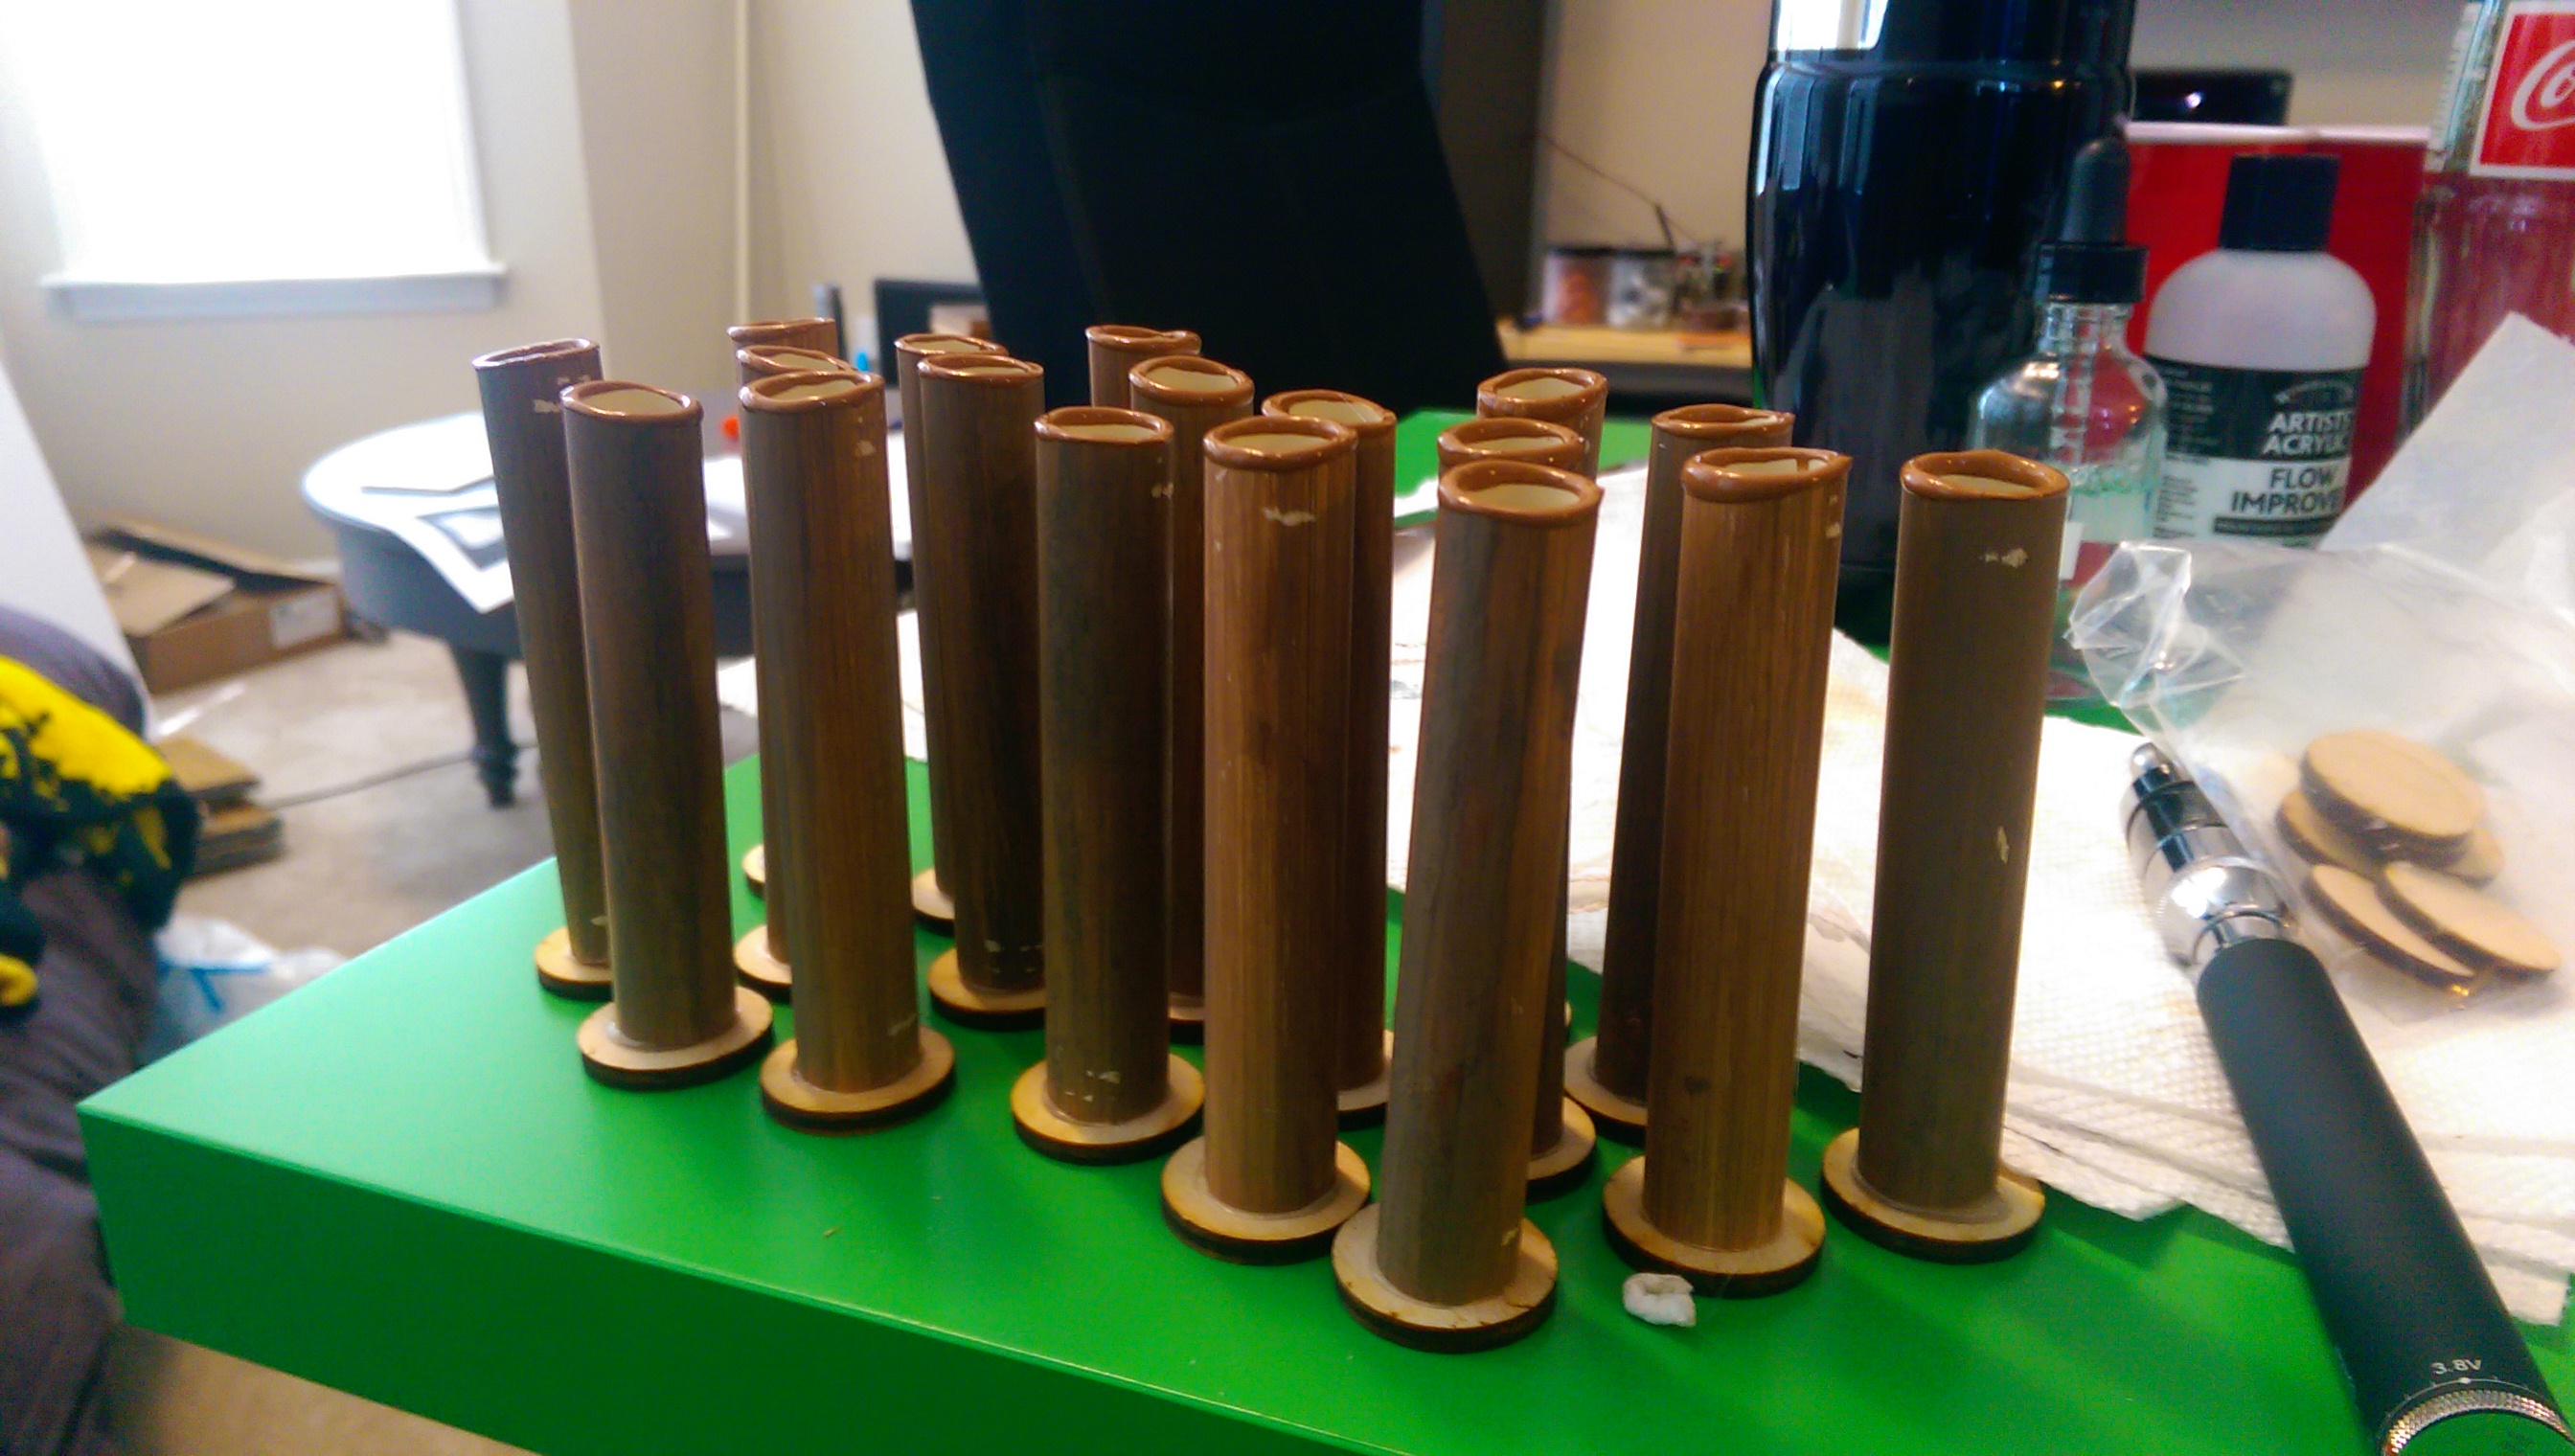
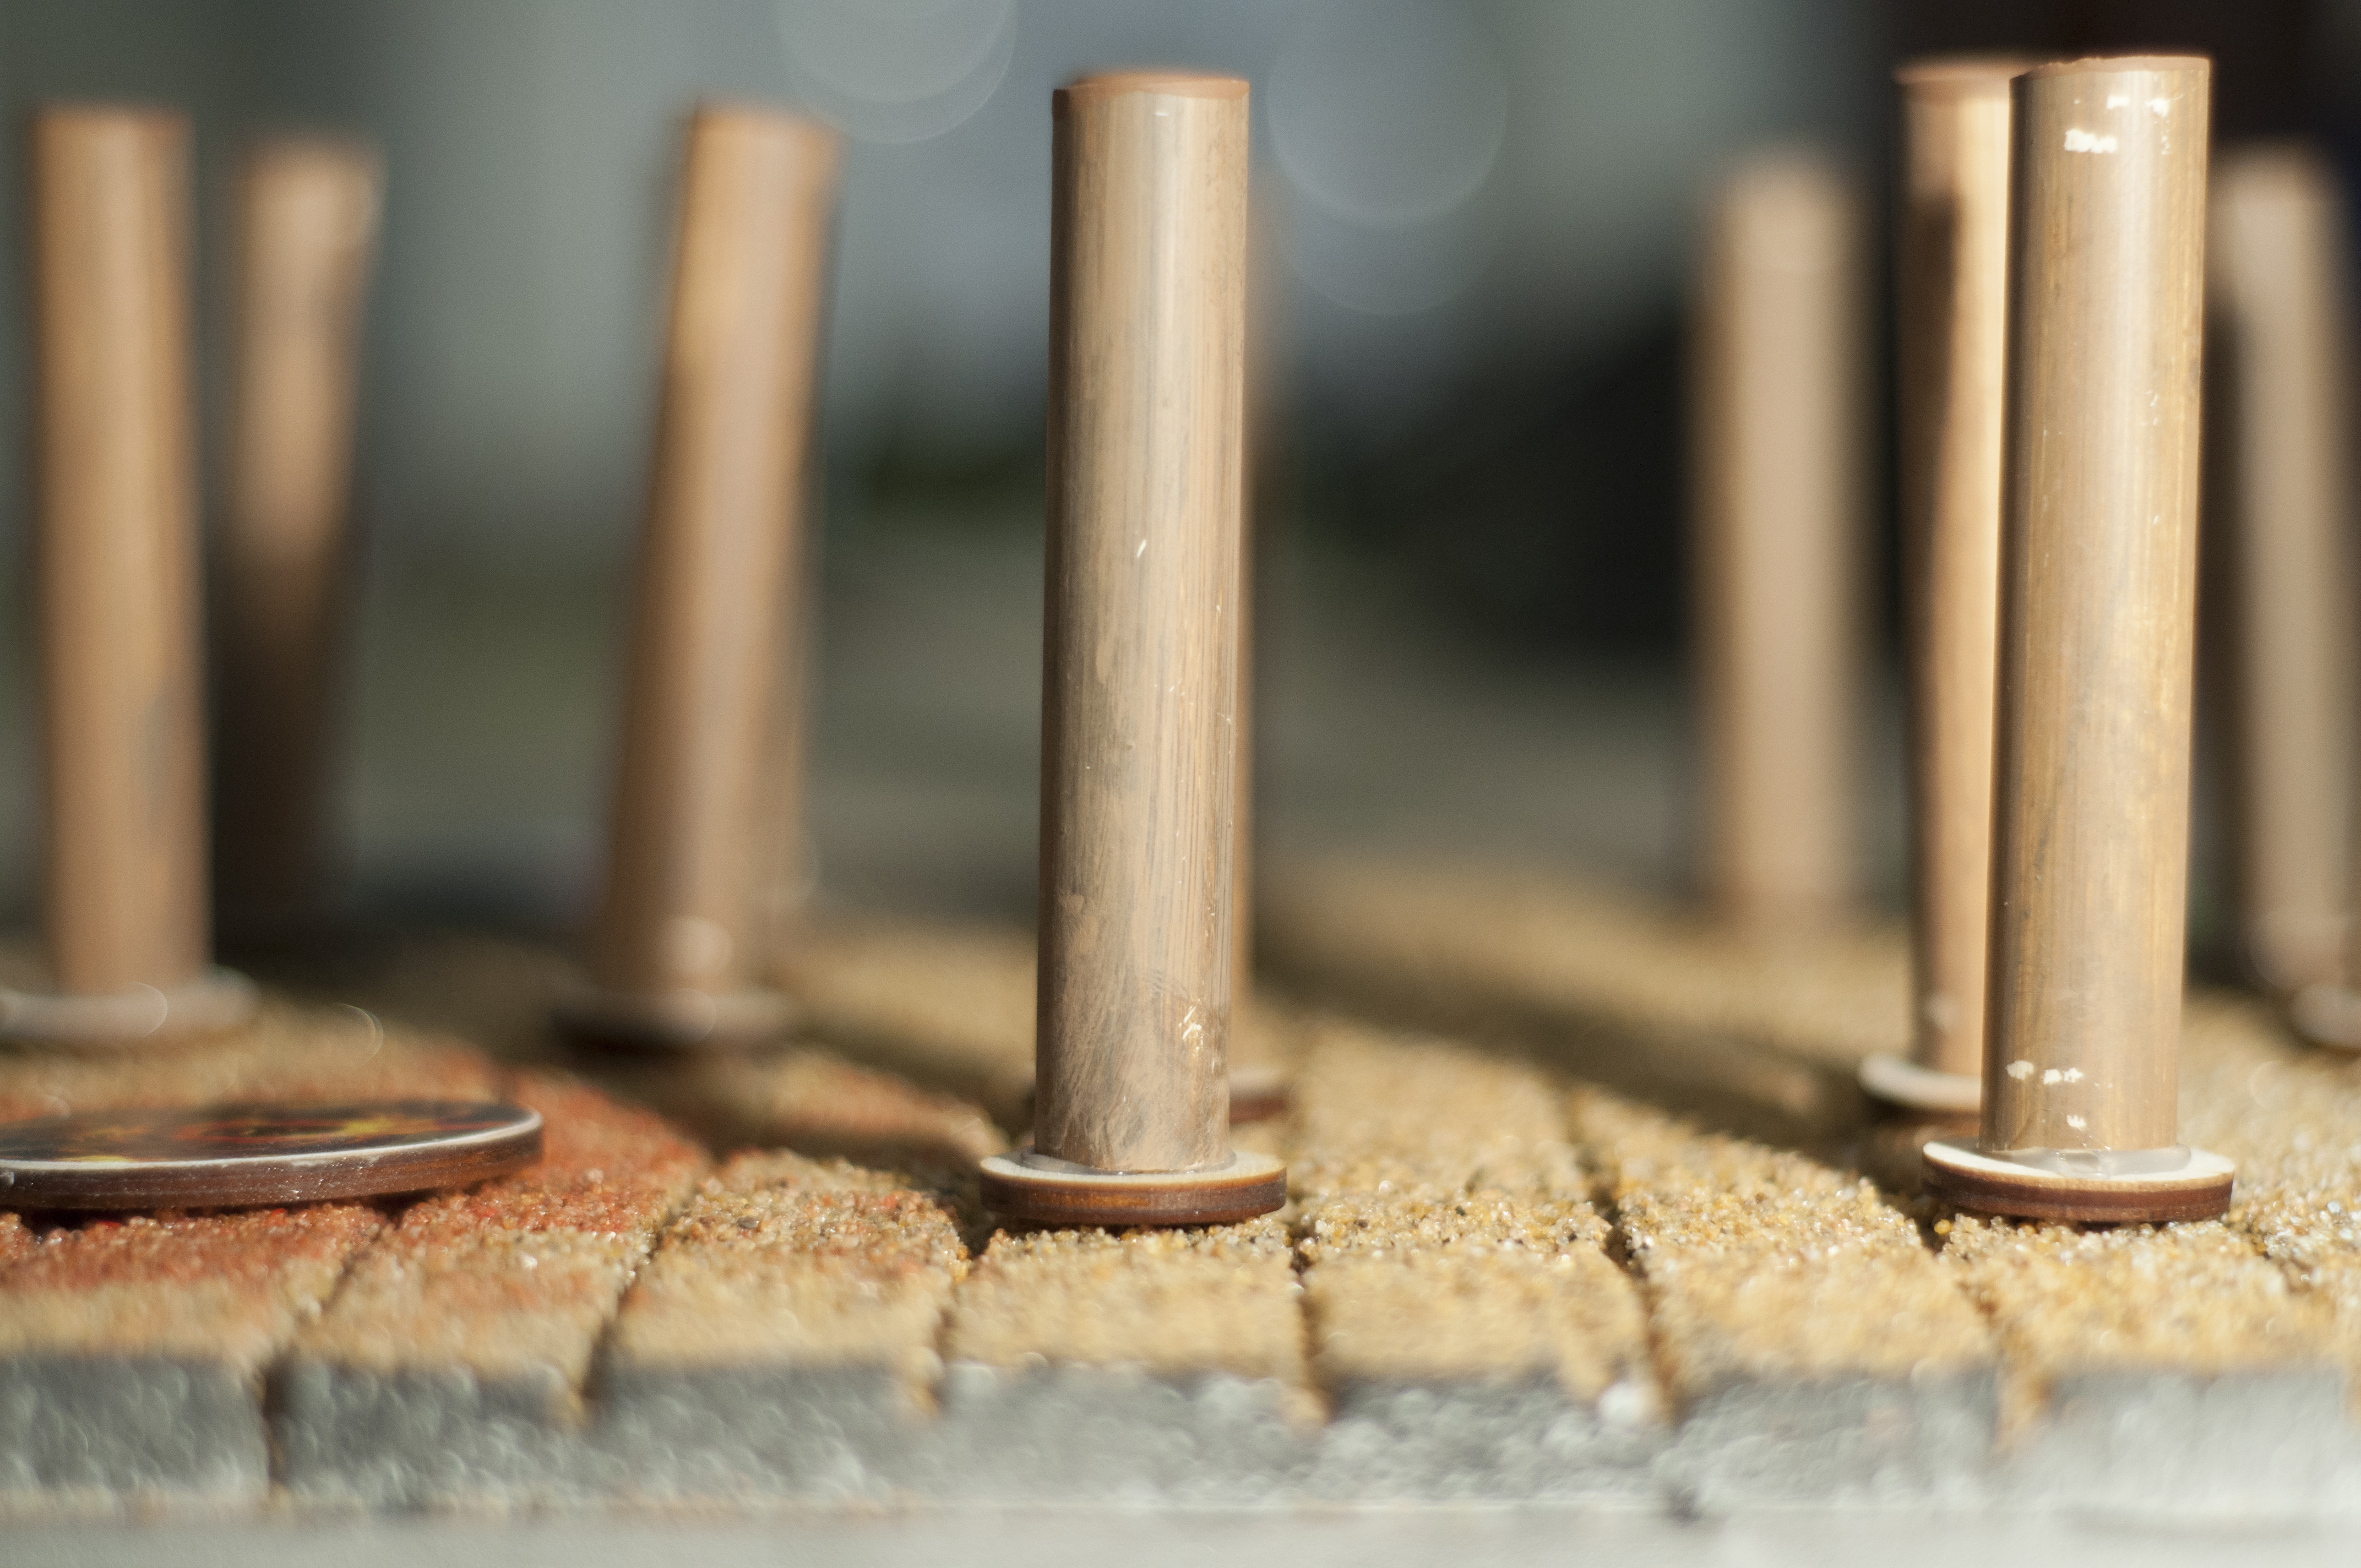
I took zero how to shots. I bought CVPC, and used a paper towel and rubbed it with black paint, then I used a dish where I put brown paint, black paint, yellow, and white. I smothered it with the paper towel and rubbed the pipe down fully. That’s how I got a psuedo textured look, and the whole thing took about 25 minutes to do, and 30 minutes to dry. Afterward it was just a matter of cutting them to 3.5″ pieces, and glueing them to the 1″ circular token bases.


Clear enamel sealed my bad boy the next morning! Love it! My first mini, and I’m proud!
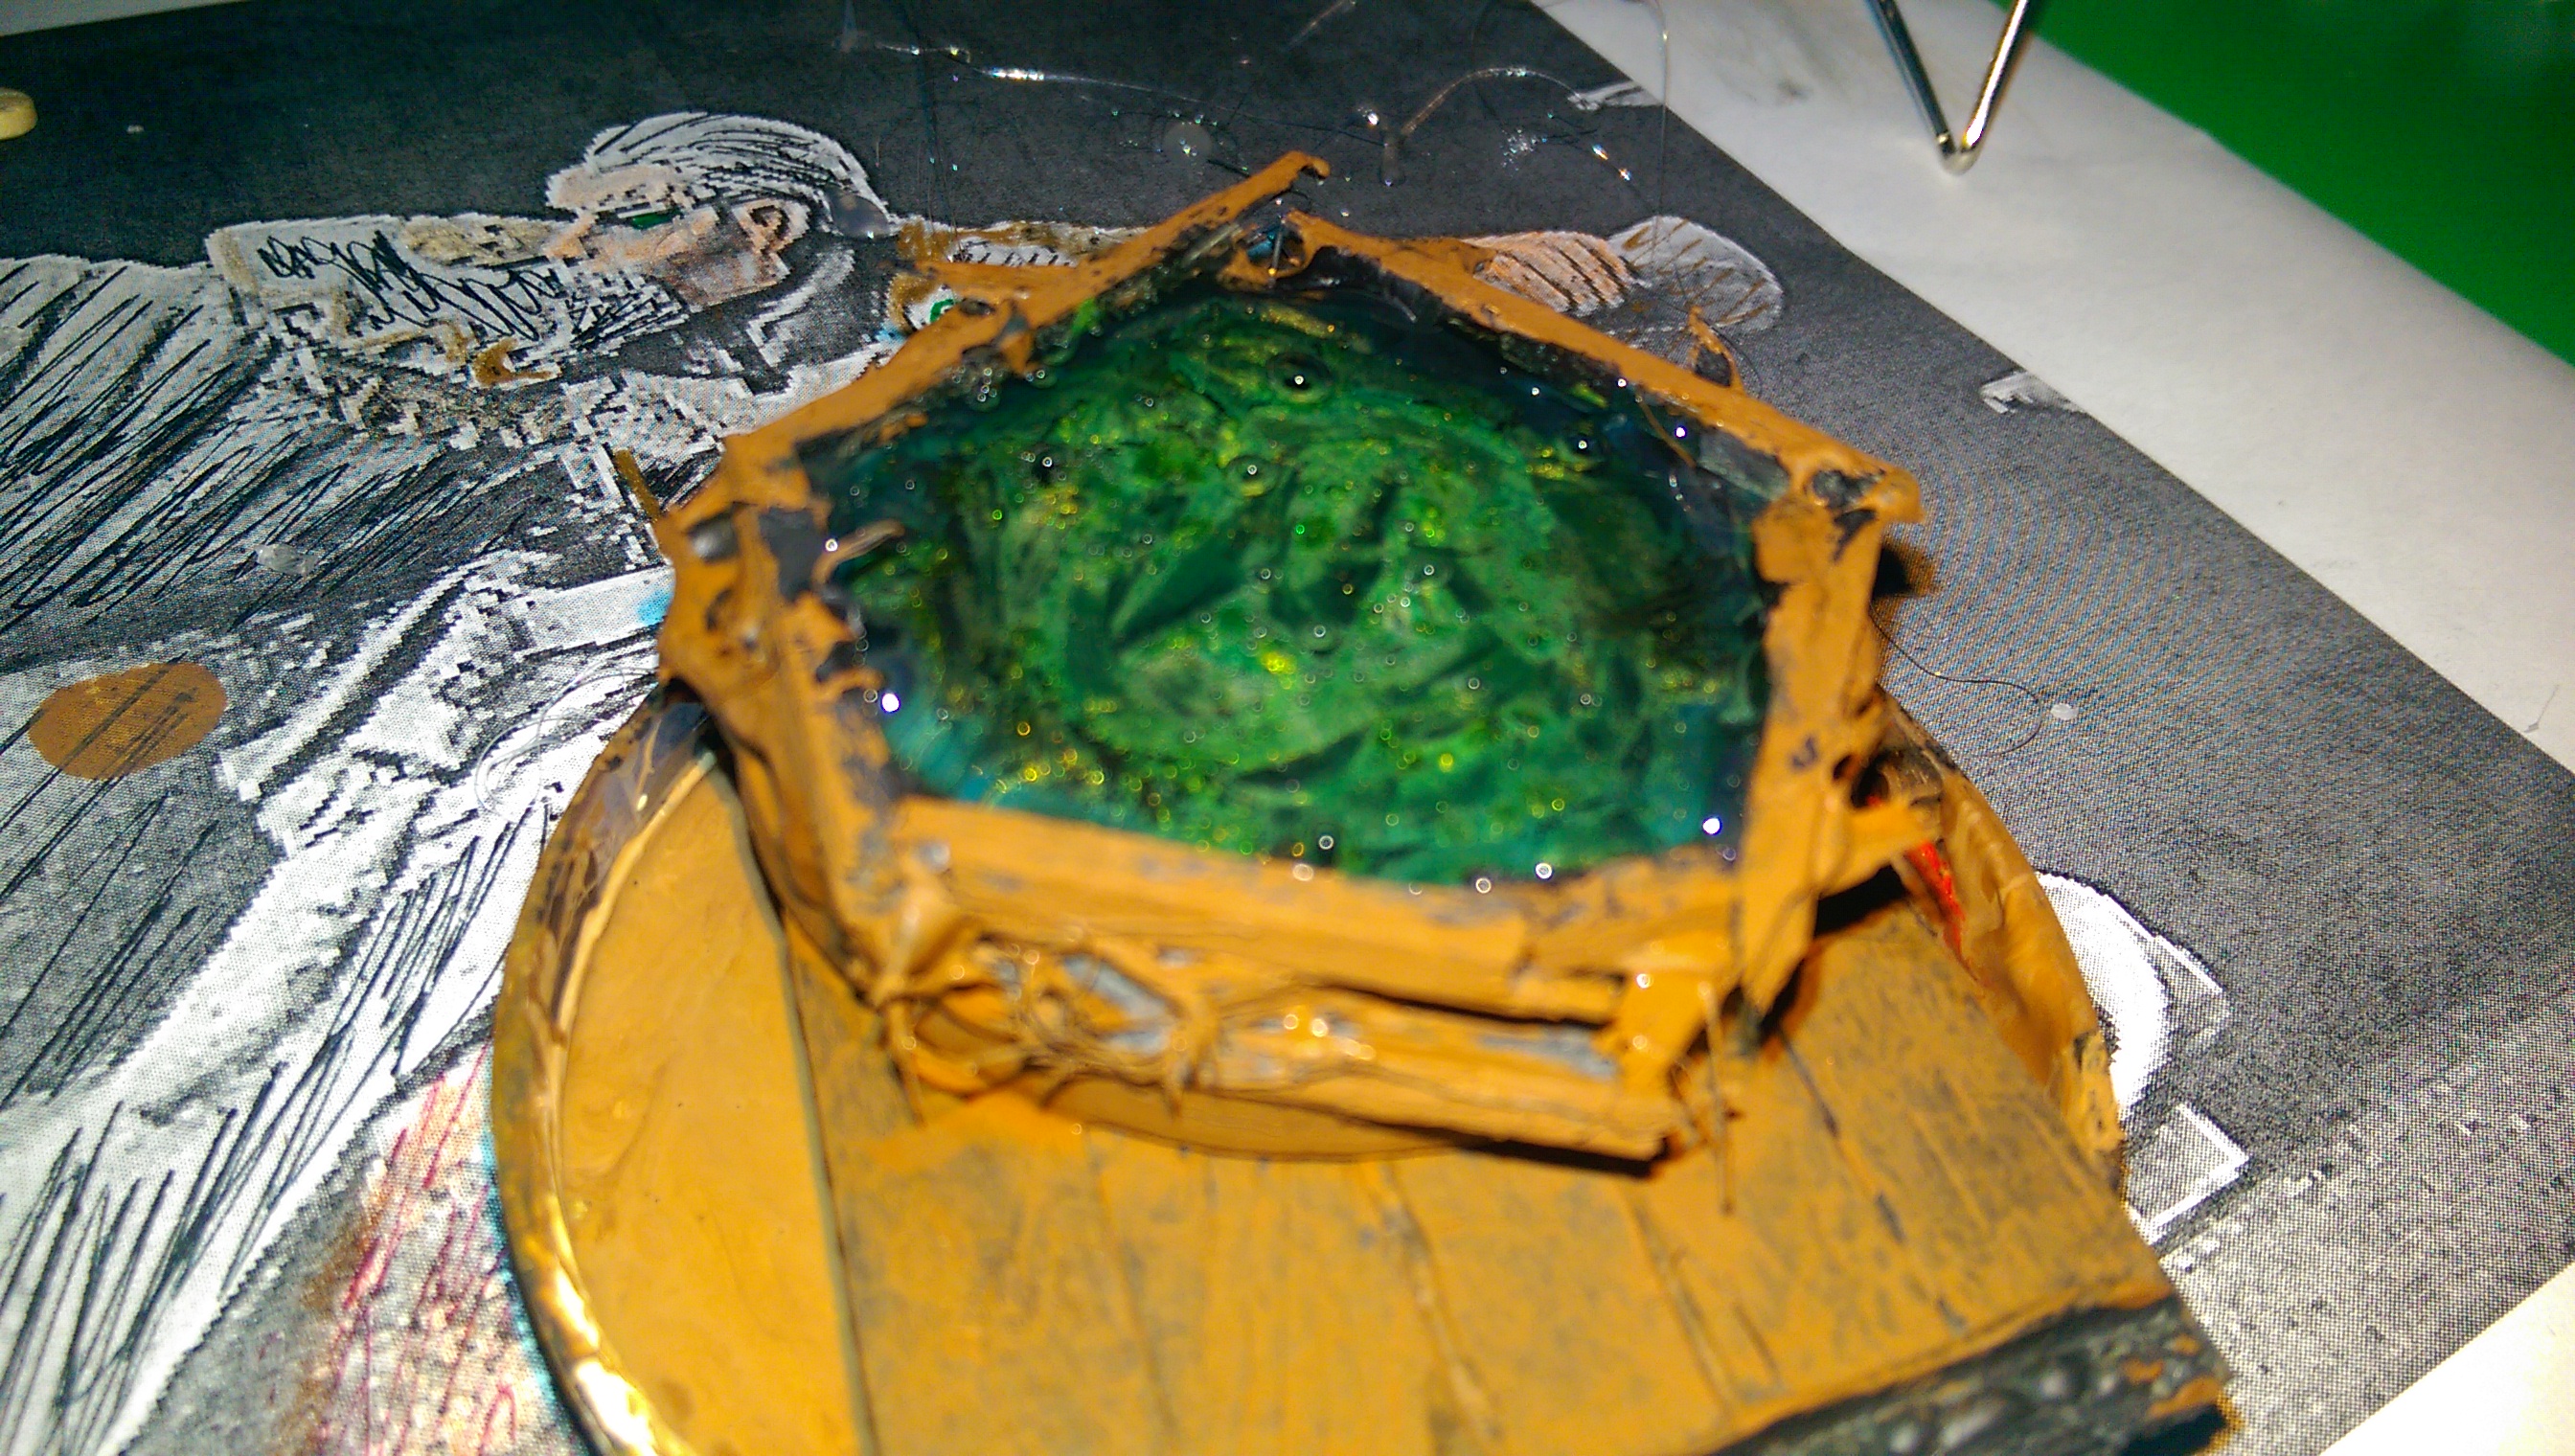

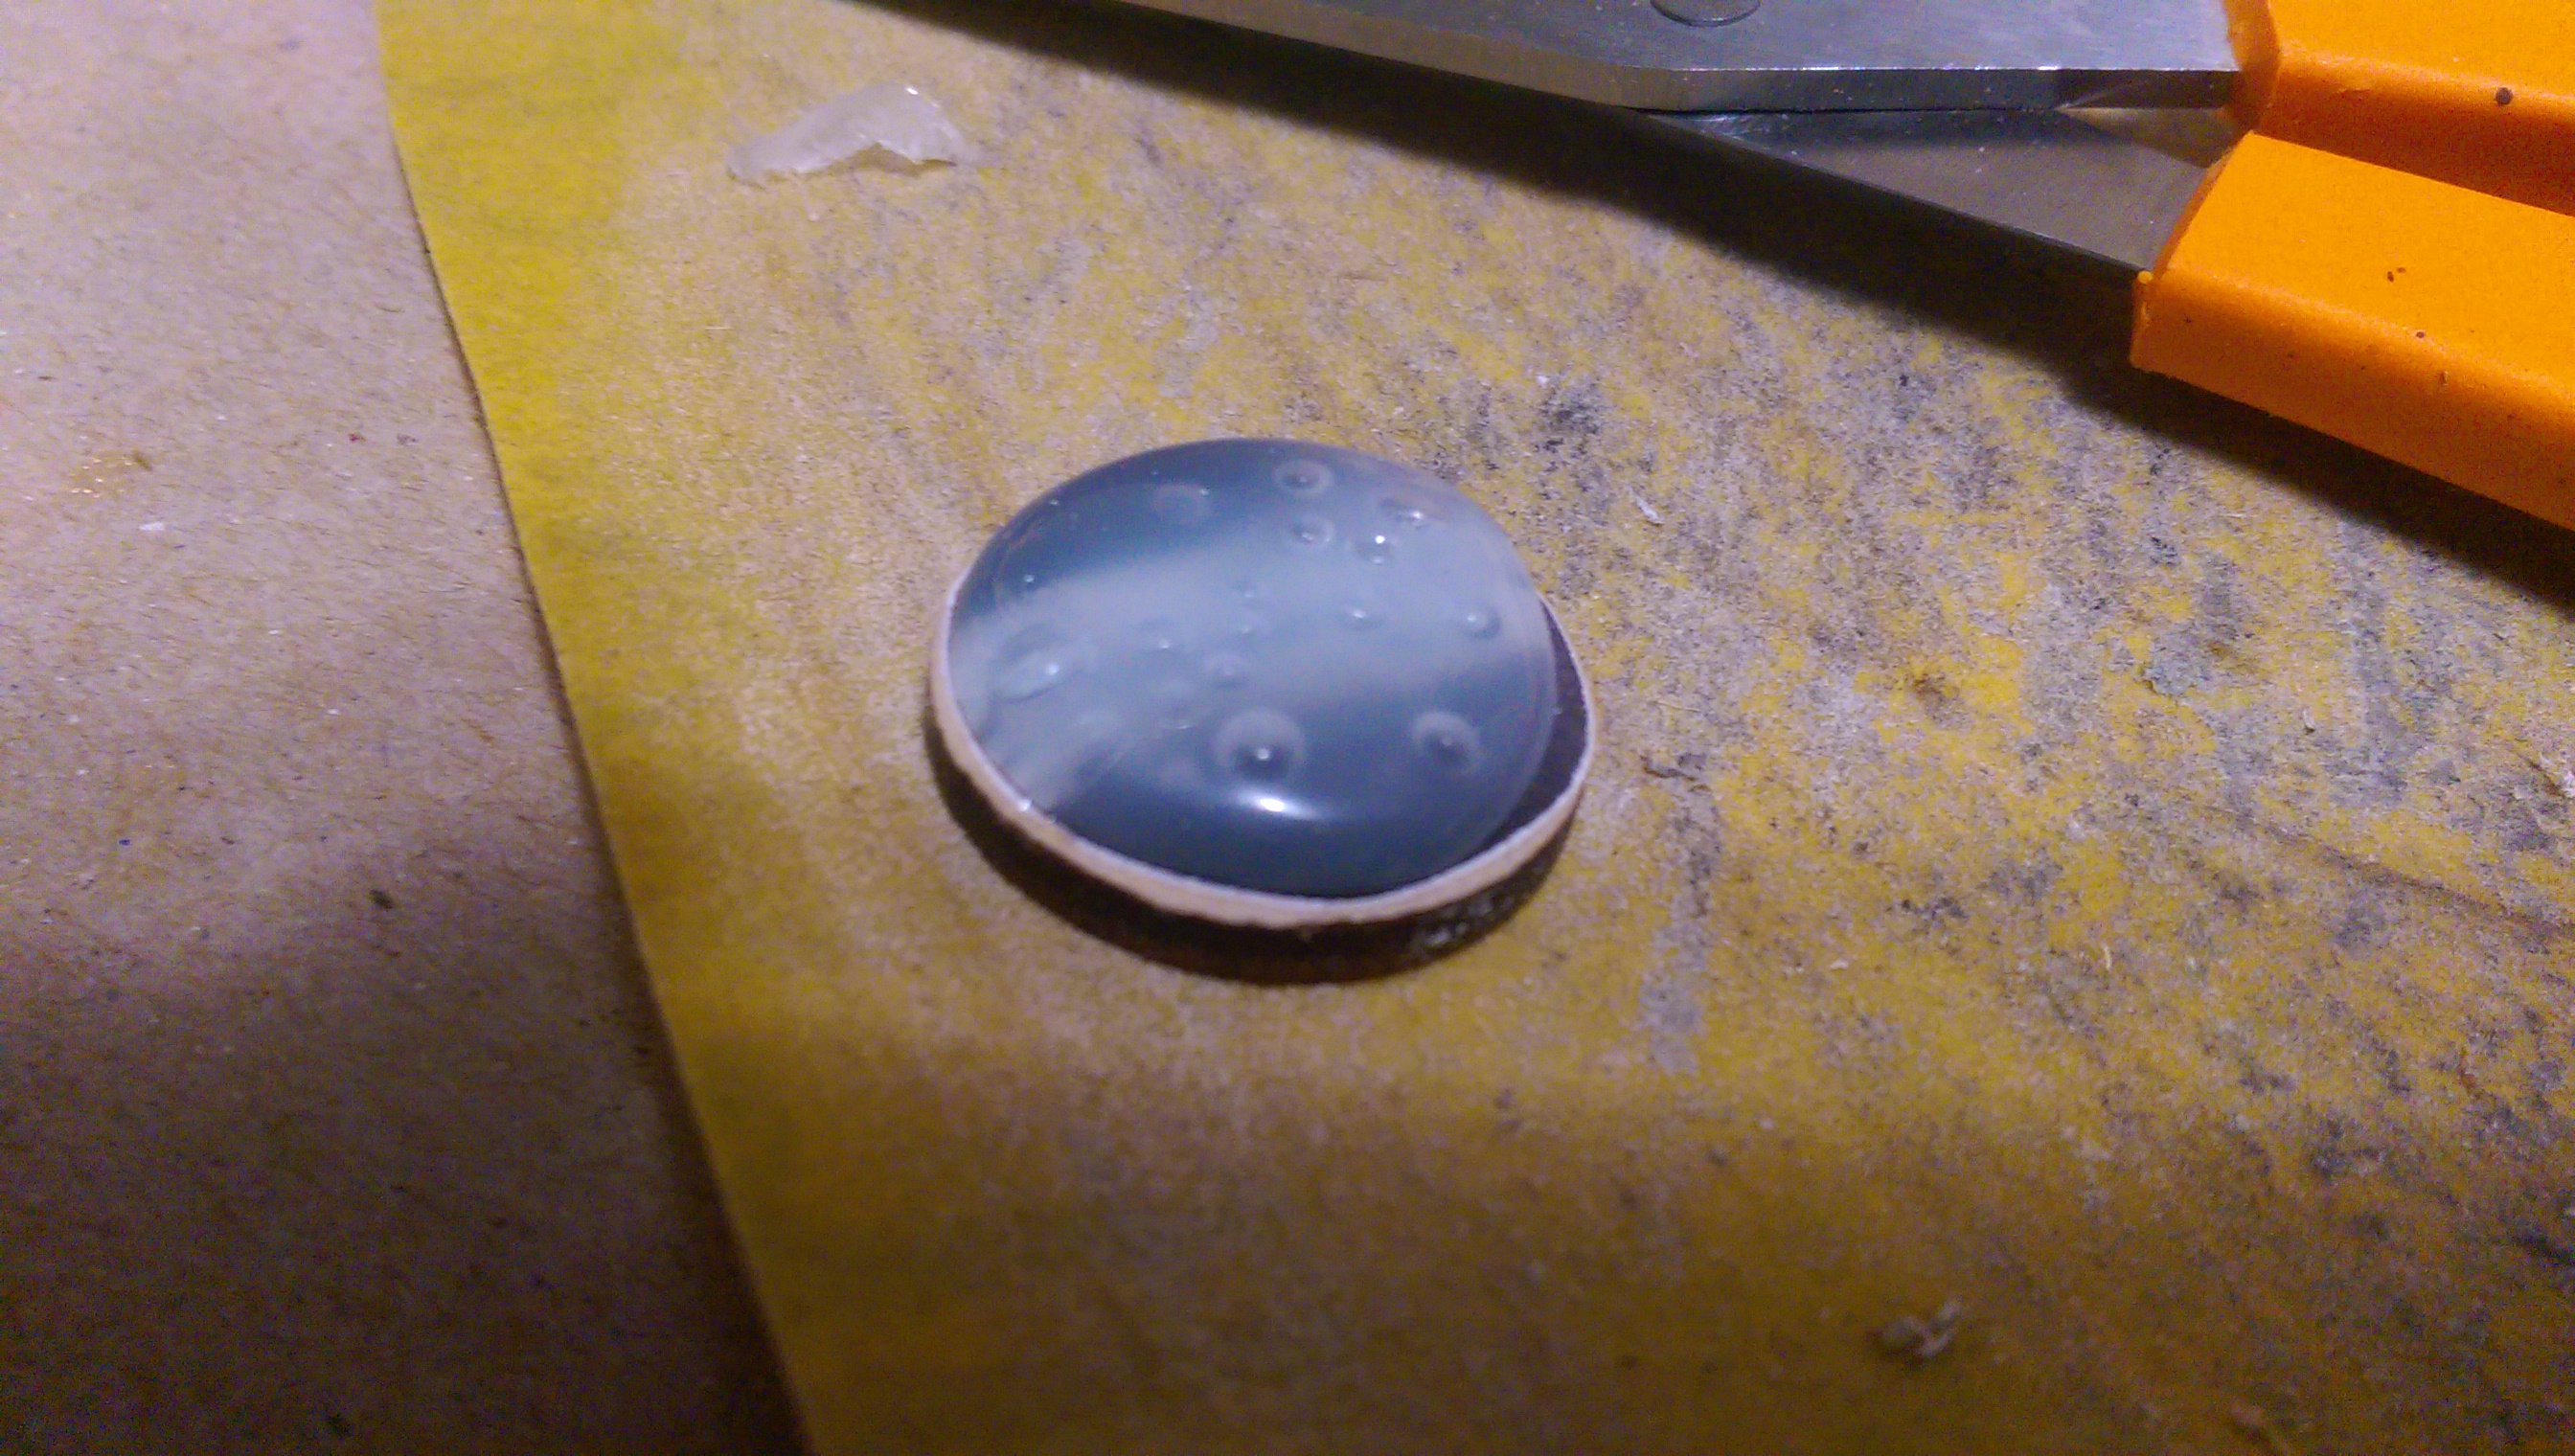
I wish this portal looked like this when it dried. This is perfect.
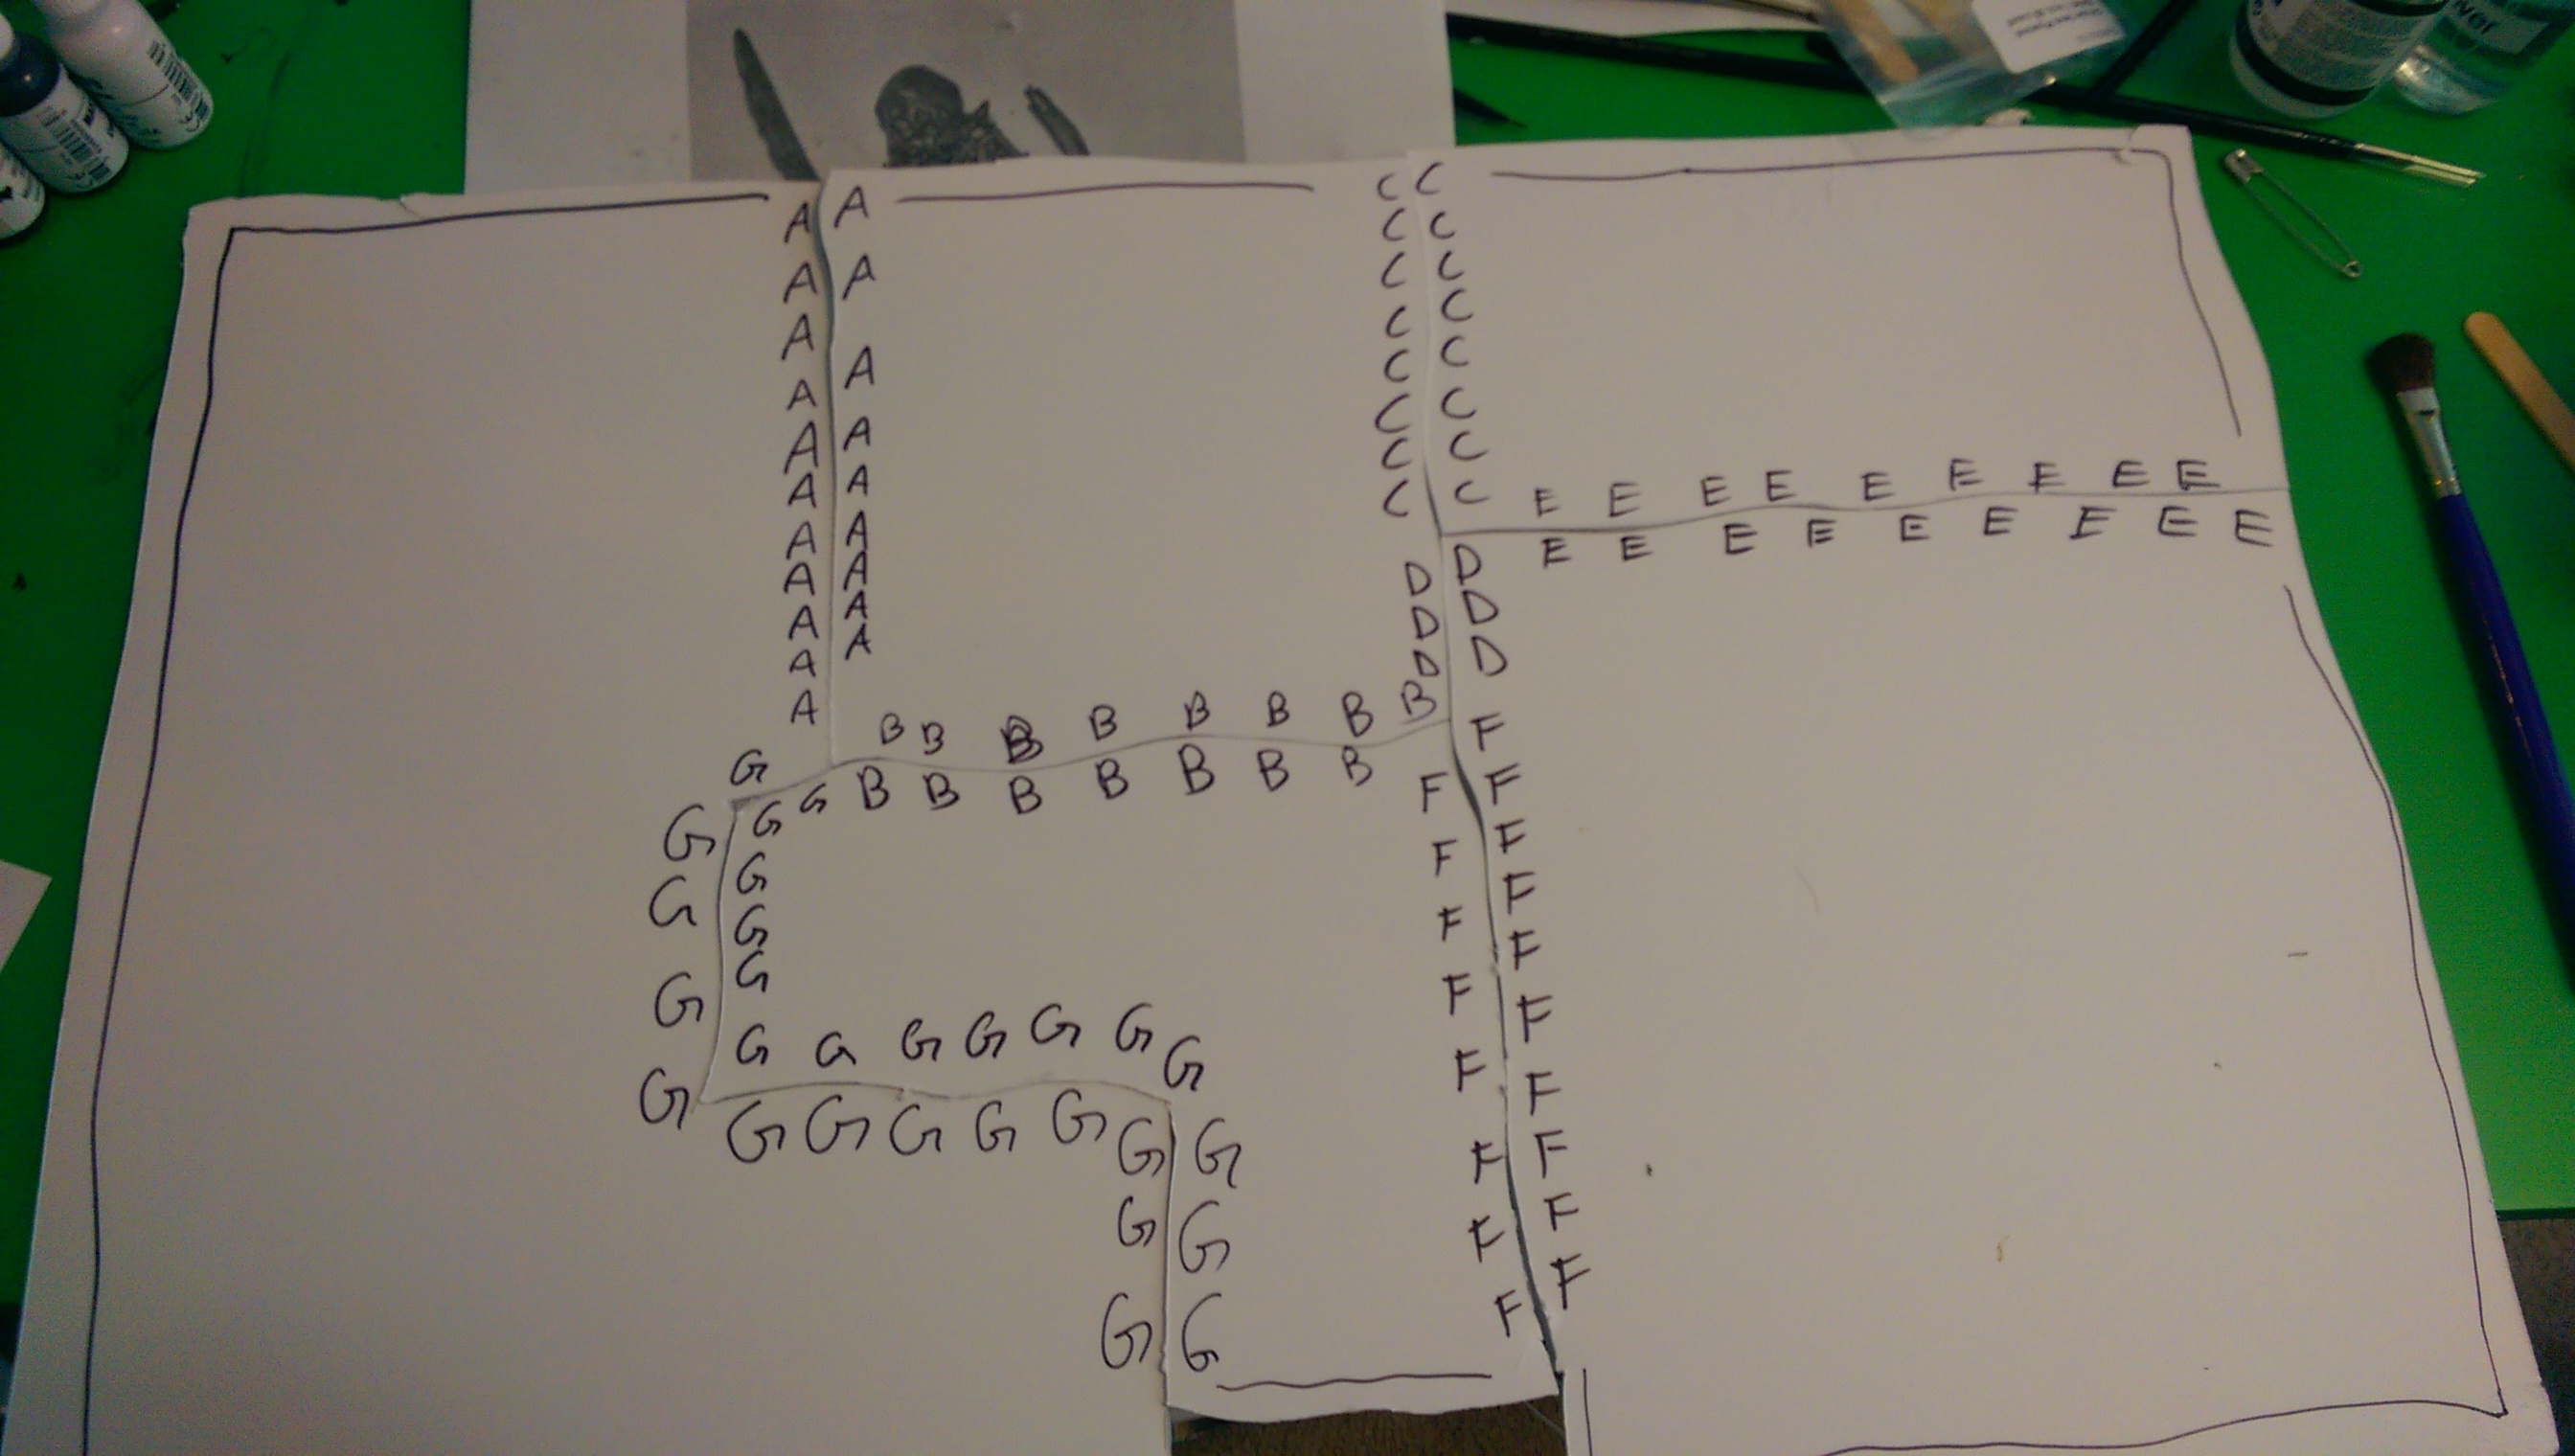
Now for some printed tile work. More foam core, and on the back is glued the printed dungeon tiles. I used an x-acto to cut apart the rooms. I’m going to paint the joints so when they’re upside down I can pull the right tiles without having to putz around mid game.
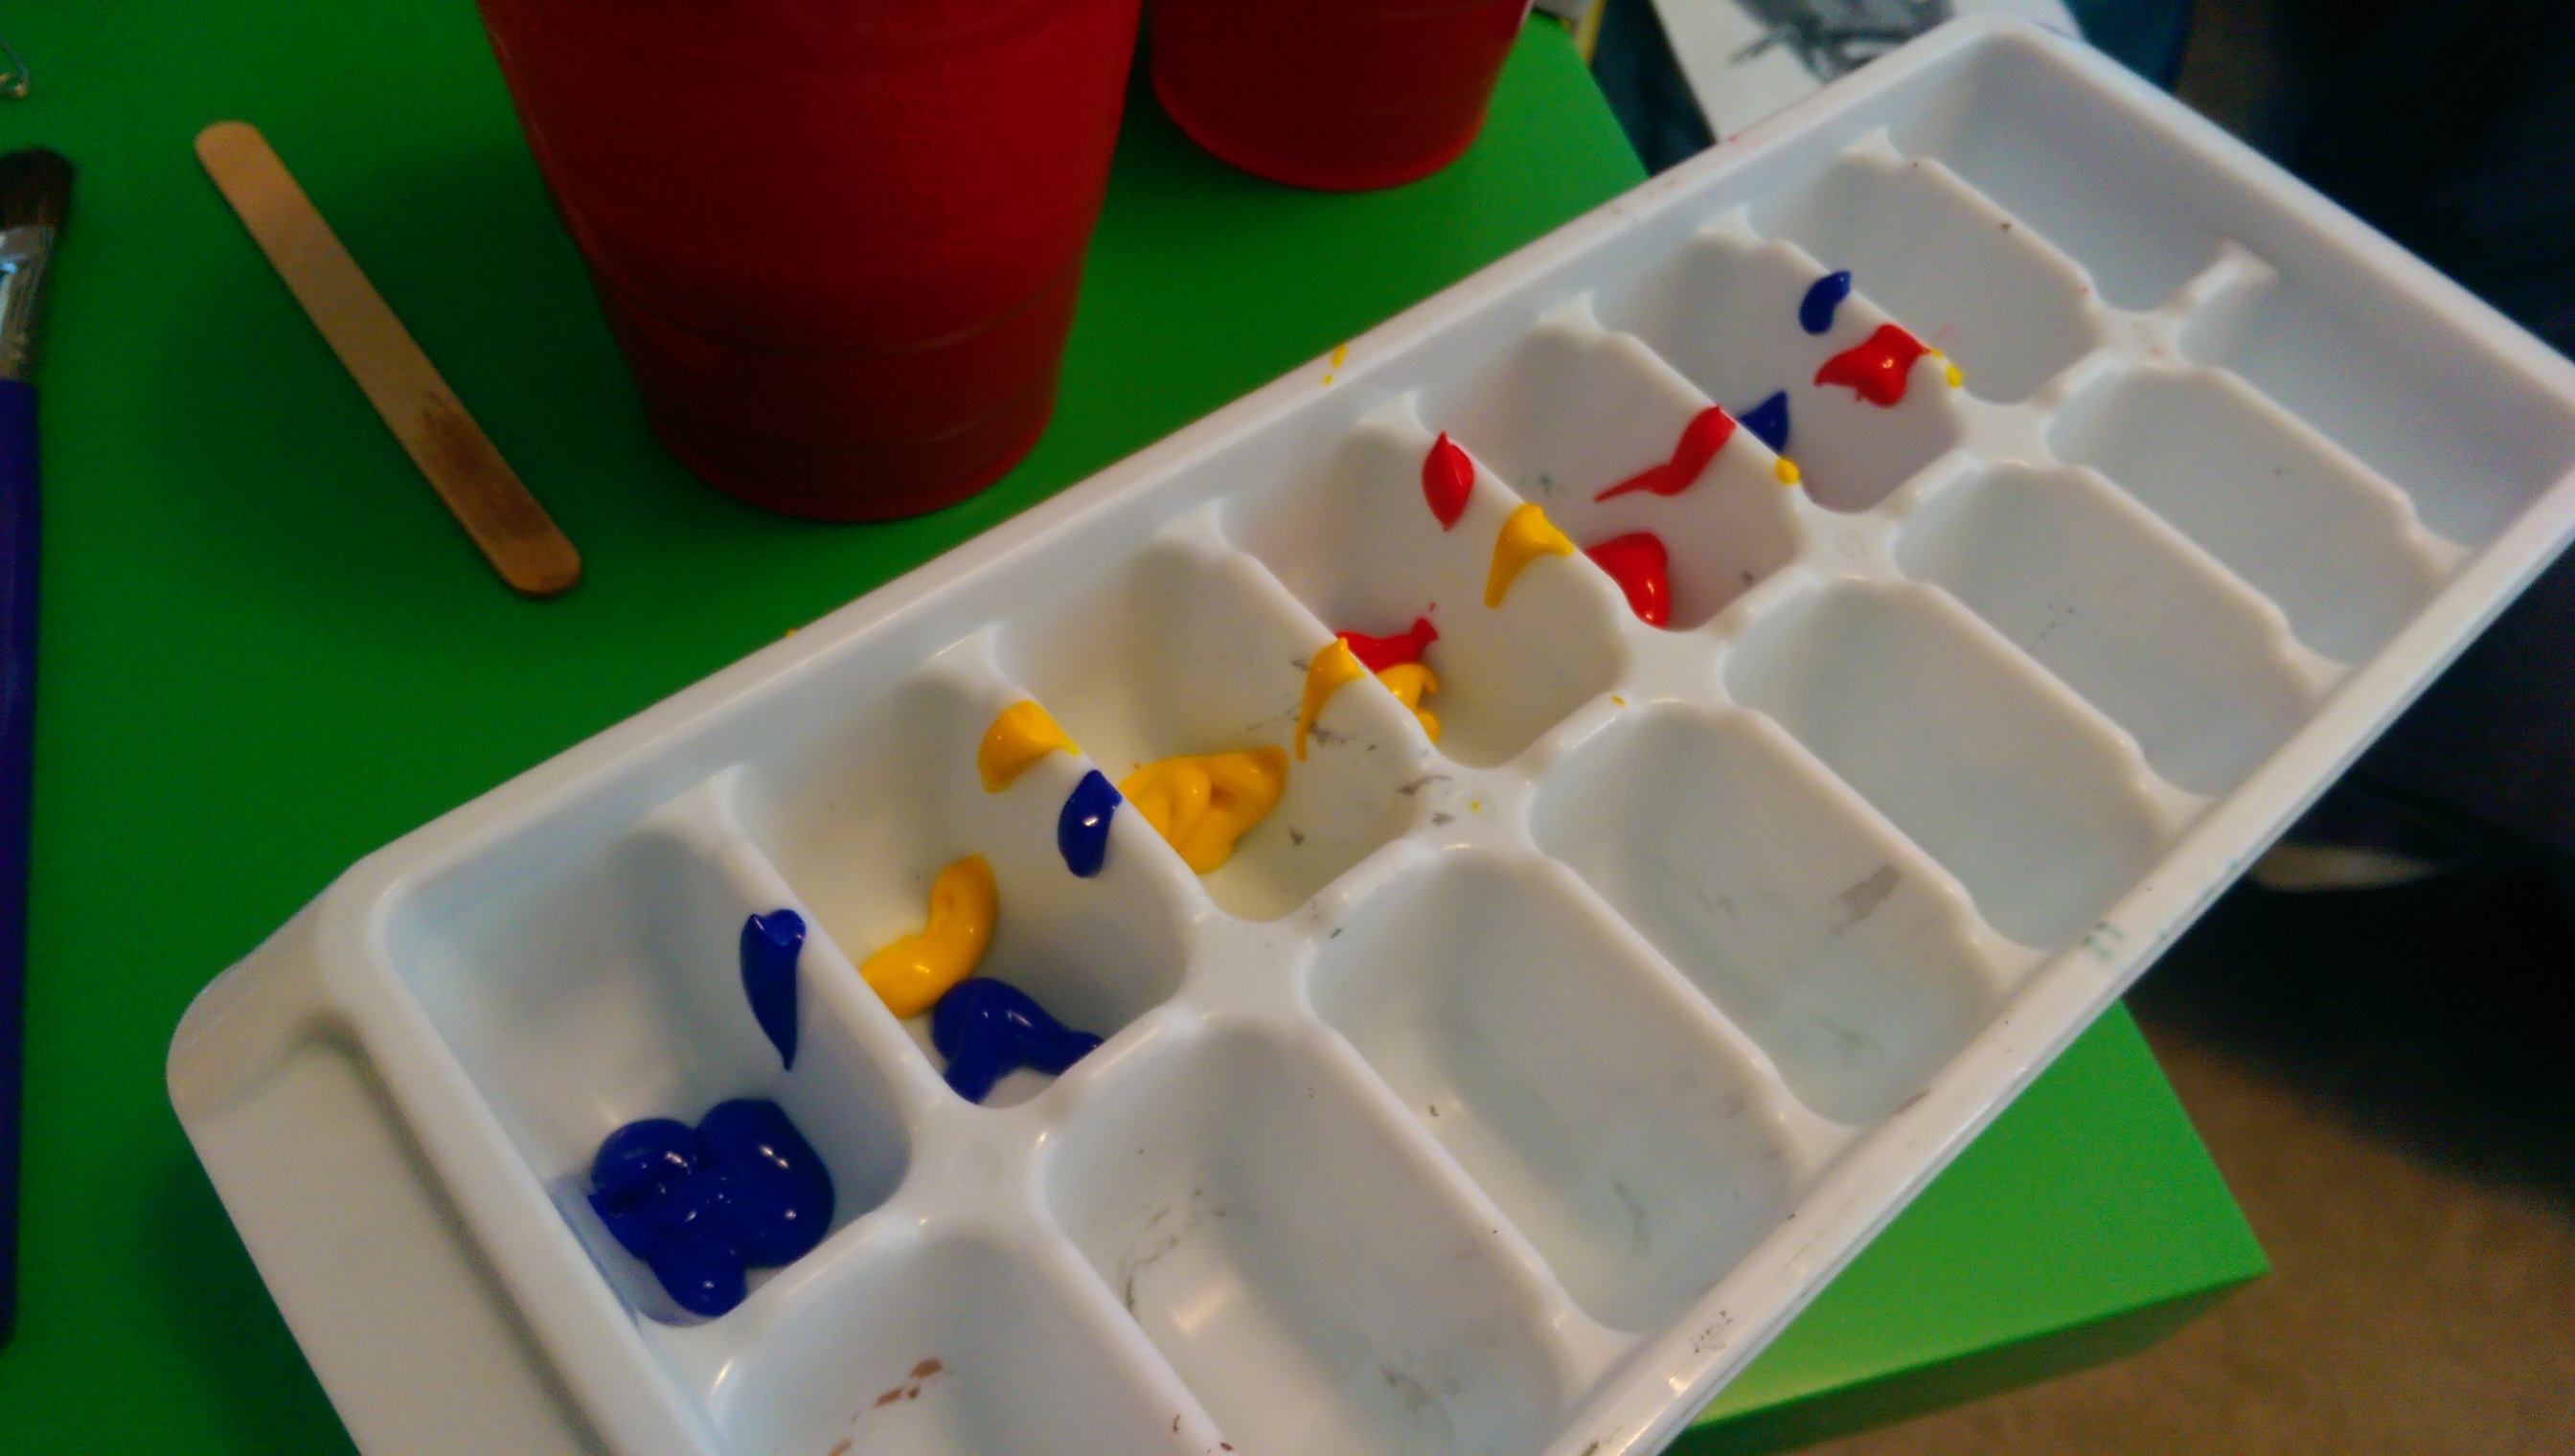
I didn’t show this before, but using an ice cube tray as a paint tray is probably one of the smartest things I’ve ever done.

This will help keep things organized.

Once again….forgot a lot of process shots.
Printed tile set. Anywho, this is the end. Now for some glamour shots with the real camera!
Final Photos
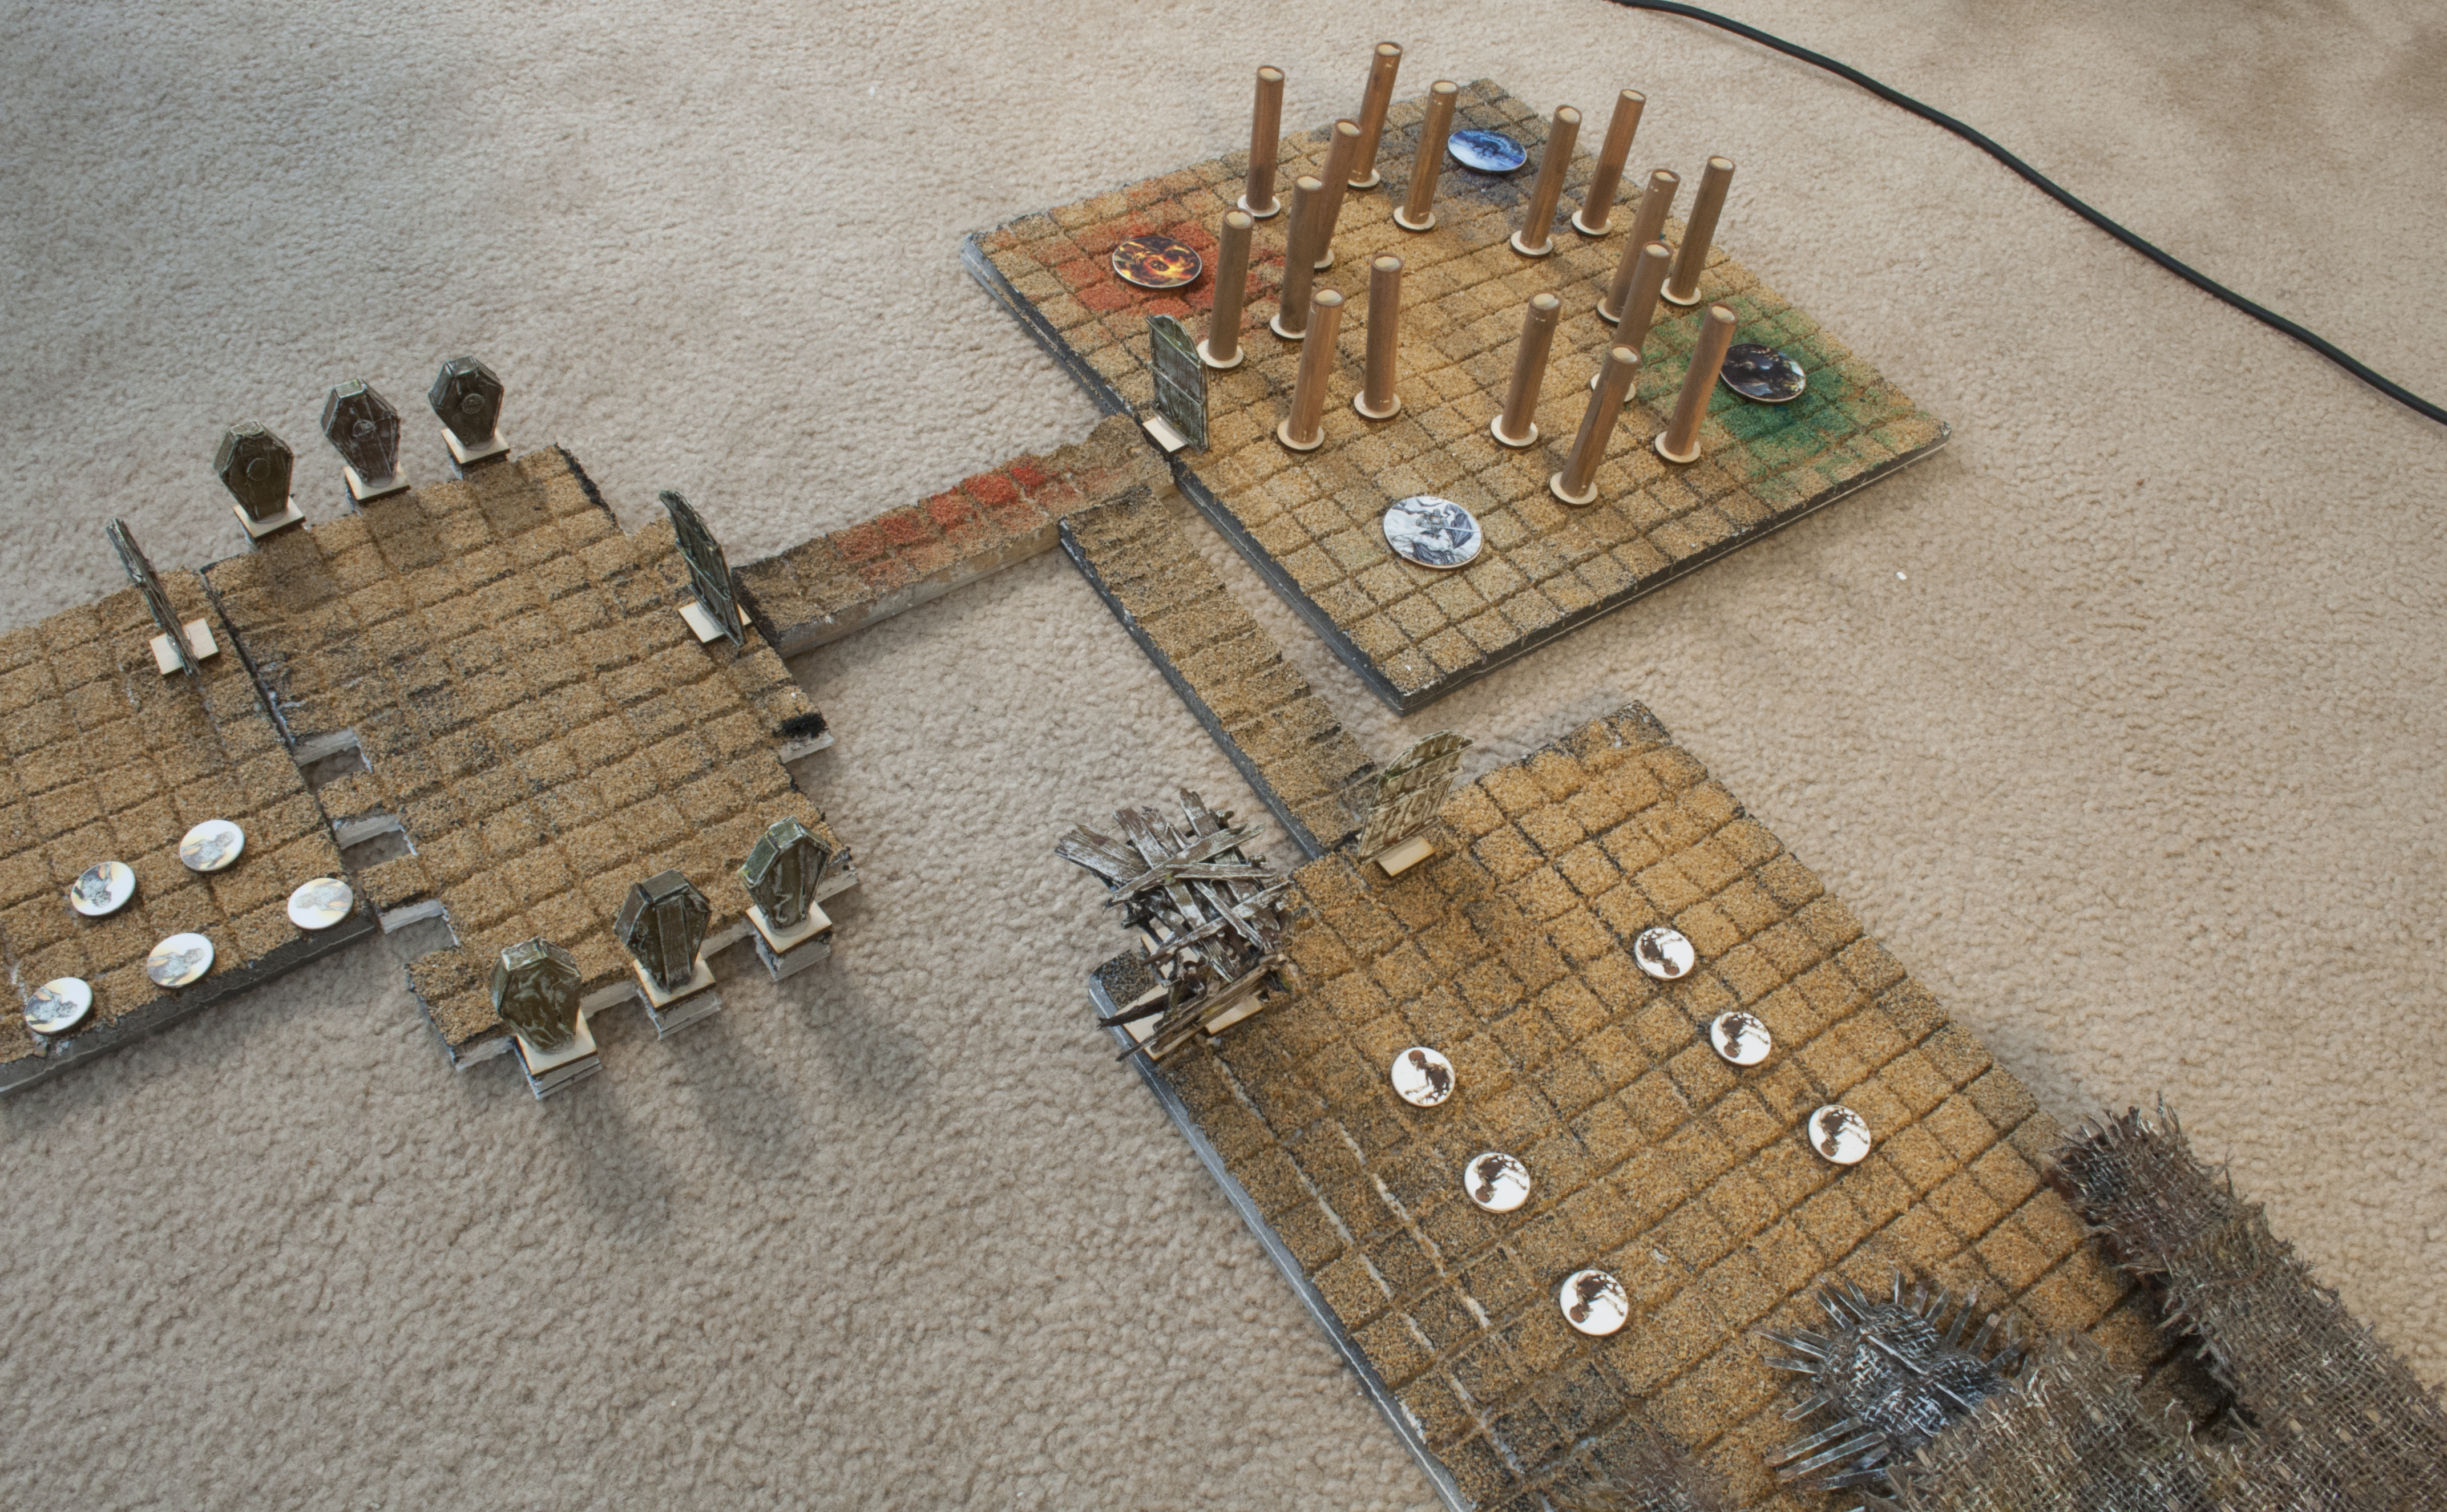
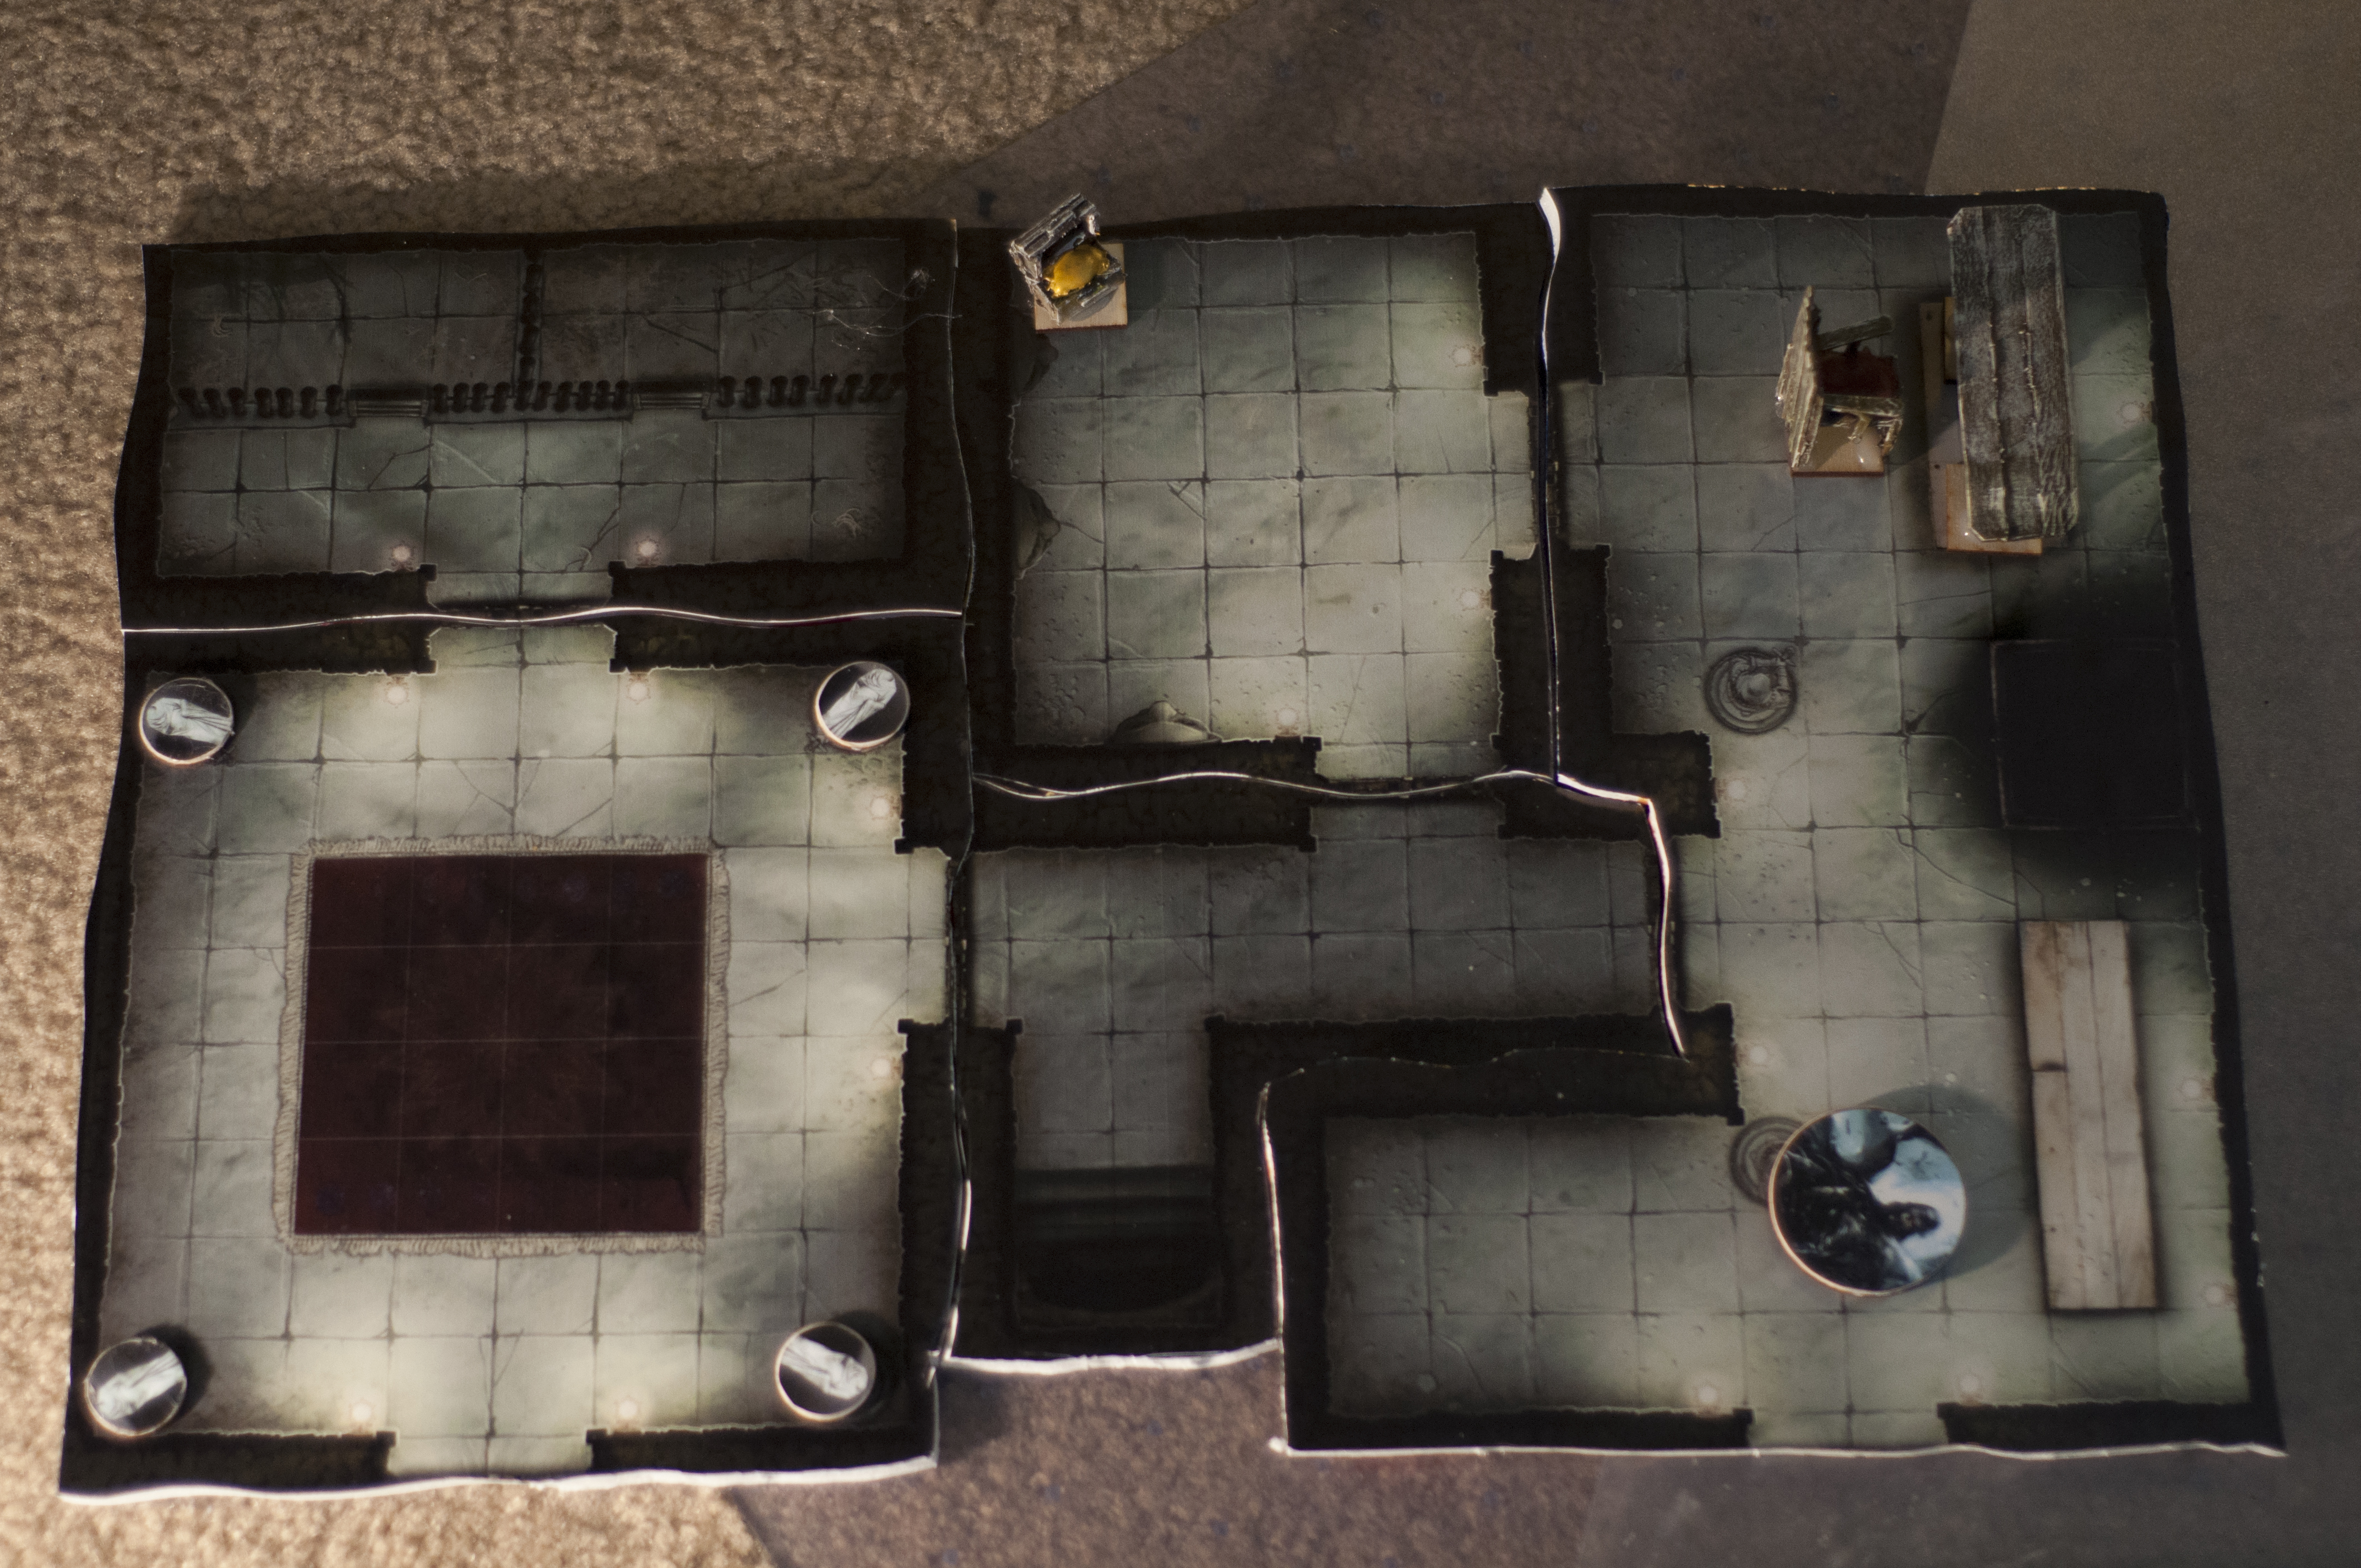
Flyover of the bottom level

Elemental Keywardens
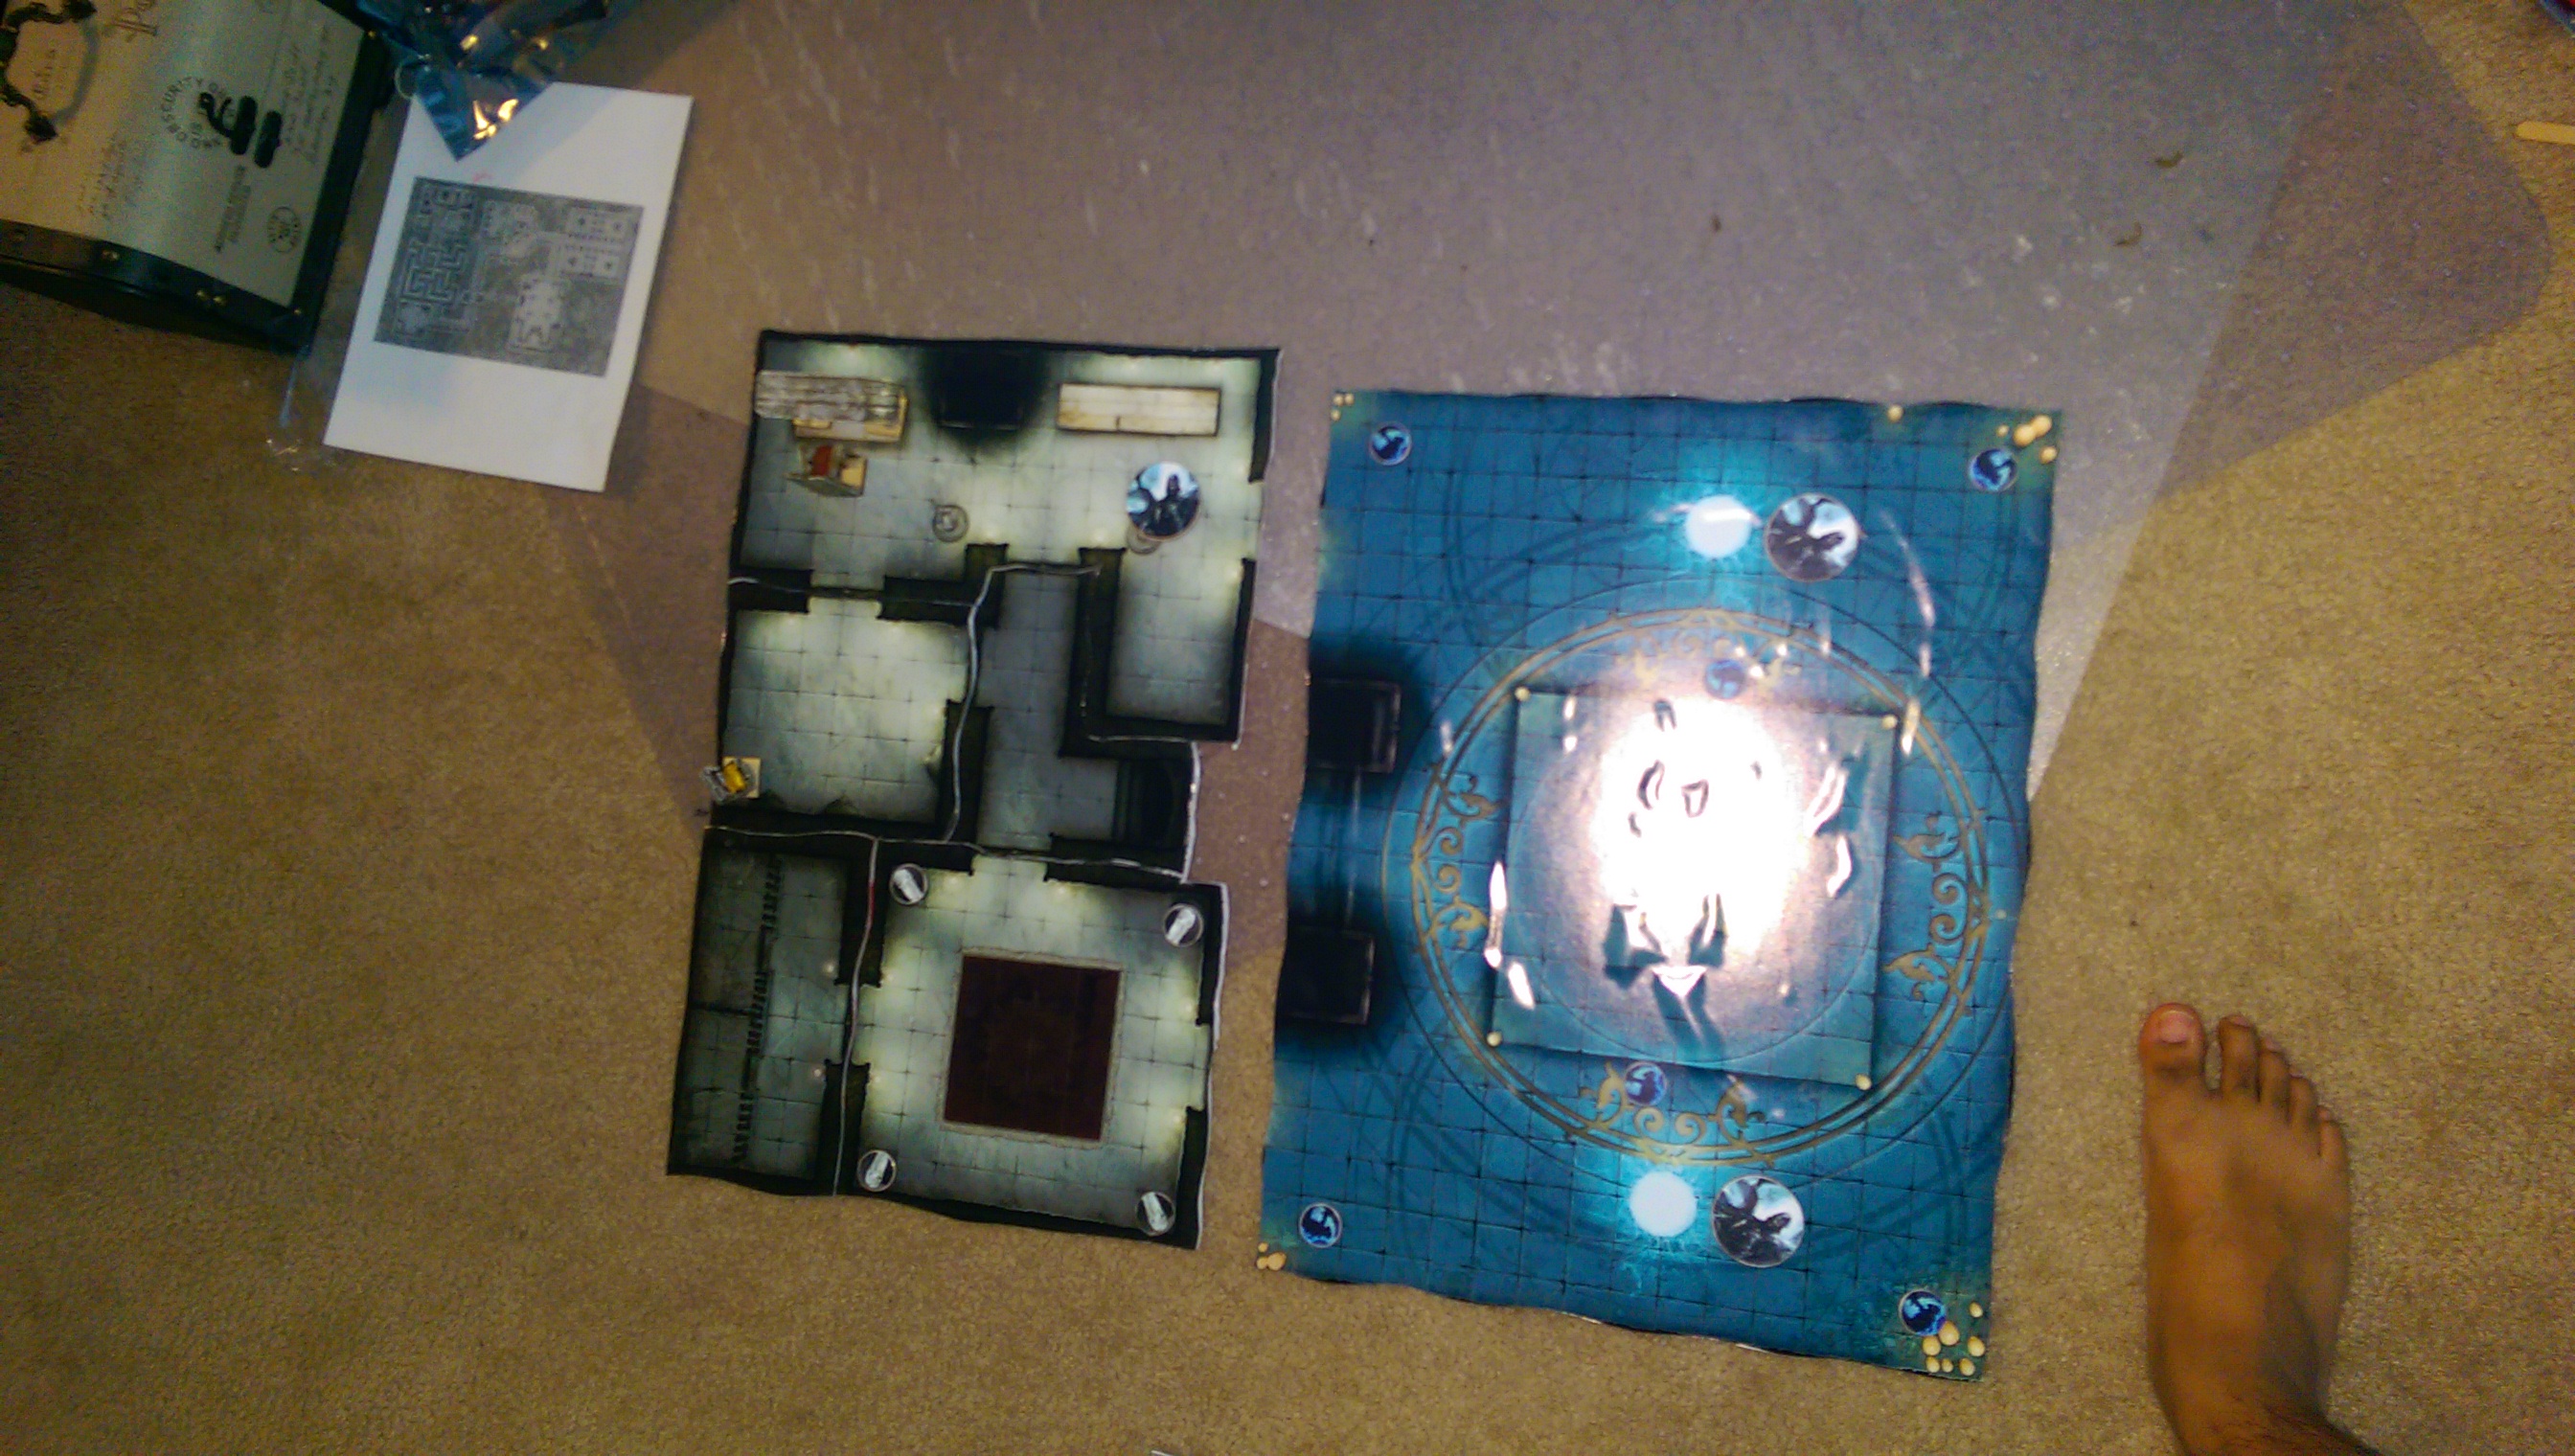
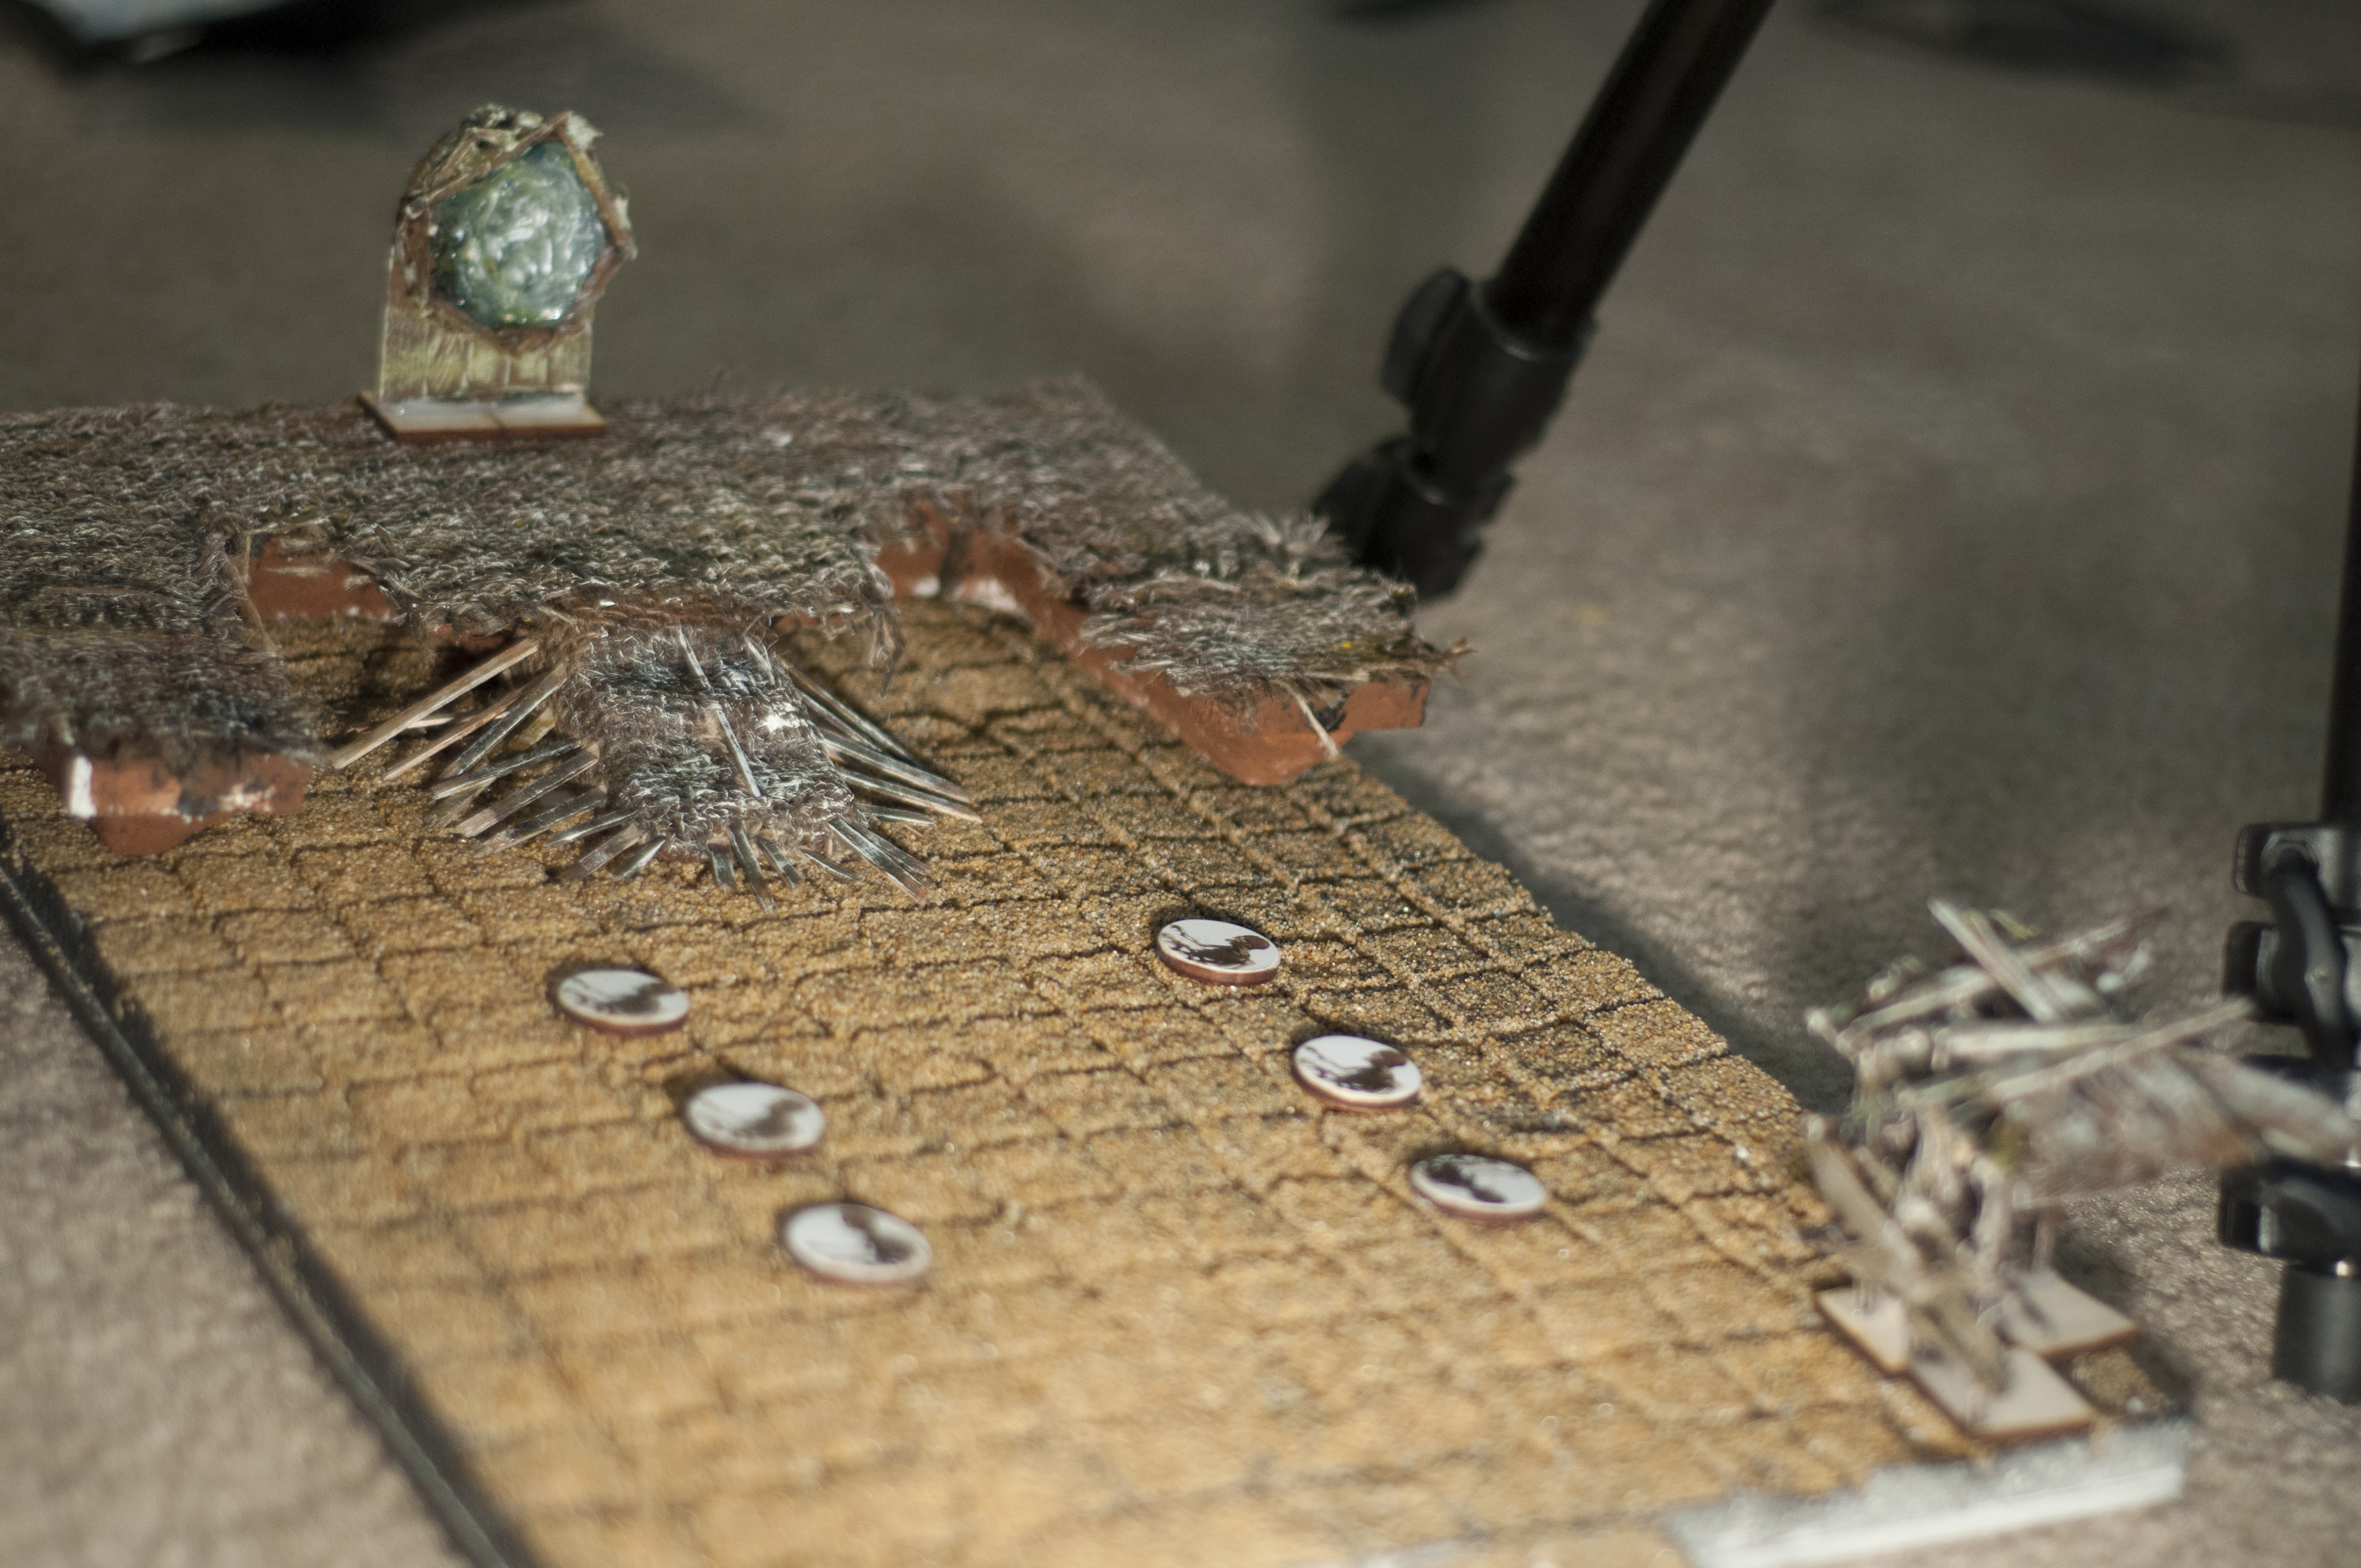
The Mortuary
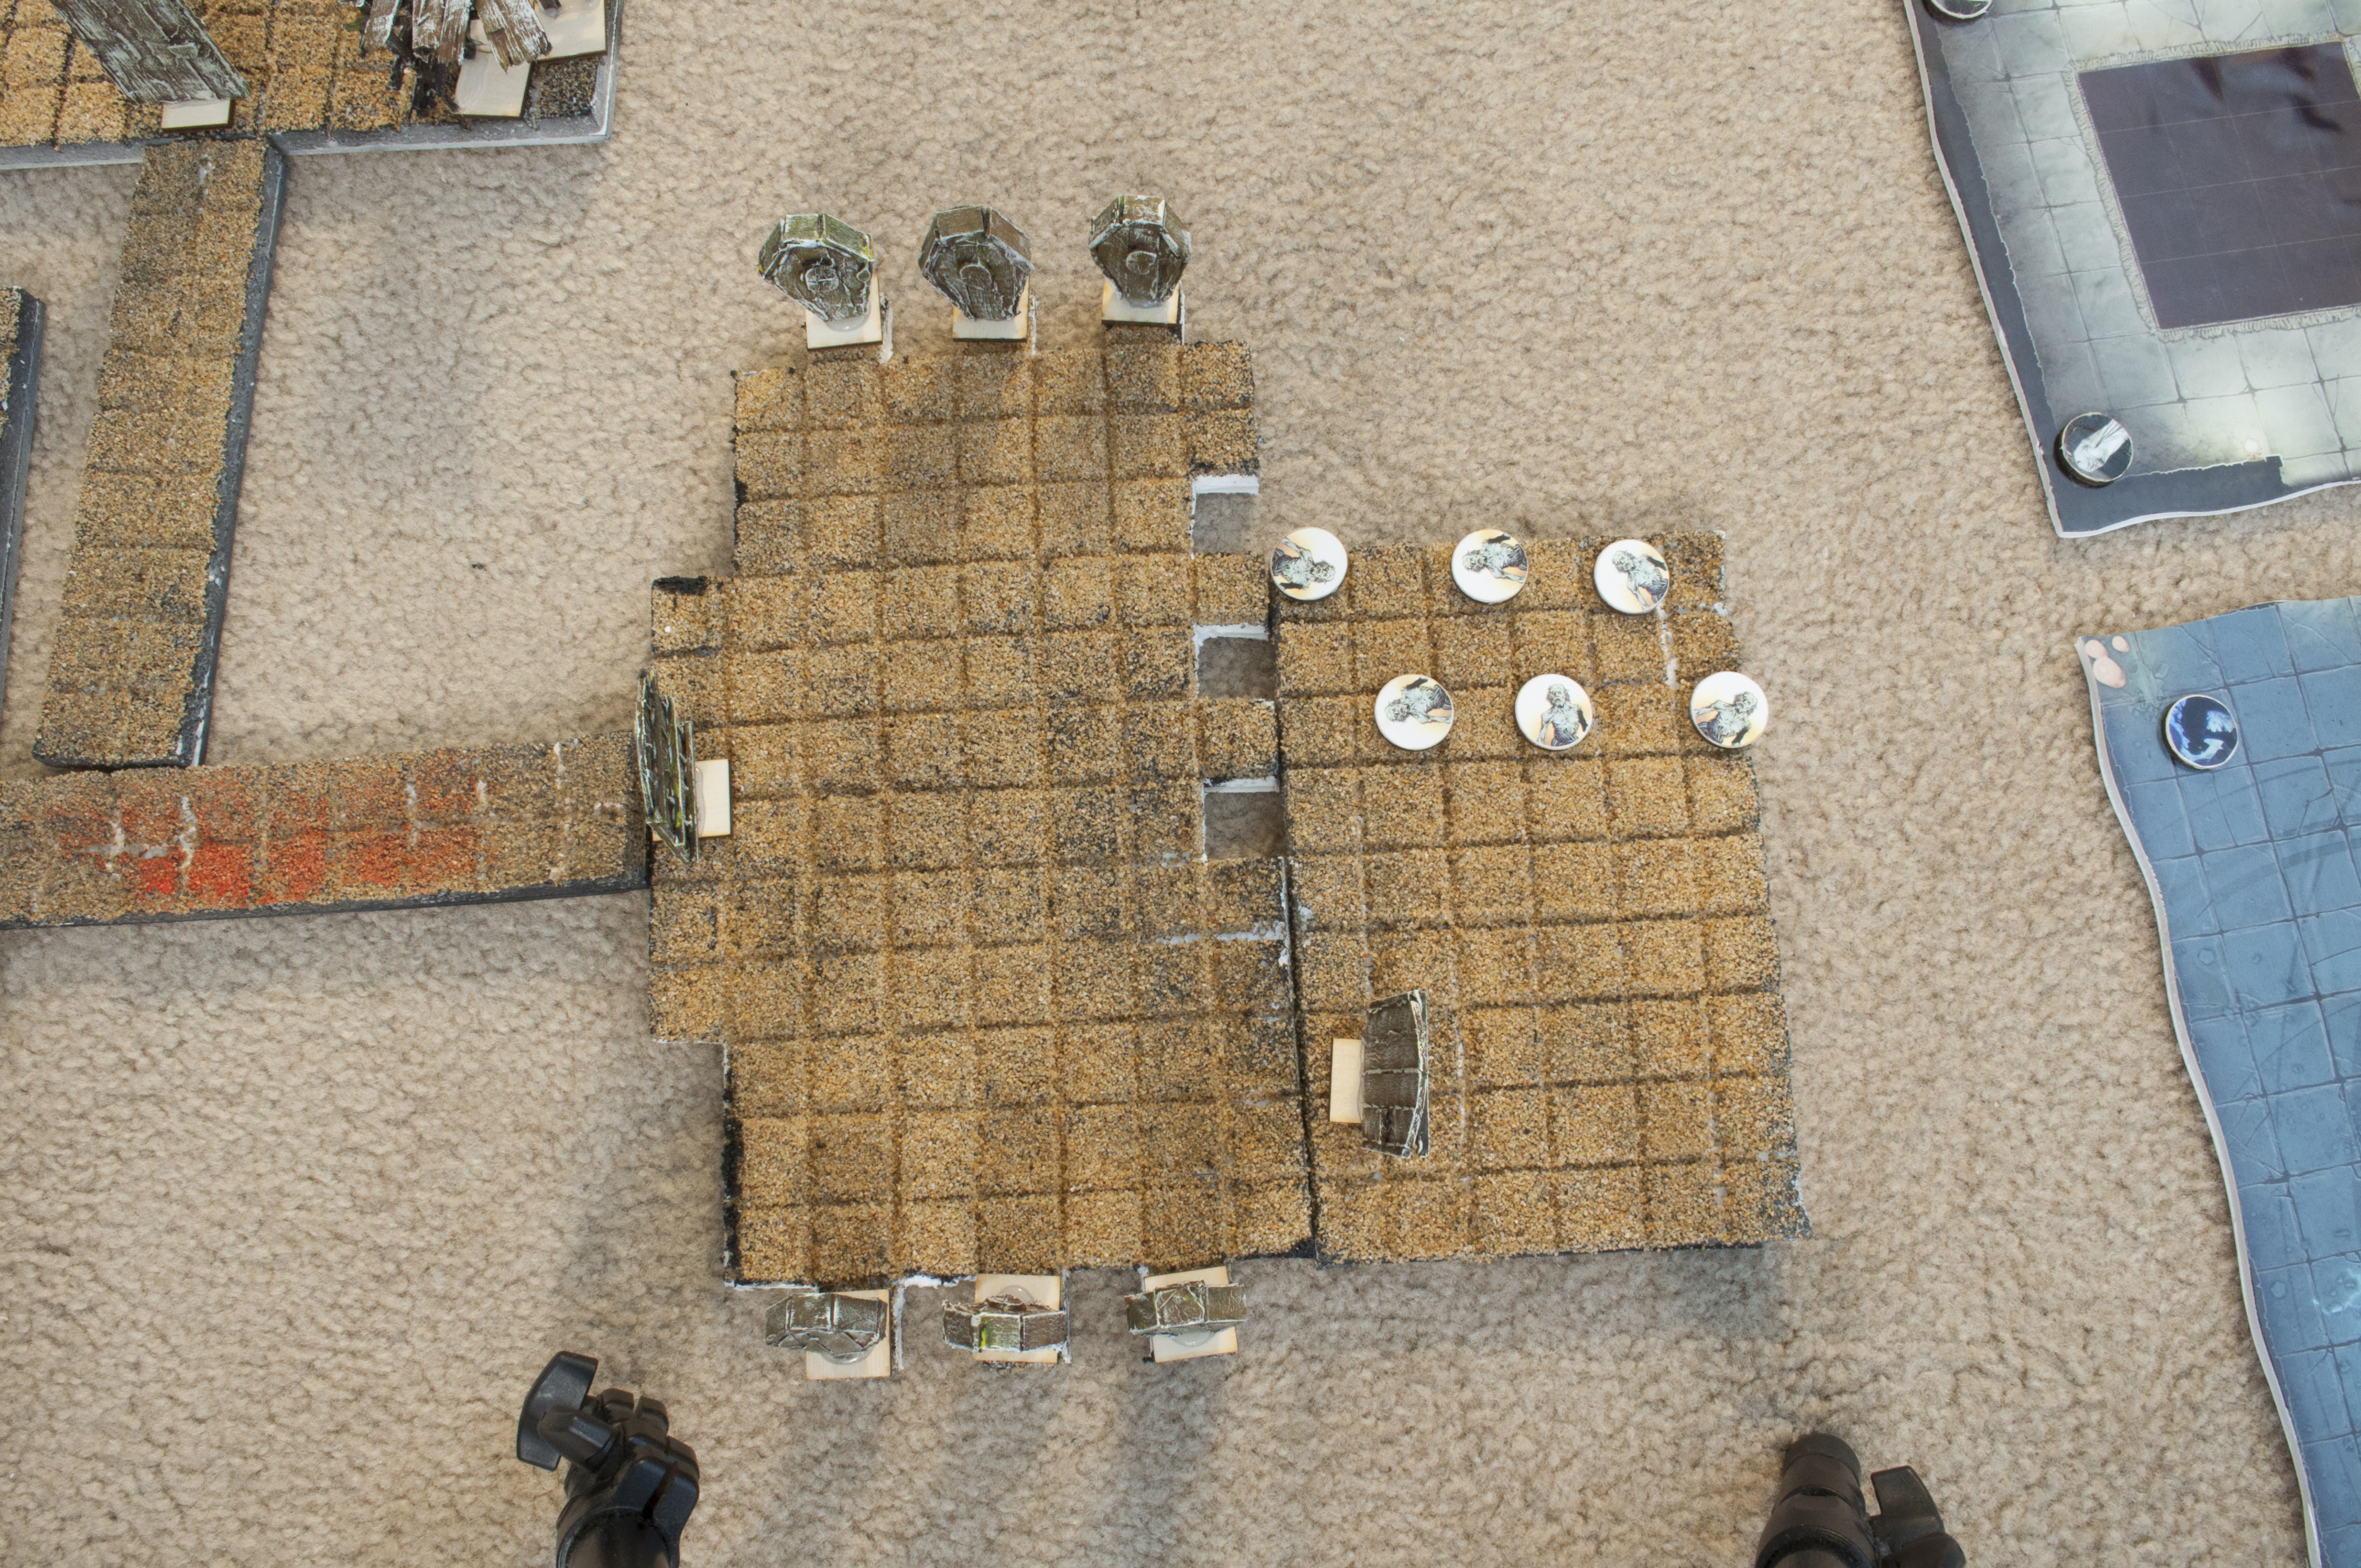
Guardians of the Prison
First Person in the Elemental Keywarden’s room
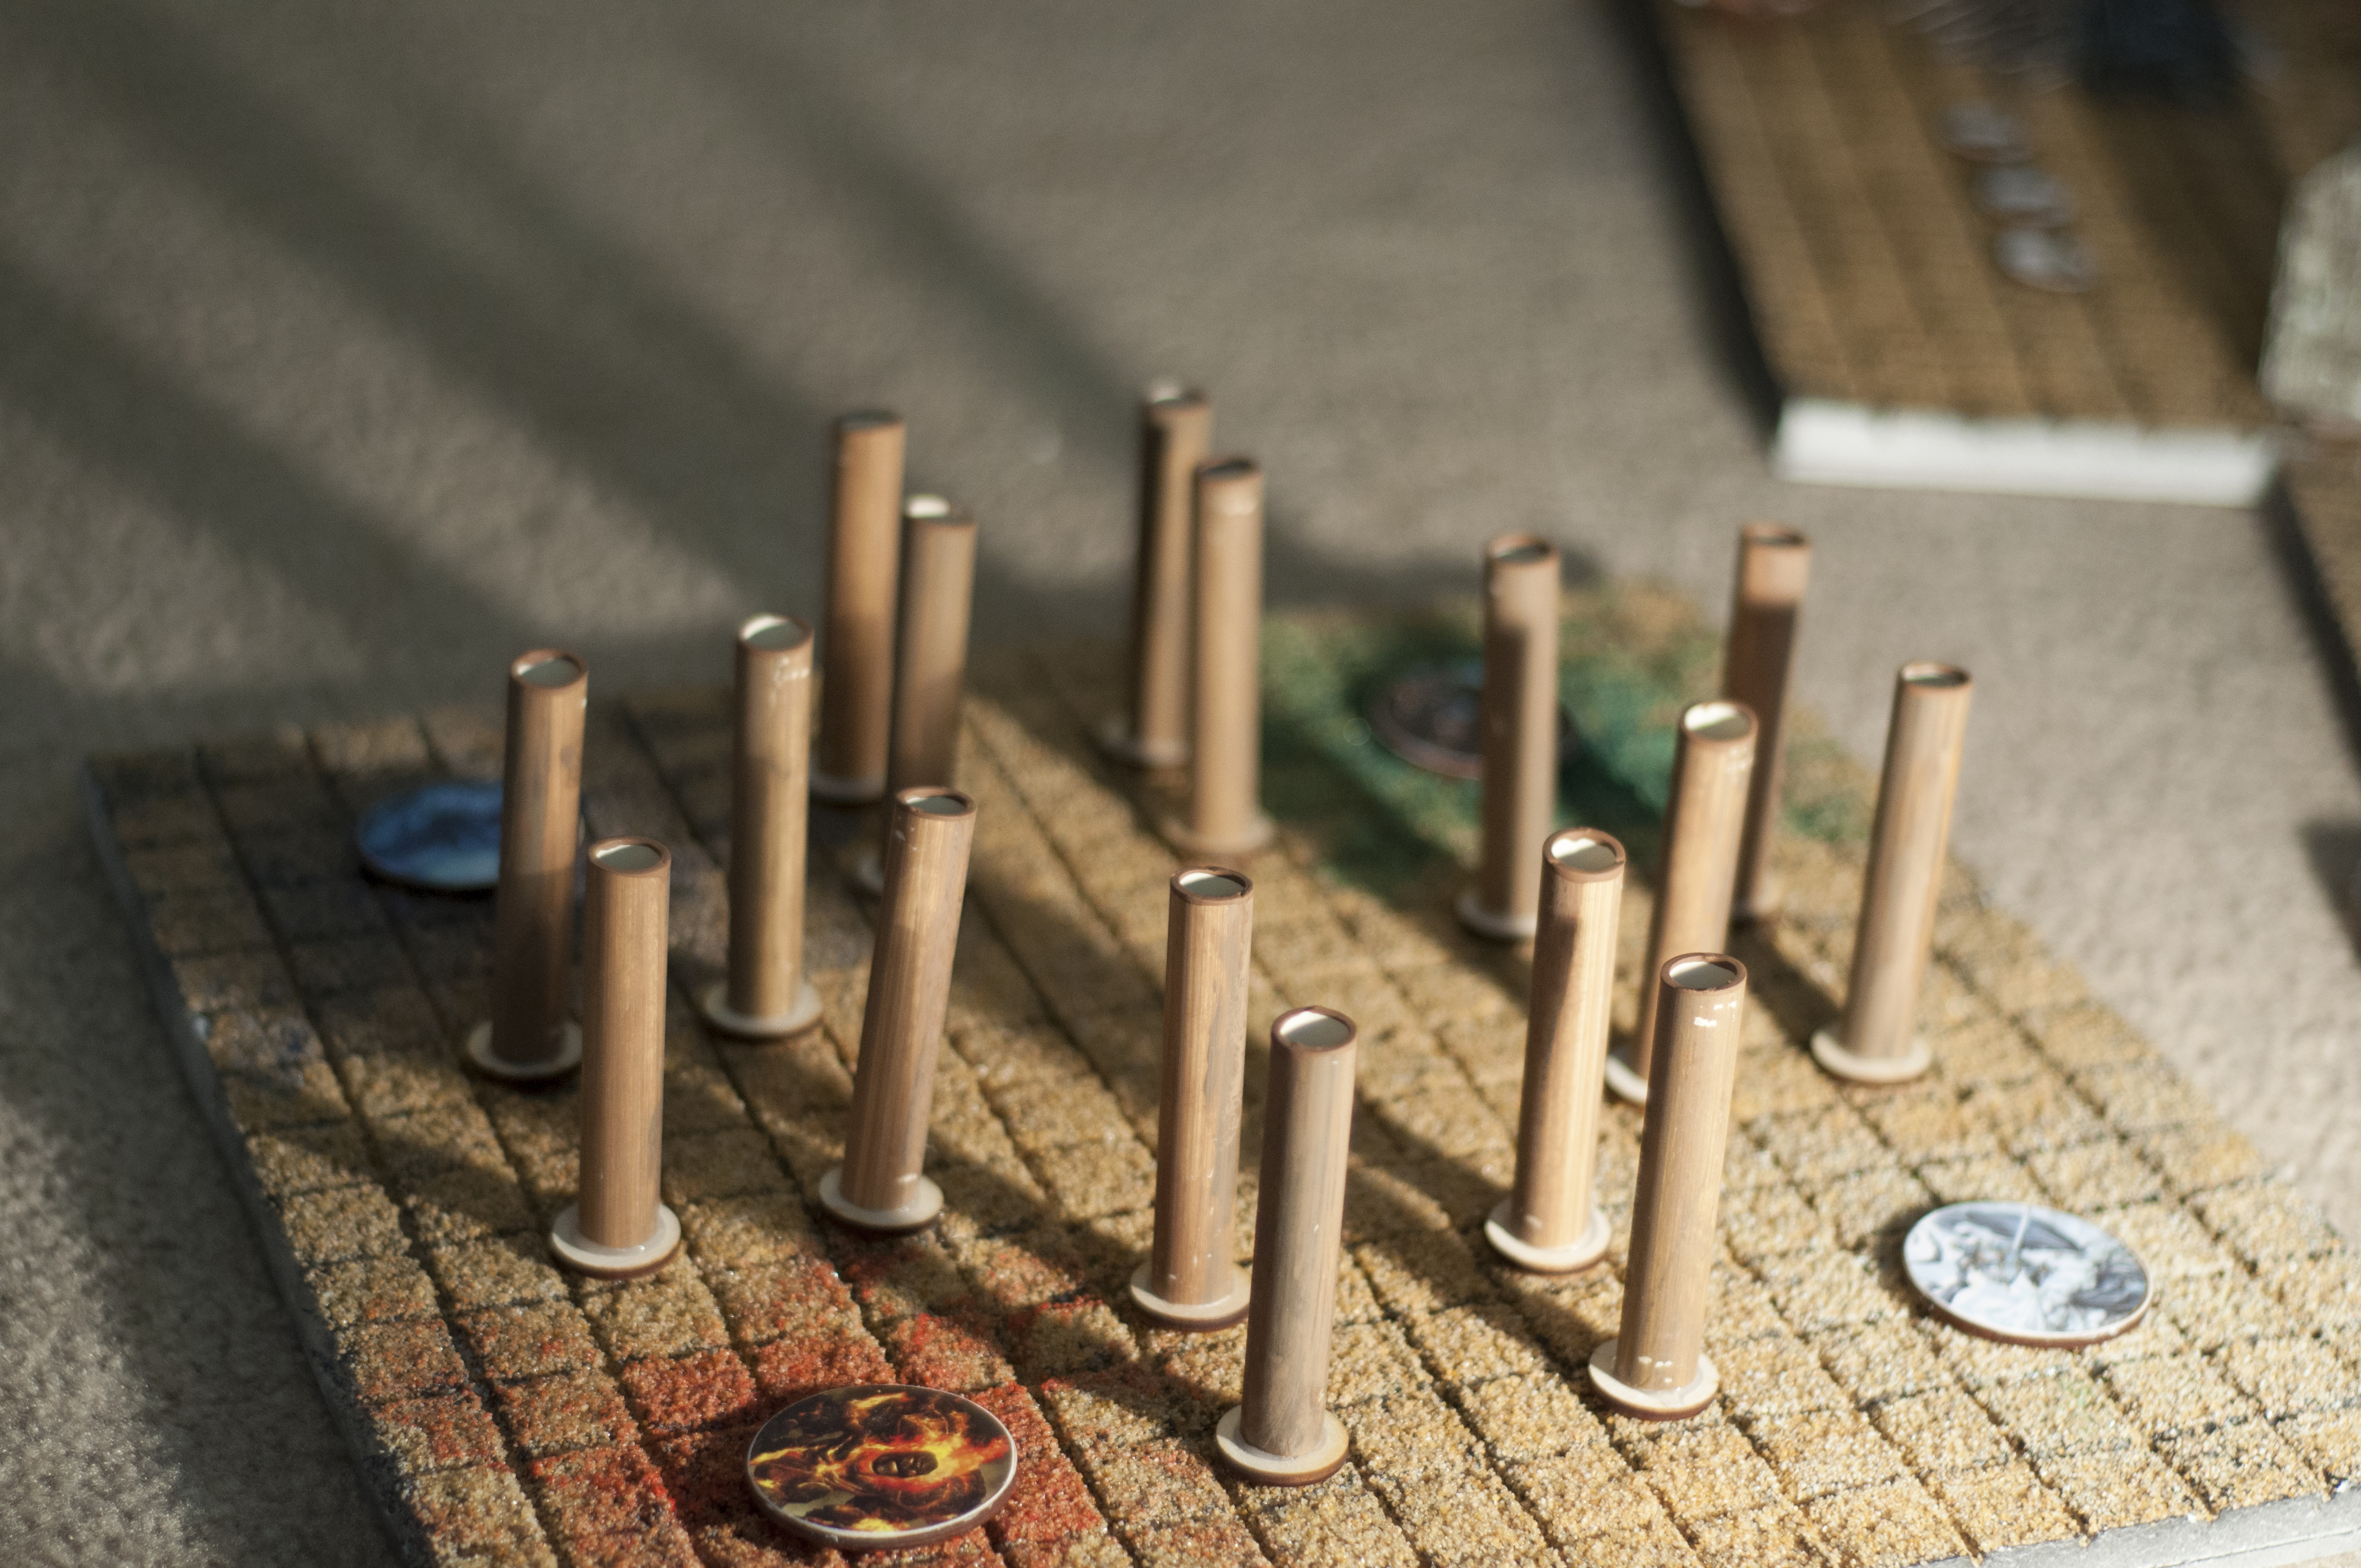
Elemental Keywarden Angle

First Person Mortuary
Guardians of the Prison Angle Shot
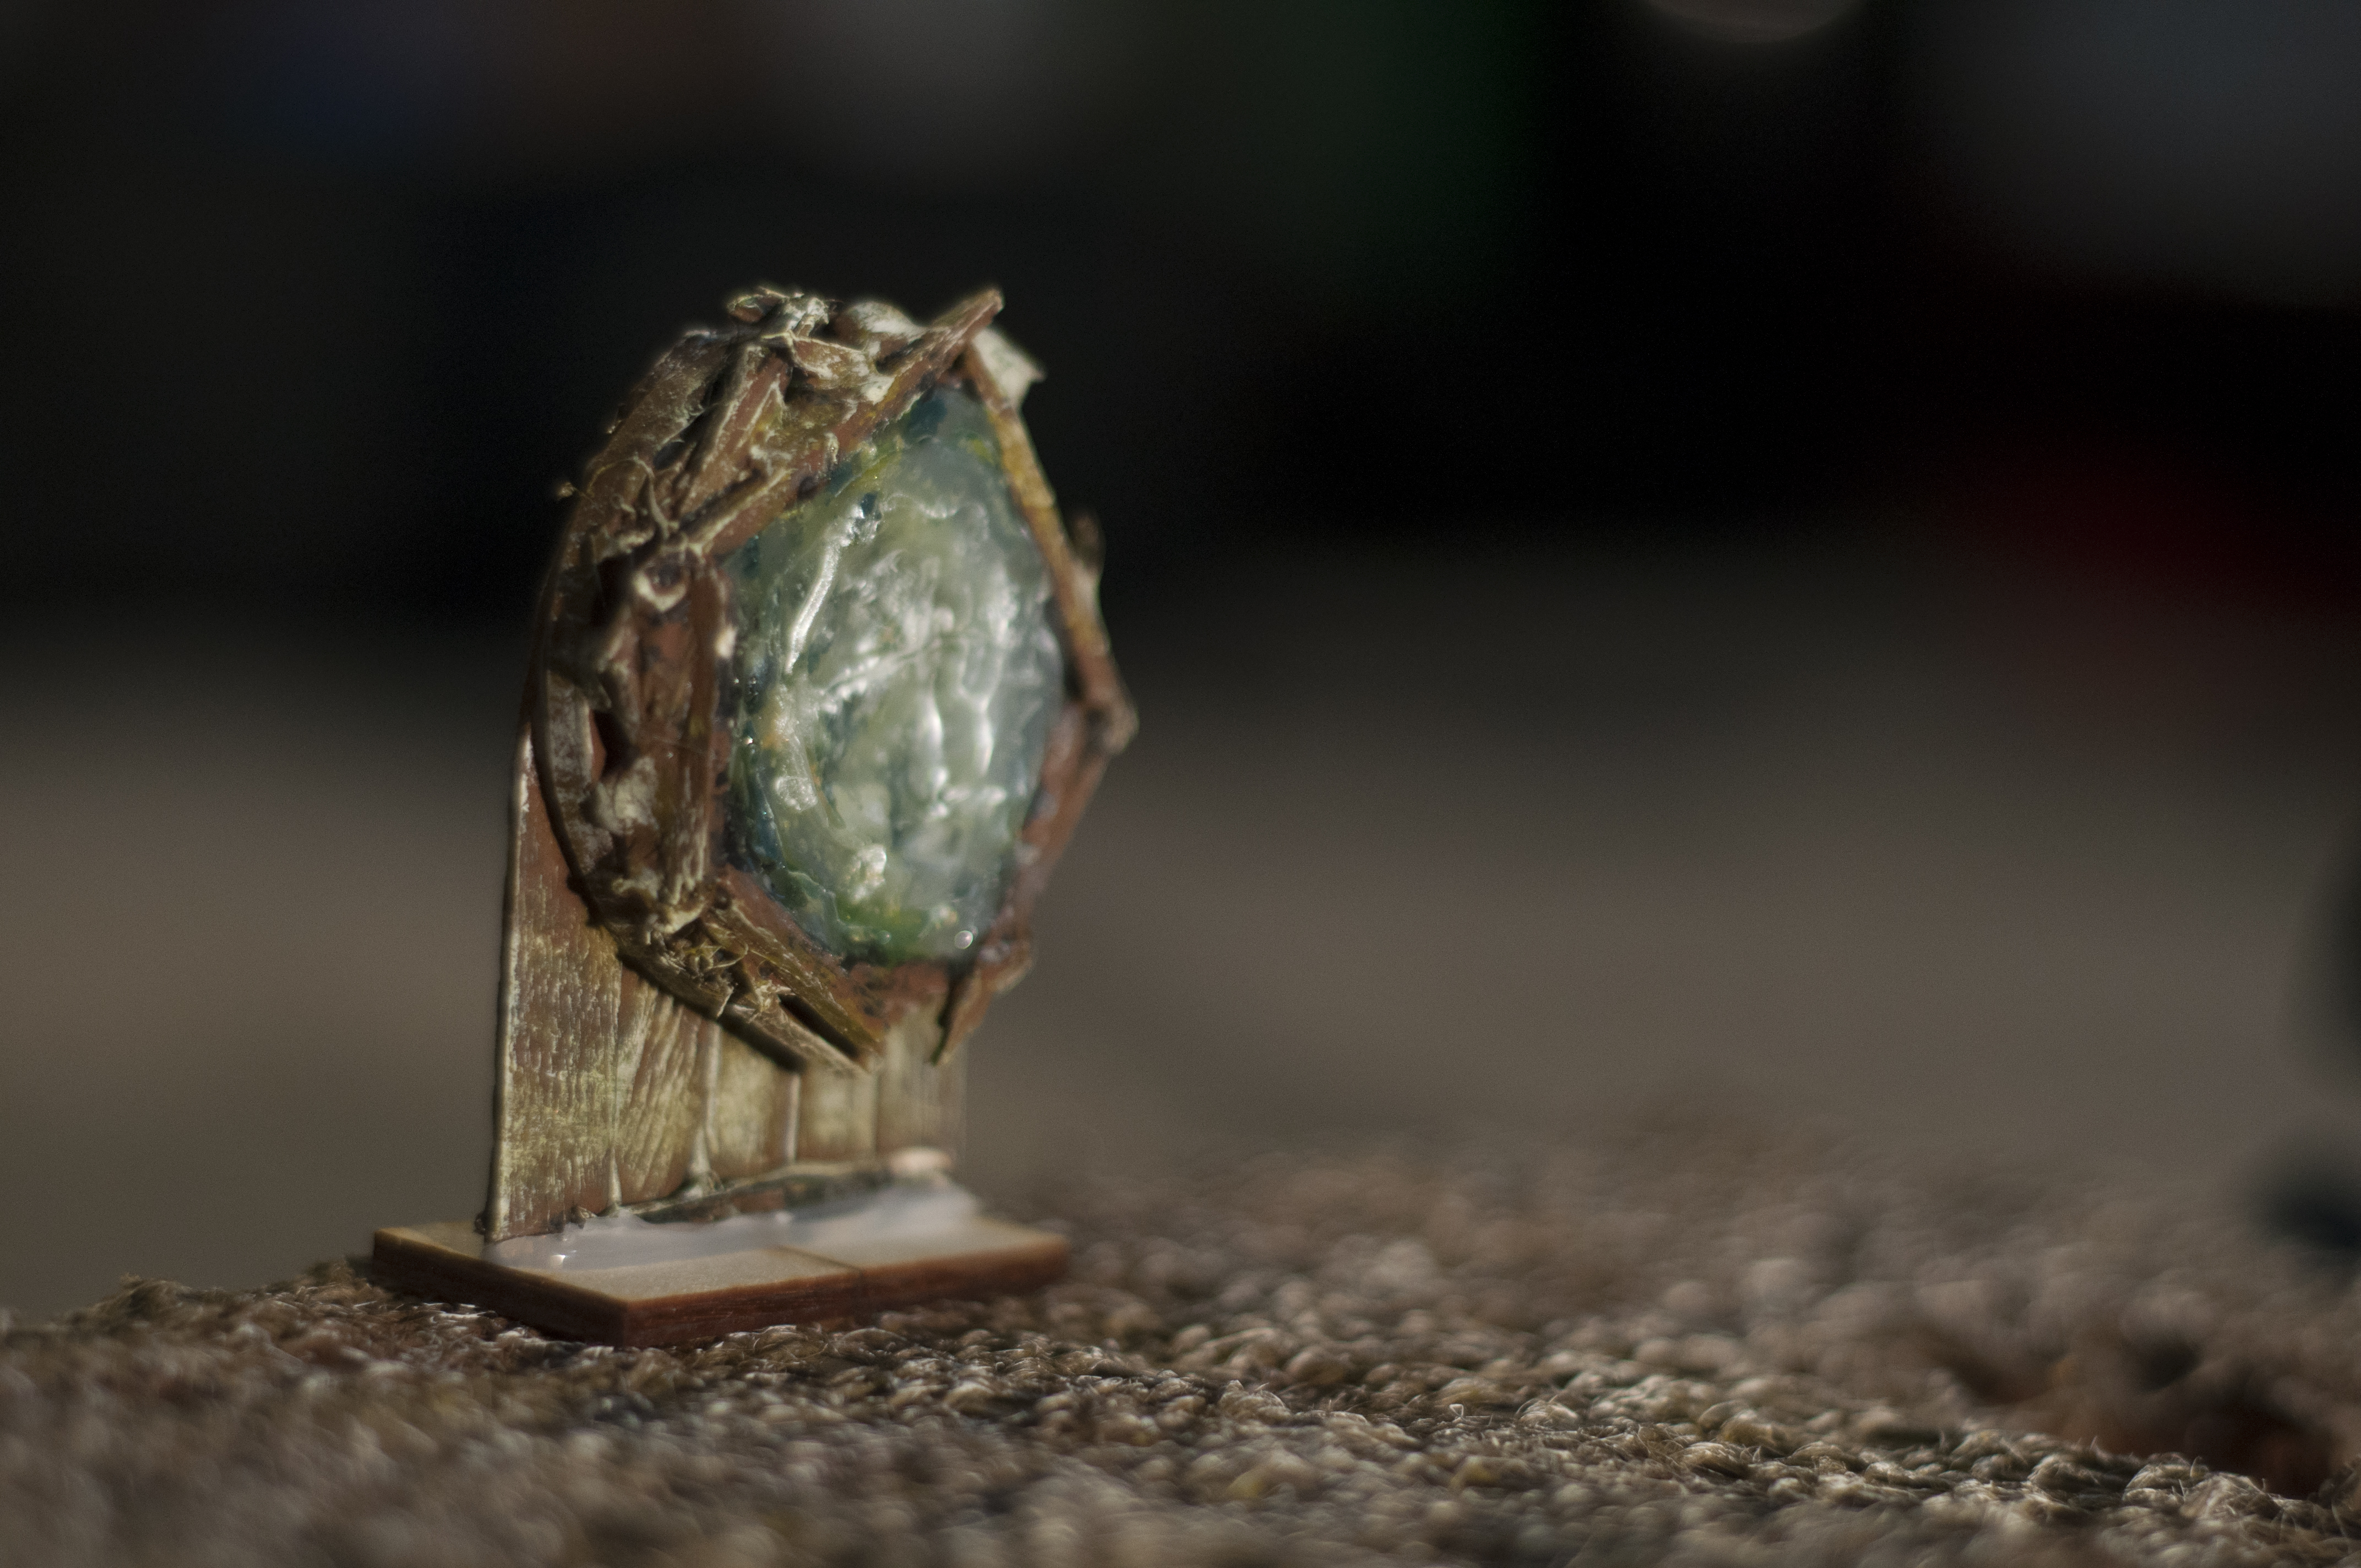
Portal into Salim’s Interdimensional Portal
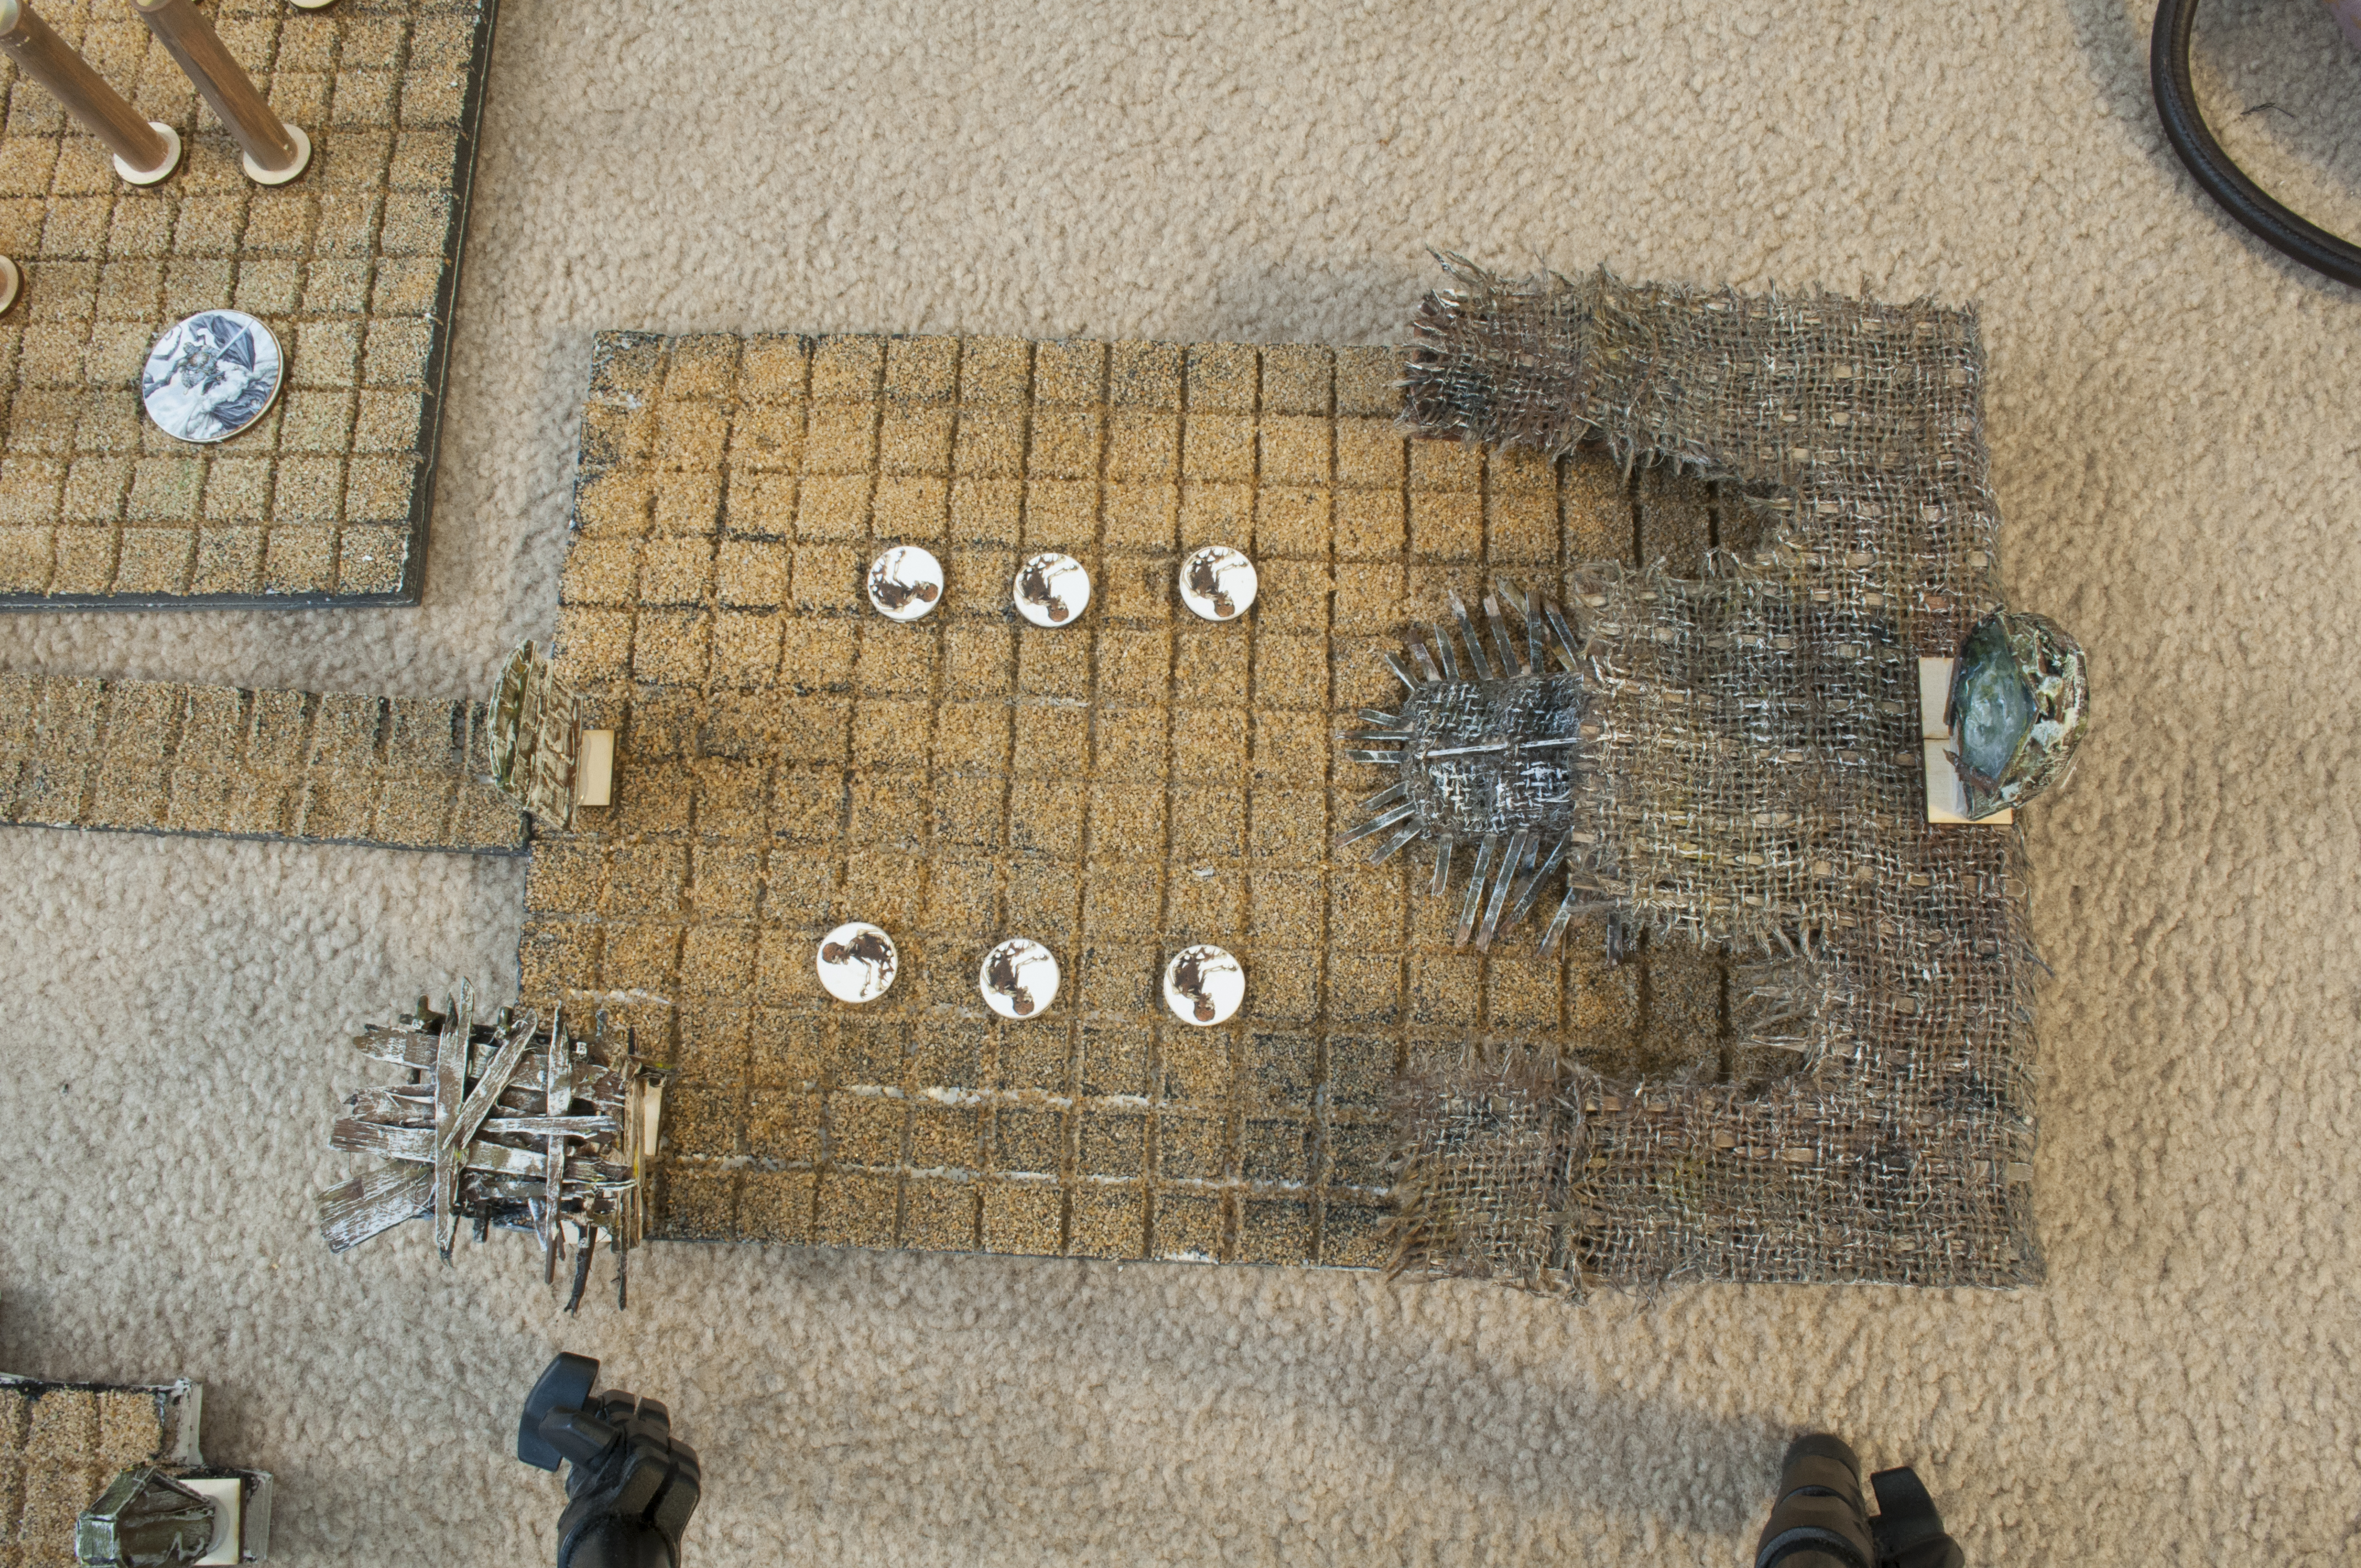
Salim’s Prison
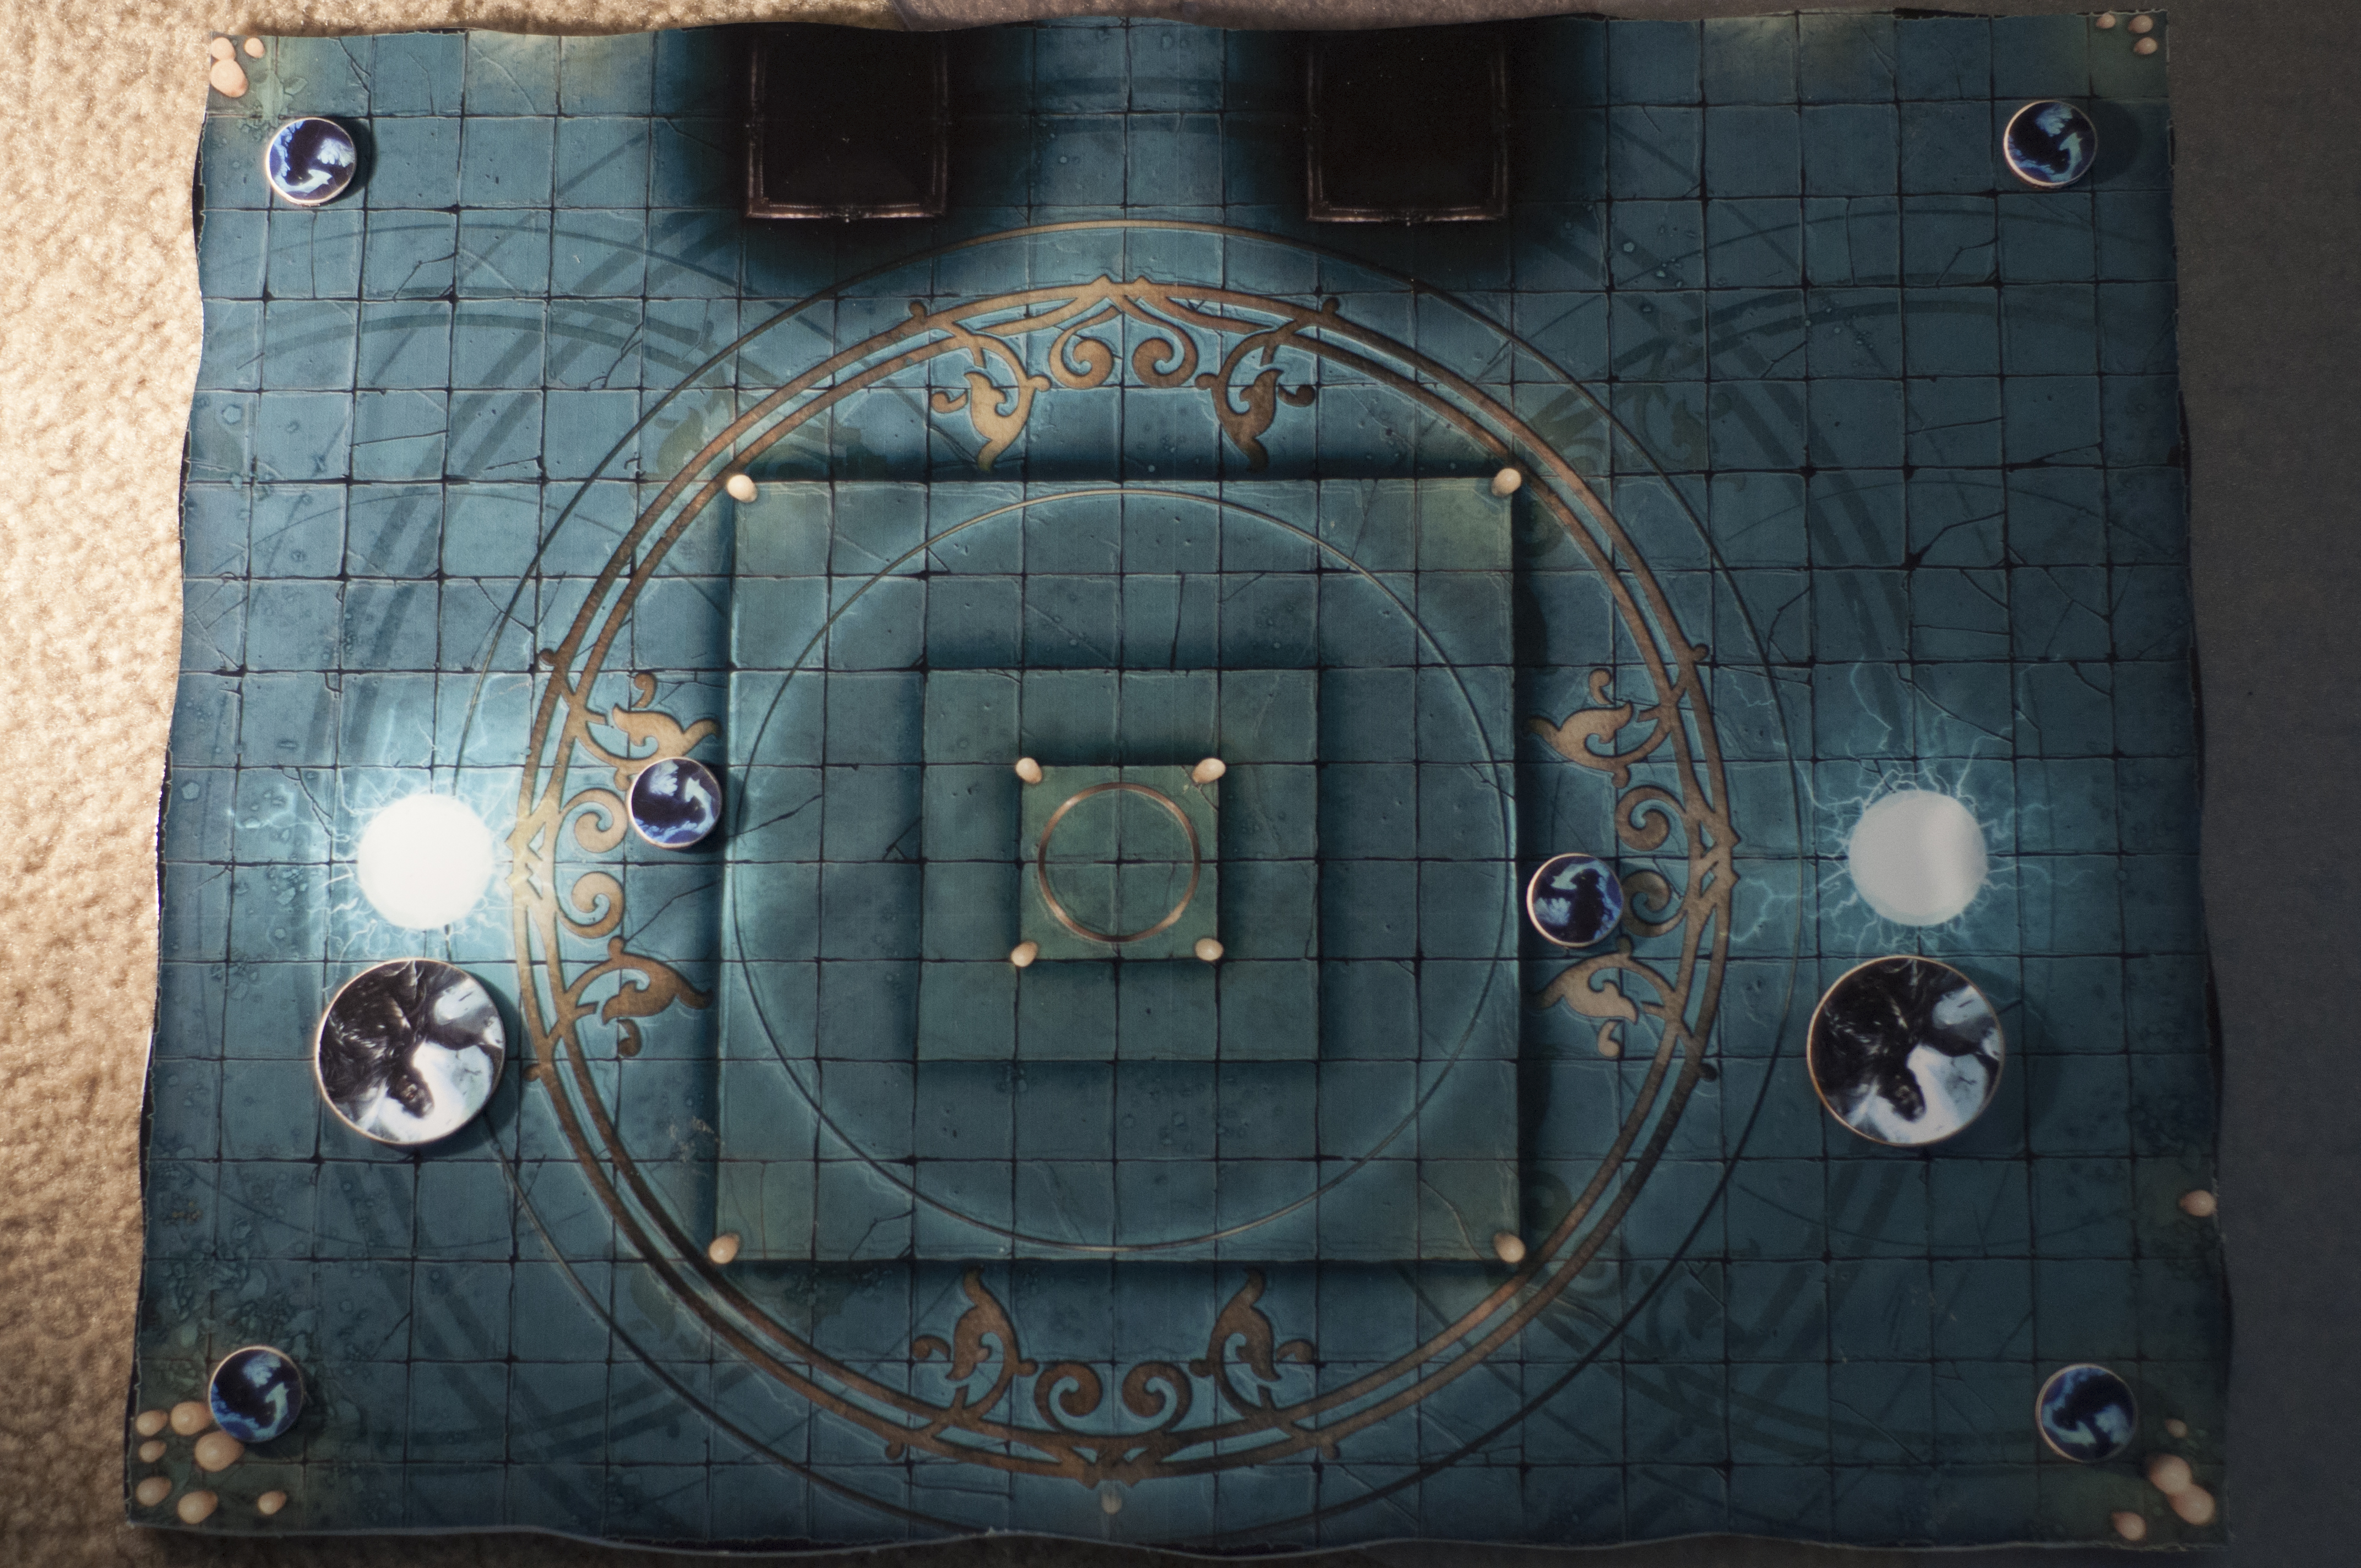
Salim’s Summoning Chamber

All Packed up and ready to go!
And last, but most certainly not least. Here’s a 30 second timelapse of the entire 8 hour game!