Here’s how I made my groomsmen gifts
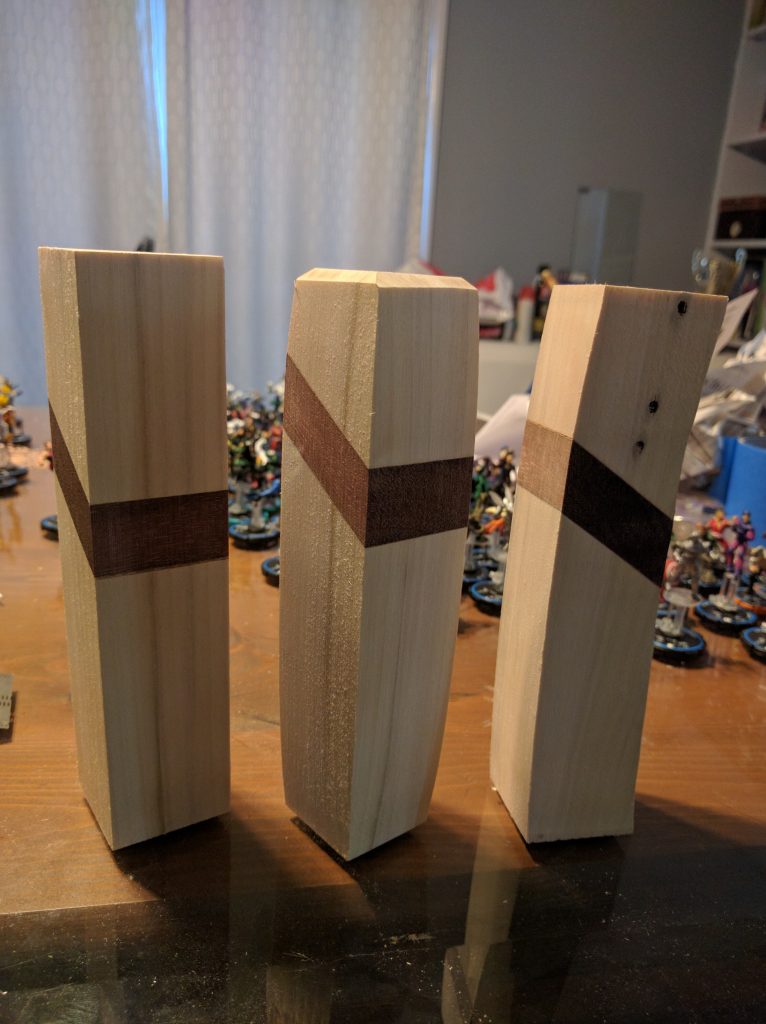
It started with some test pieces to see if this was even possible:
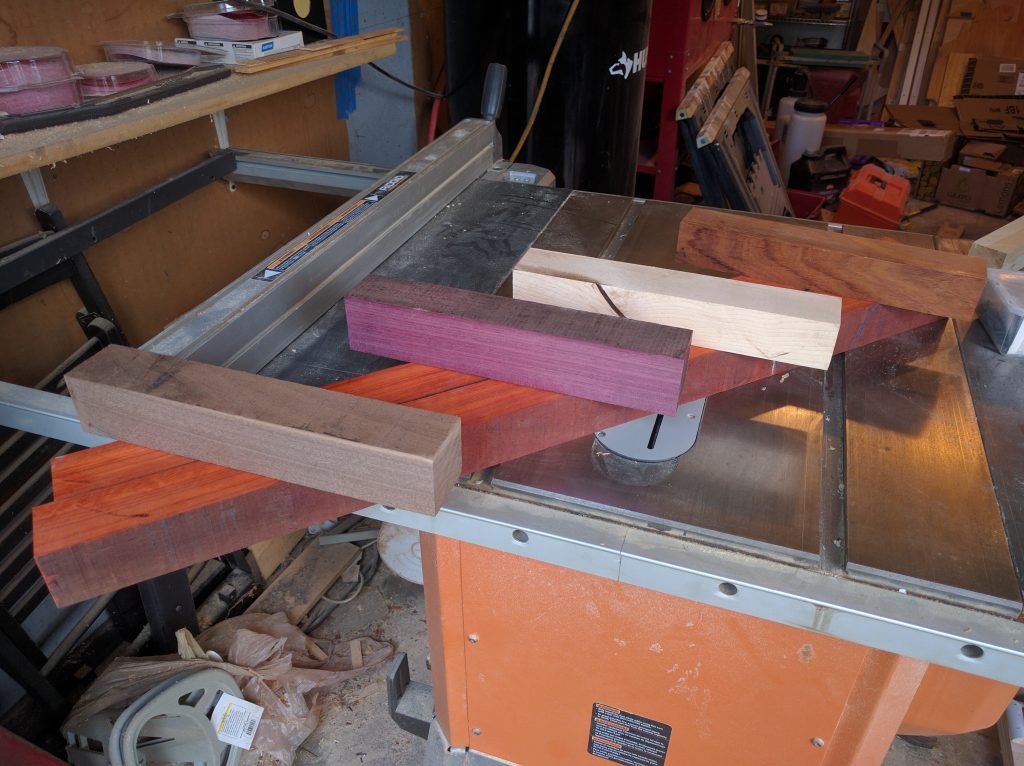
Satisfied with these. Time to move onto the expensive wood, which as I will later discover I am allergic to the dust of. Yay!
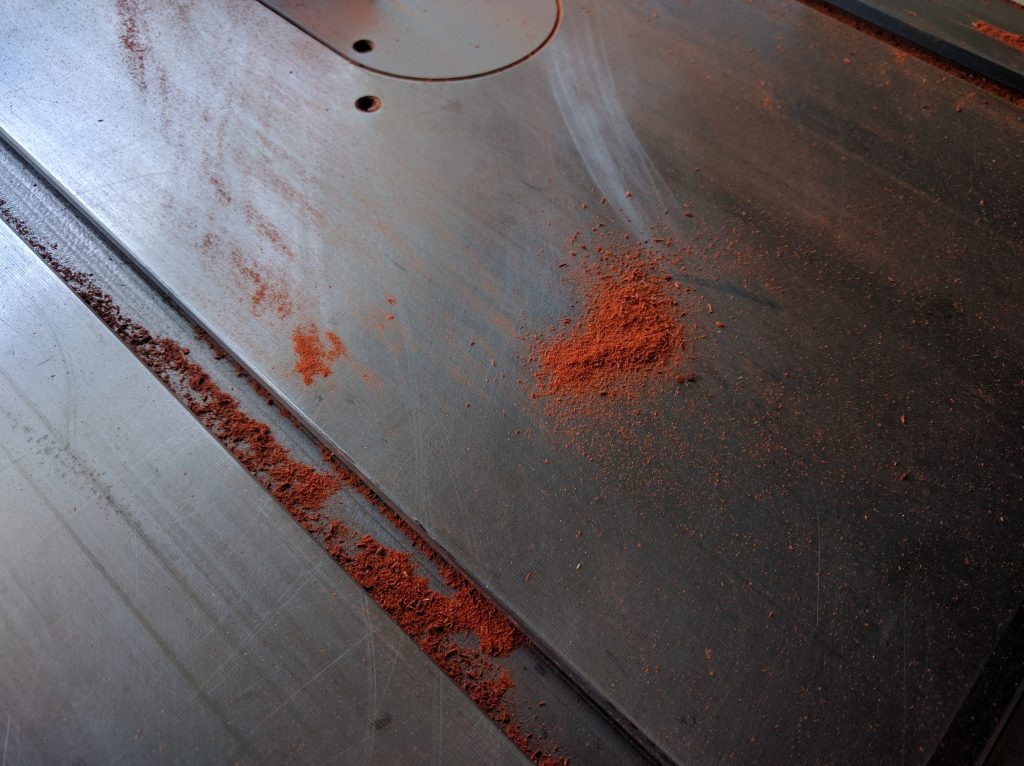
This is the dust I will learn a month after this photo was taken that I am allergic to. What a shape, the color is vibrant!
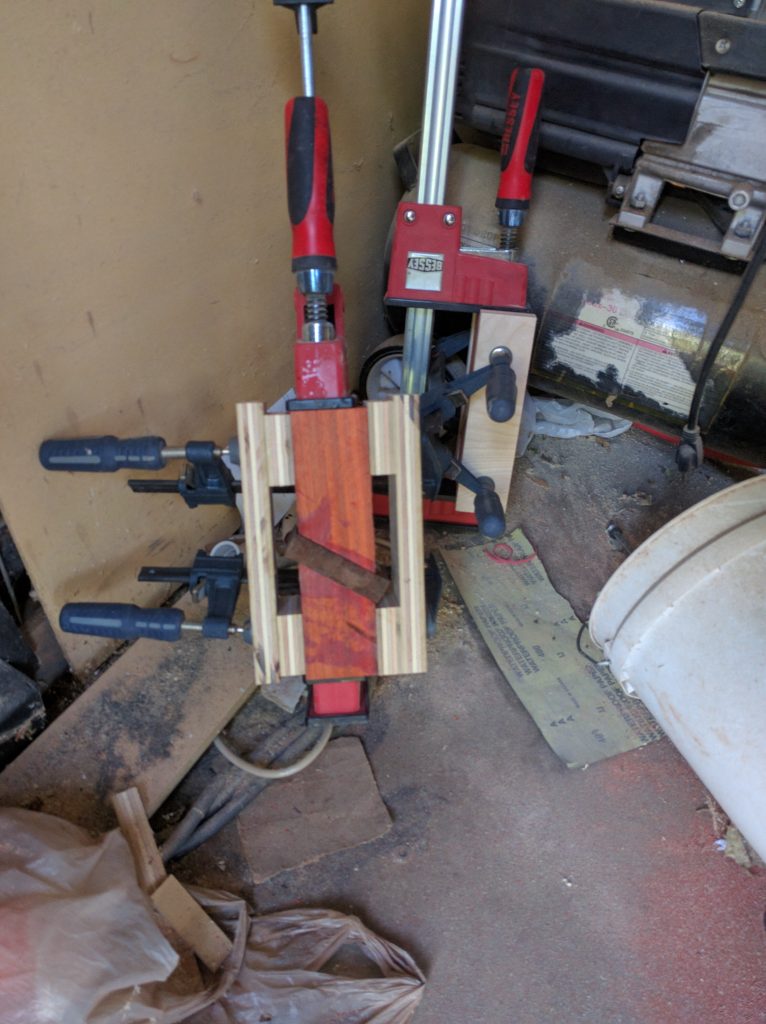
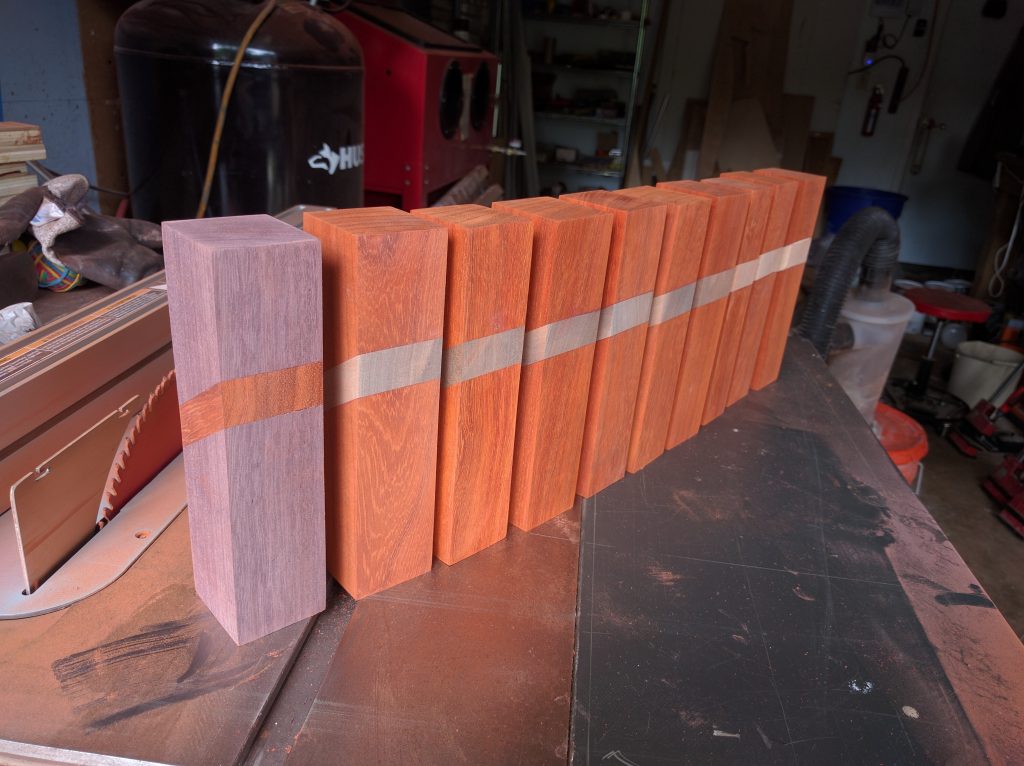
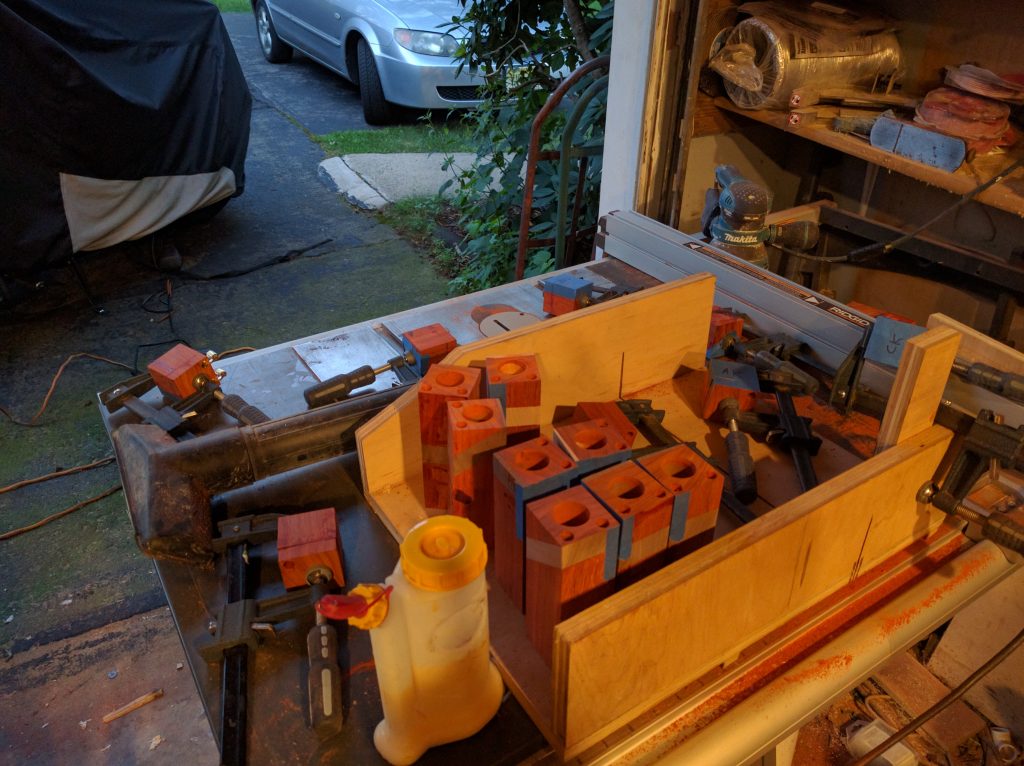
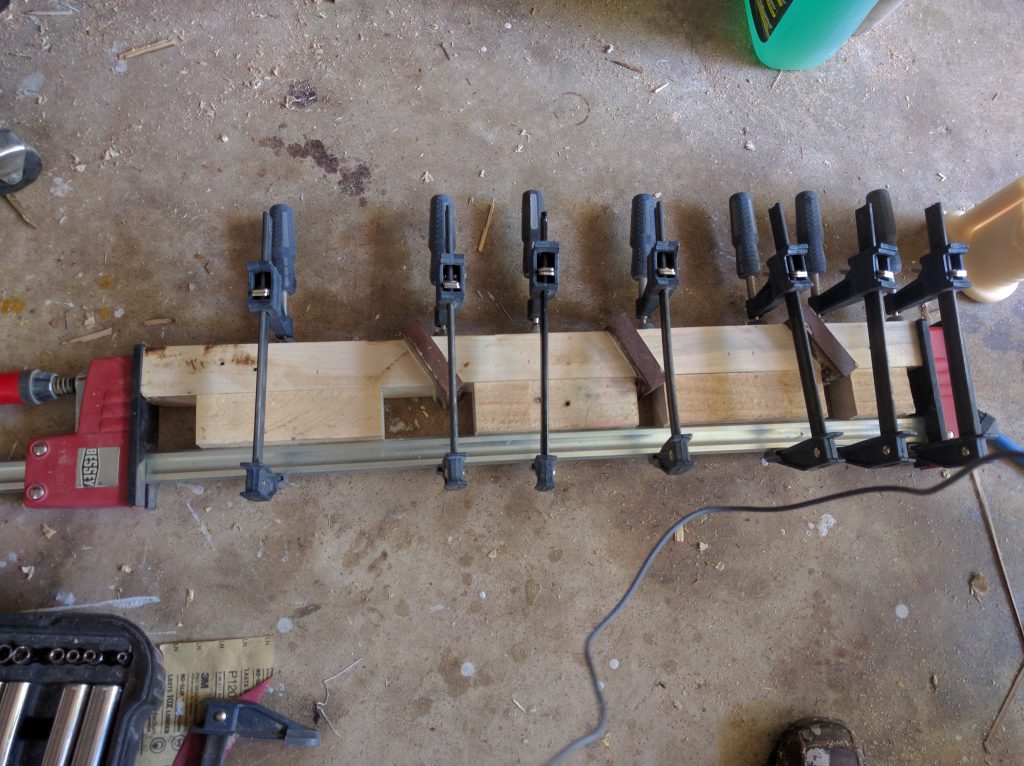
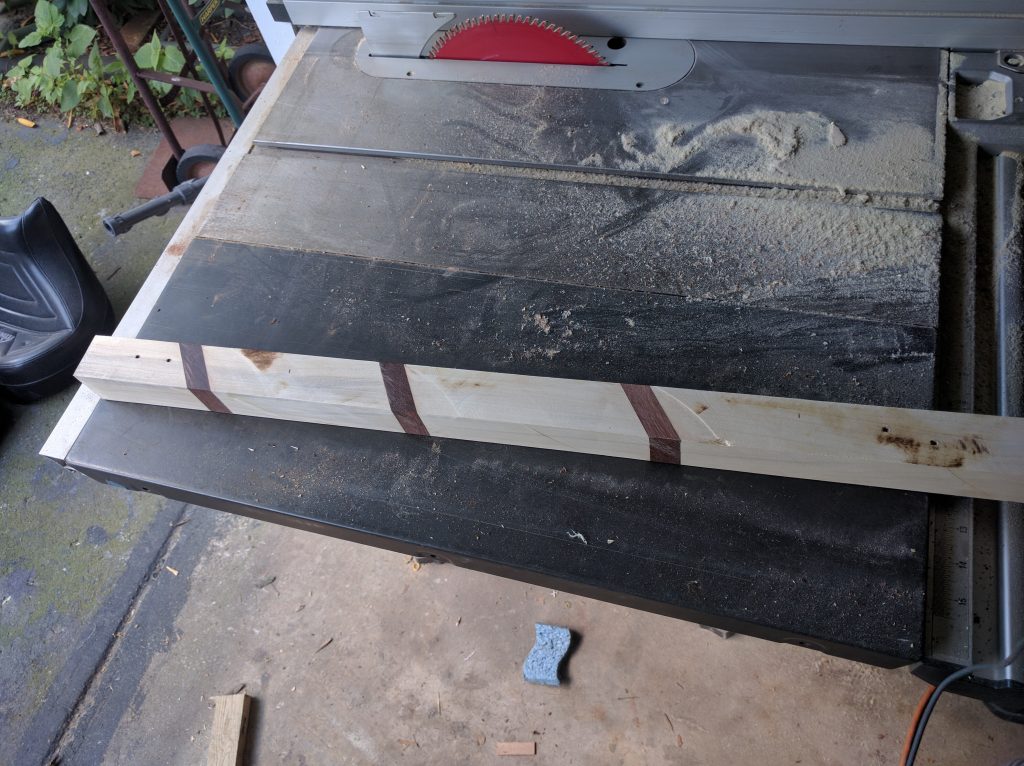
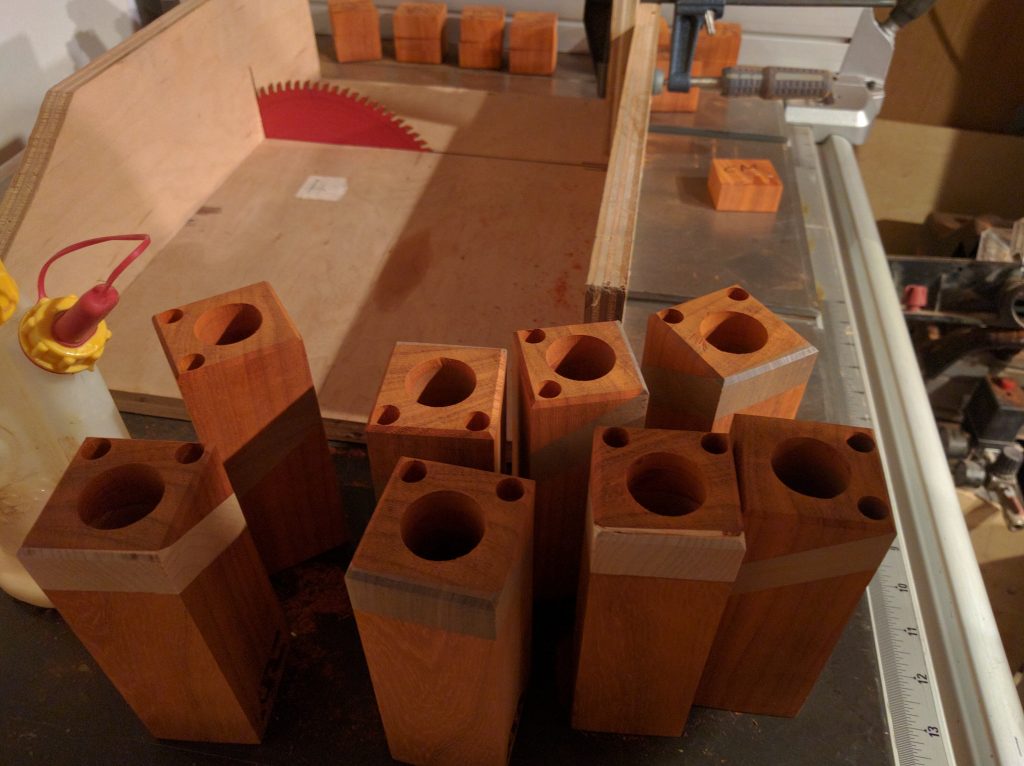
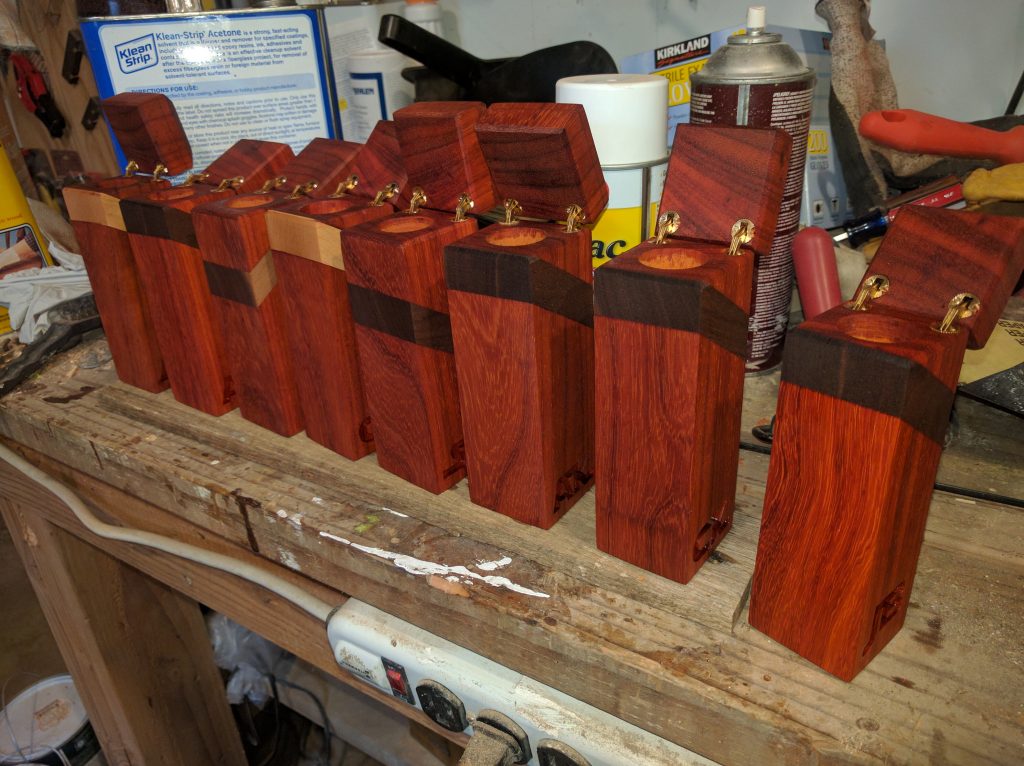
Here’s the clamping setup I used to put these together. I wanted a continuous grain in the padauk, which “forced” me to build them like this. Ultimately, this worked out pretty well, none of the blocks had separation issues and gaps were minimal.
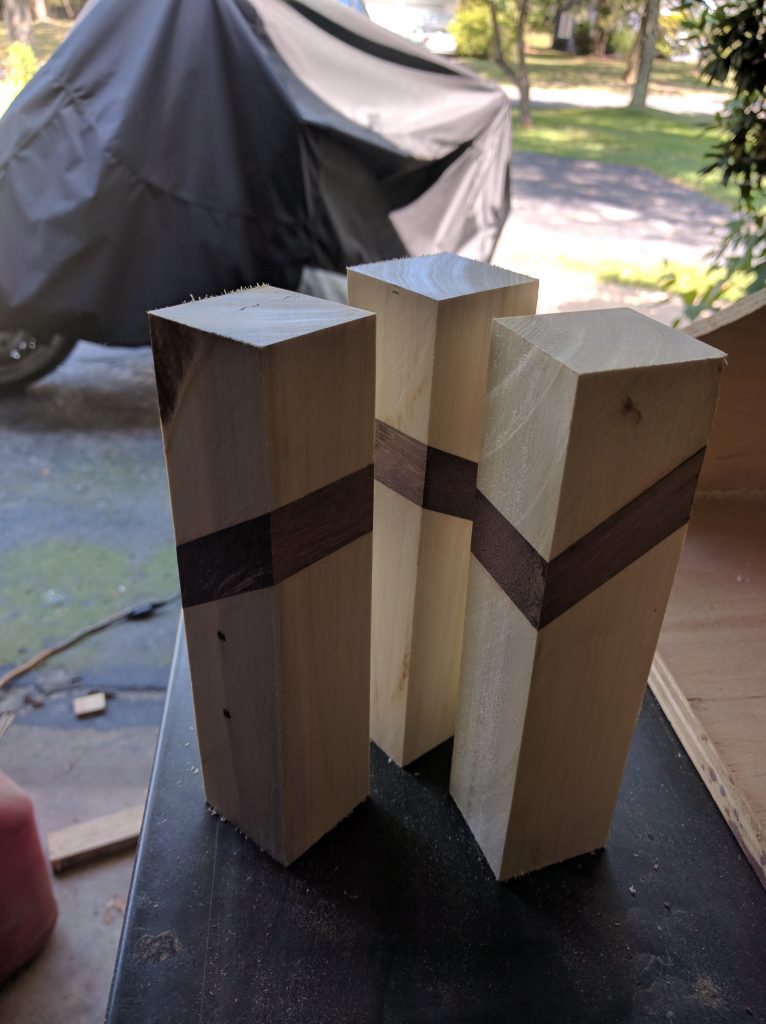
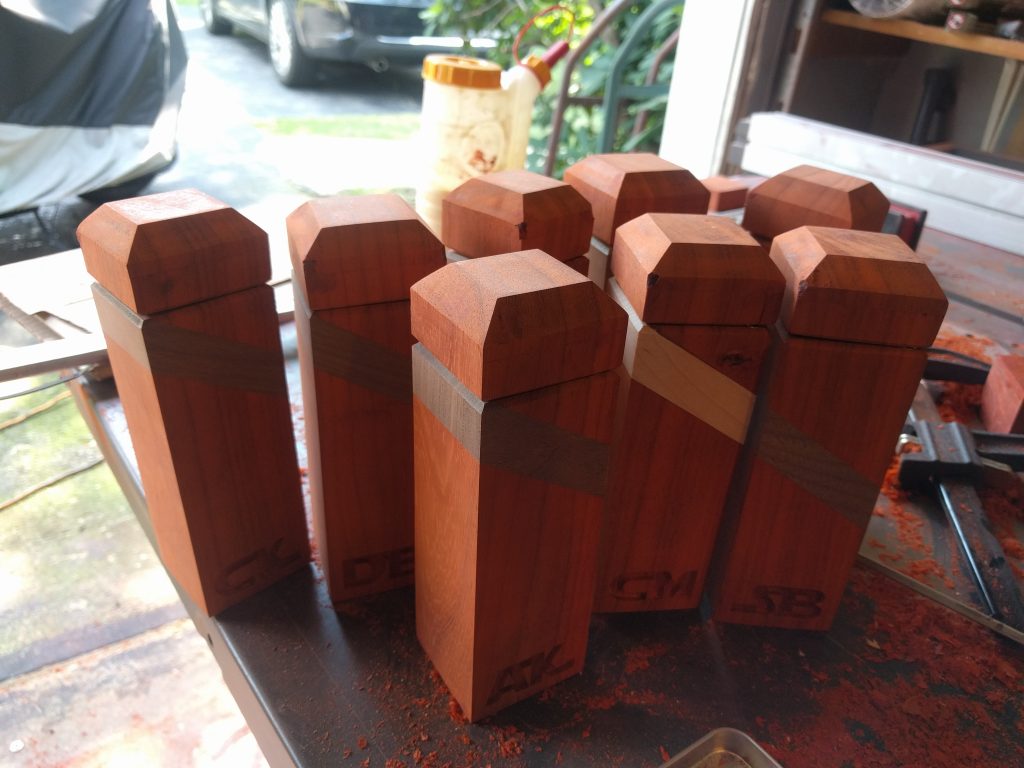
Starting to look like something!!
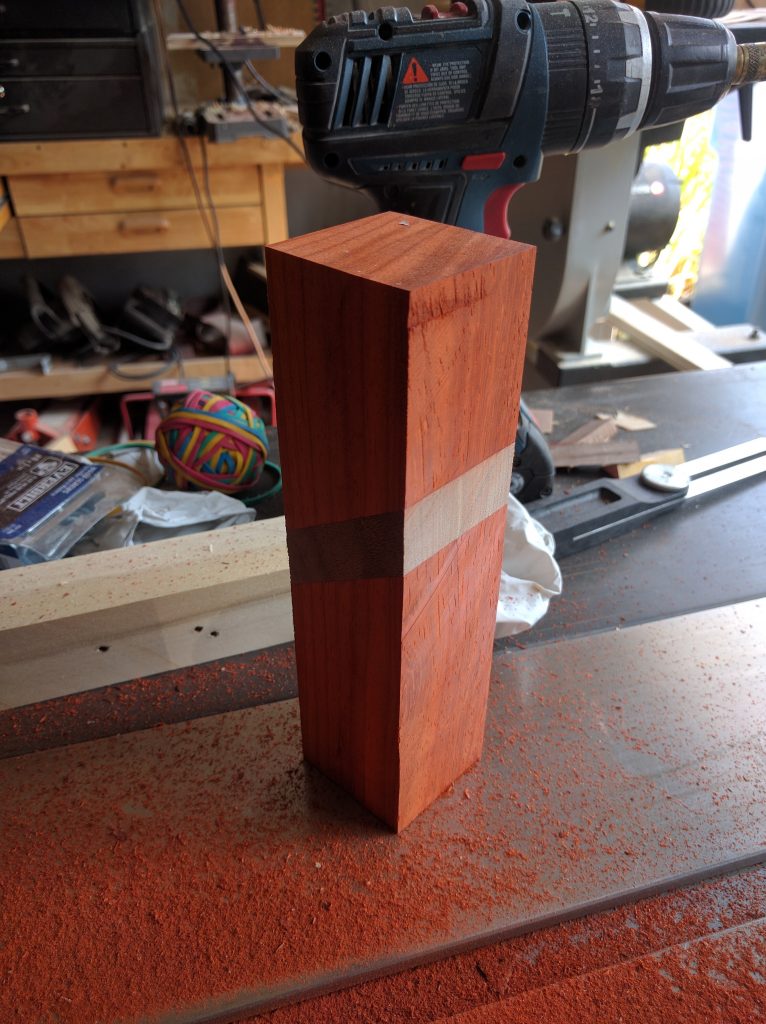
Seriously, this is just what they look like cleaned up. No finish has been applied!
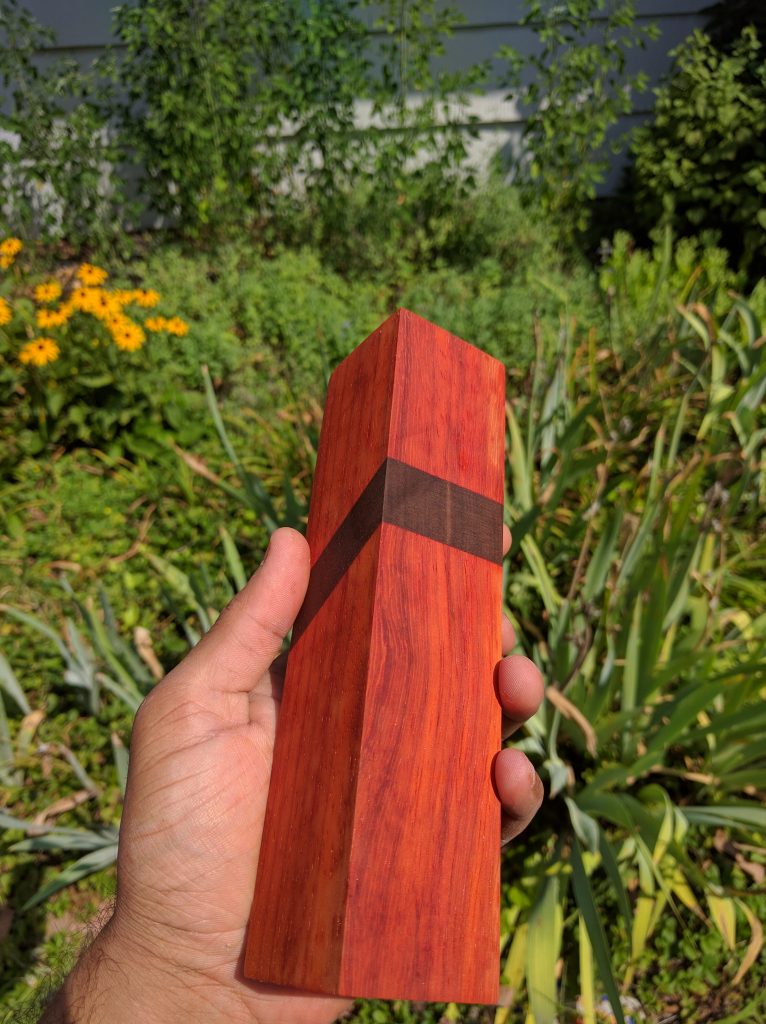
I look upon these pictures forlornly as my final work with Padauk. Such a shame.
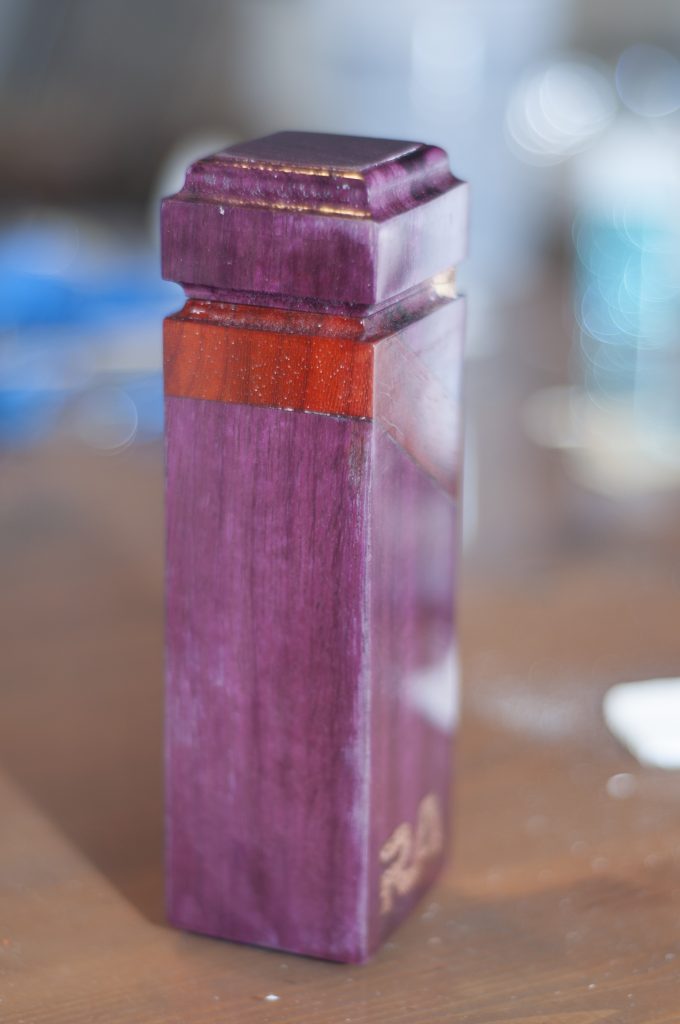
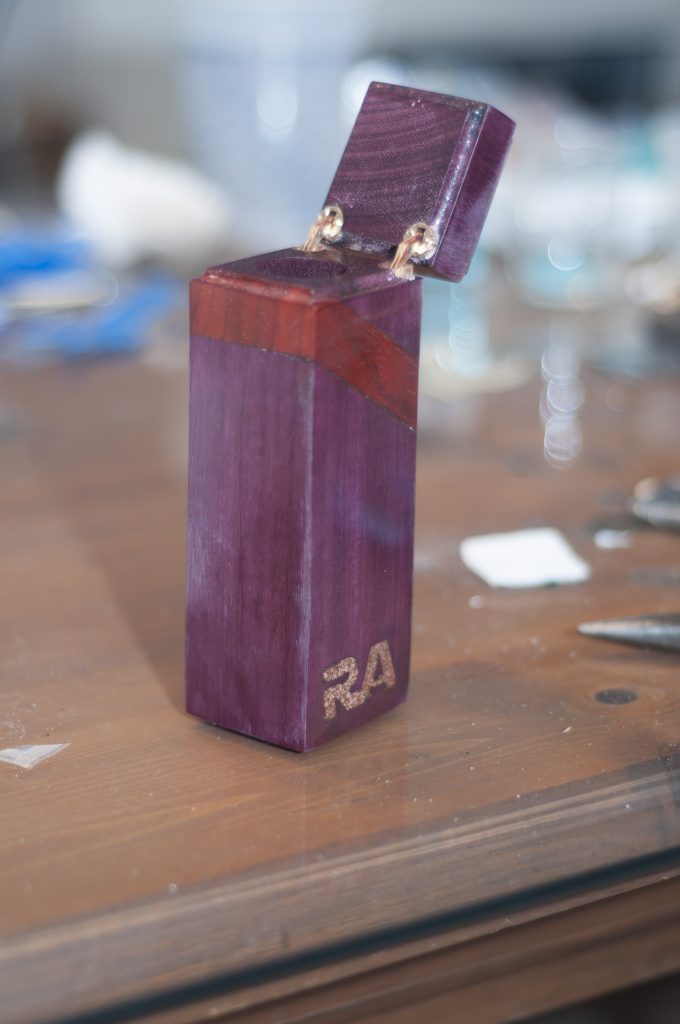
The purple heart block is the secret gift to my (not yet) wife.
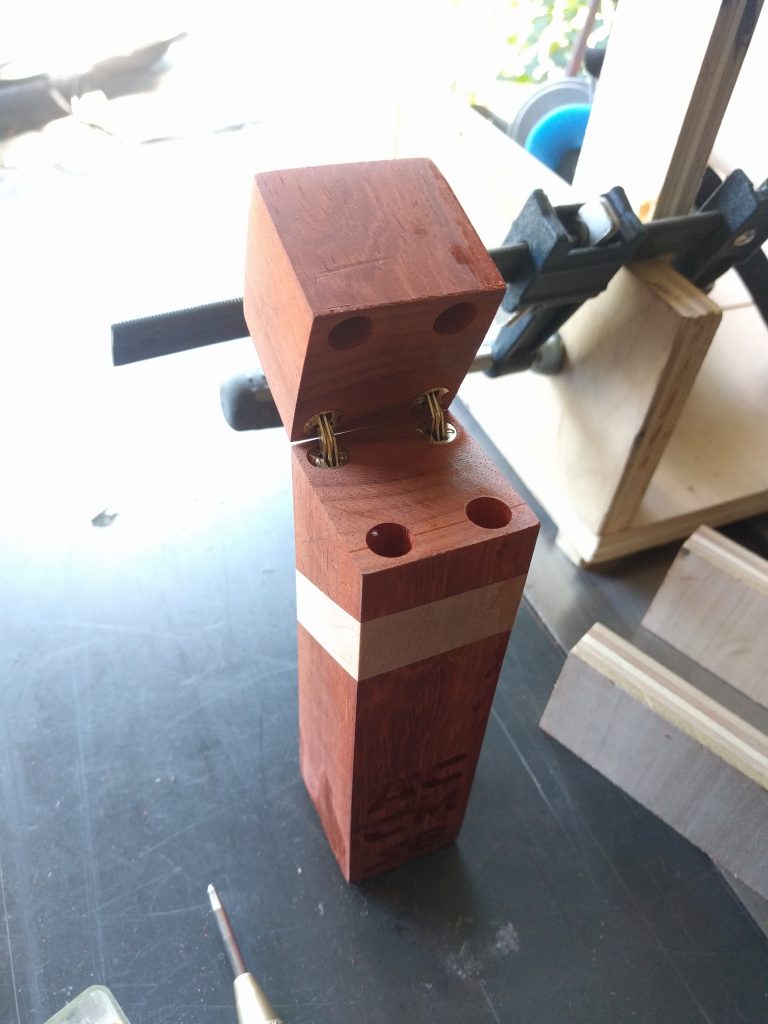
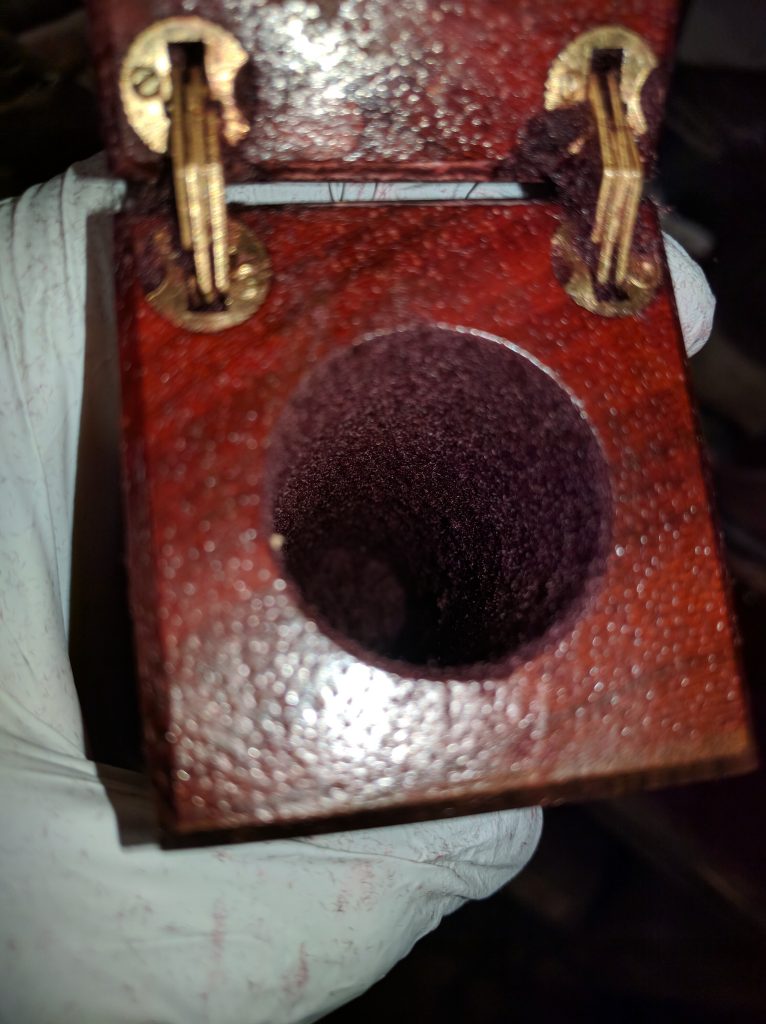
I made an extra block for myself, and this would be used for final tests. I sent off the blocks to a friend of mine with a hyper accurate CNC, and he milled in the initials into the blocks, and sent them back. Here’s my first test with the hinges. Let me tell you, I hate these hinges. You can see the engravings of multiple initials on this one, my friend with the CNC also tested multiple depths and cutter bits to see what I liked.
Drilled a 1-1/8″ hole, about 6 inches deep. I bought a special forstner and extension for this purpose. I started the drilling on the press to ensure a straight, even plunge, and when I hit the press’s maximum depth, the hole itself served as a guide while I hand drilled the remainder. They came out pretty straight!
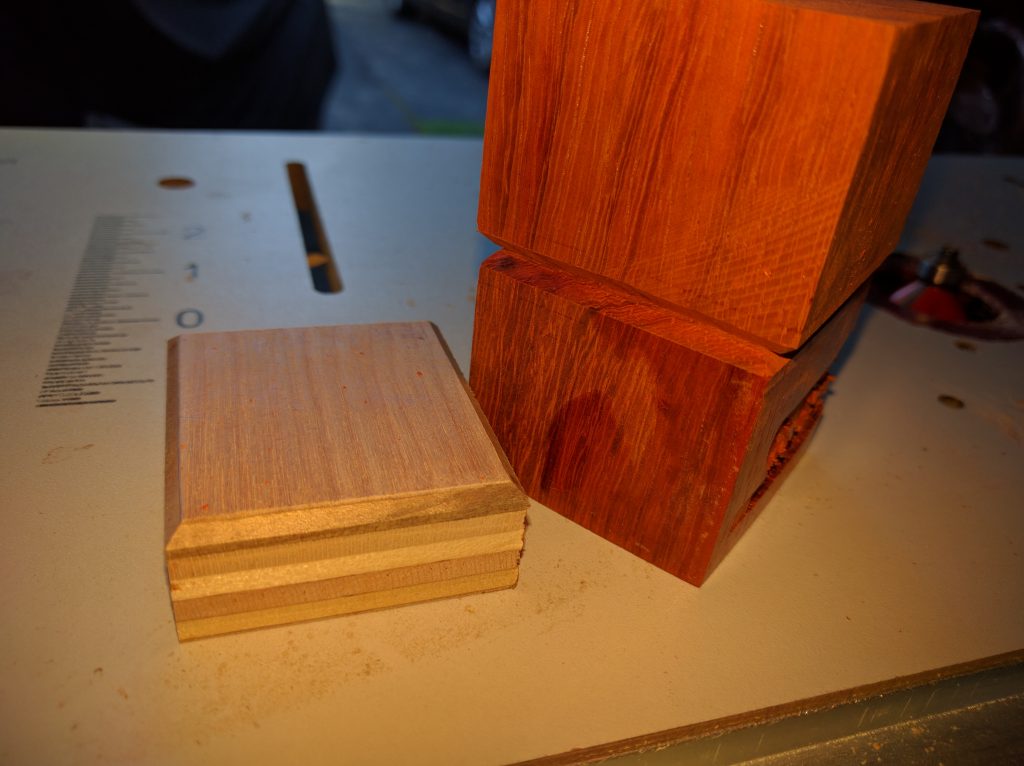
If it’s not flush…give it a chamfer. I had a lot of chamfers…
Here’s AK’s, I also used a star wars font and made special ligatures for each of my groomsmen.
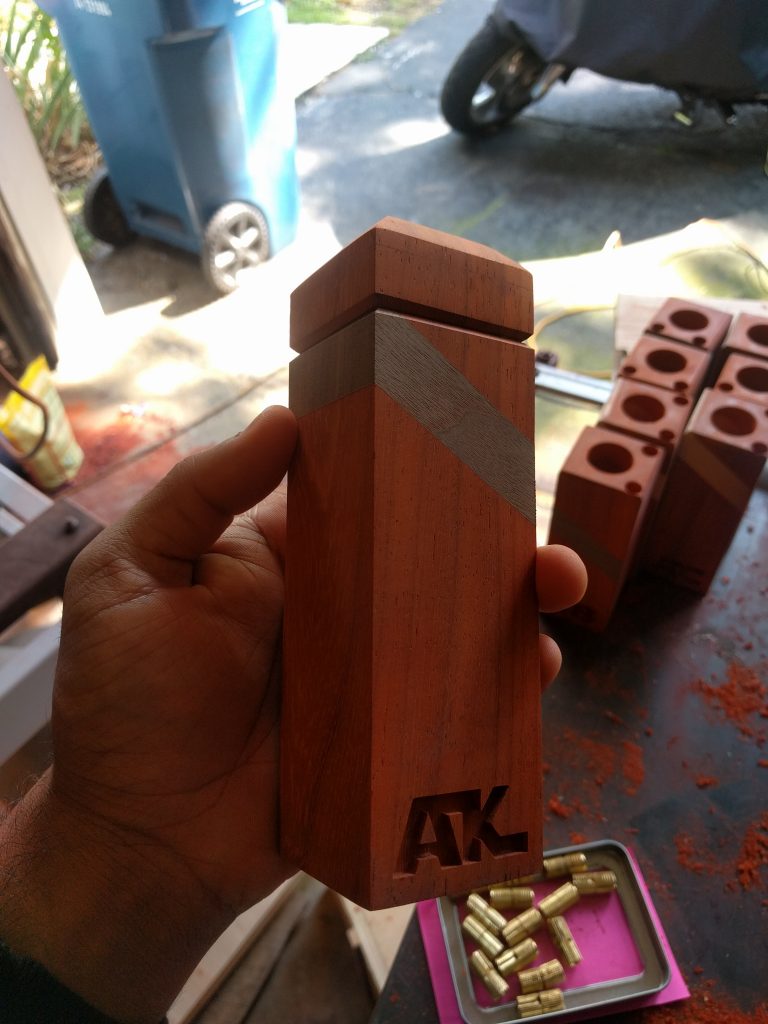
And then finishing. Tung oil, shellac, lacquer, in that order. I had originally envisioned doing a lacquered french polish to a high gloss sheen, but at this point had discovered my allergy and was now just trying to finish them ASAP.
Holy crap the wood is still unbelievably gorgeous. Look at that red in the sun!
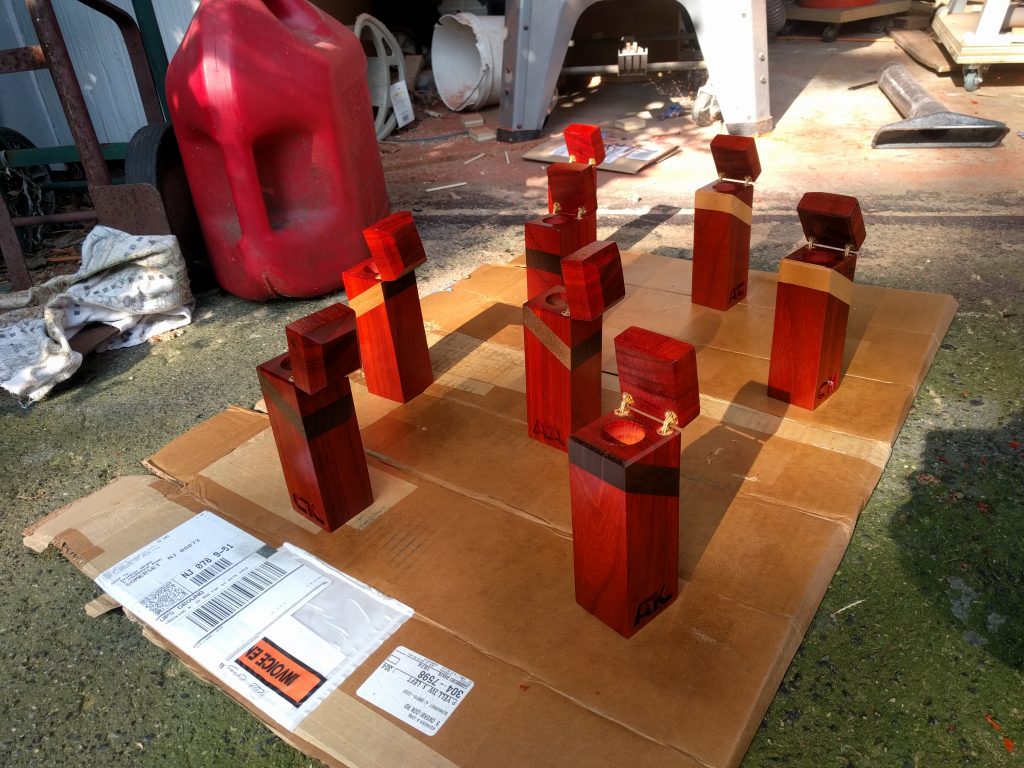
Here’s some final shots:
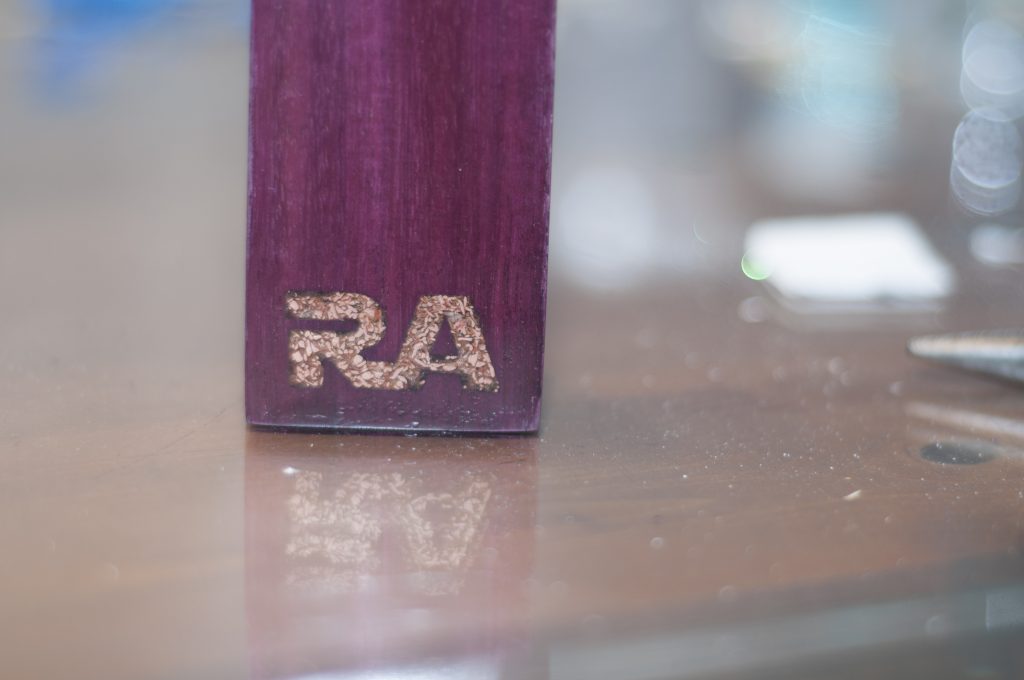
I filled in Robin’s (future) initials with copper shreds, I would probably do this inlay a little differently next time, it didn’t have the effect I was hoping for. For all the guys, I left them blank because the drop shadow effect it had just looked too good.
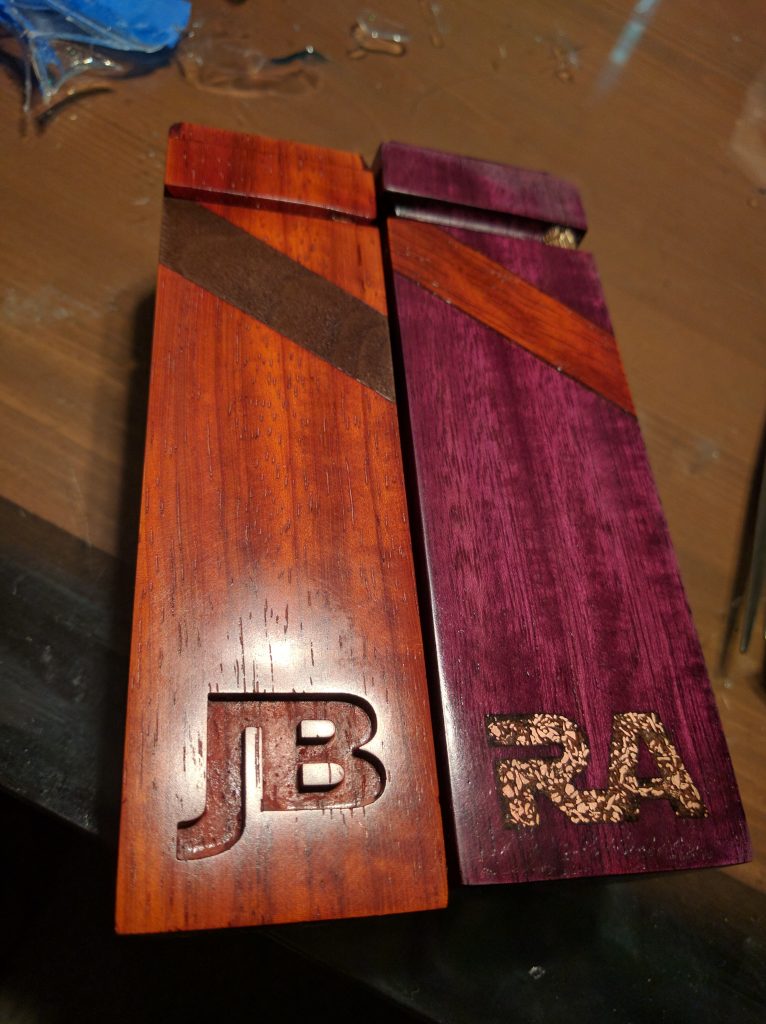
Also gave robin a different, gaussian cornering instead of the chamfer. I thought it looked more elegant.
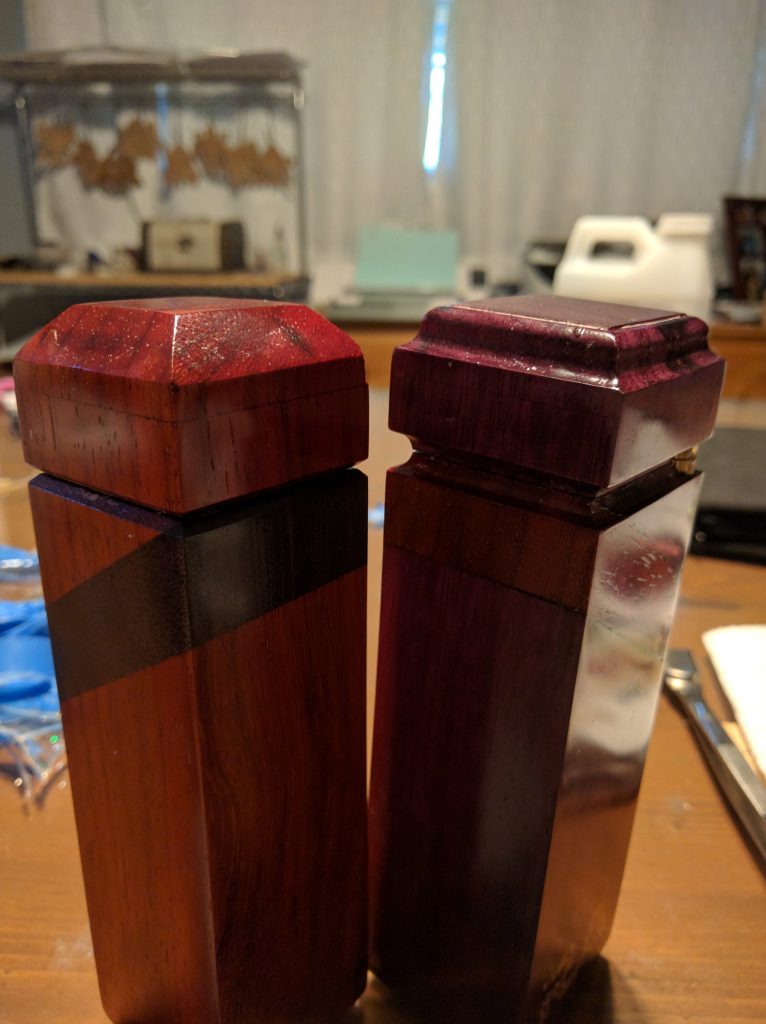
And the source of my nightmares for a week, waiting for this flocking to dry in such a deep pocket!
Now for the glamour shots:


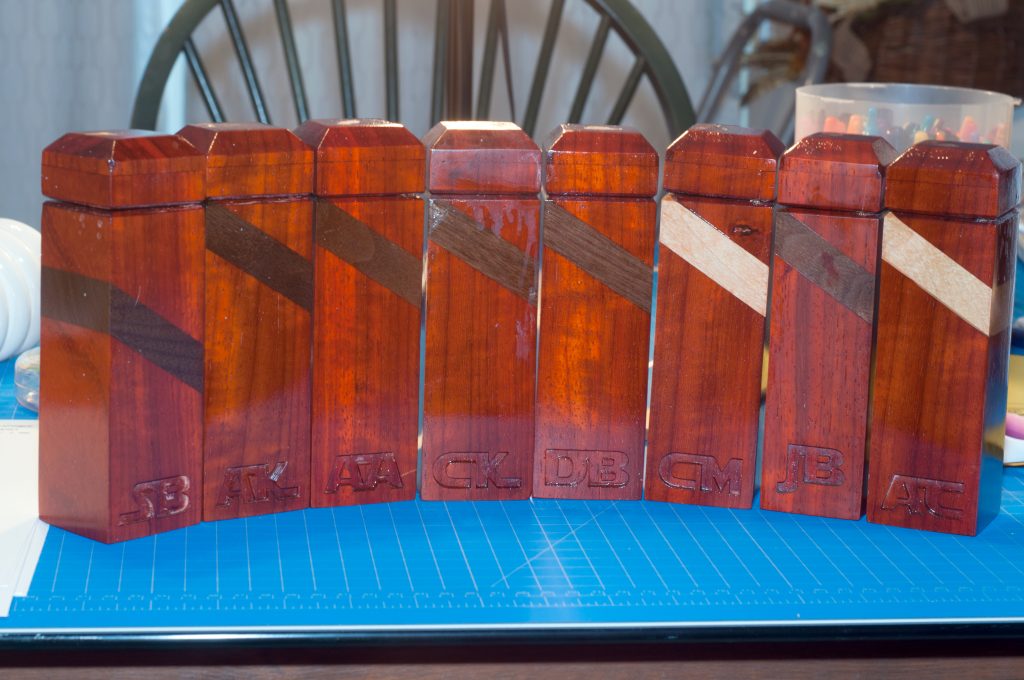
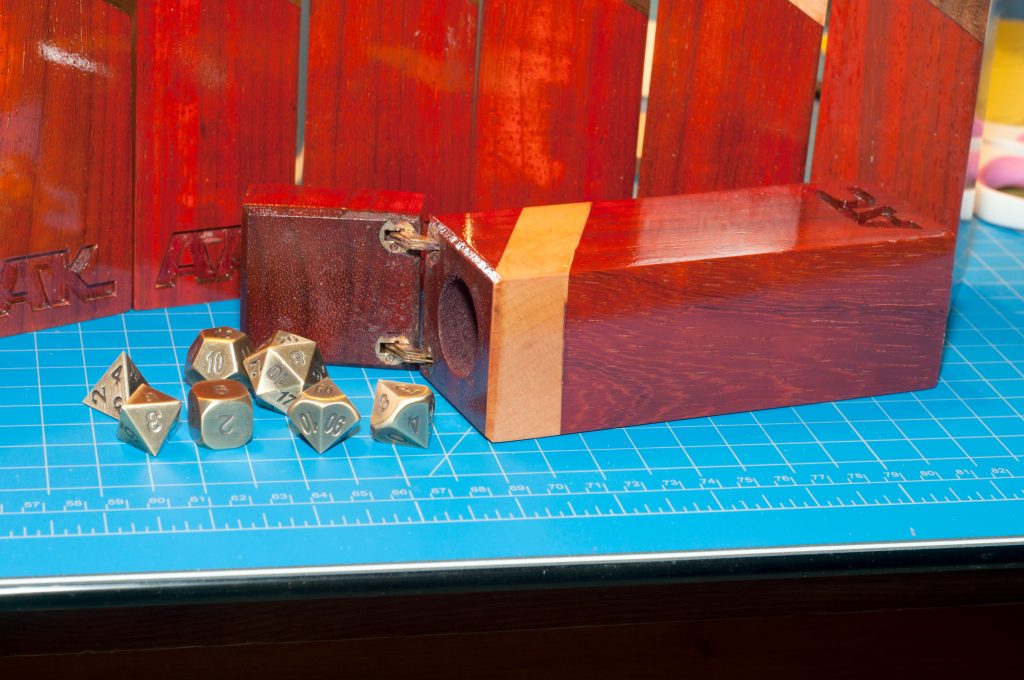
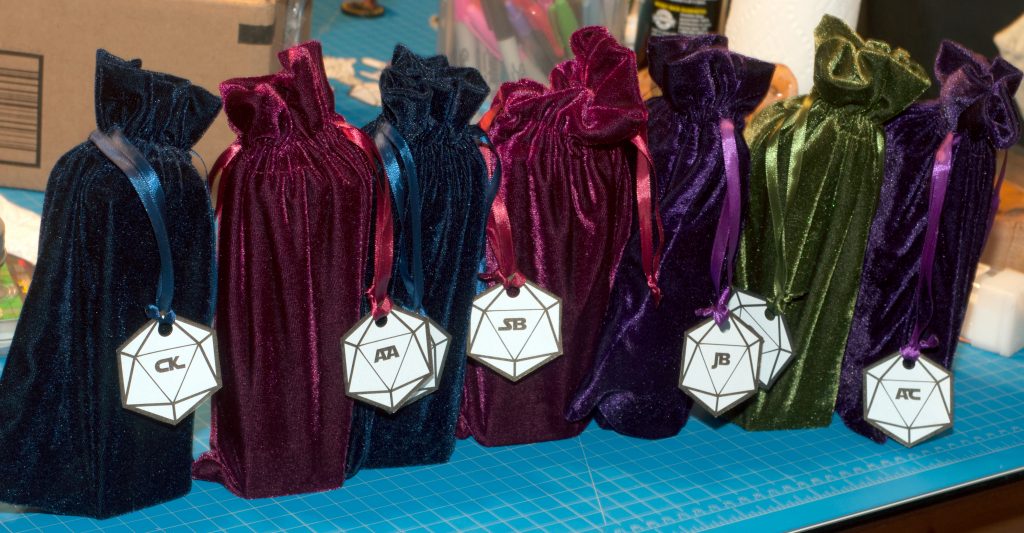
We were all flattered. Especially since you almost died making them for us.