Video at bottom!
Meeseeks 1
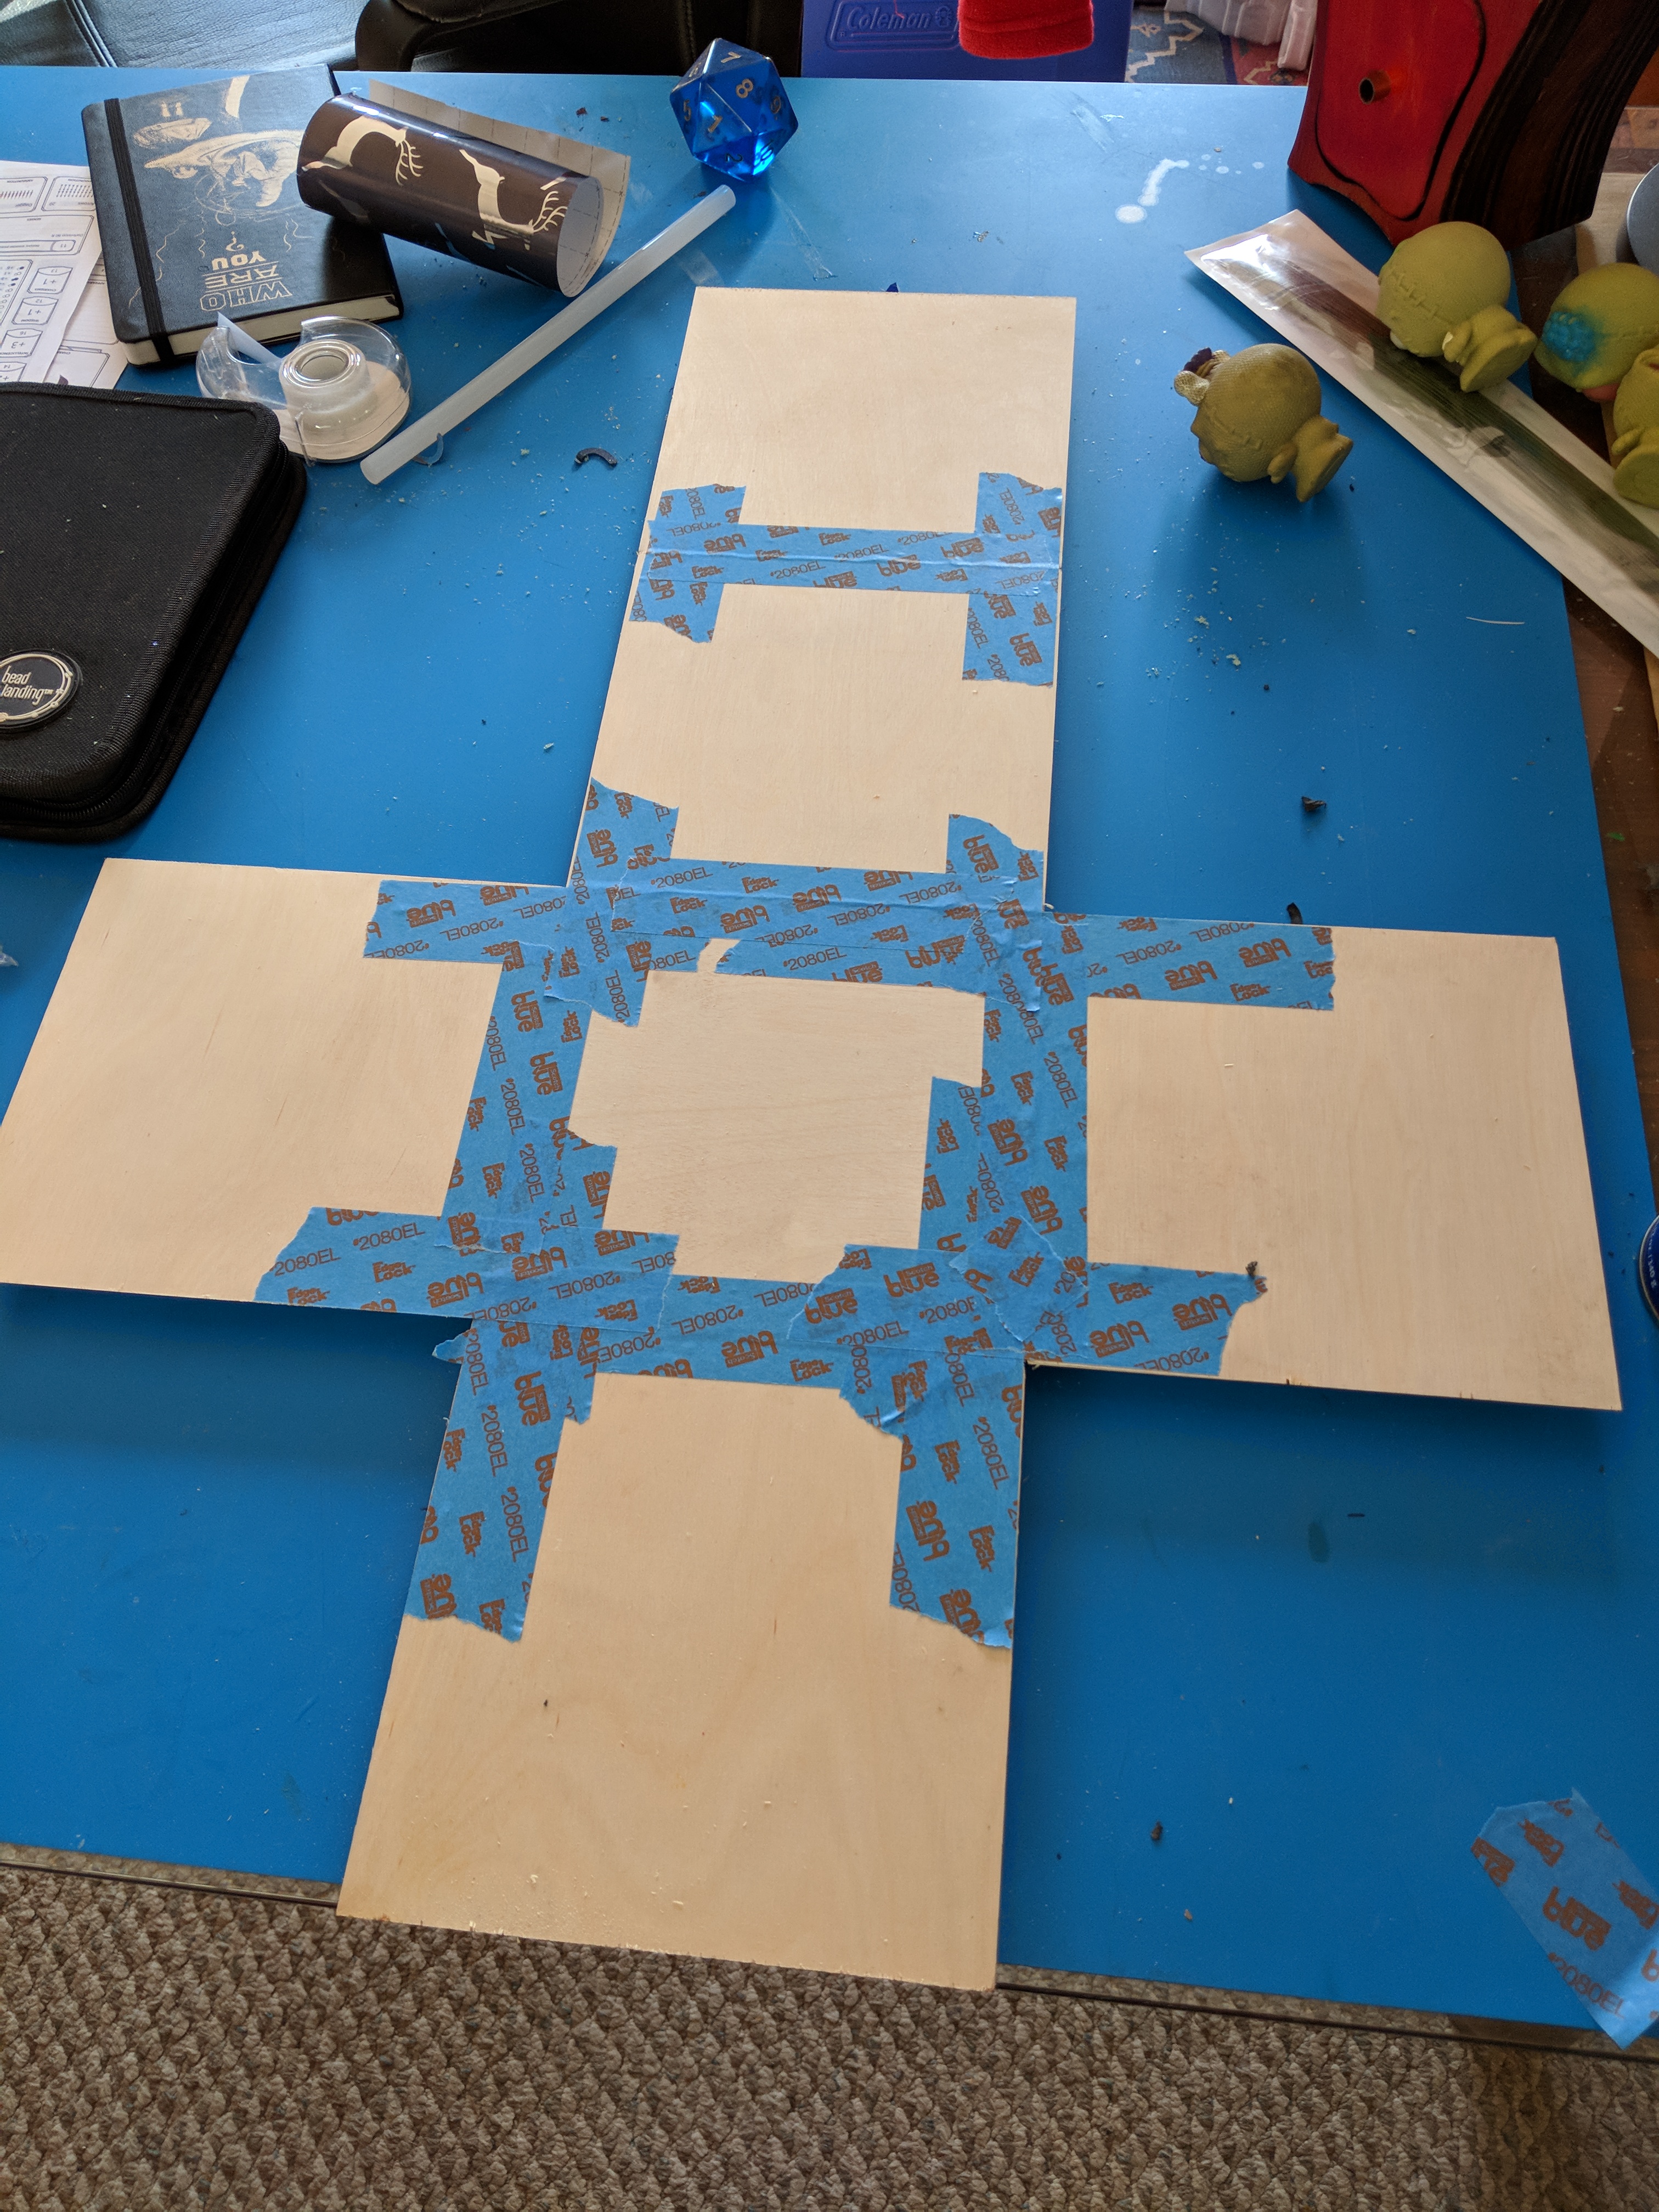
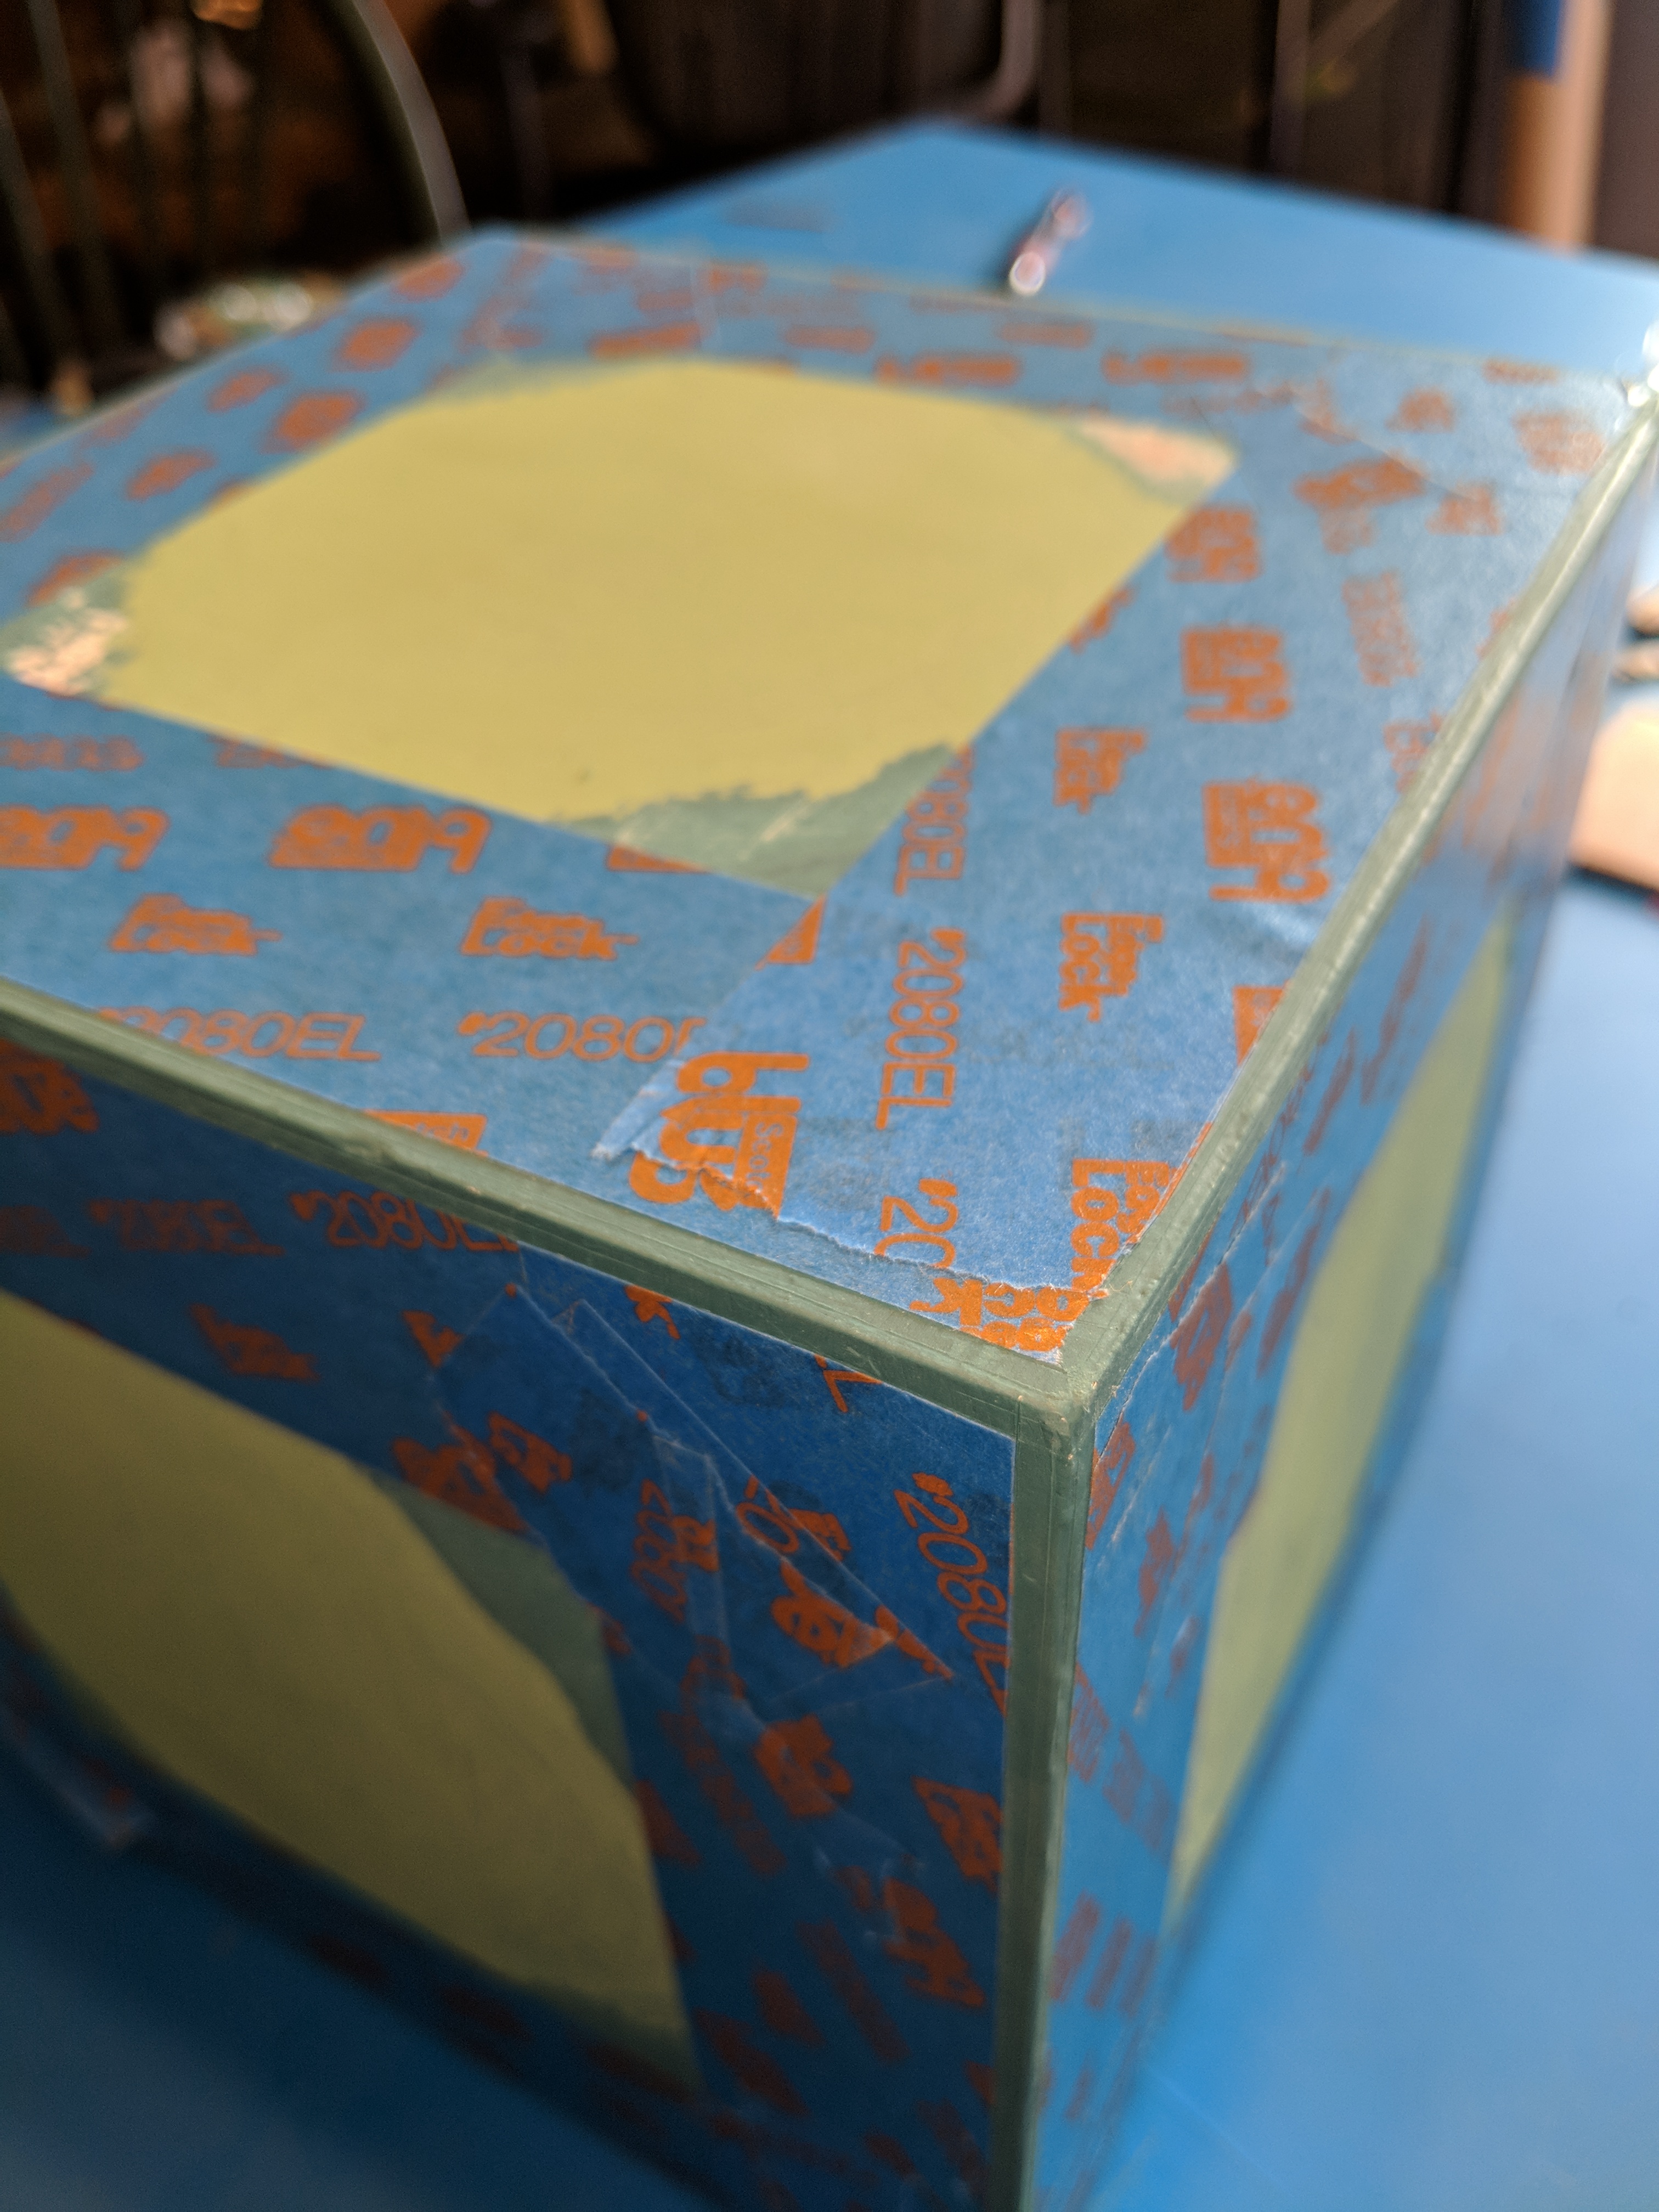
Cut out four 7″ squares, and cut a 45* bevel on all edges. Taped them together like this!

Meeseeks 2
This is the inside of the box. From here it’s just glue in the seams, and fold it up.
Meeseeks 3
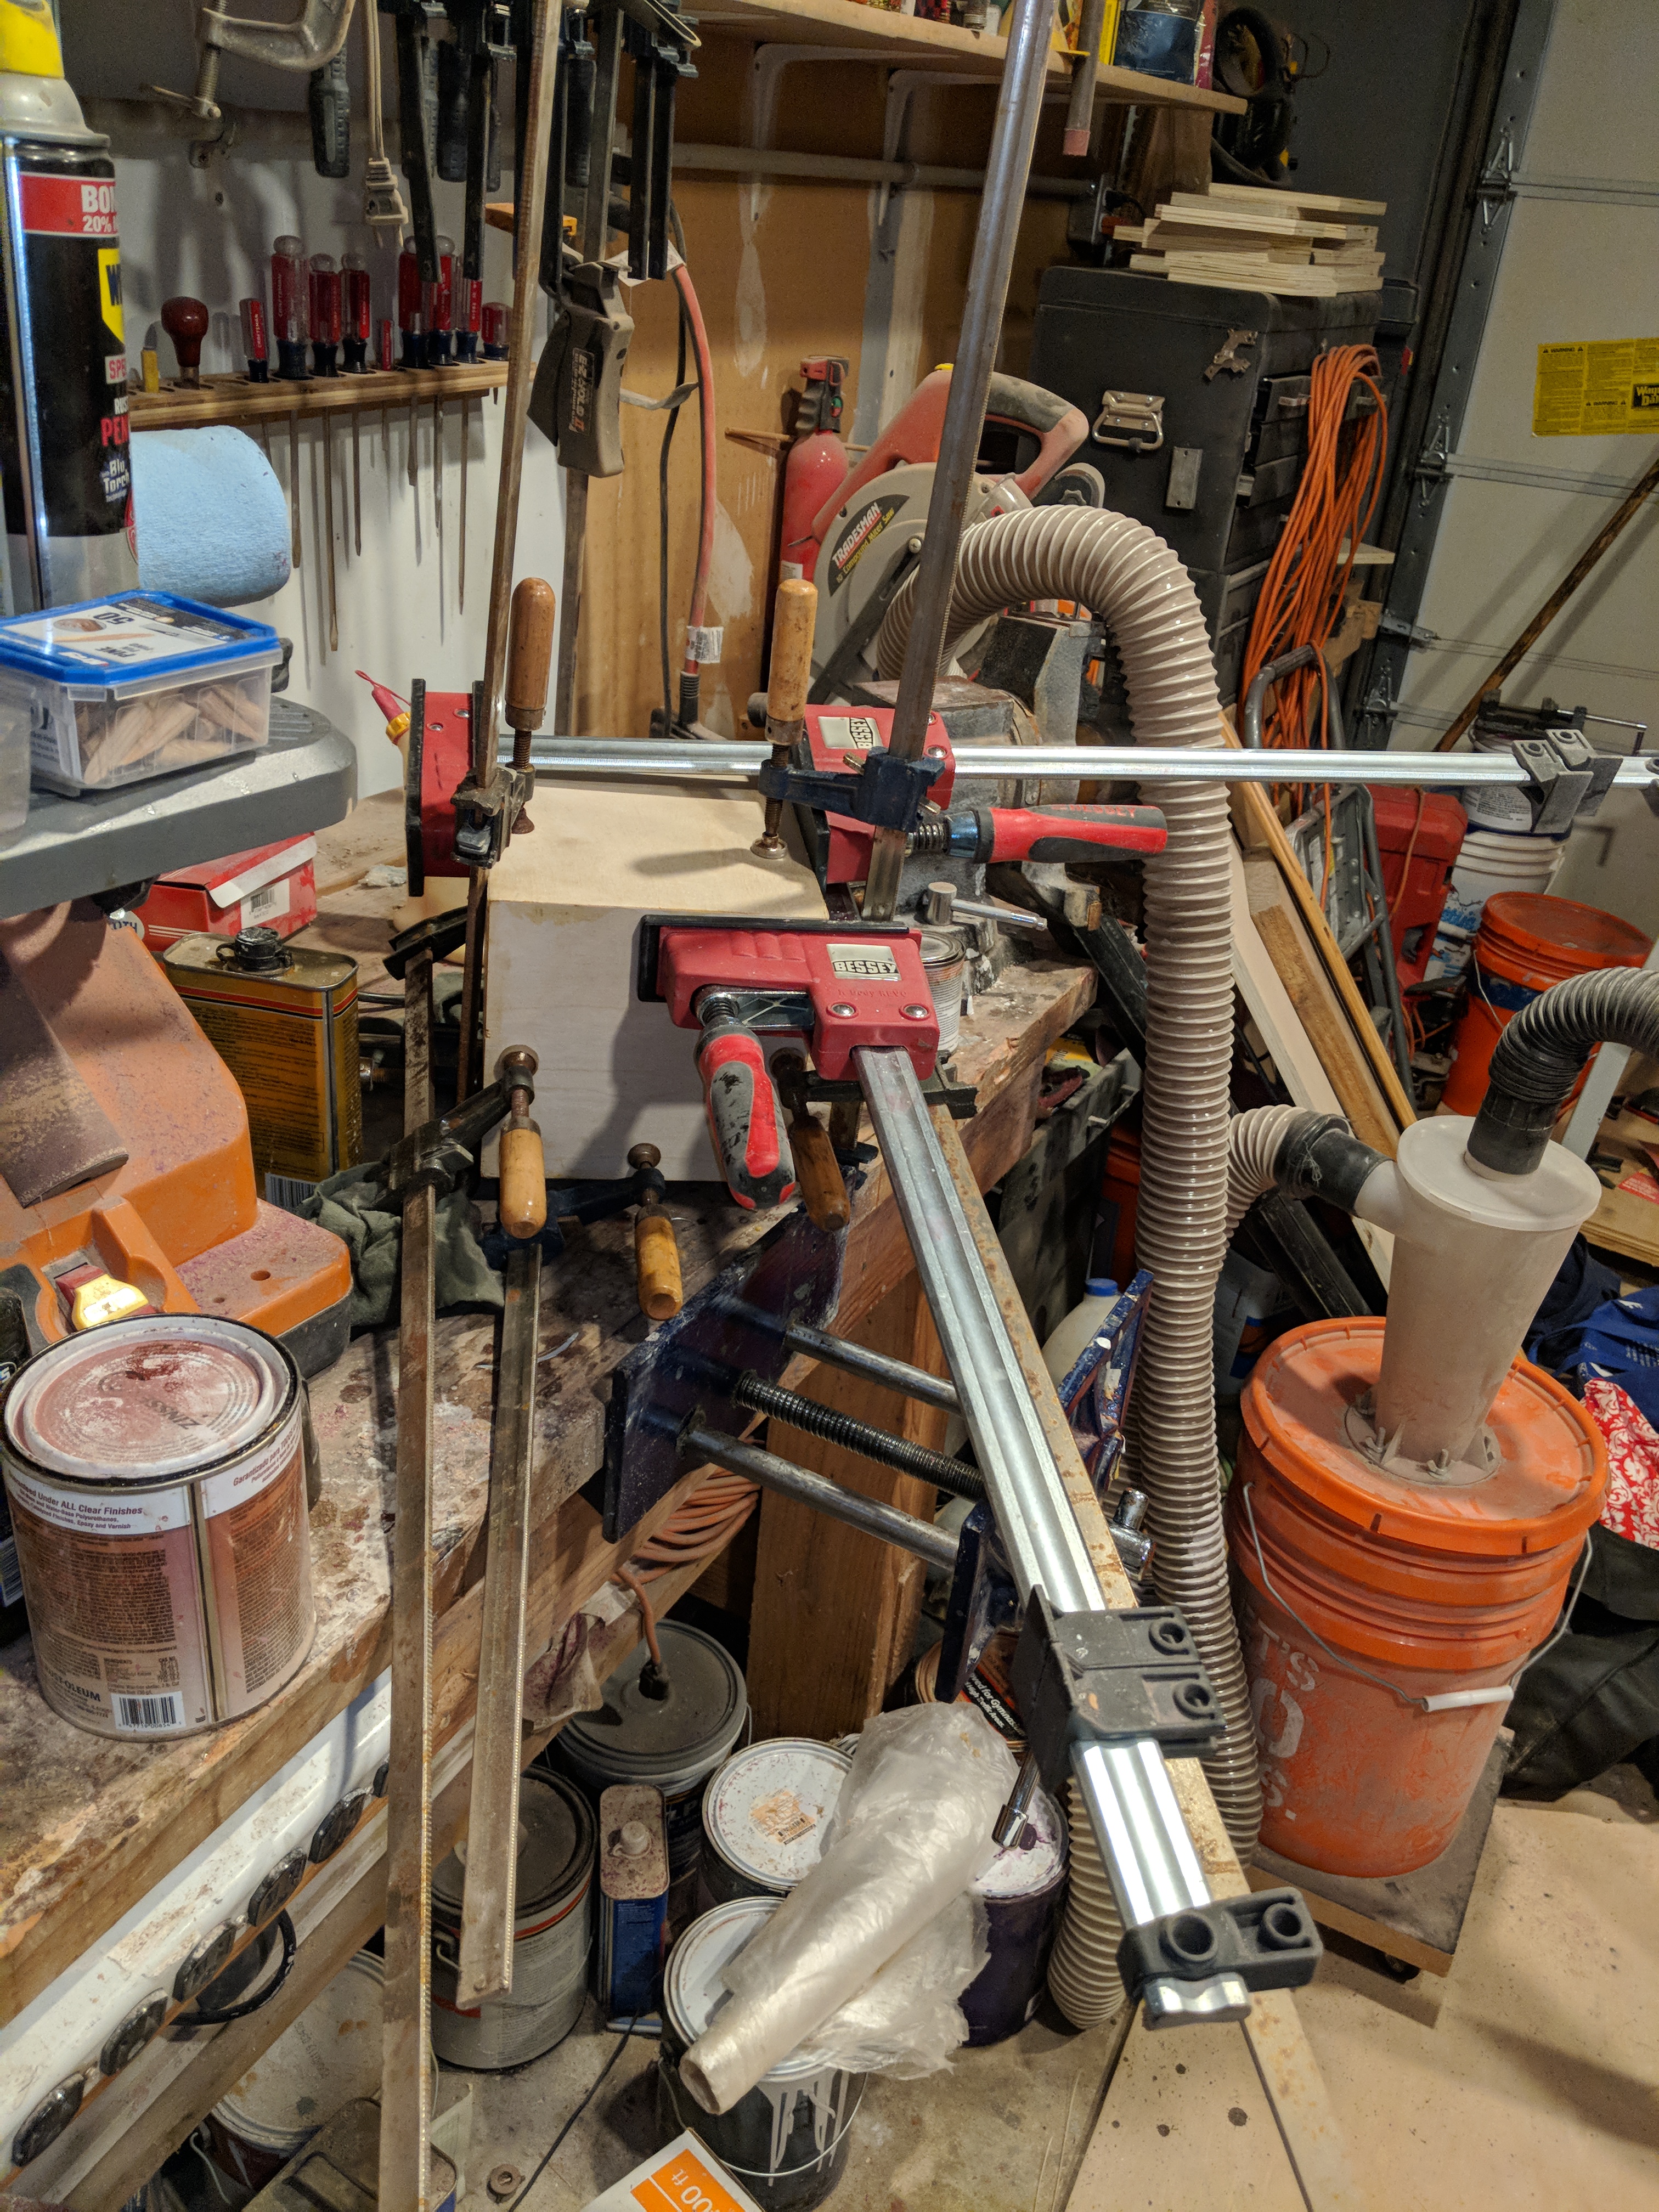
Clamps don’t hurt either….especially when you have a LOT of them.
Meeseeks 4
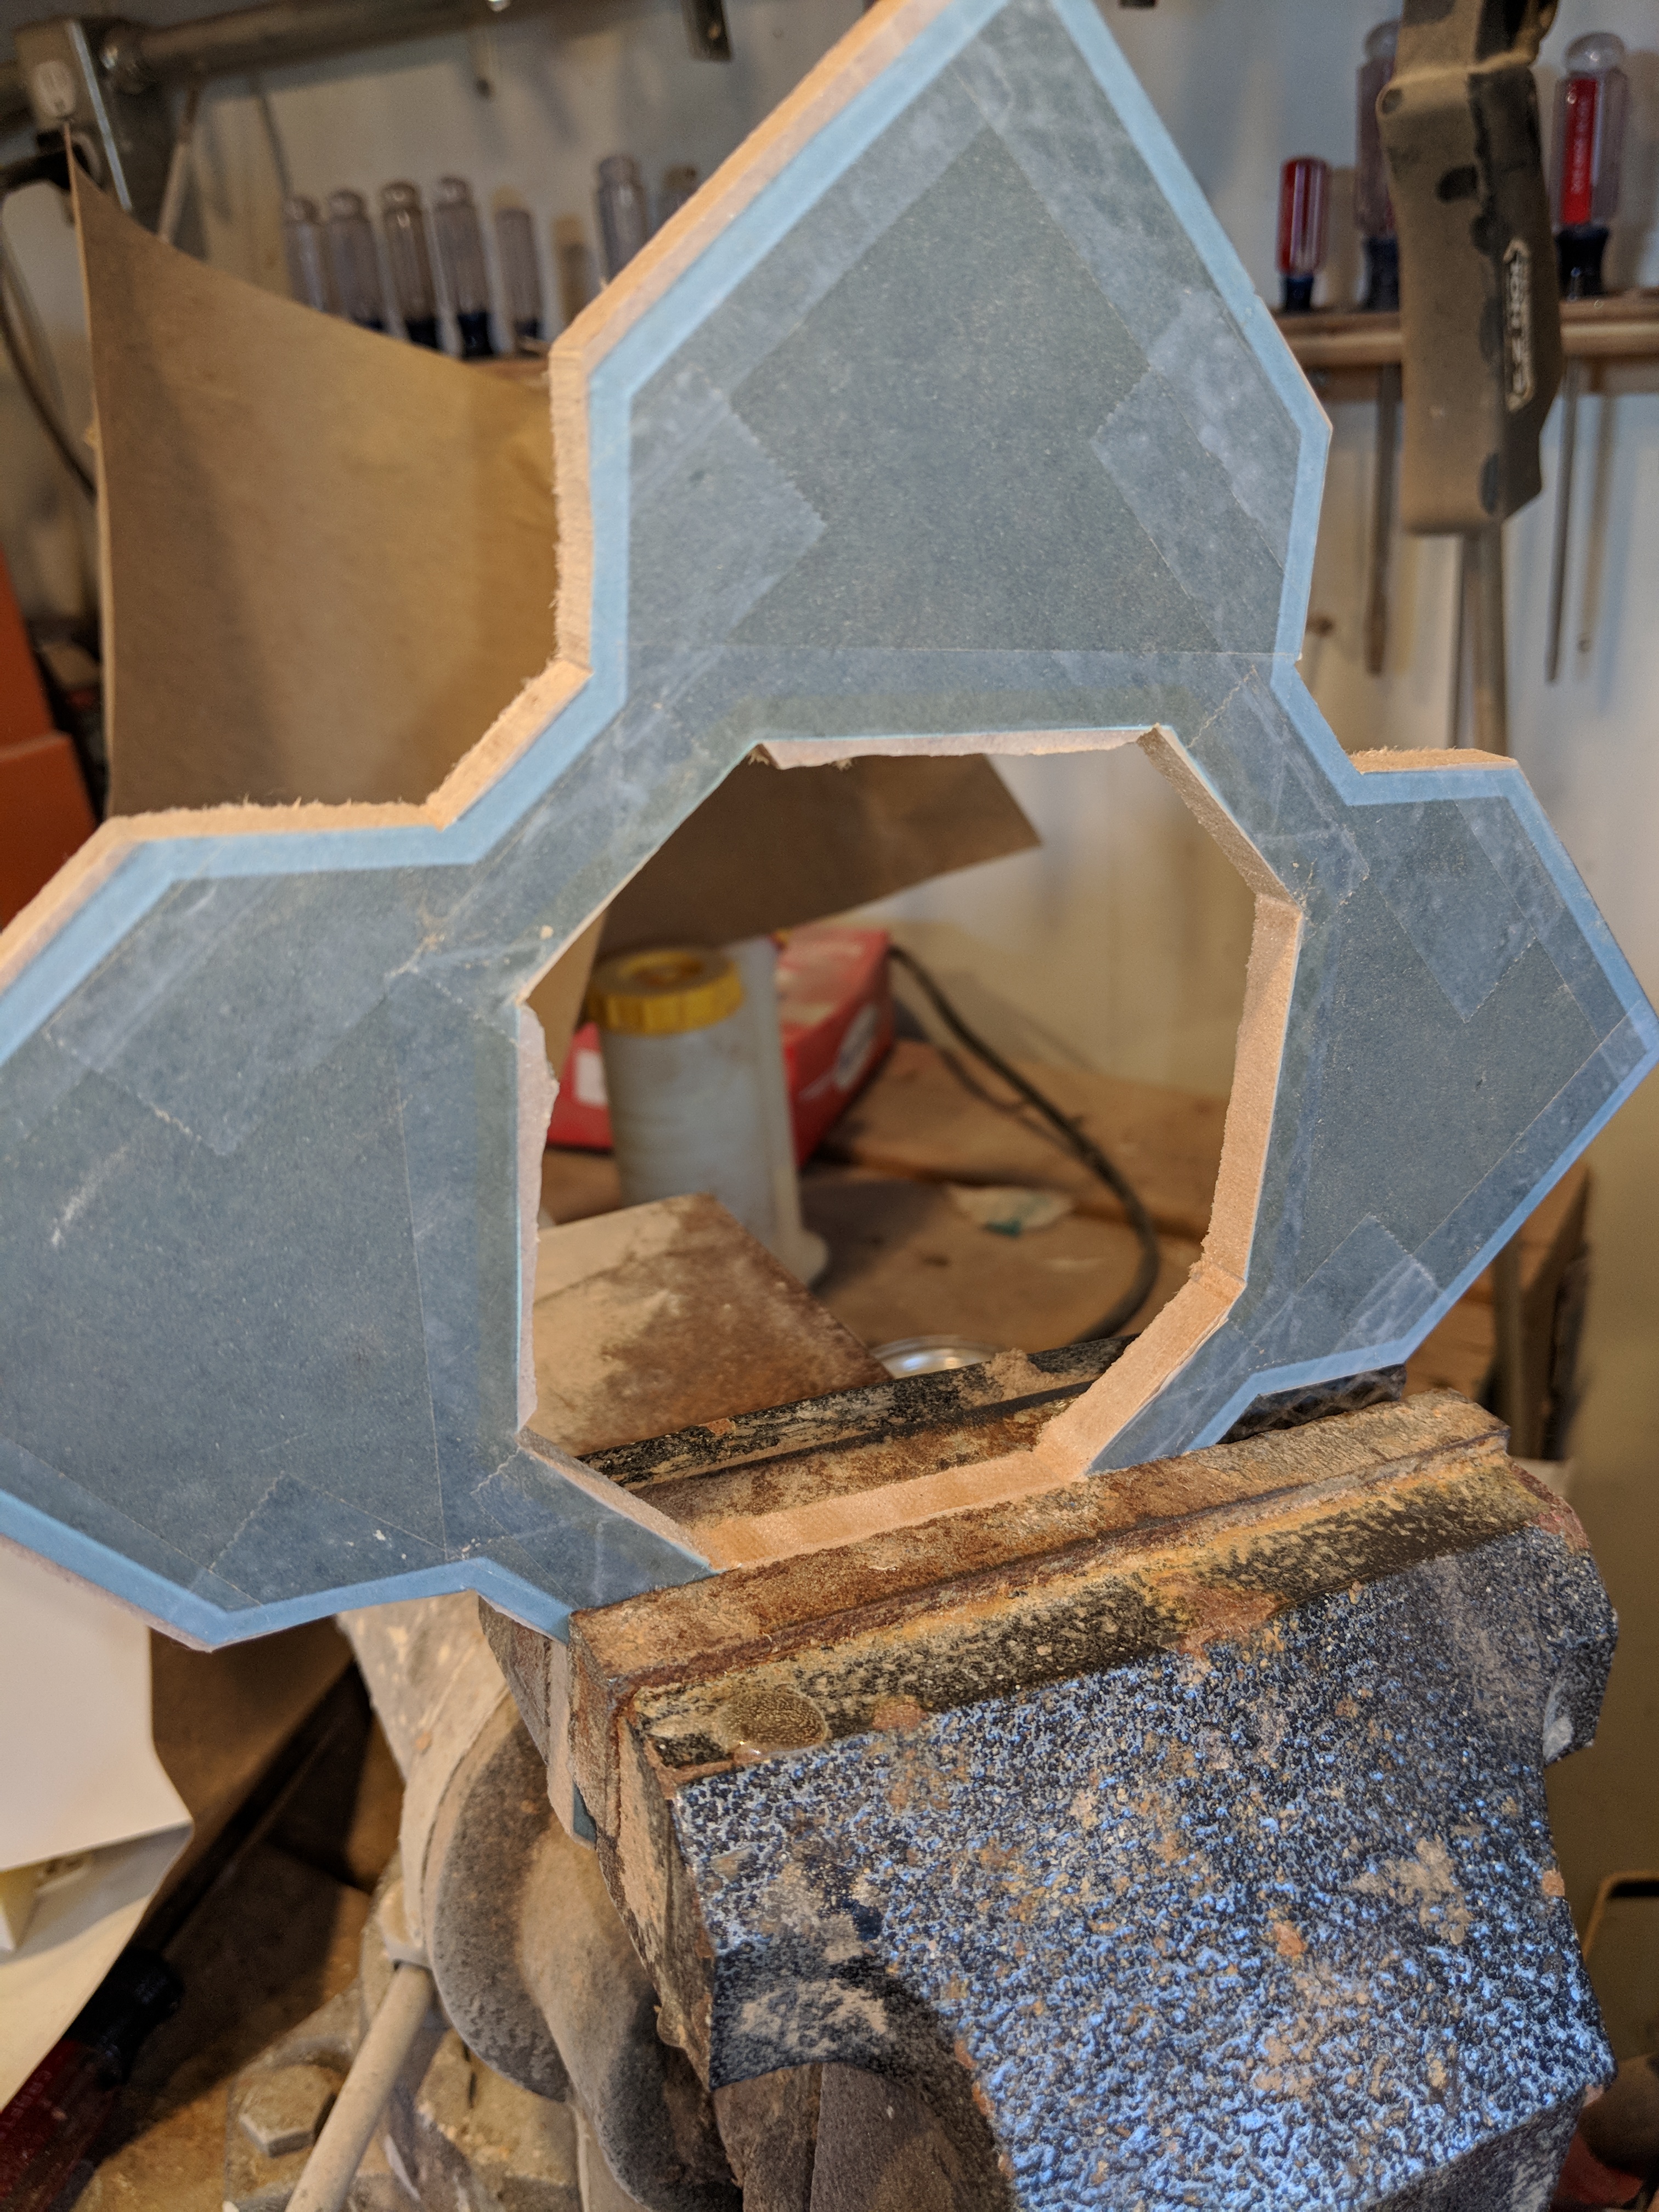
Printed this out and taped it to some 1/4″ MDF, used a coping saw, files, and a band saw to cut it out juuuuust right

Meeseeks 5
Double sided tape to stick it down to 5 additional pieces of MDF, and a router flush trim bit plus a tiny bit of cleanup with the files made quick duplicates
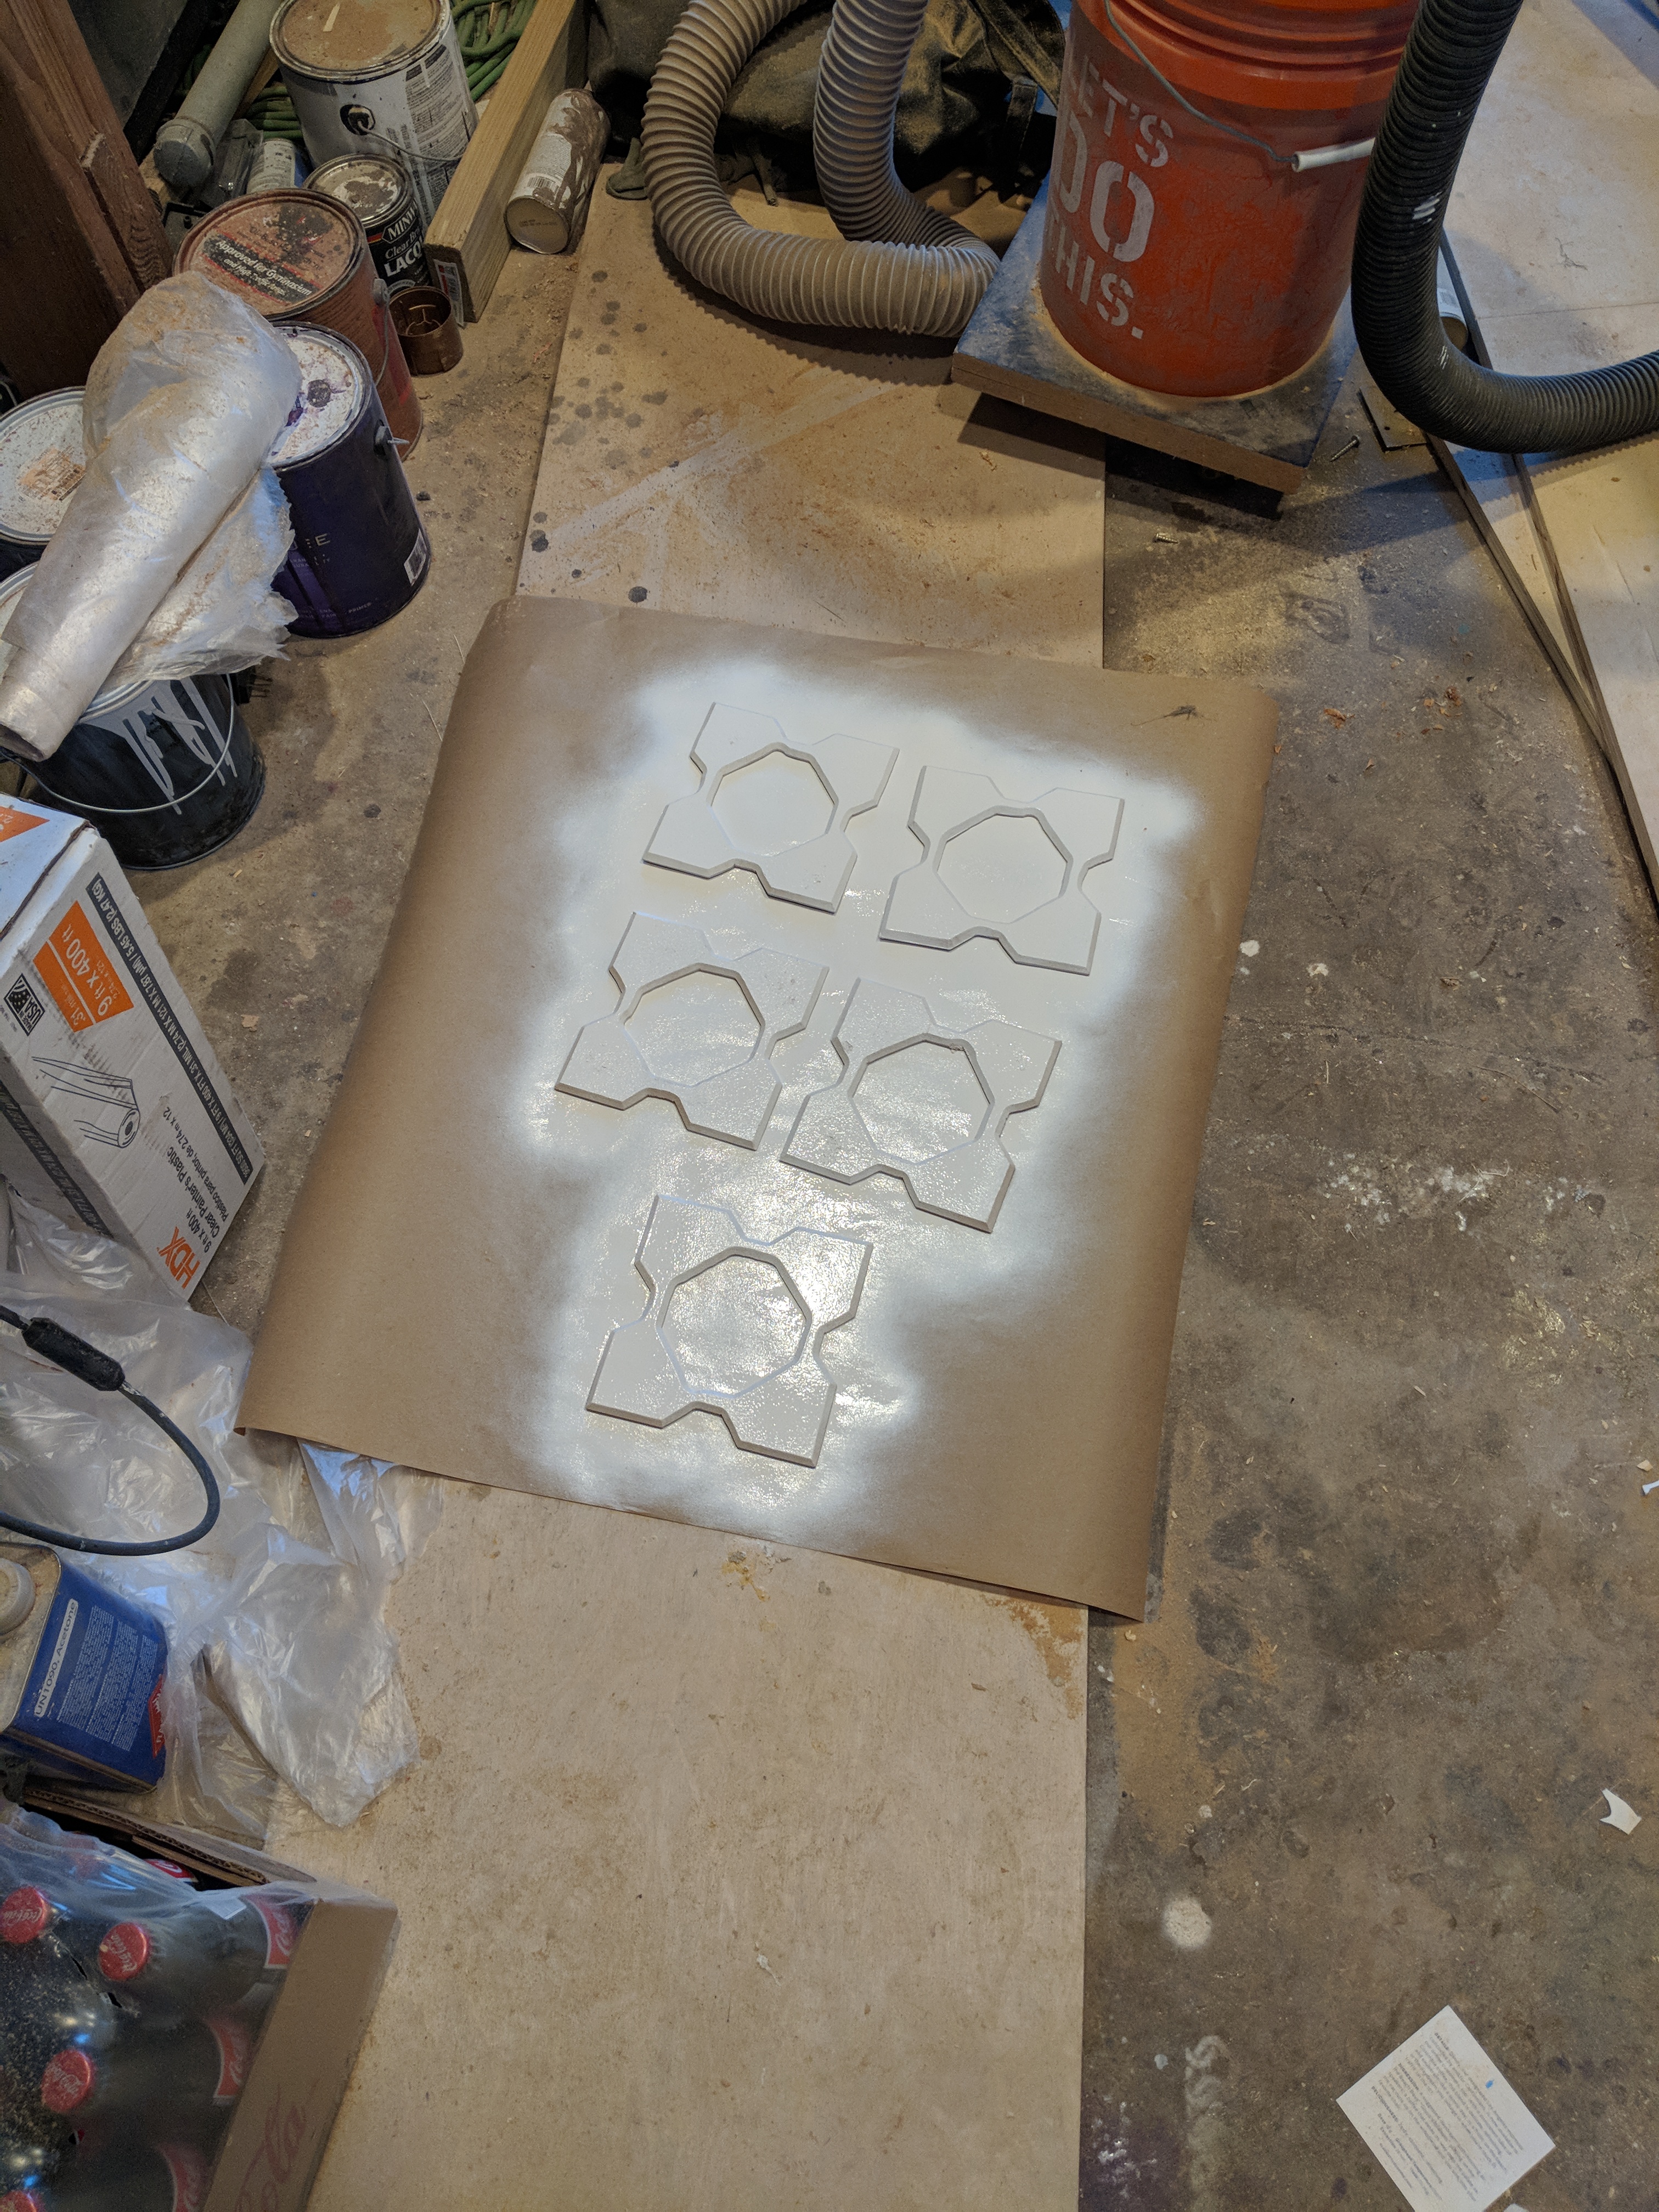
Meeseeks 6
Primed with Kilz
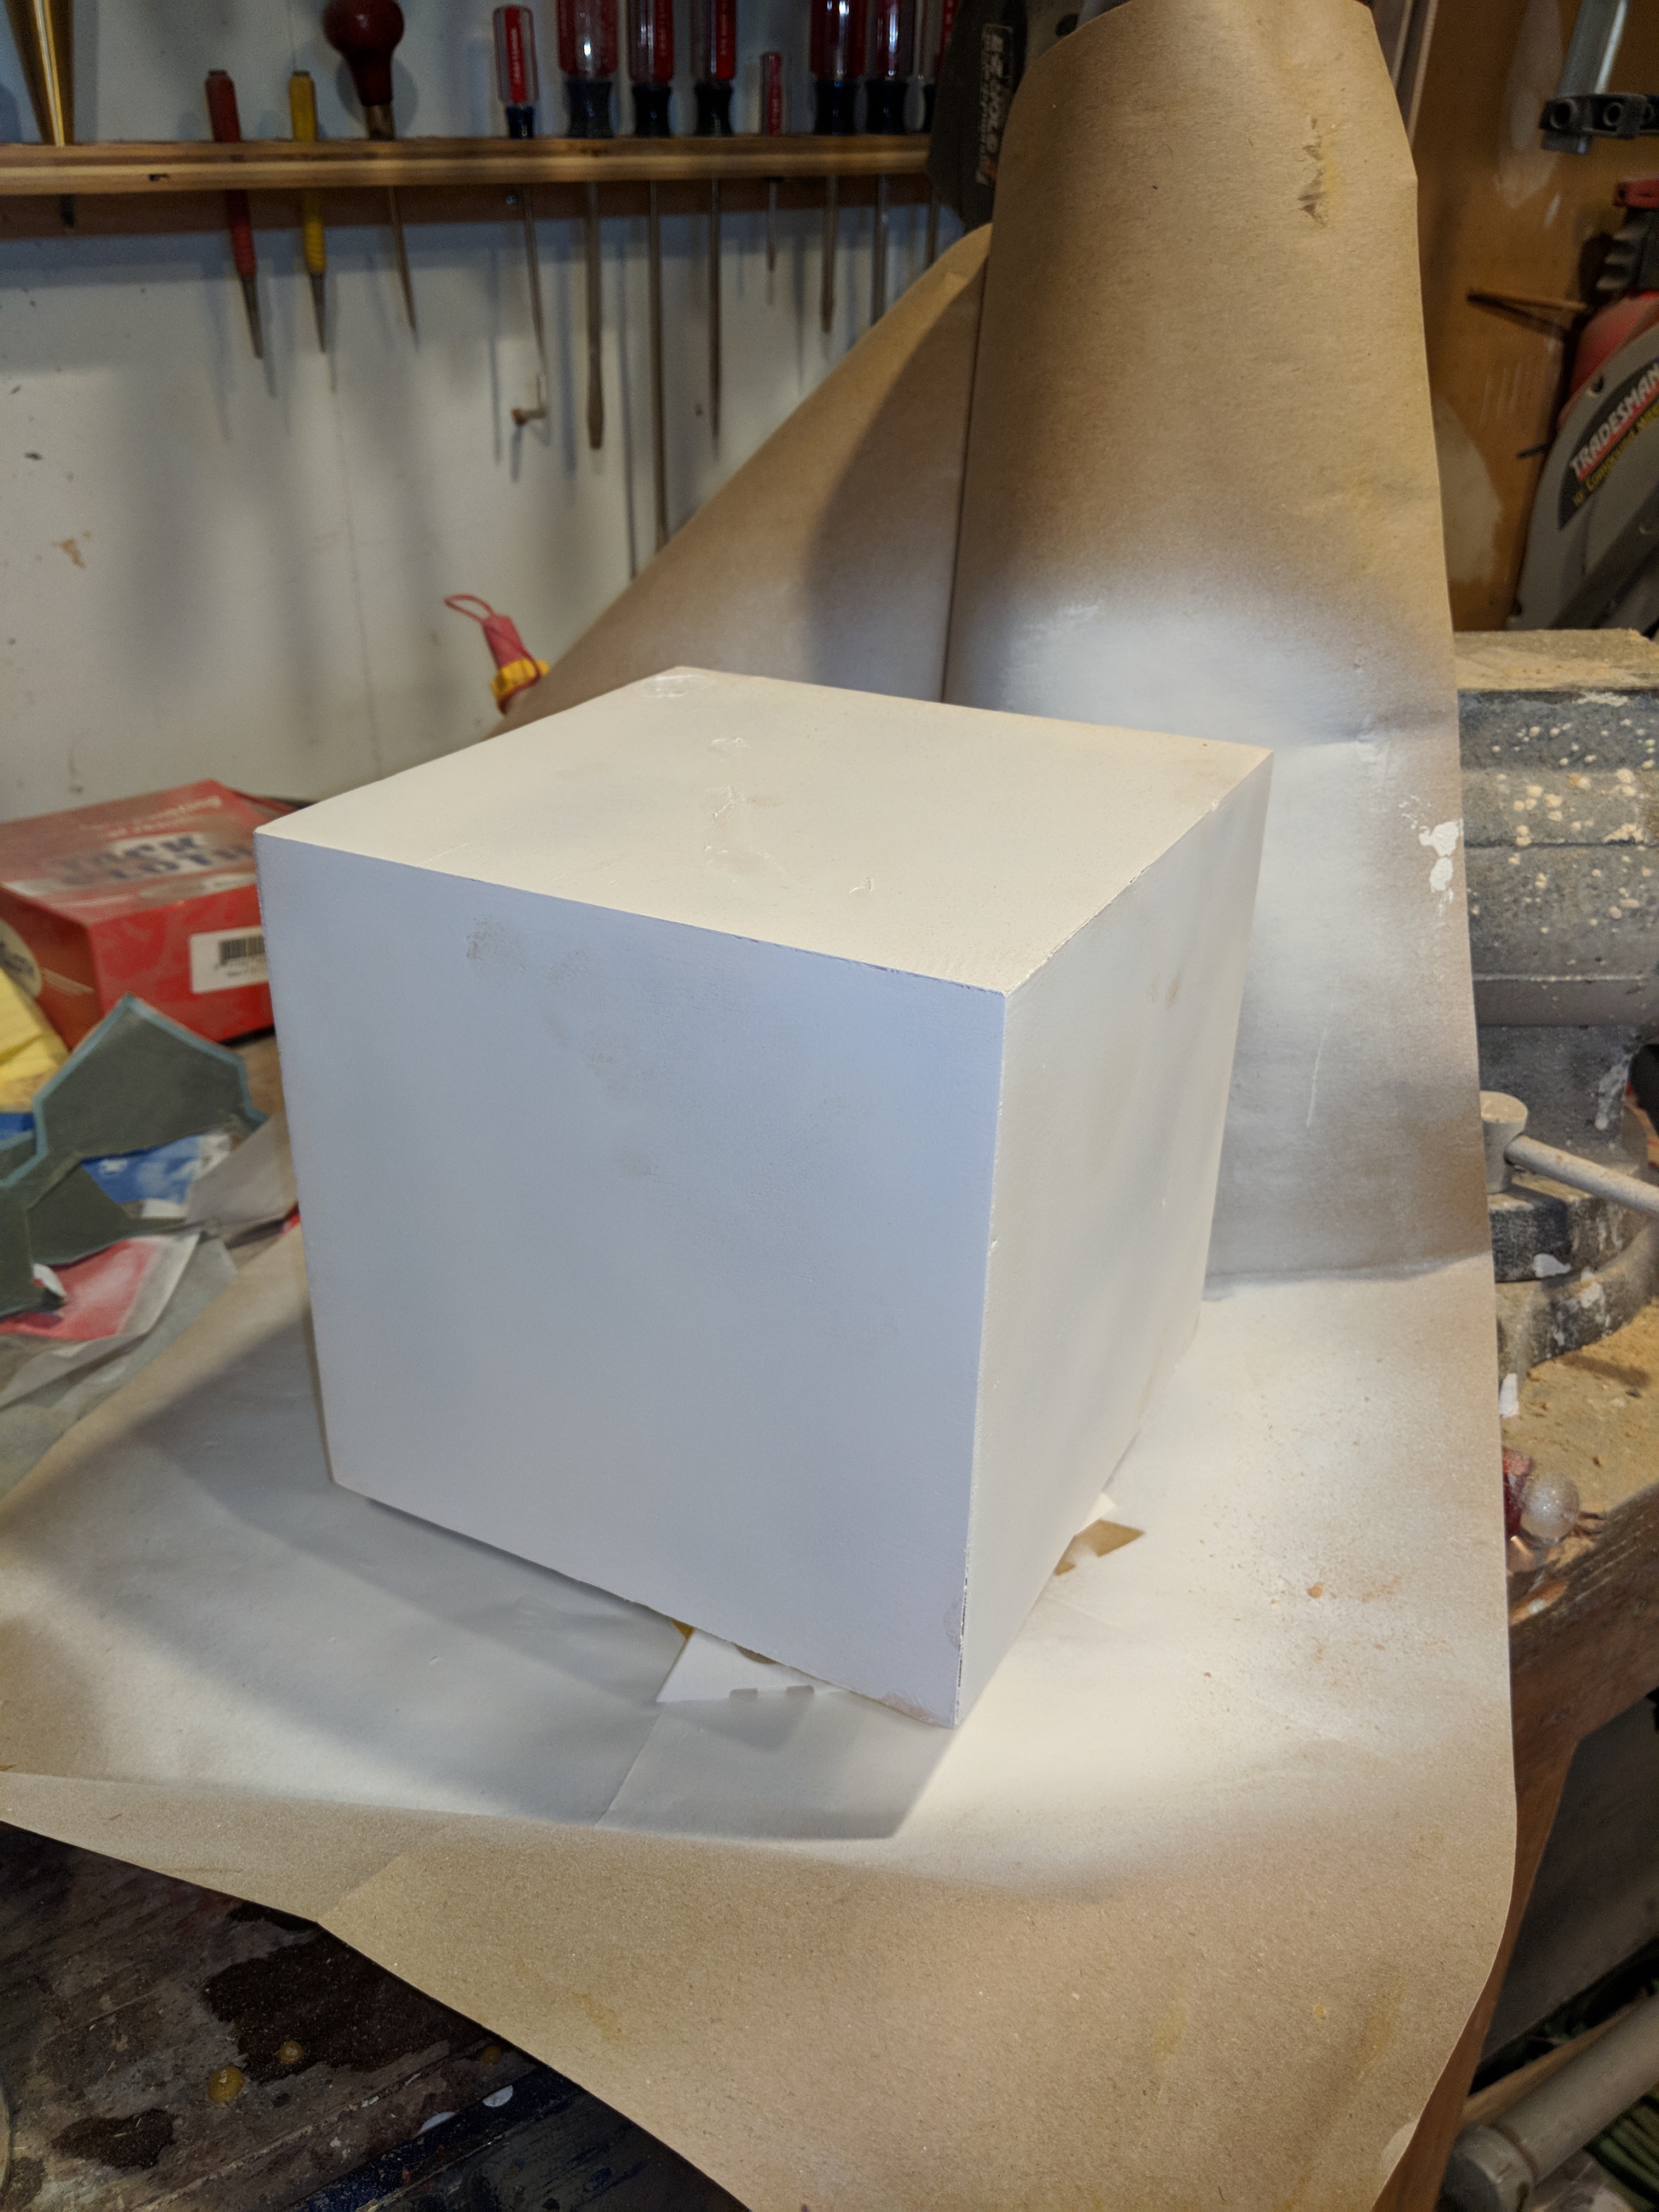
Meeseeks 7
Also primed with Kilz

Meeseeks 8
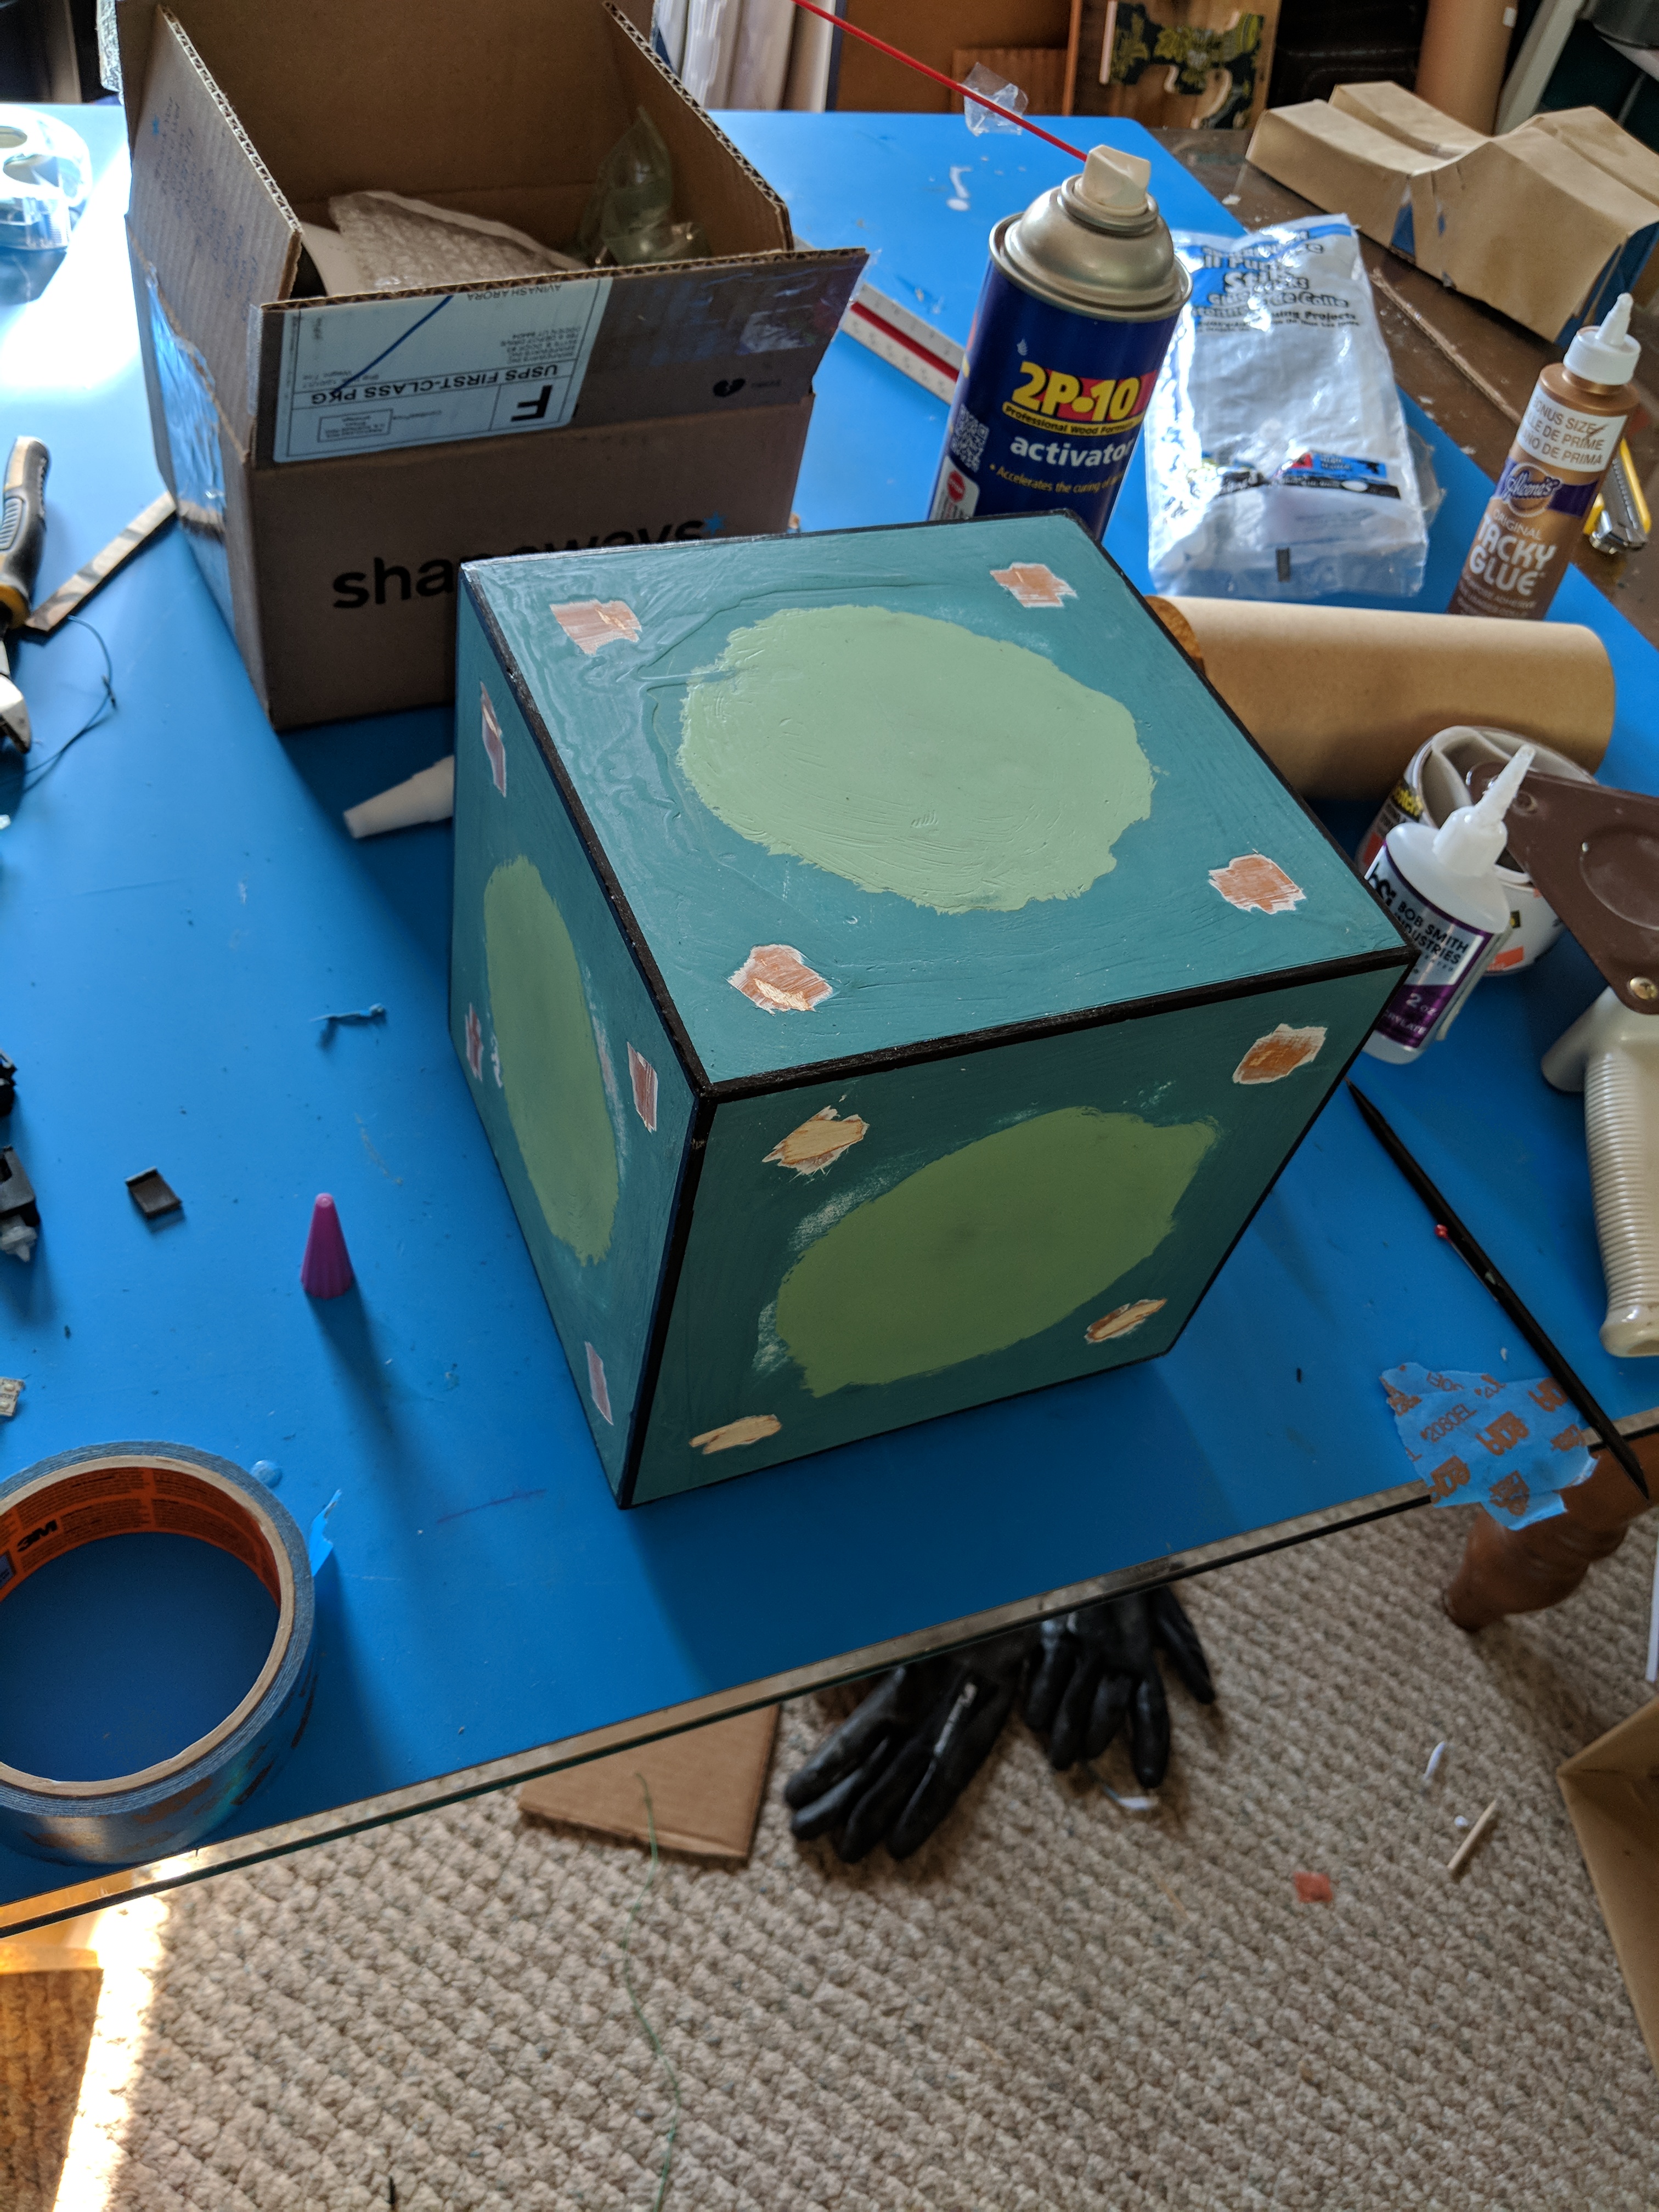
I bought one paint sample from Home Depot that was the “middle” green, and just added pigment tints to that to derive all the other greens. I painted everything with the brighter medium green for a first coat.

Meeseeks 9
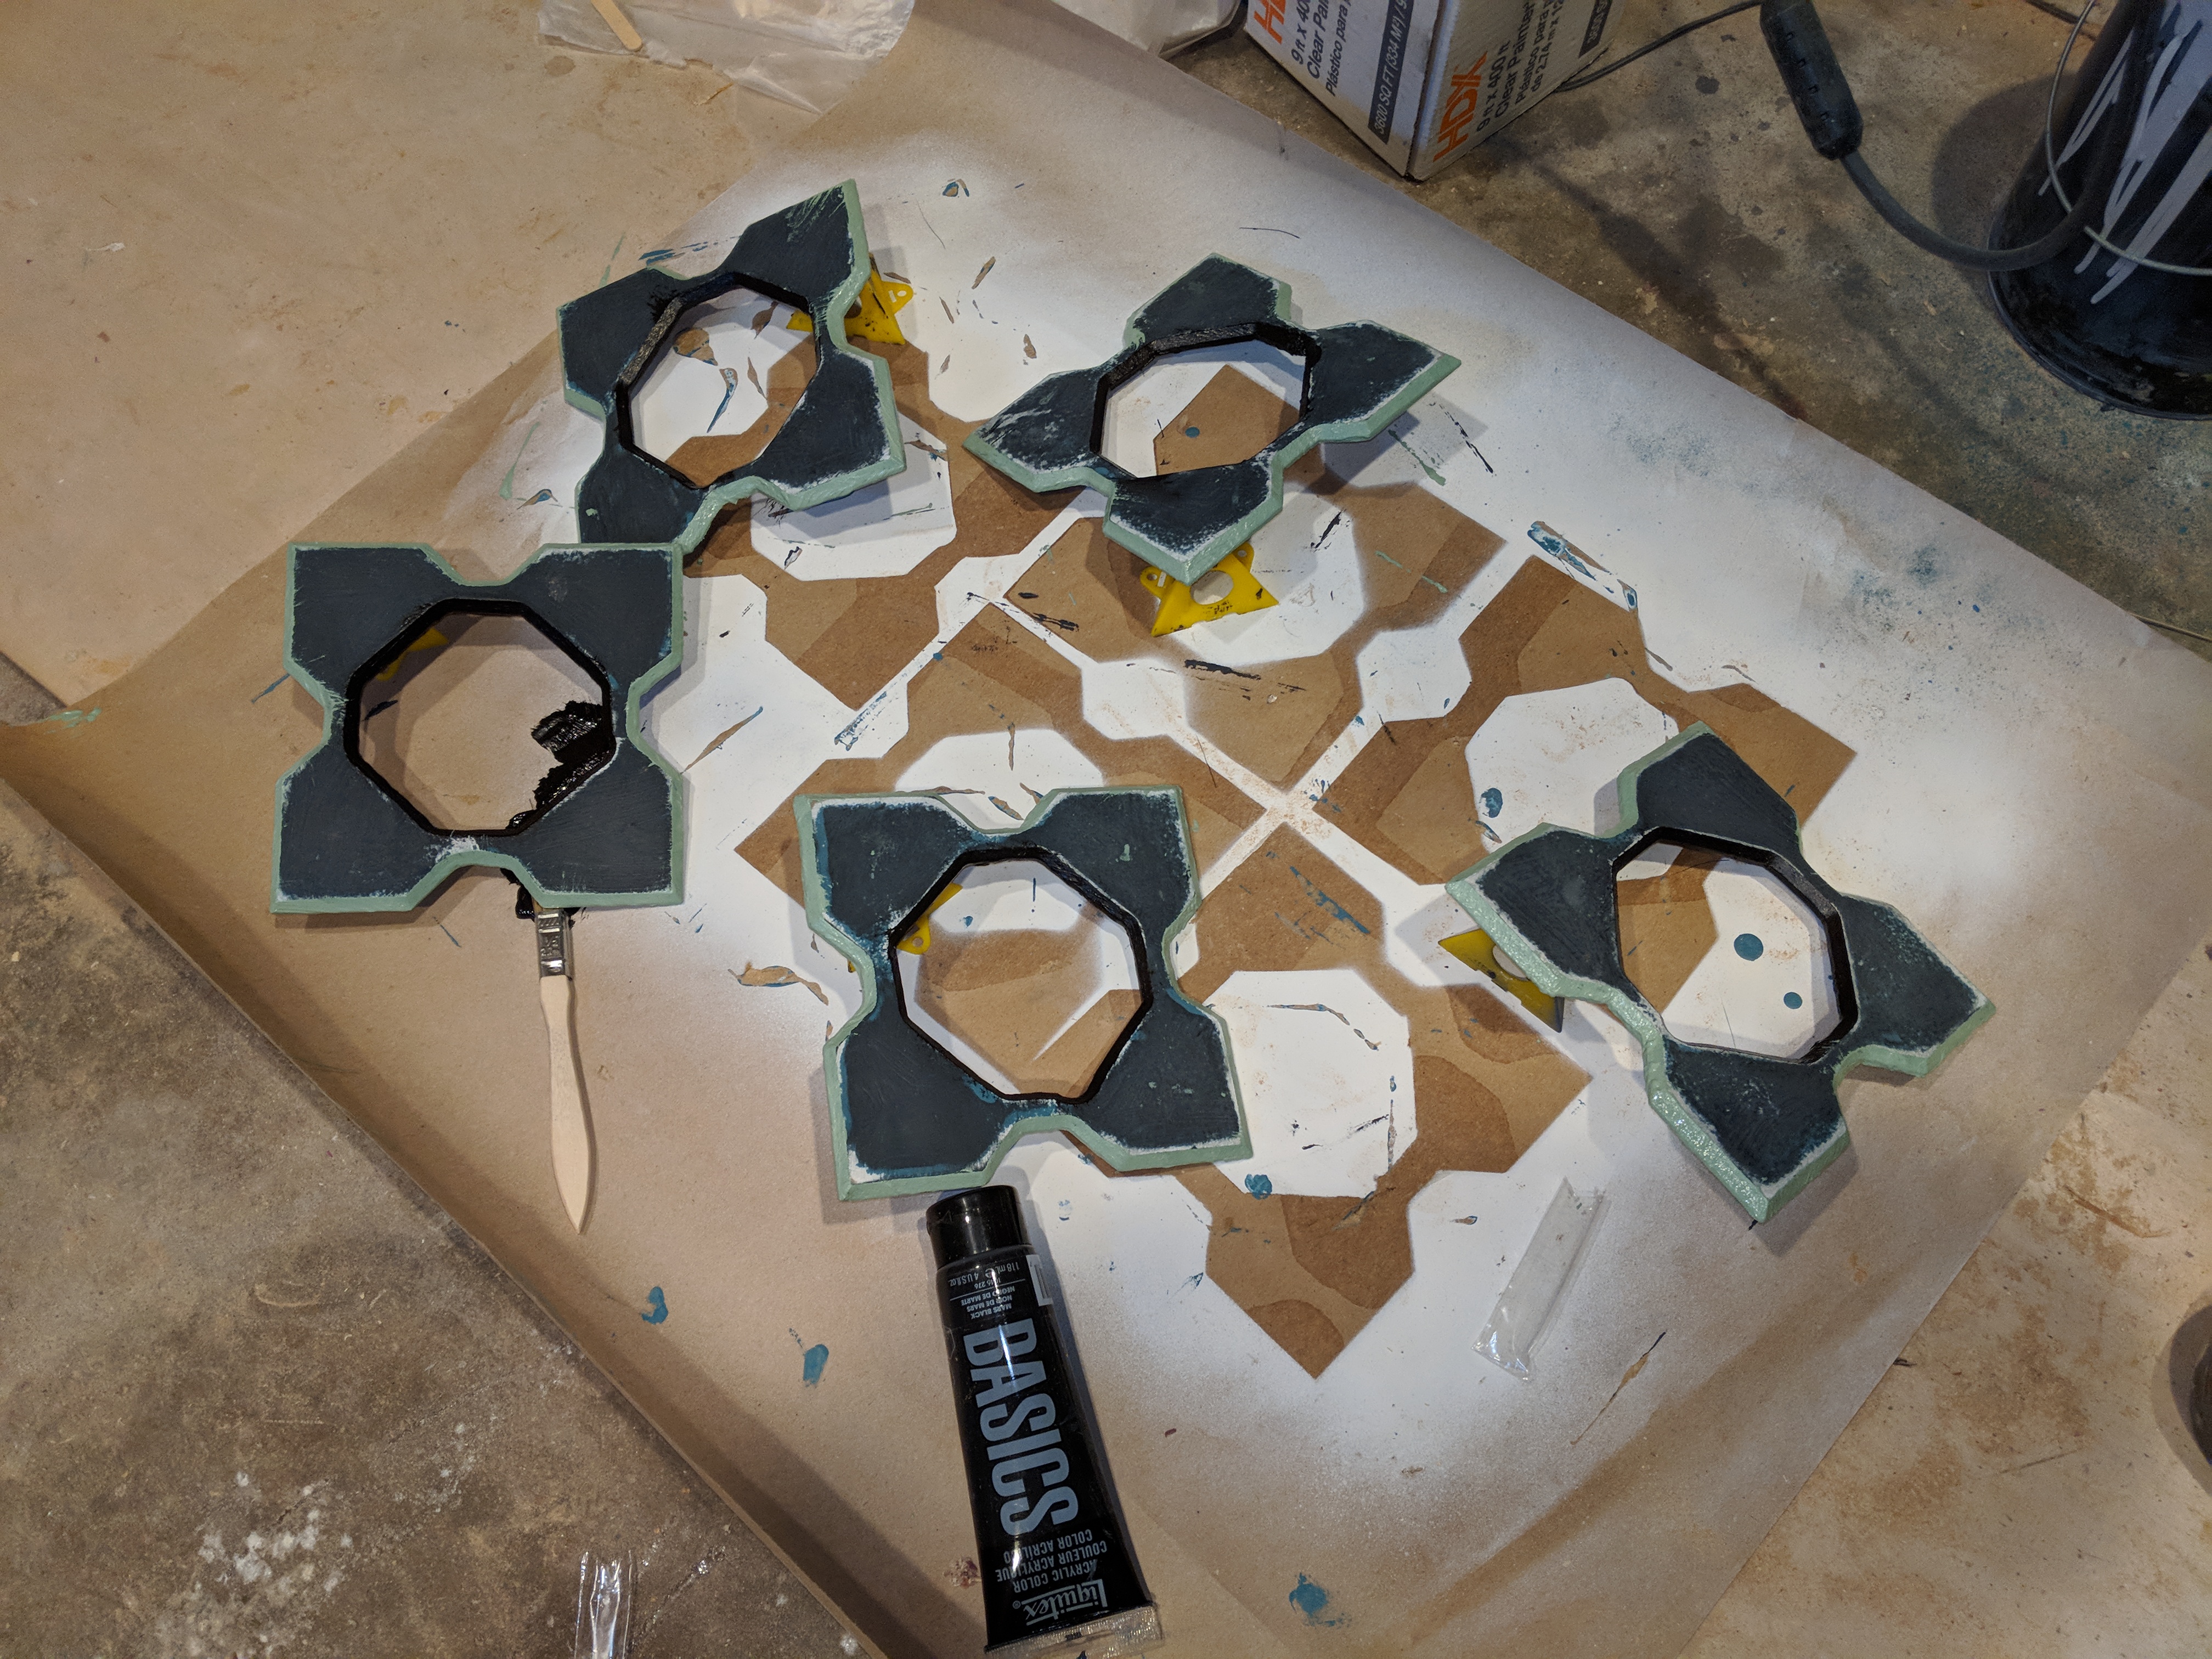
This is my dying/pigmenting, mostly I used black and white, but for the center part, I added a little yellow to get that really bright color.
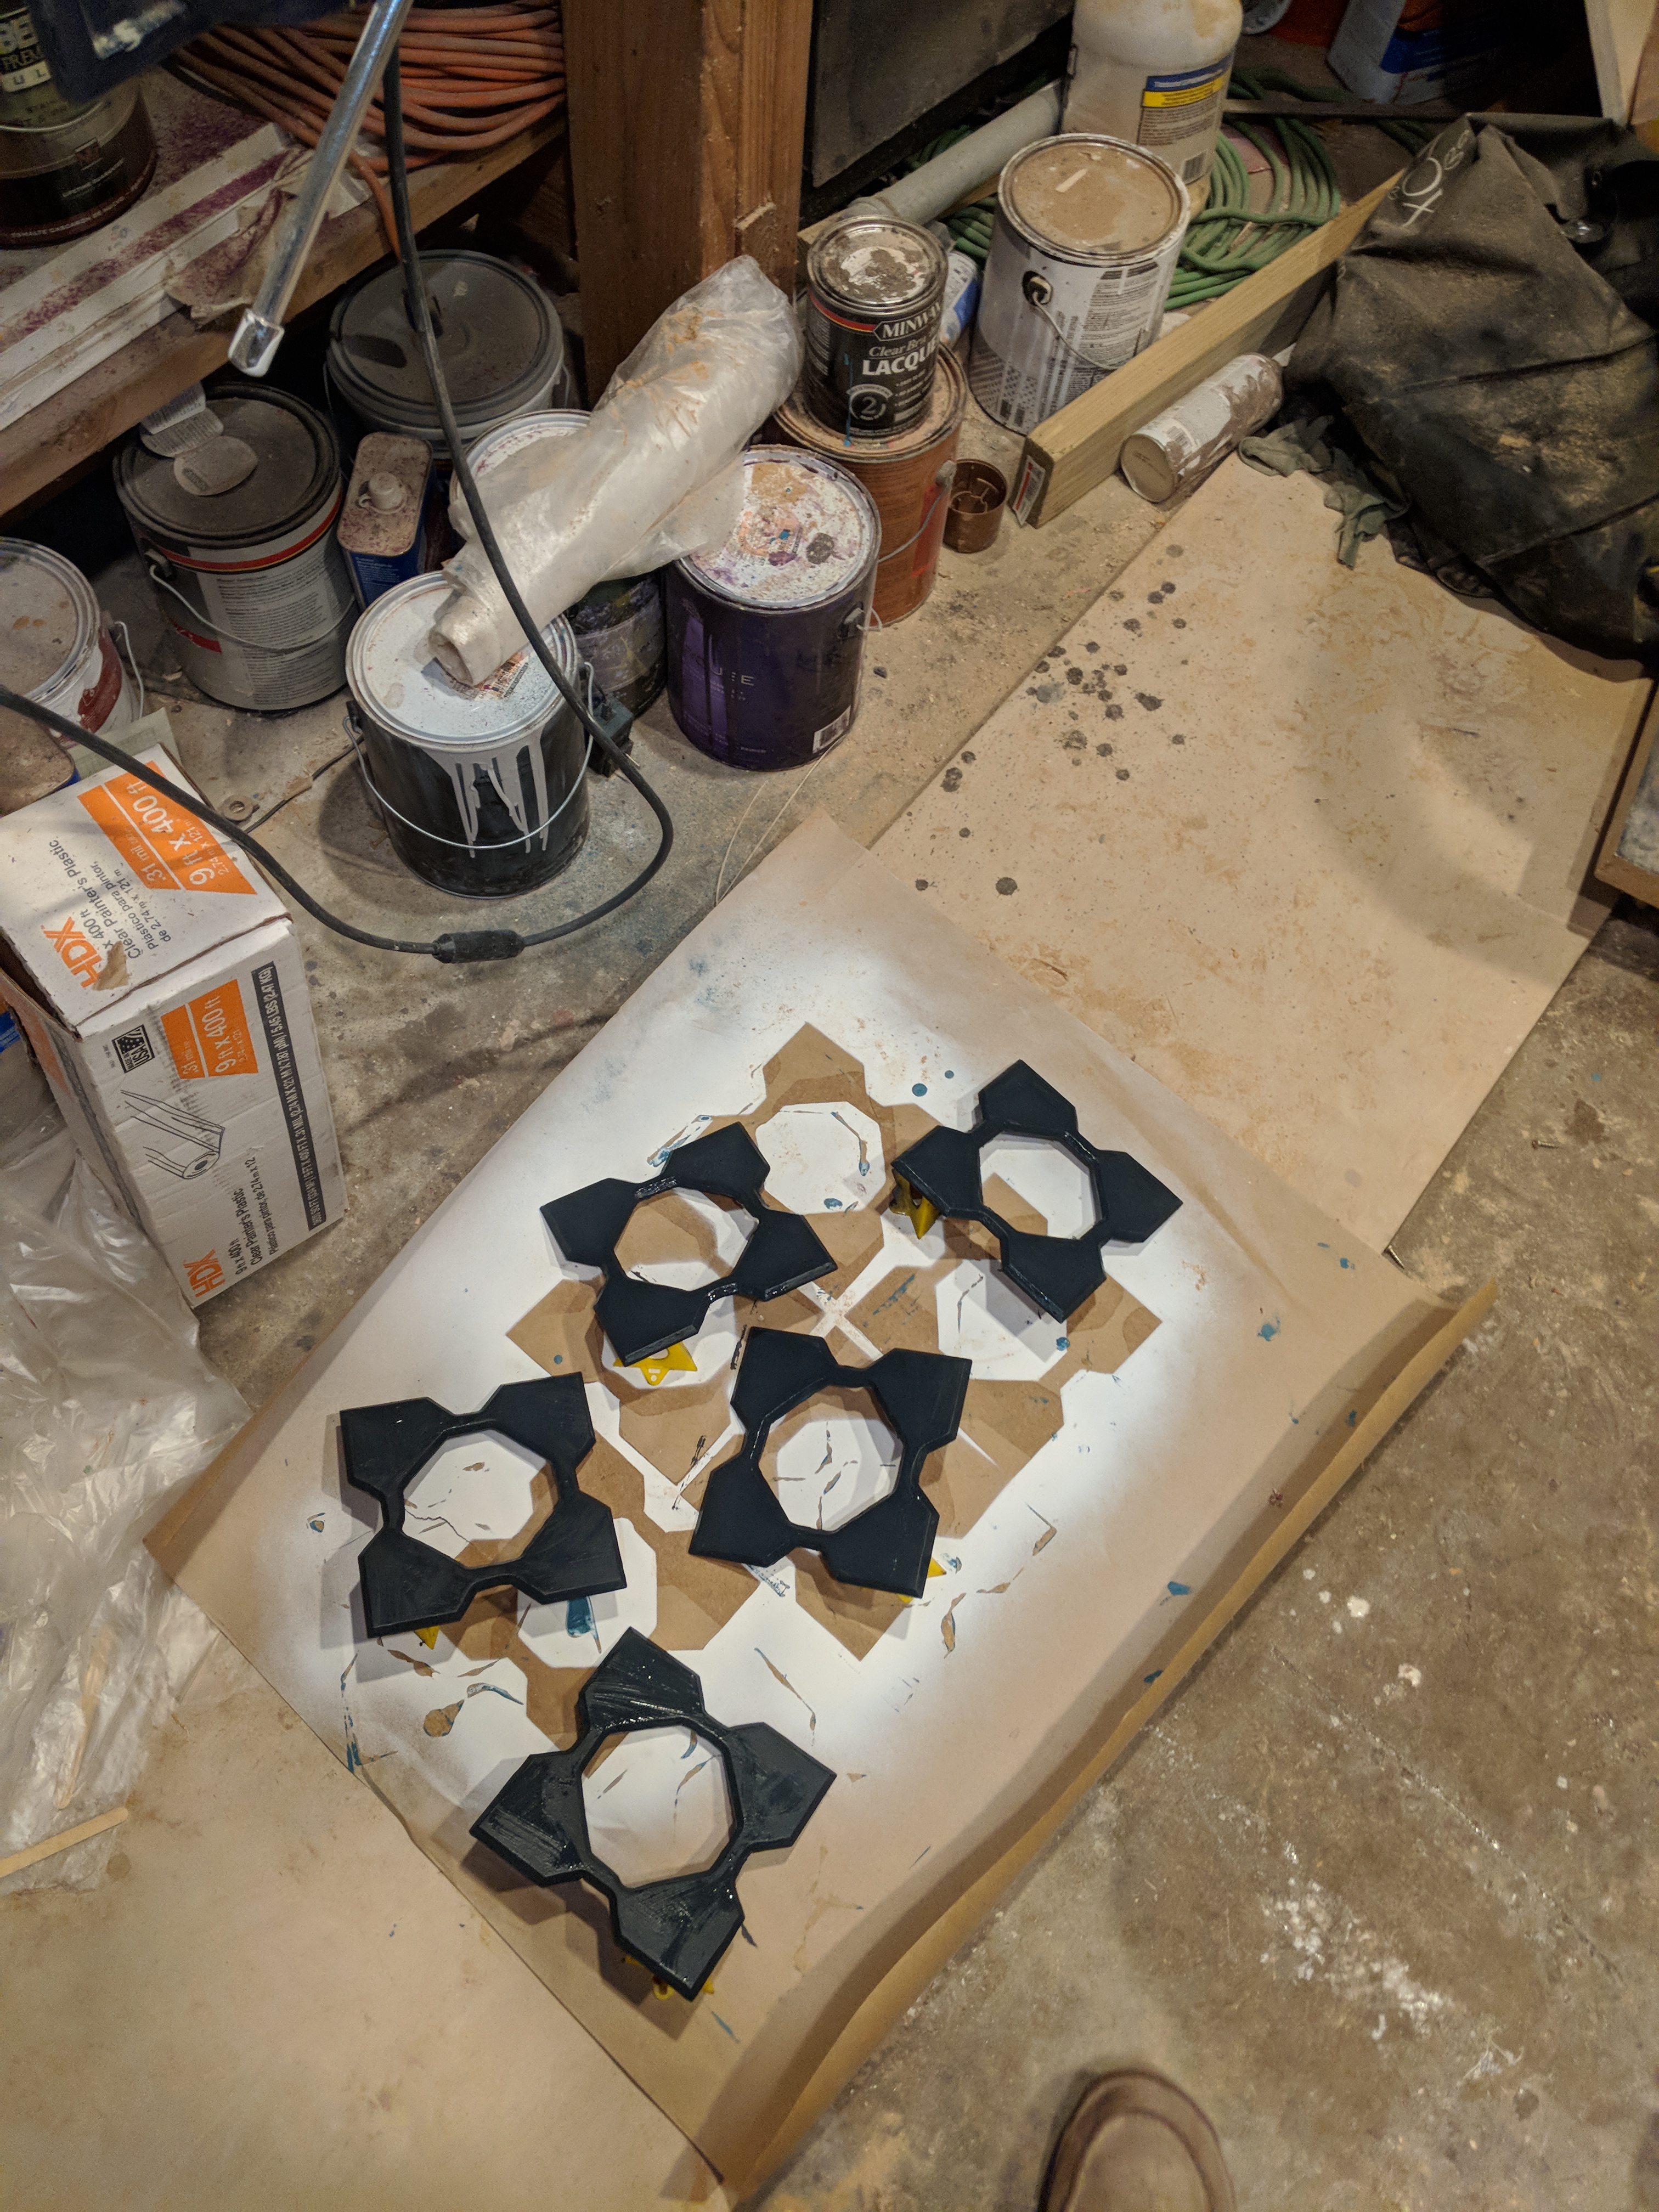
Meeseeks 10
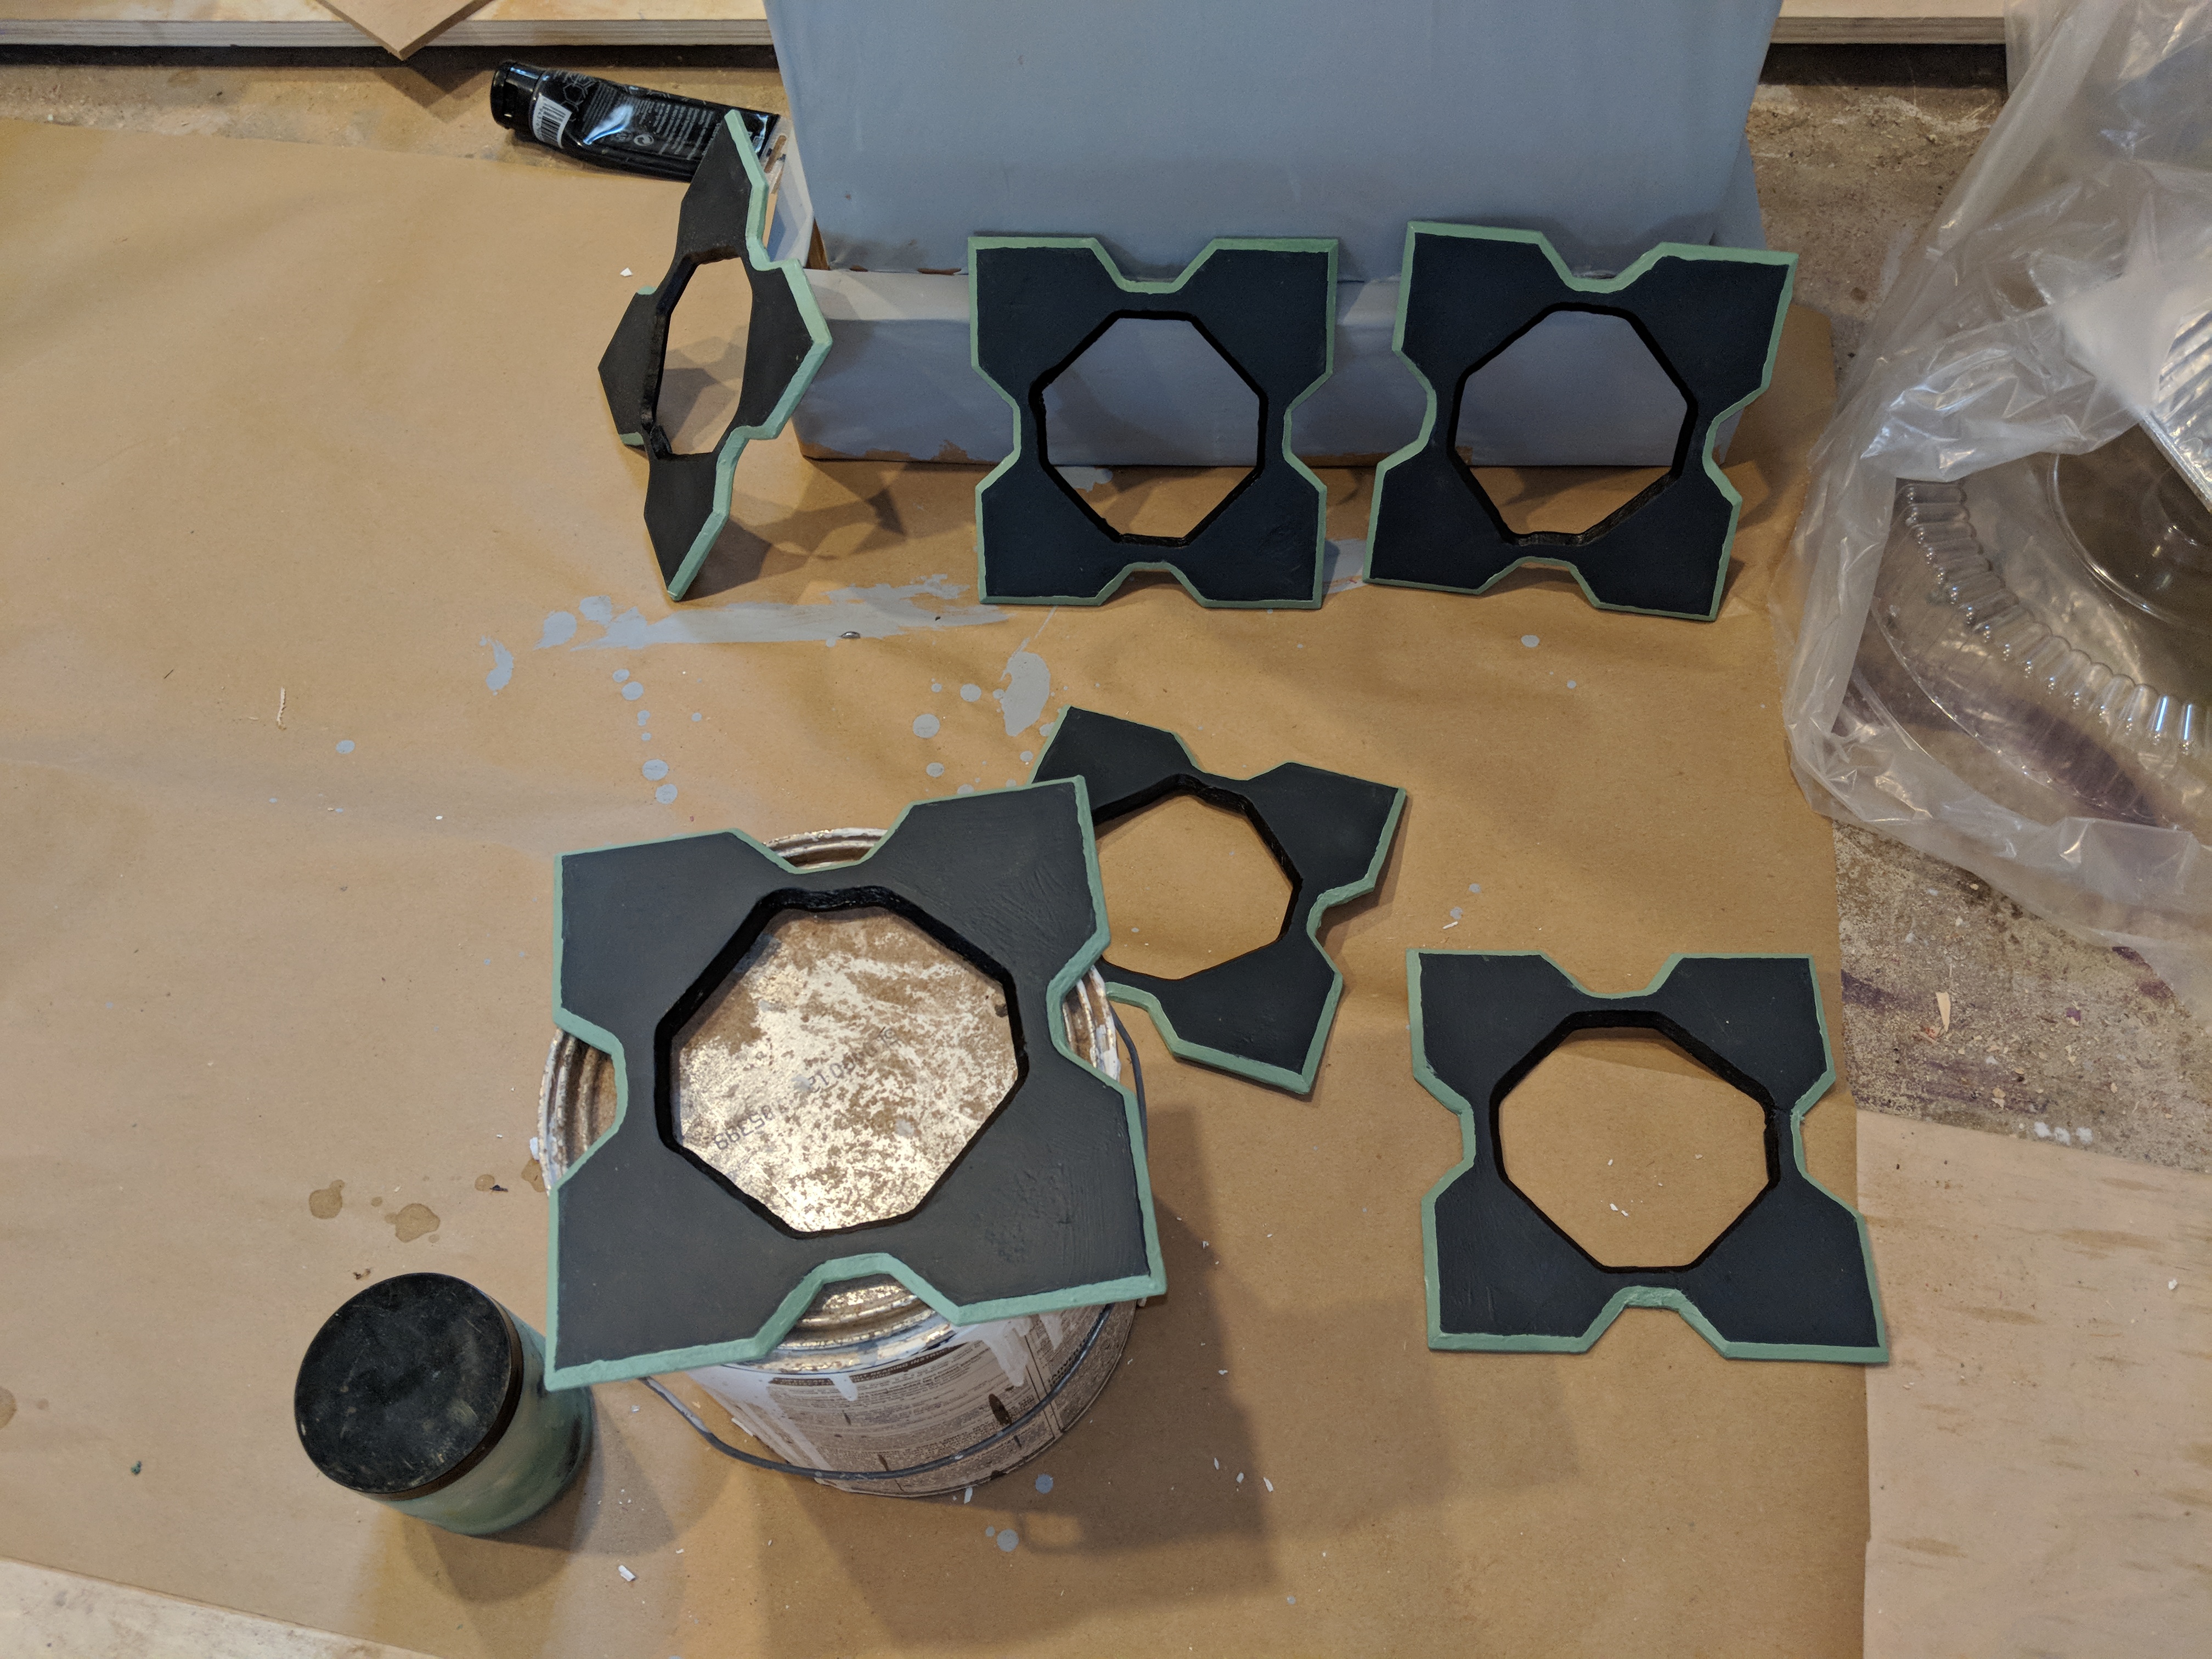
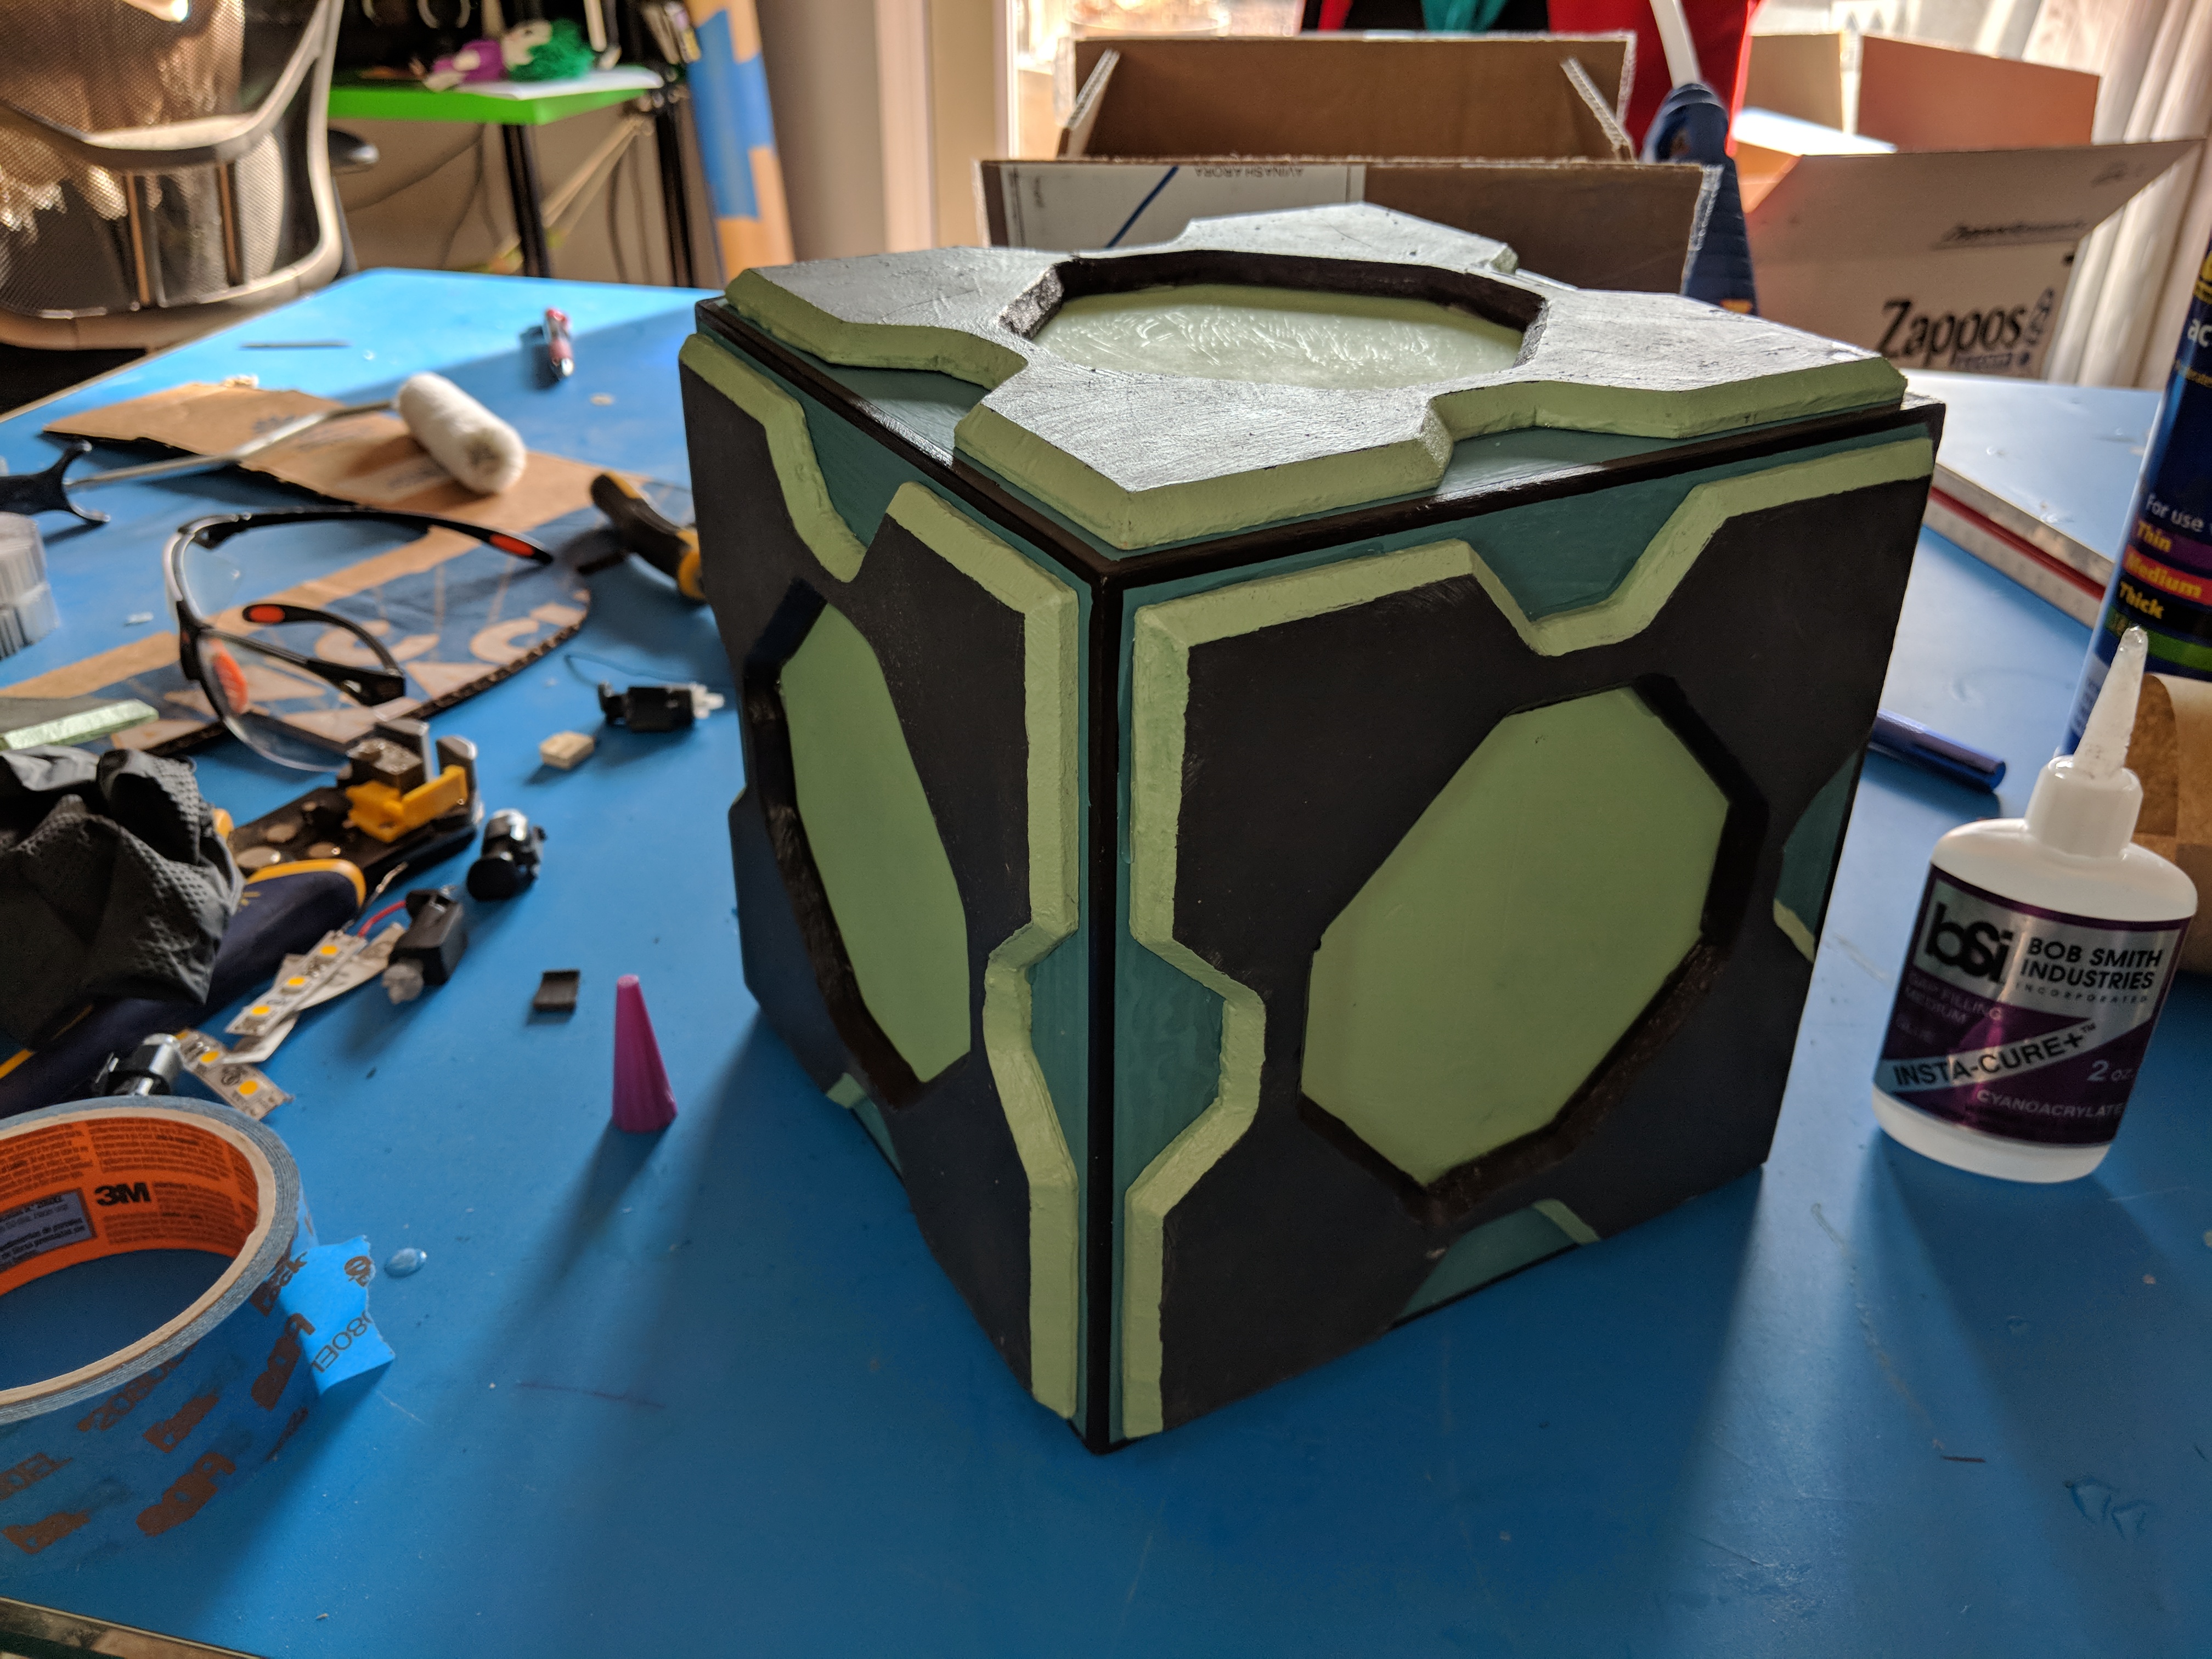
Now painting with the right colors

Meeseeks 11
Middle plus outsides!
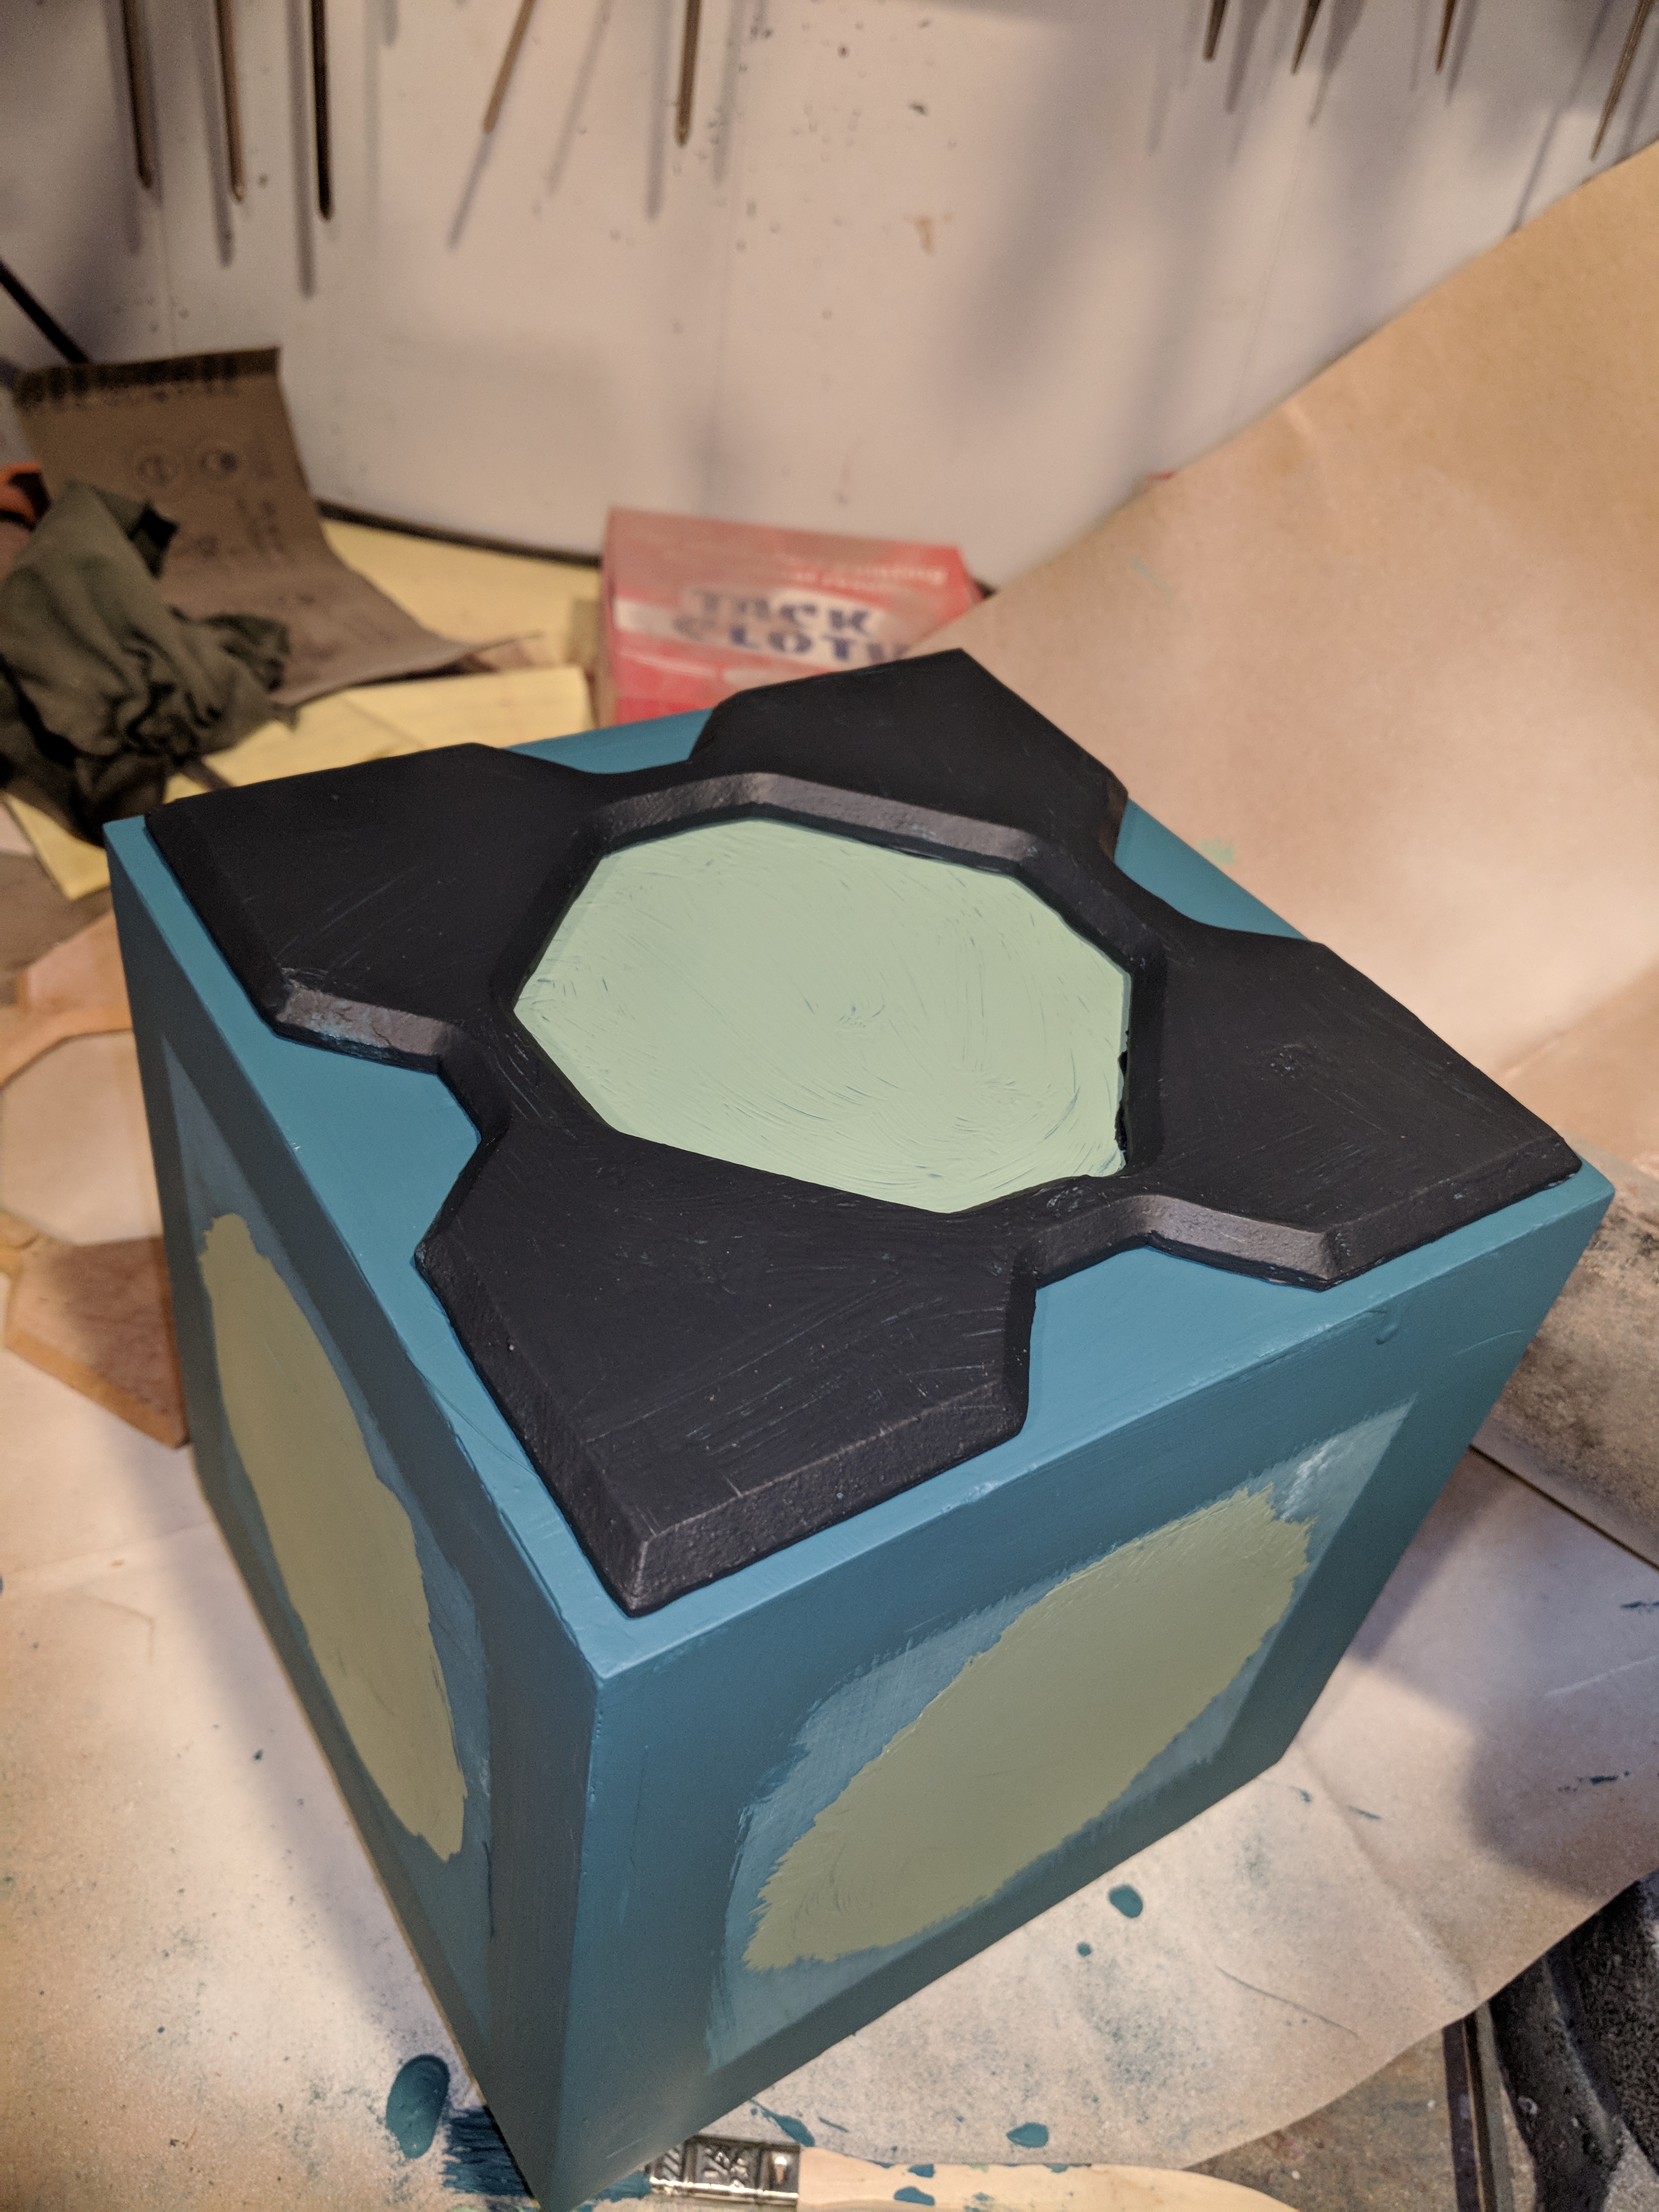
Meeseeks 12
Testing the fit to make sure none of the transition parts are visible. Looking good!

Meeseeks 13
Sanding….More coats
Meeseeks 14
And more

Meeseeks 15
Aaaand more
Meeseeks 16
And now preparing for the very thing 1/8″ black outline on the outside edges, to make it a bit more cartoony looking
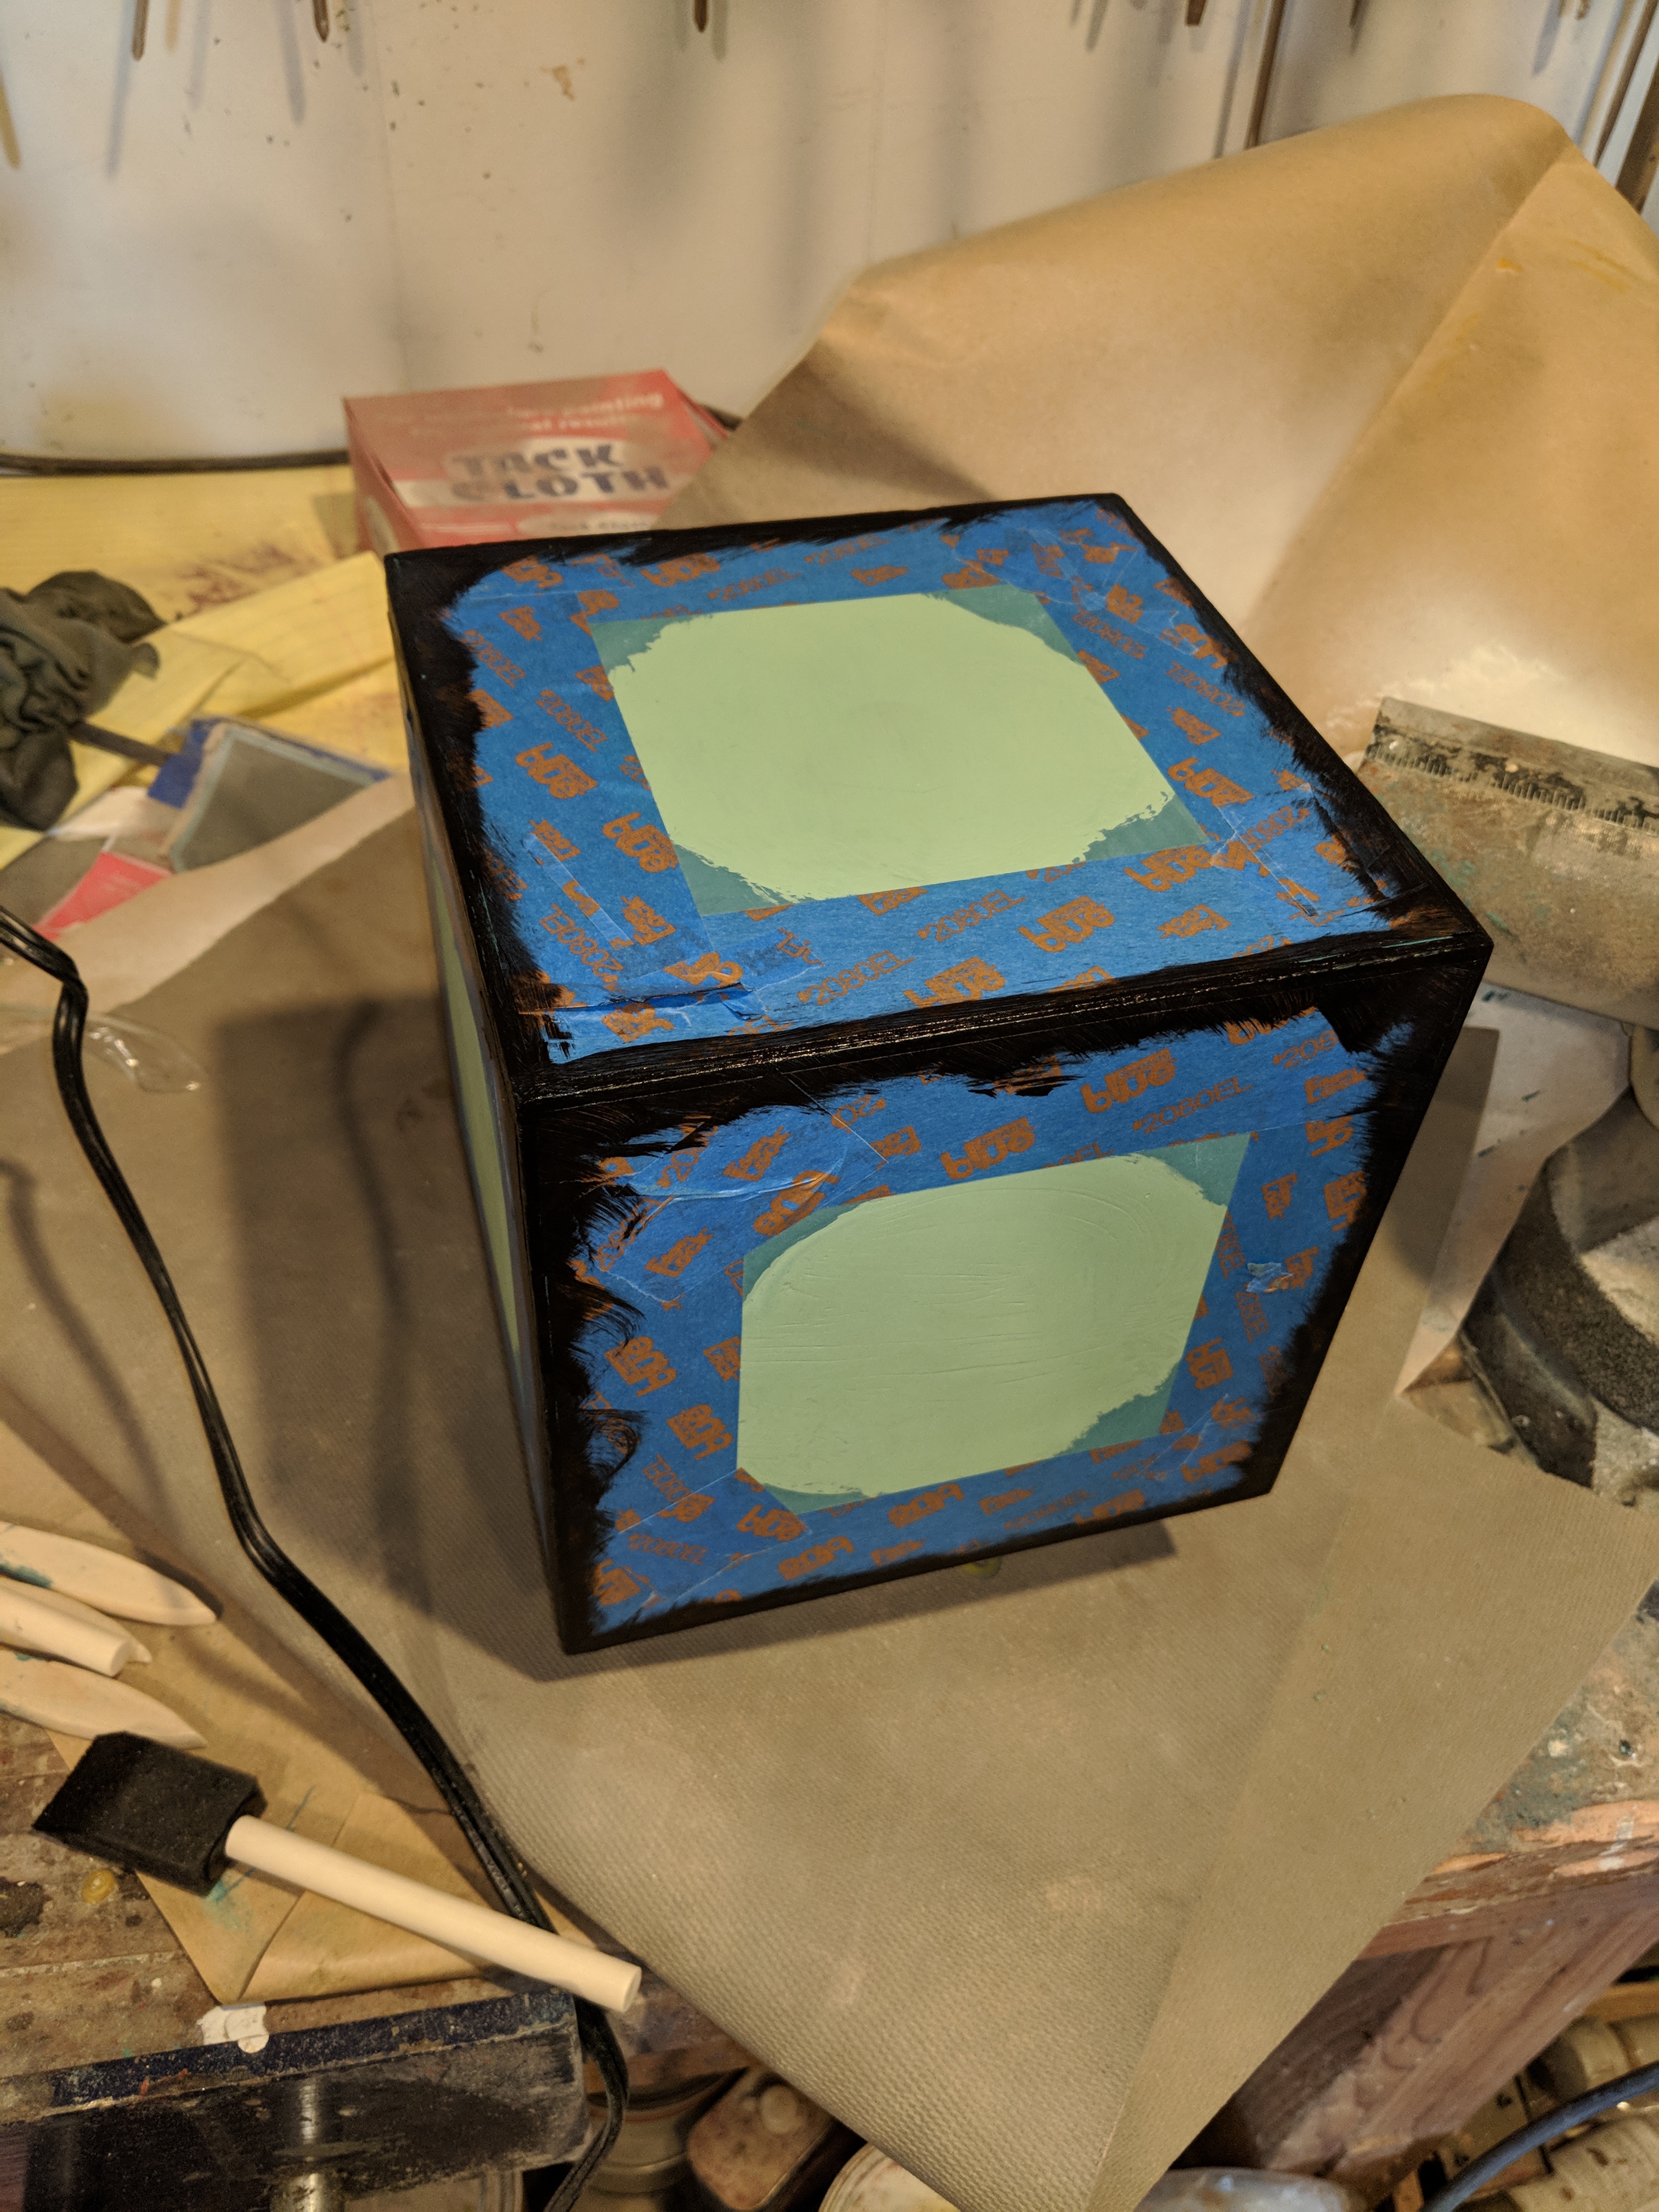
Meeseeks 17
This will work!

Meeseeks 18
Touch ups

Meeseeks 19
See? It worked!
Meeseeks 20
…More touch ups
Meeseeks 21
I carved through the paint to get to bare wood to give my pieces a good wood-to-MDF bonding surface
Meeseeks 22
And then you know…bonded them!
Meeseeks 23
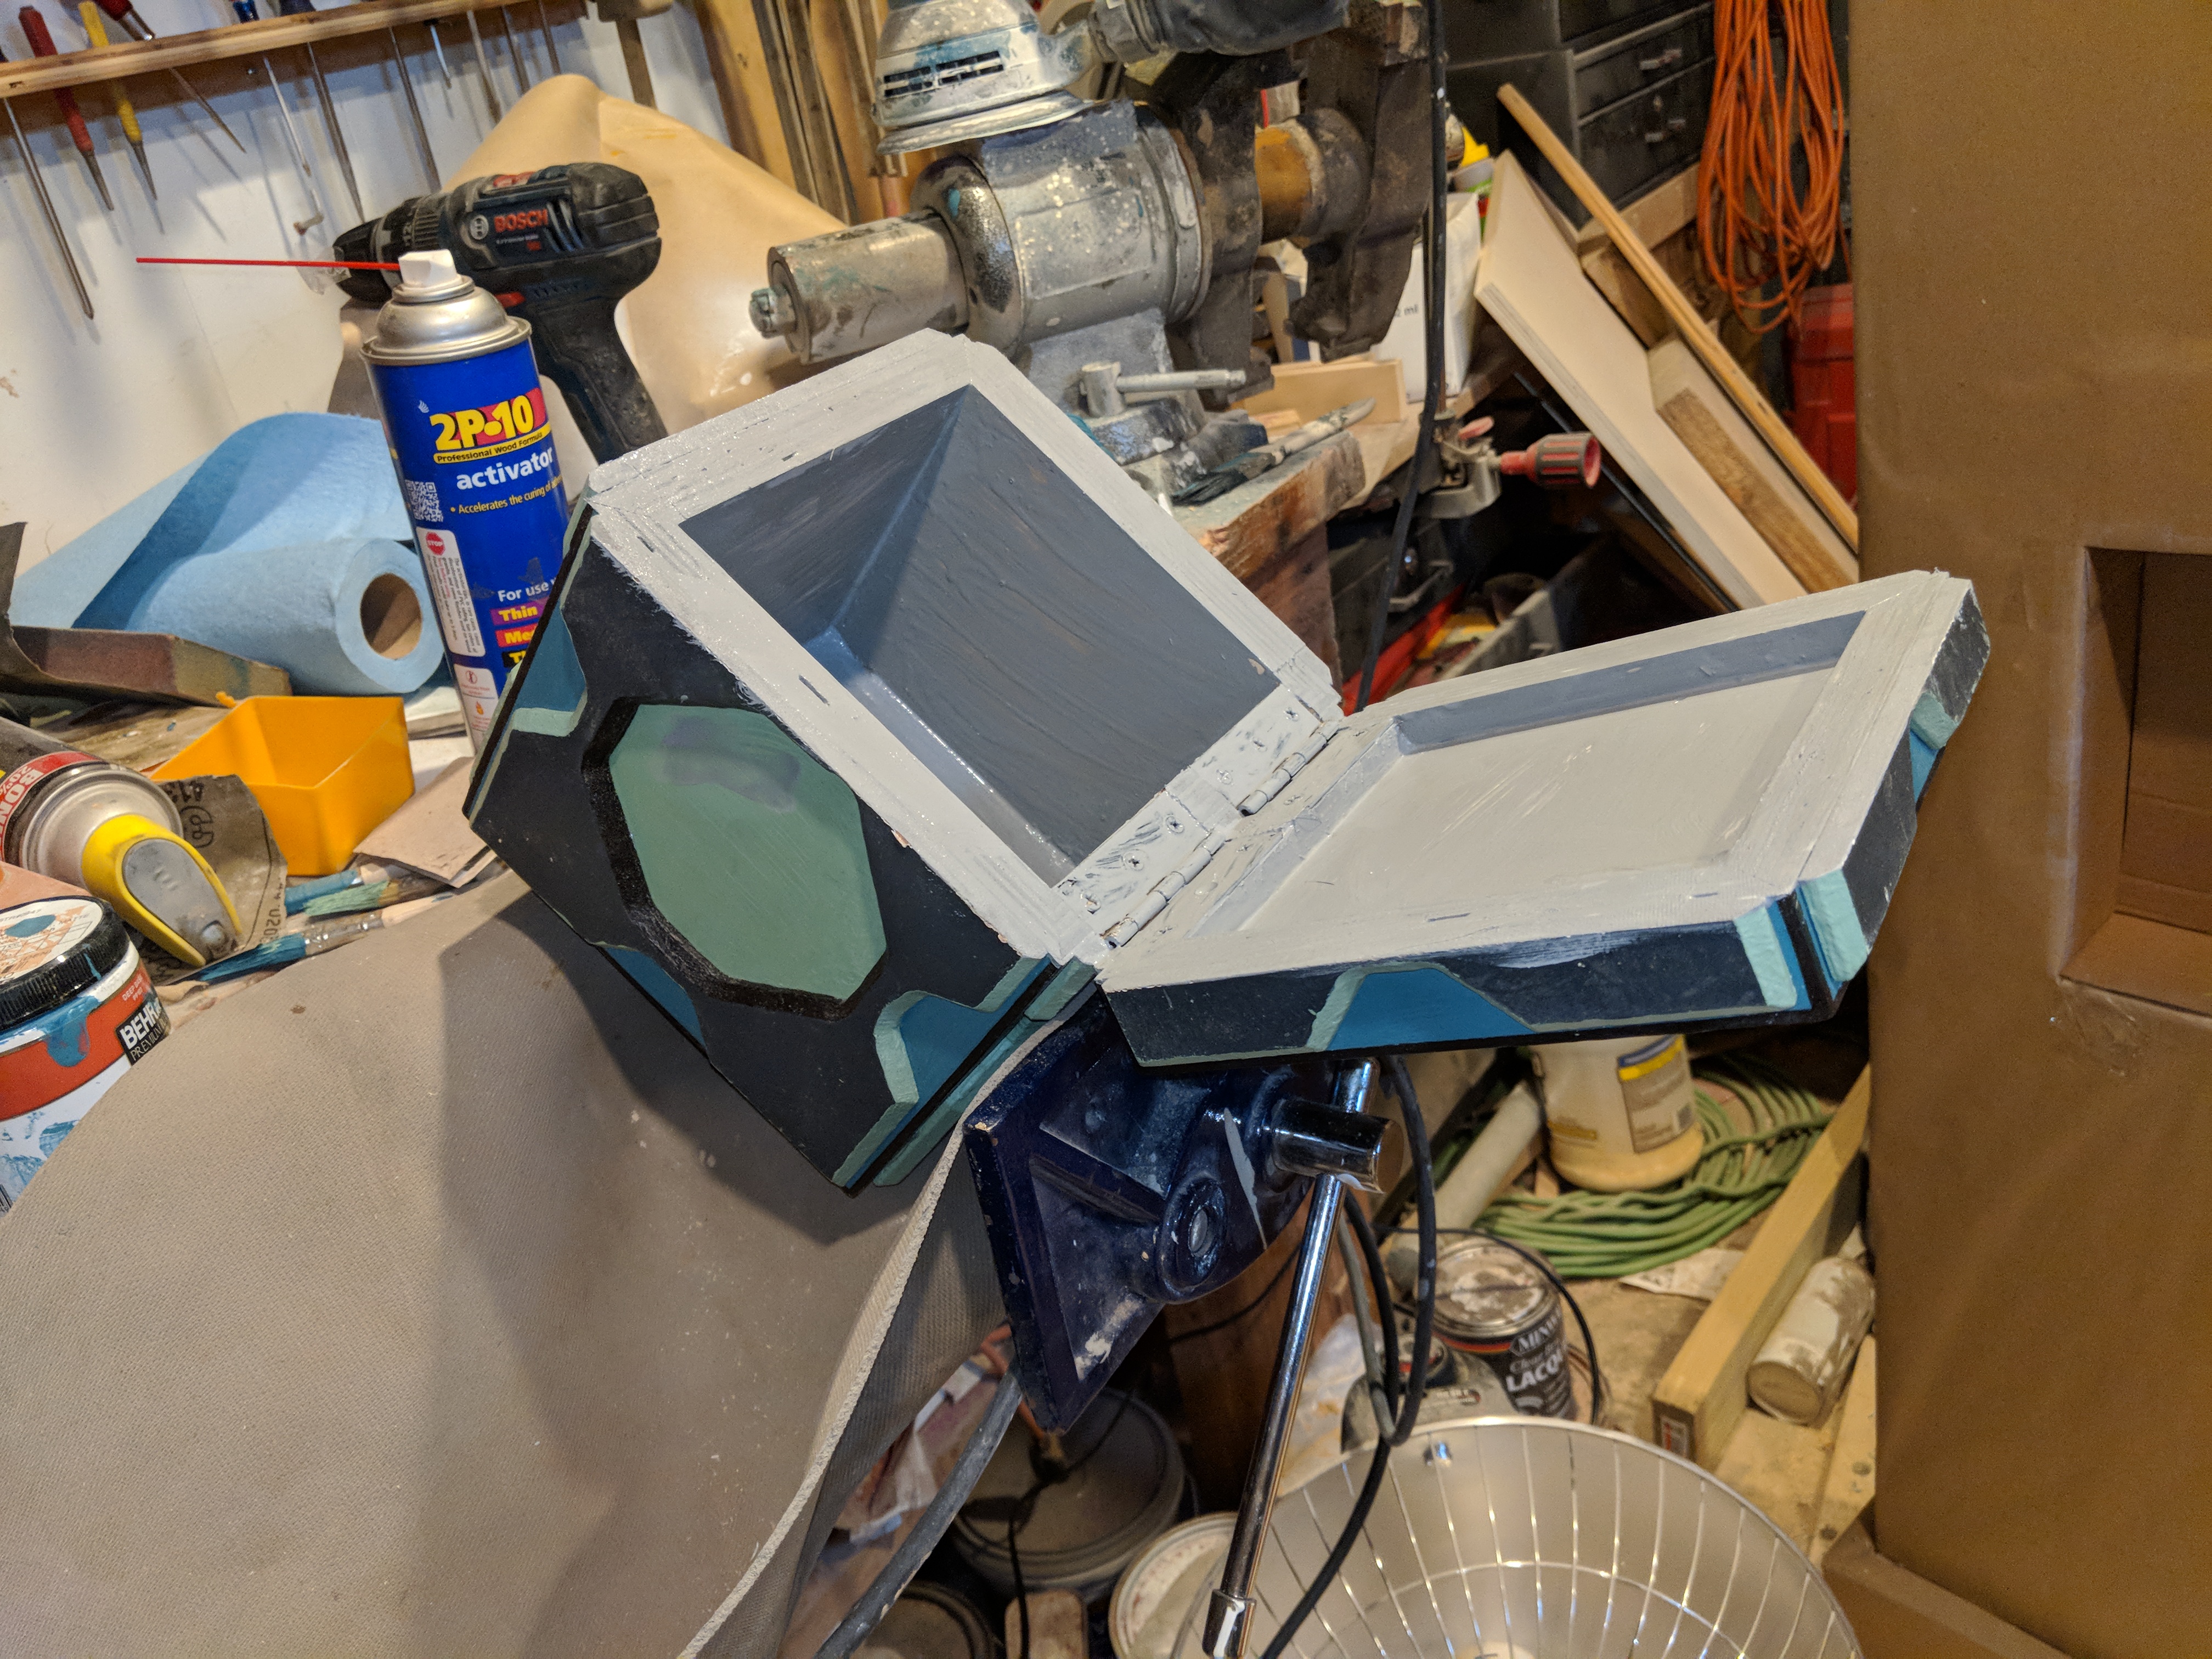
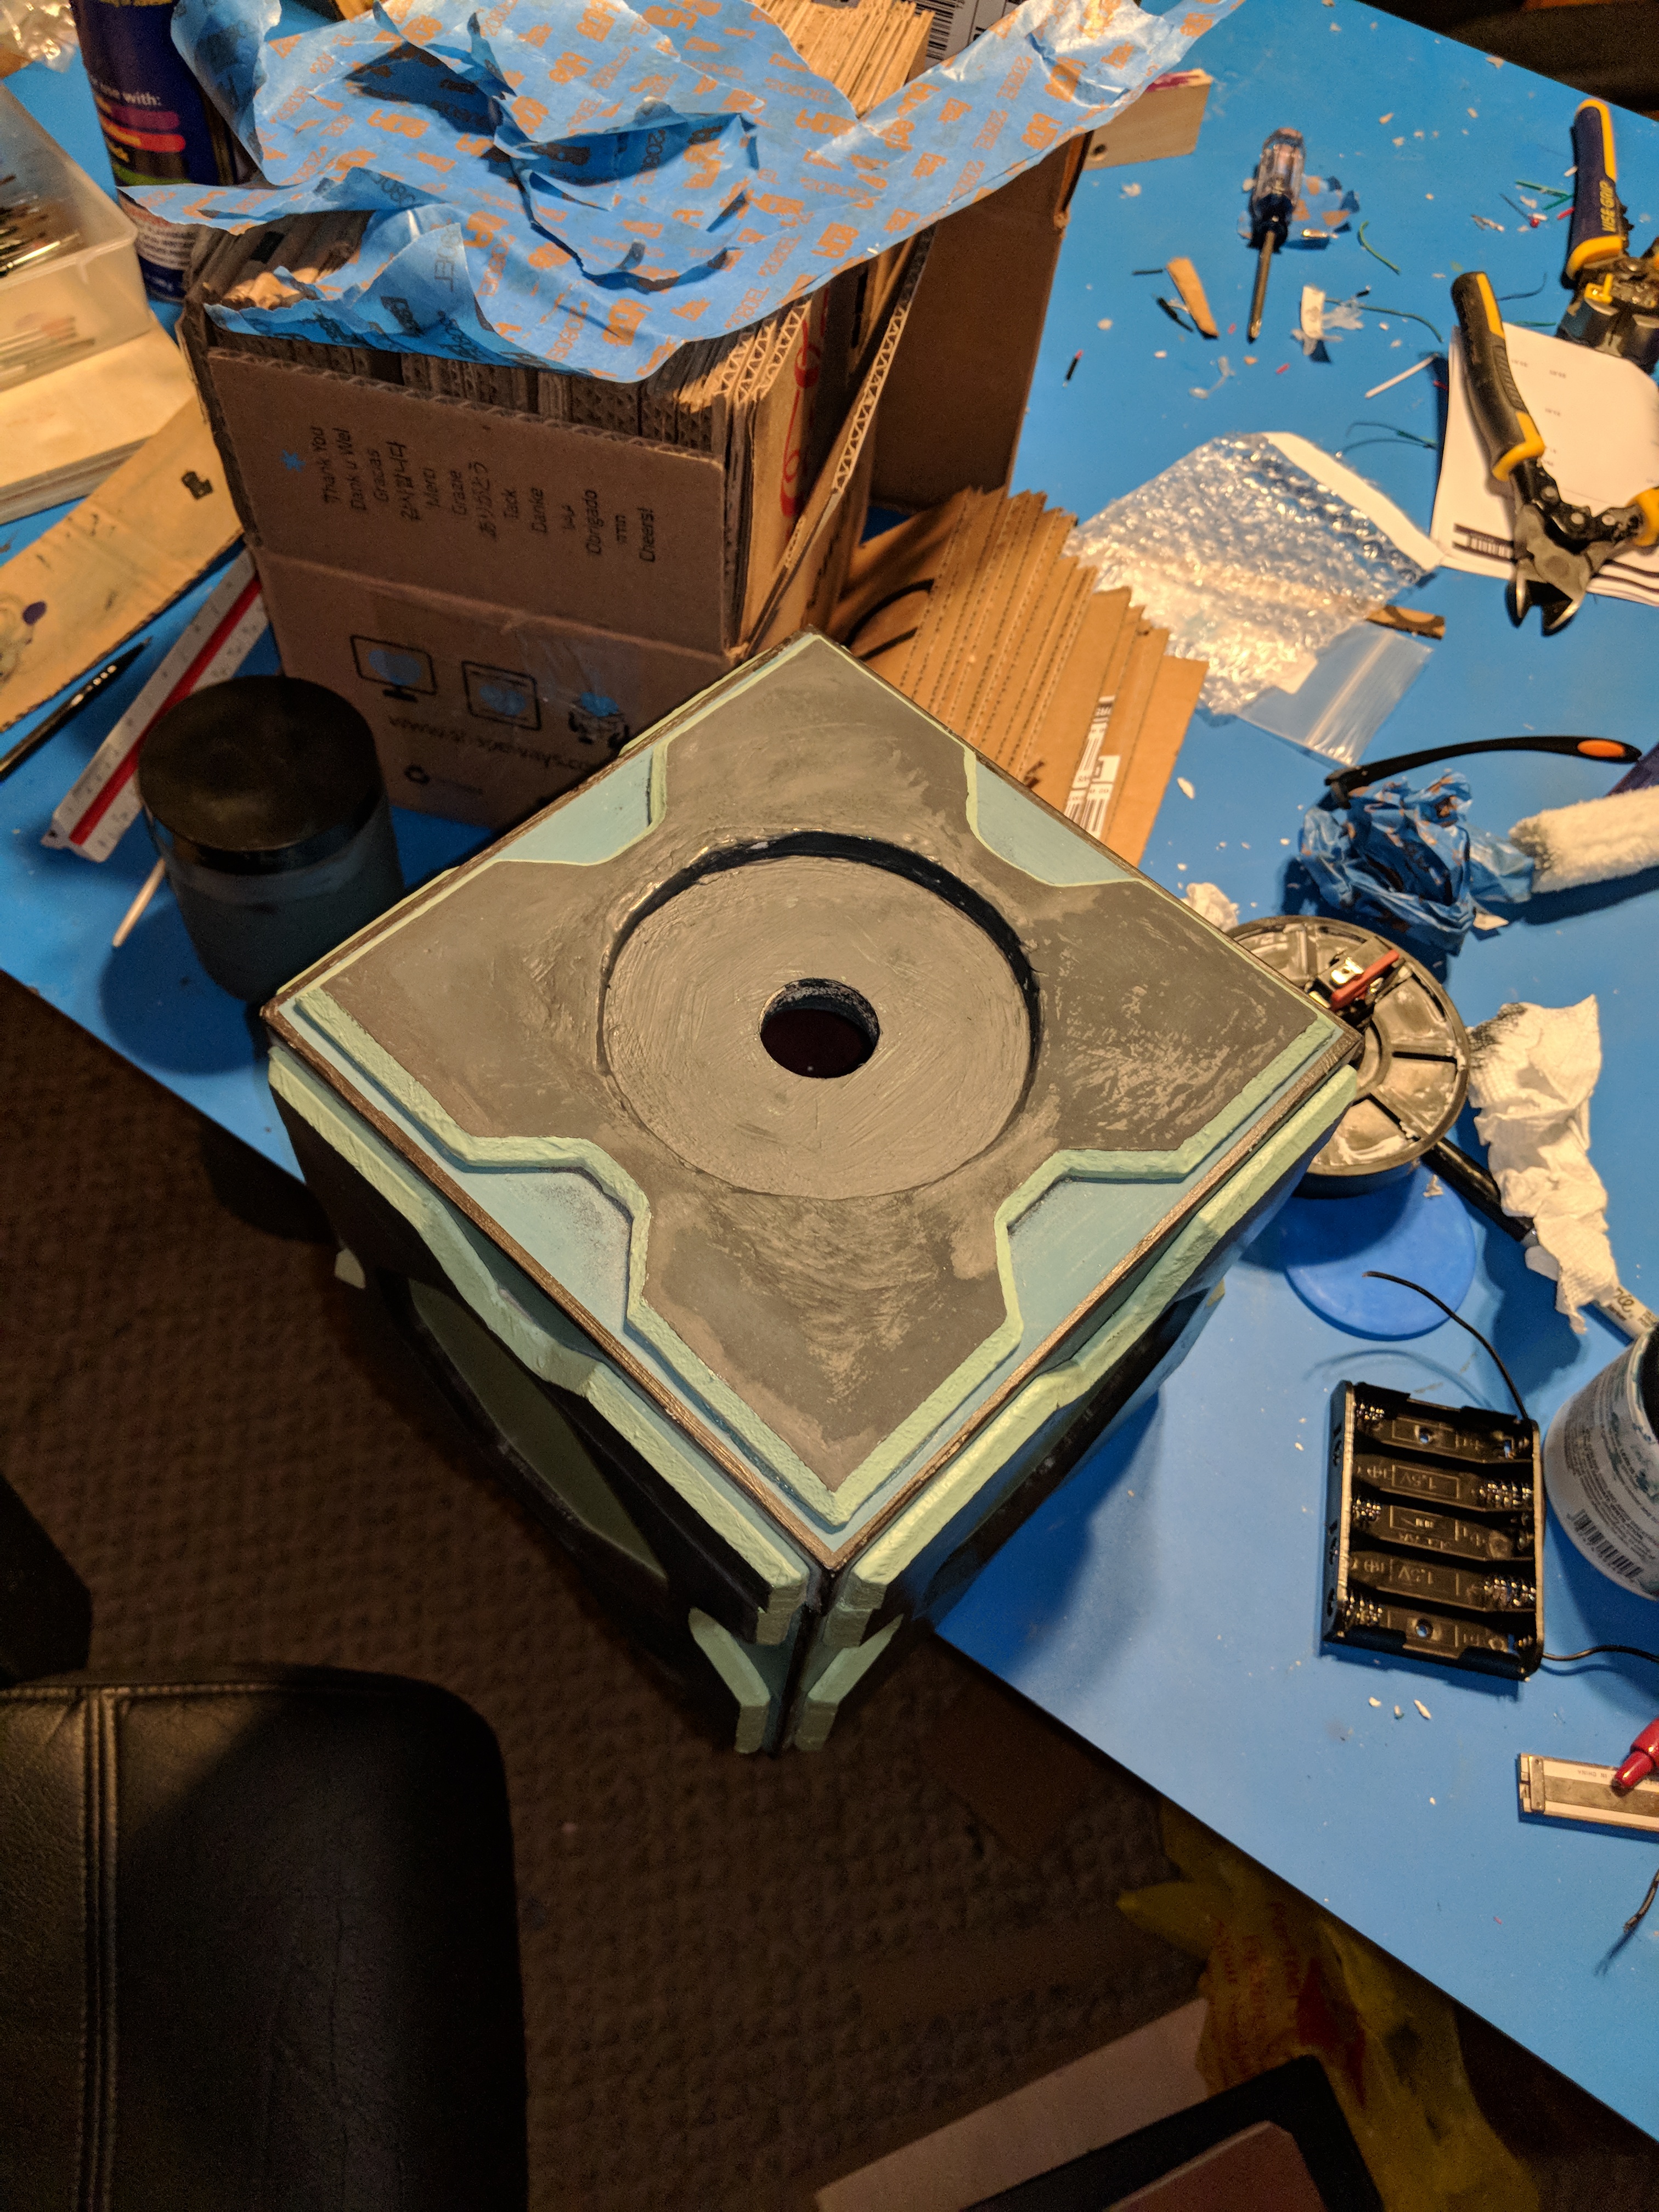
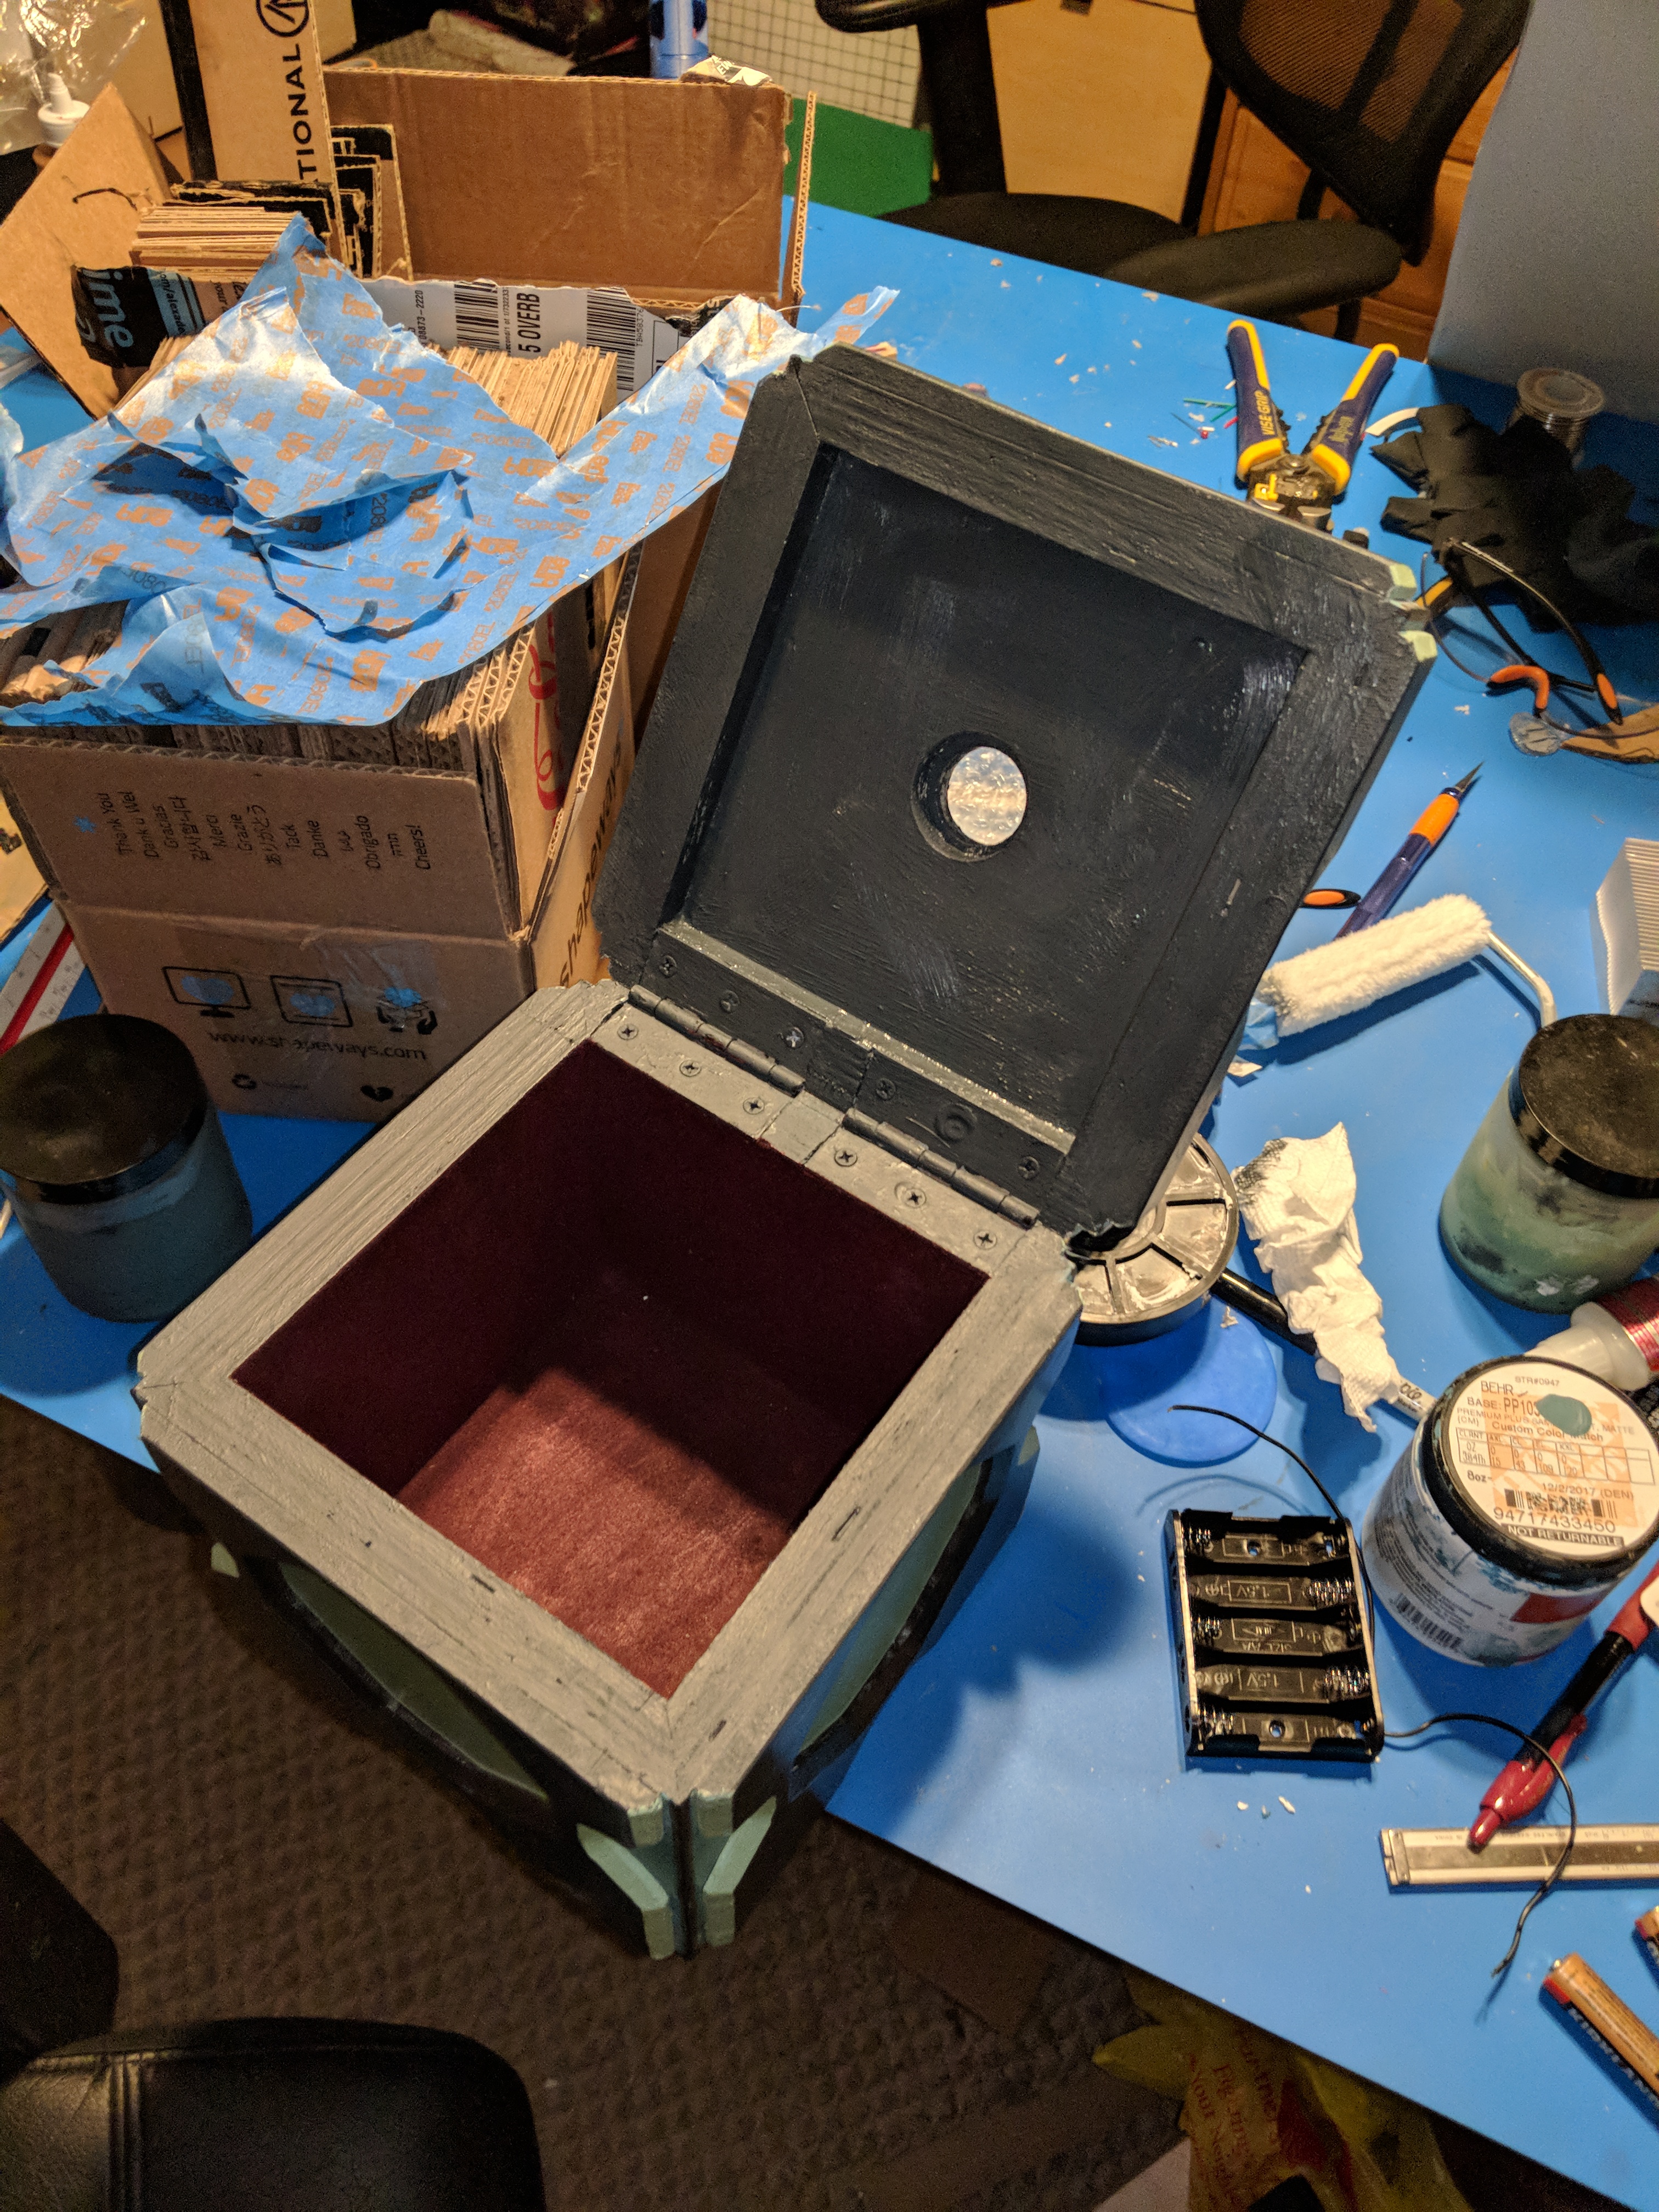
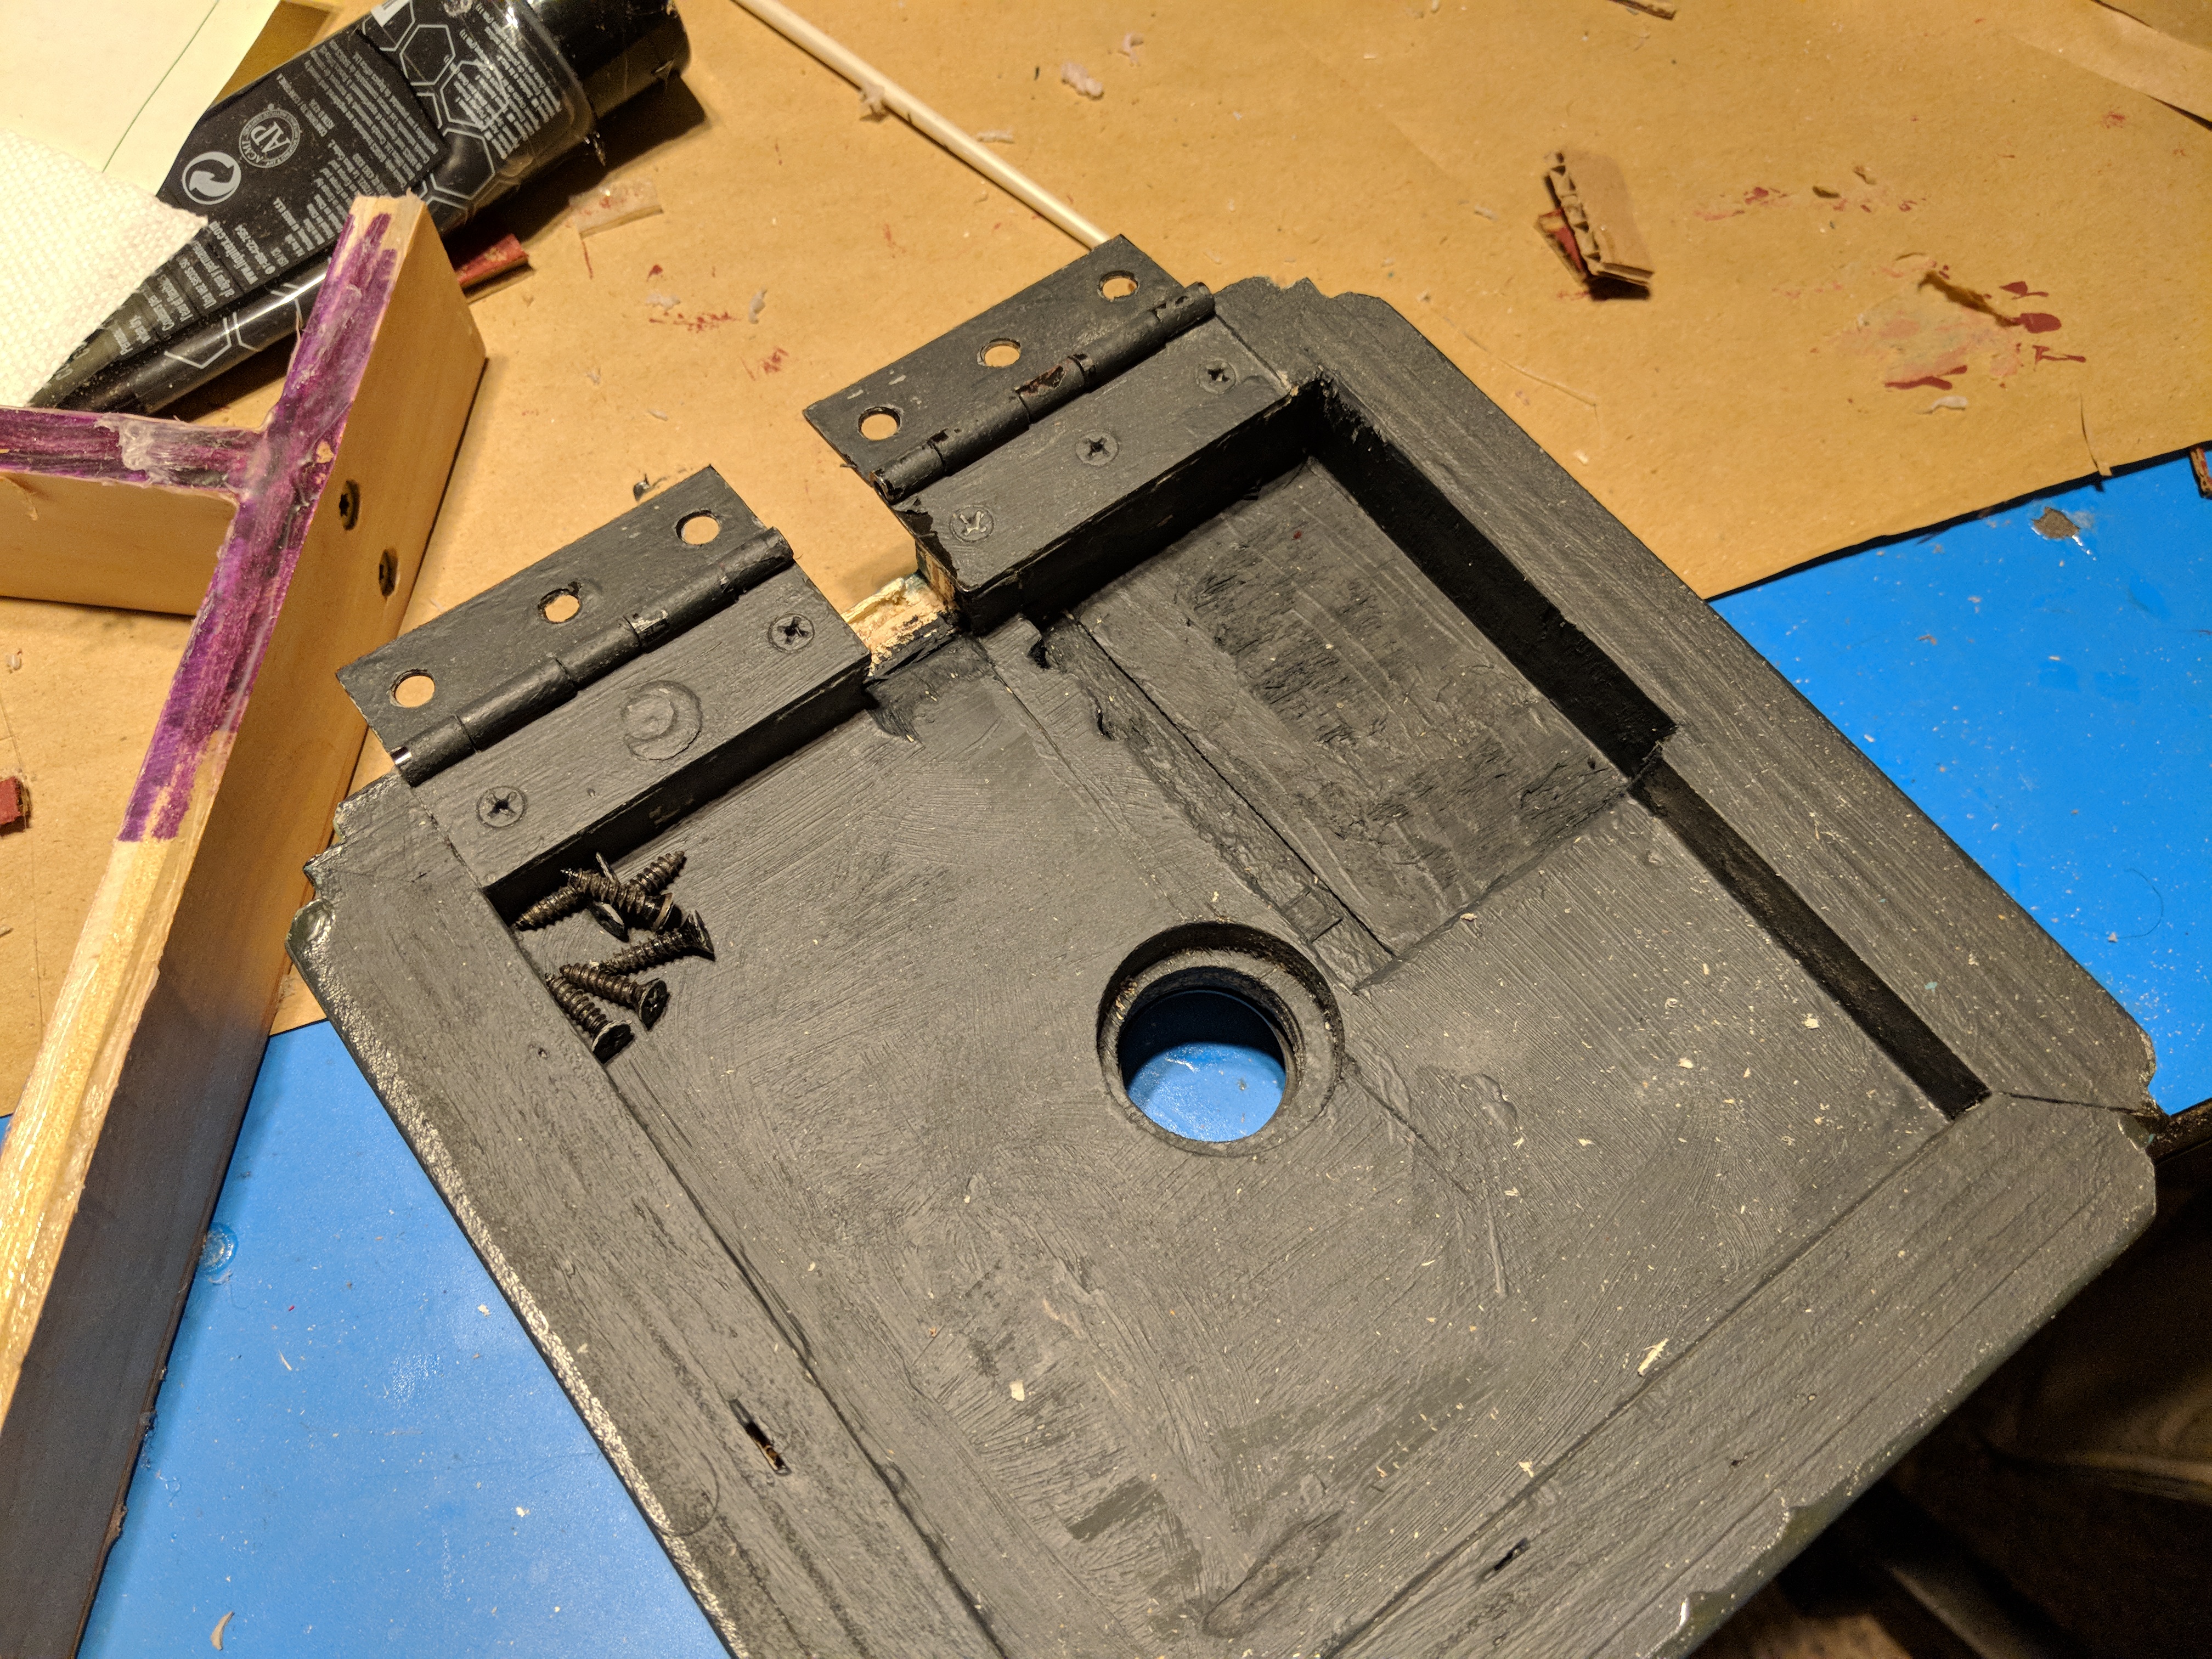
So I forgot a lot of pictures in between that last shot and this one, but I cut the box open, chiseled out some pockets for the hinges, installed them, and painted everything with a gray primer.
Meeseeks 24
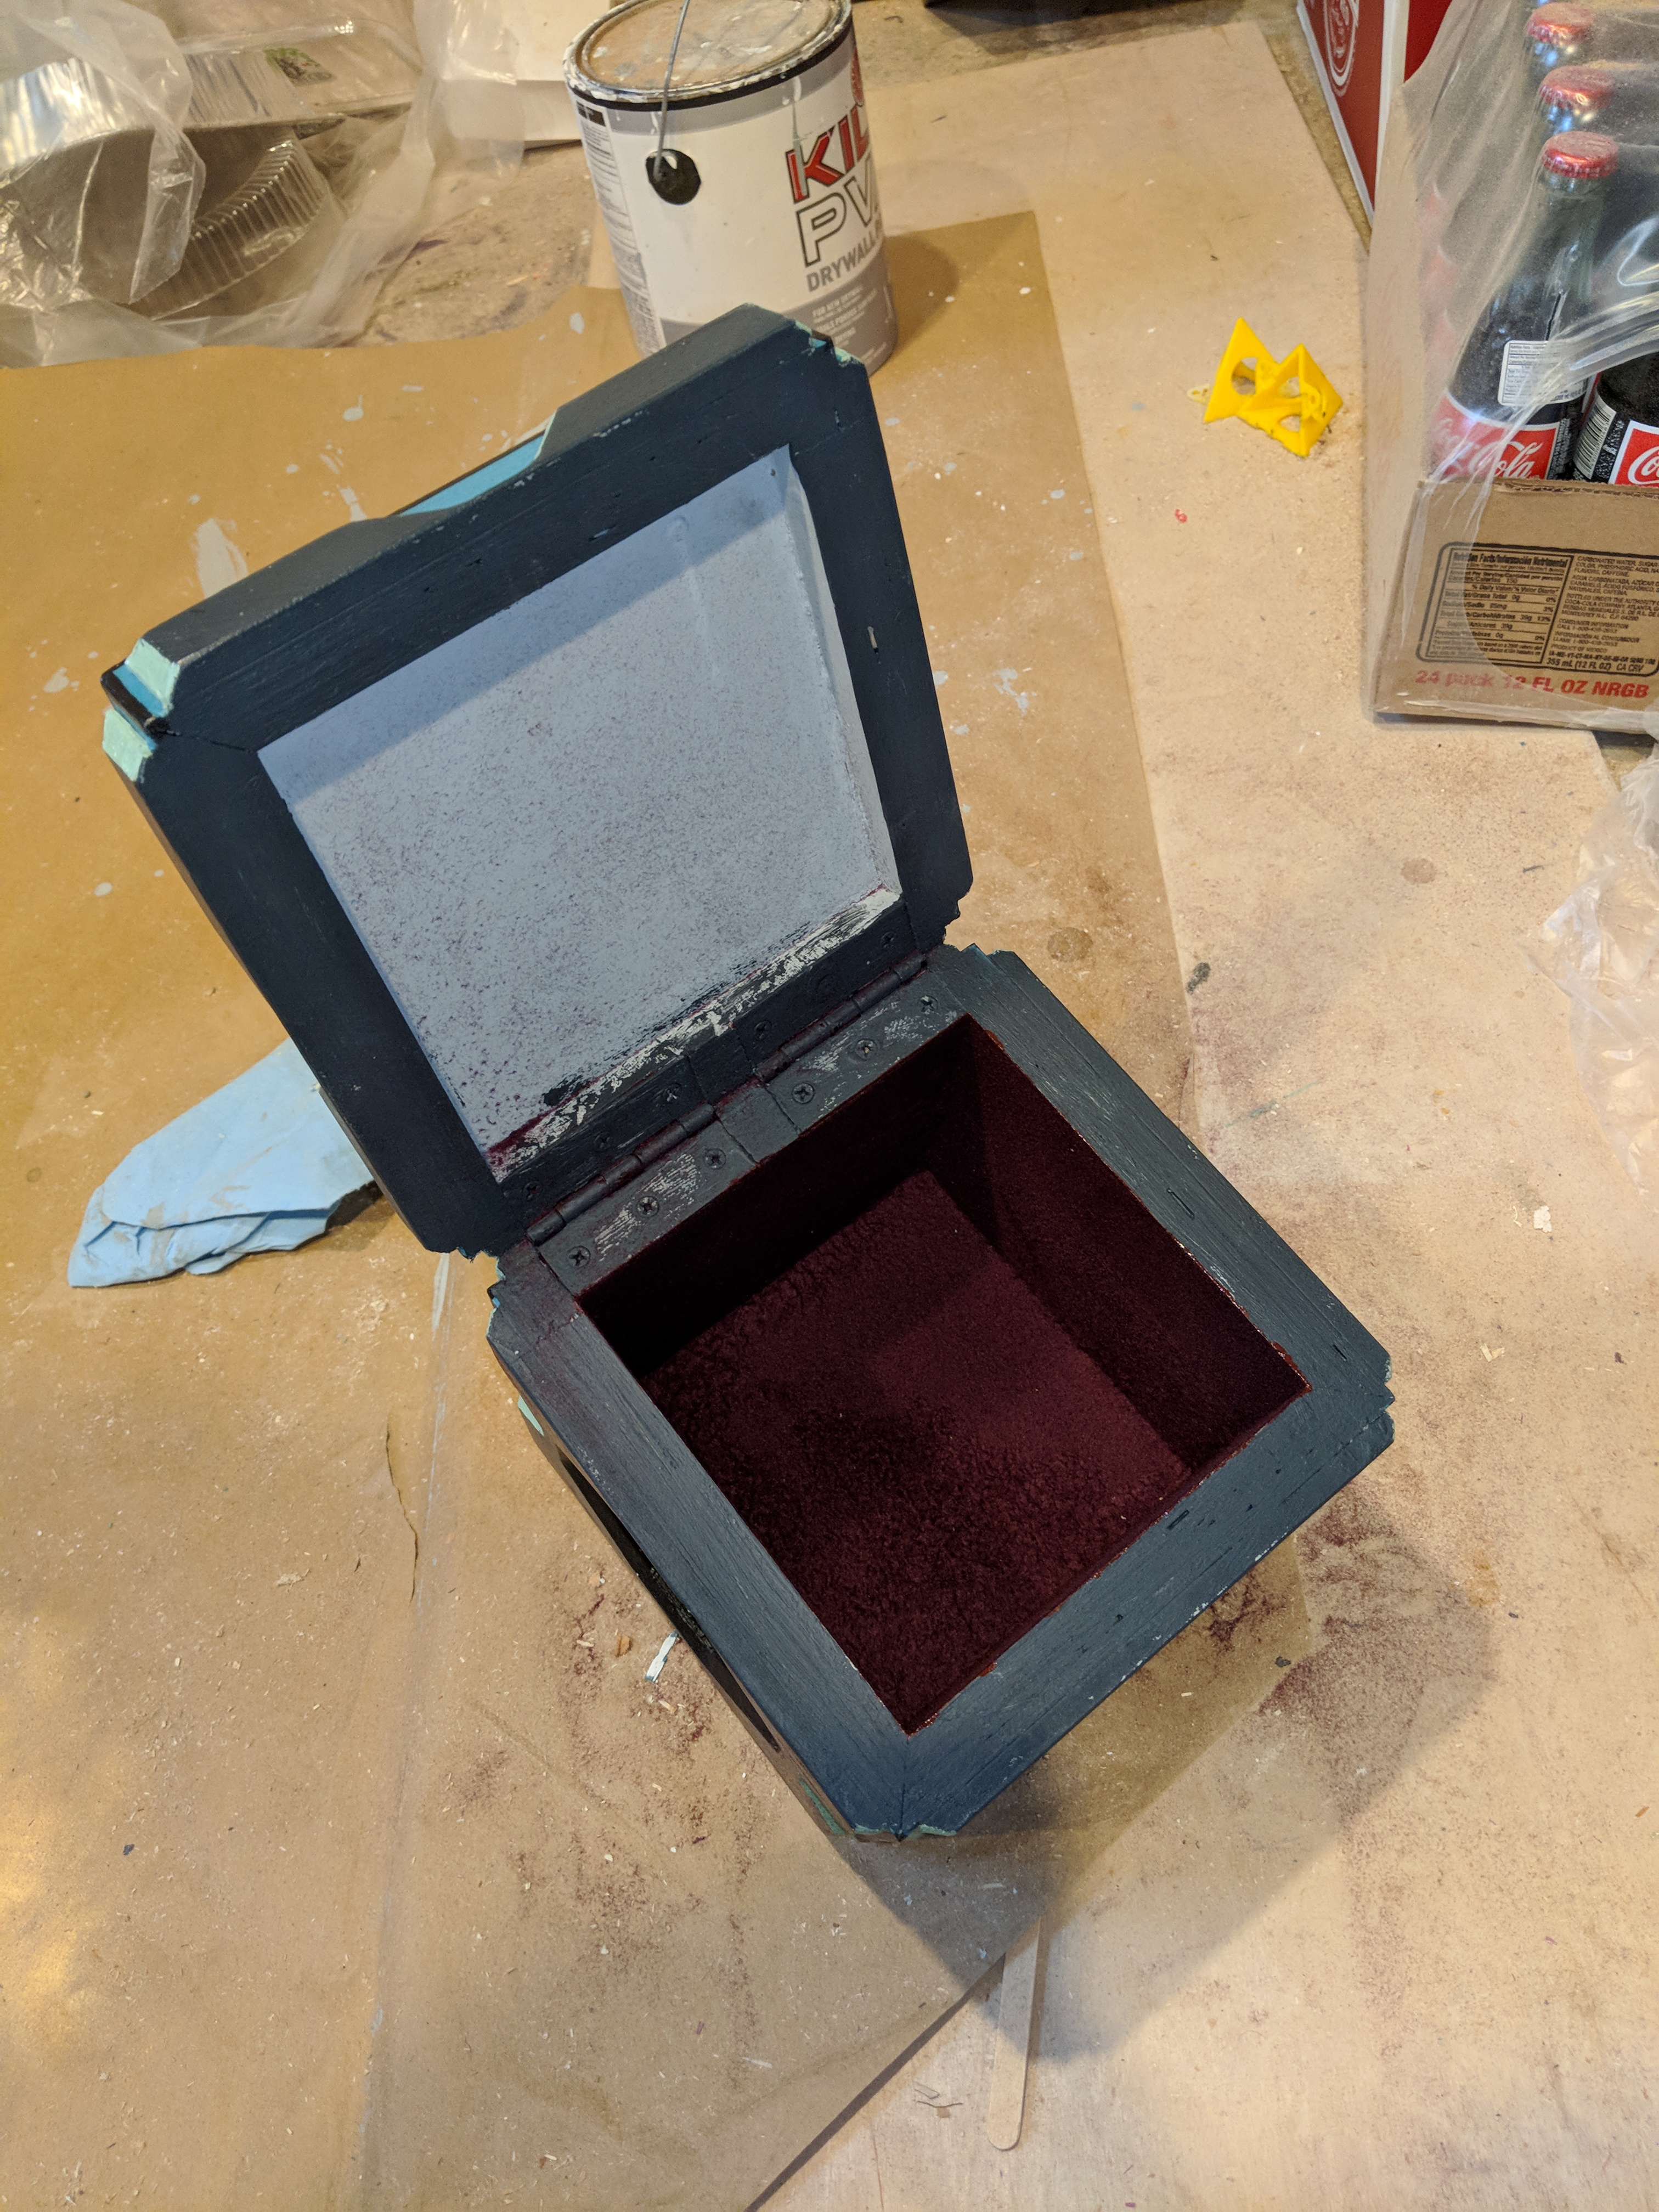
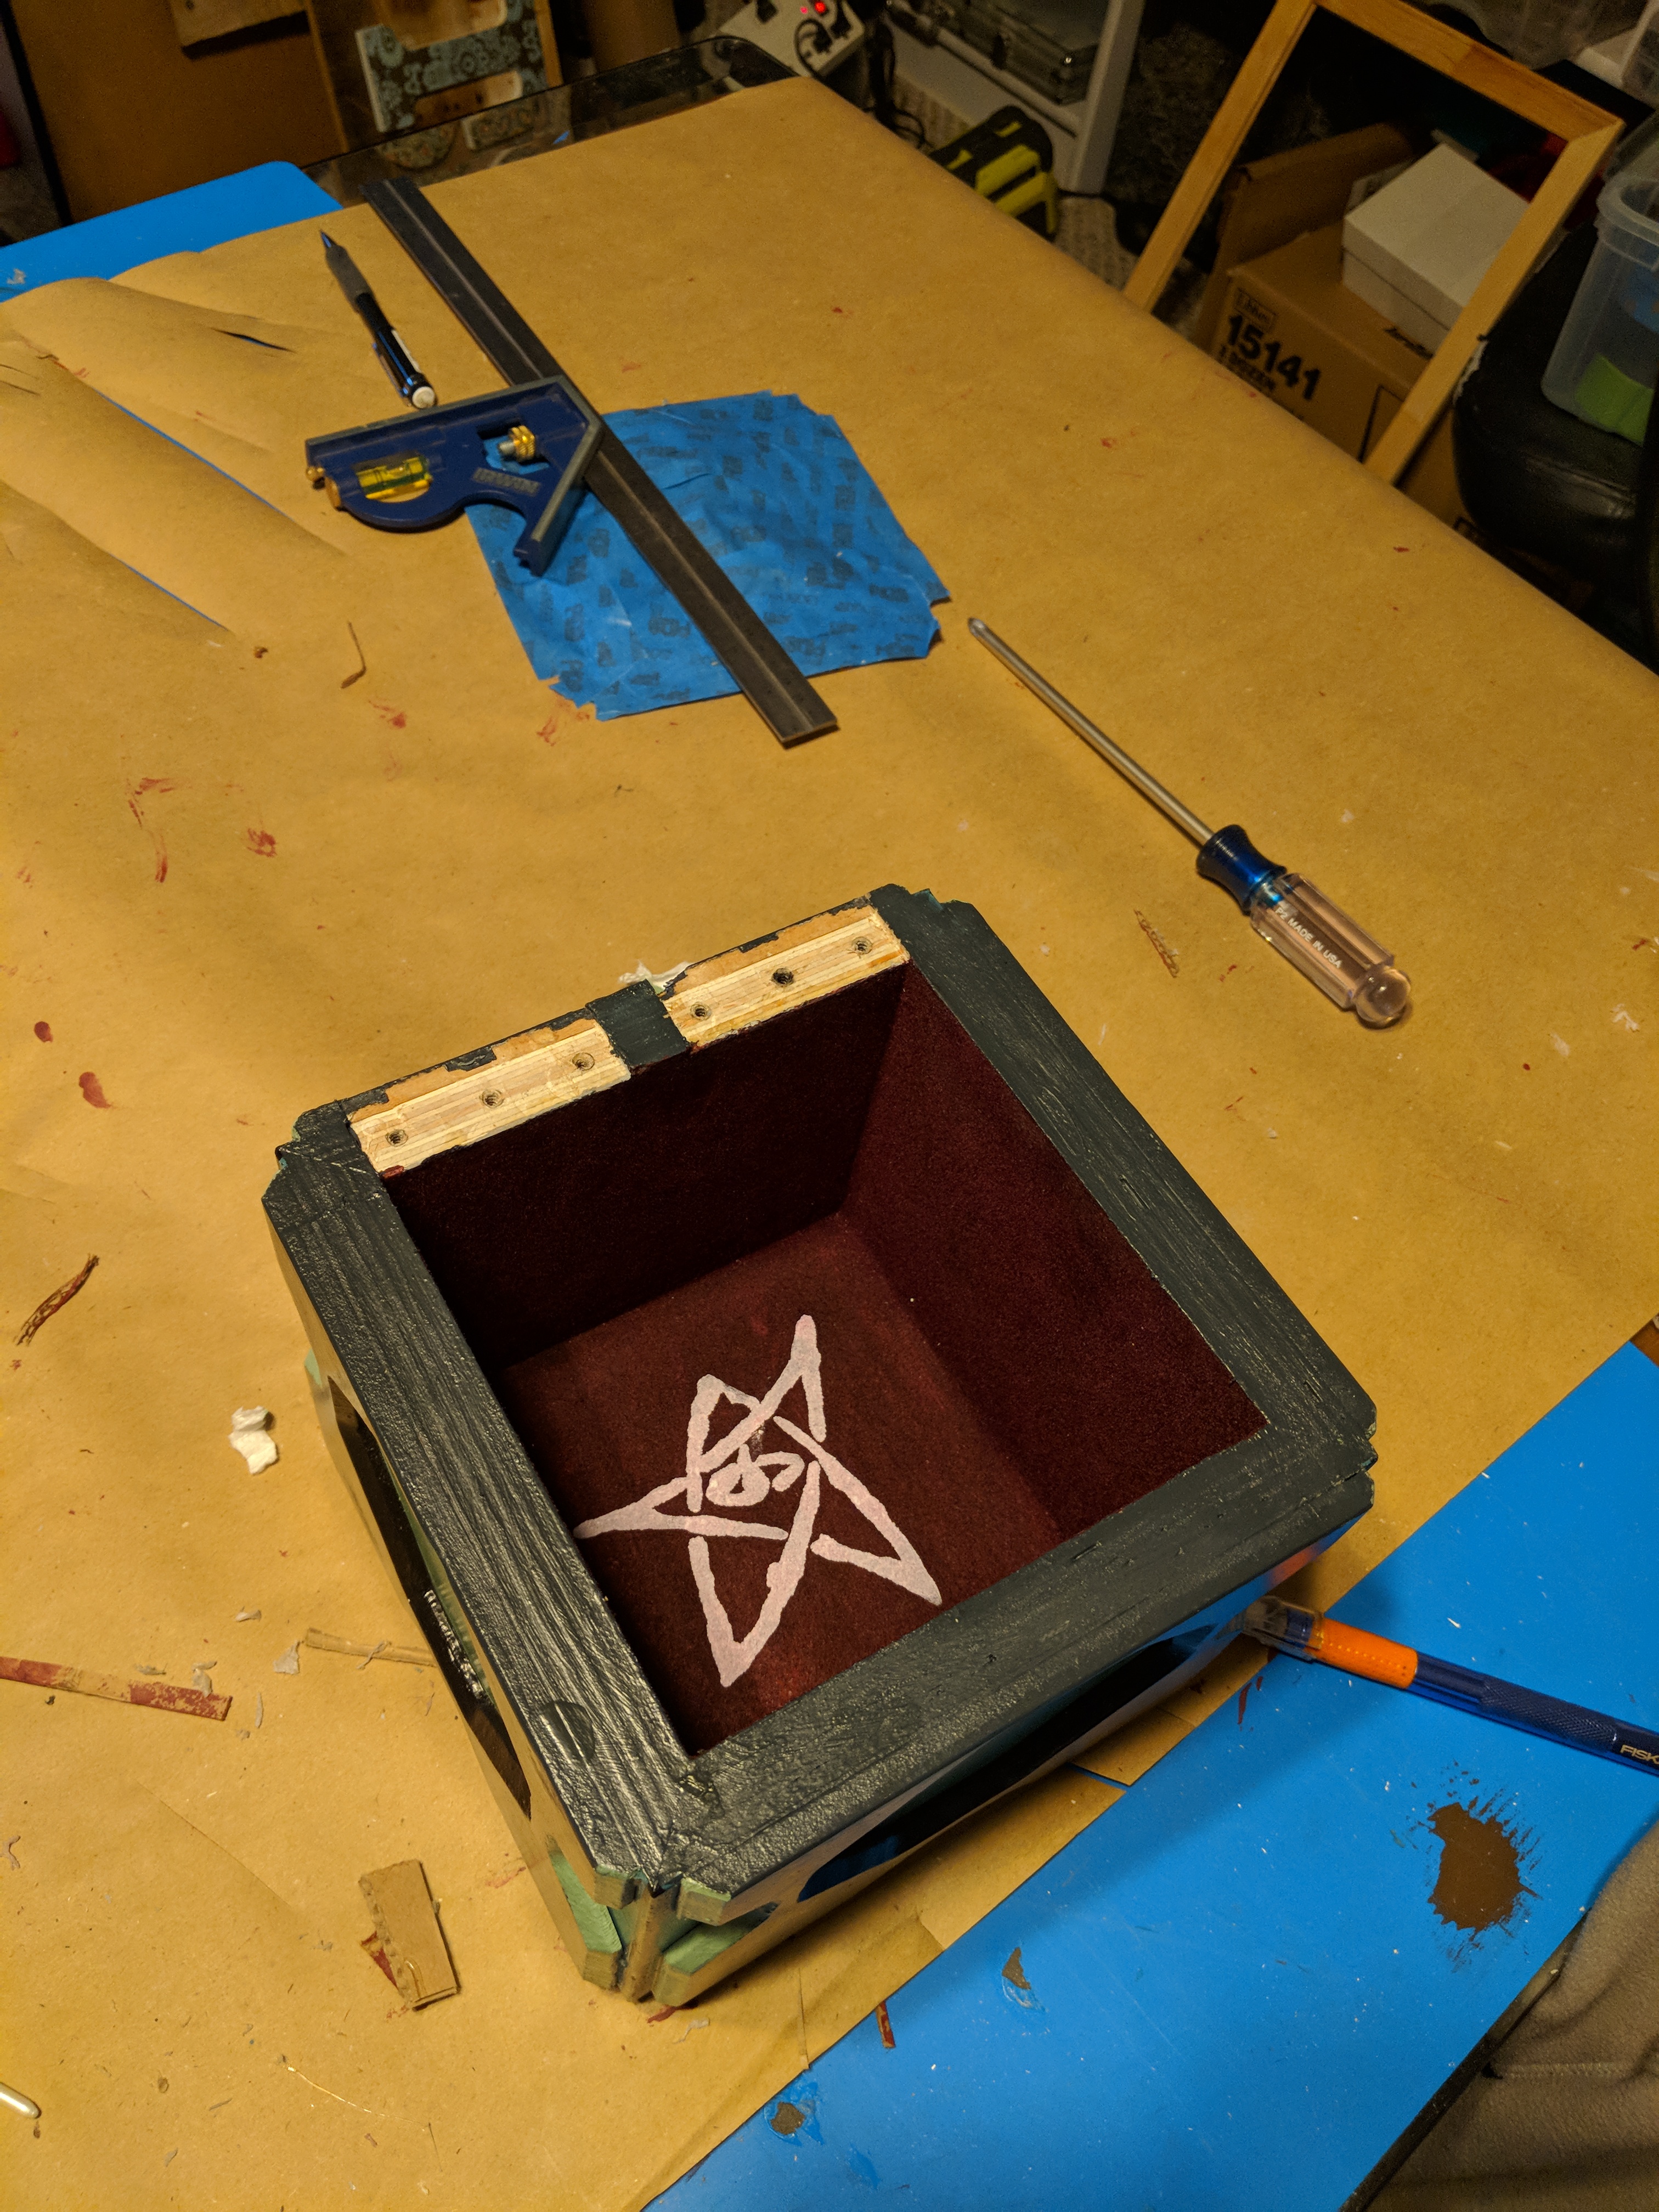
Flocked the interior, painted the lip with the same dark gray/green color as the outermost panel
Meeseeks 25
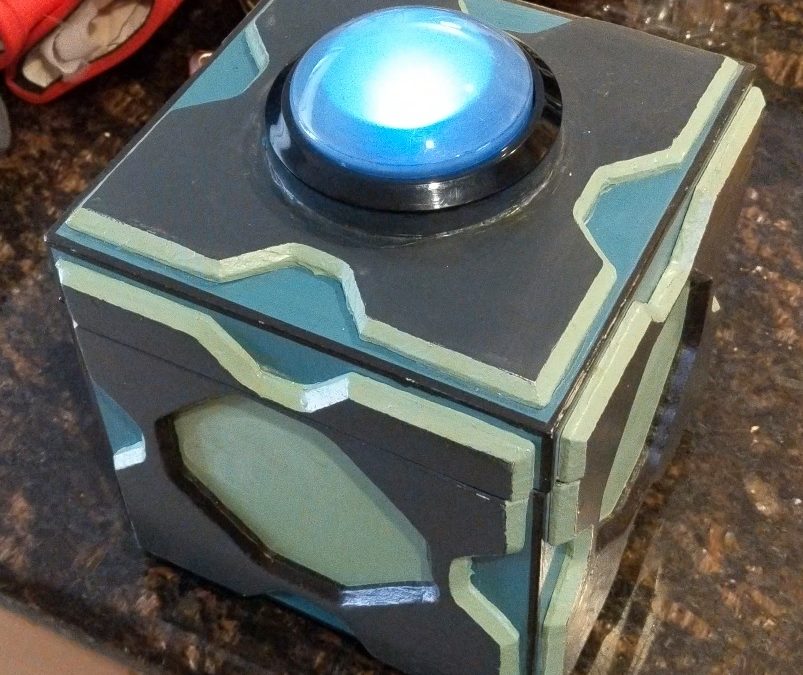
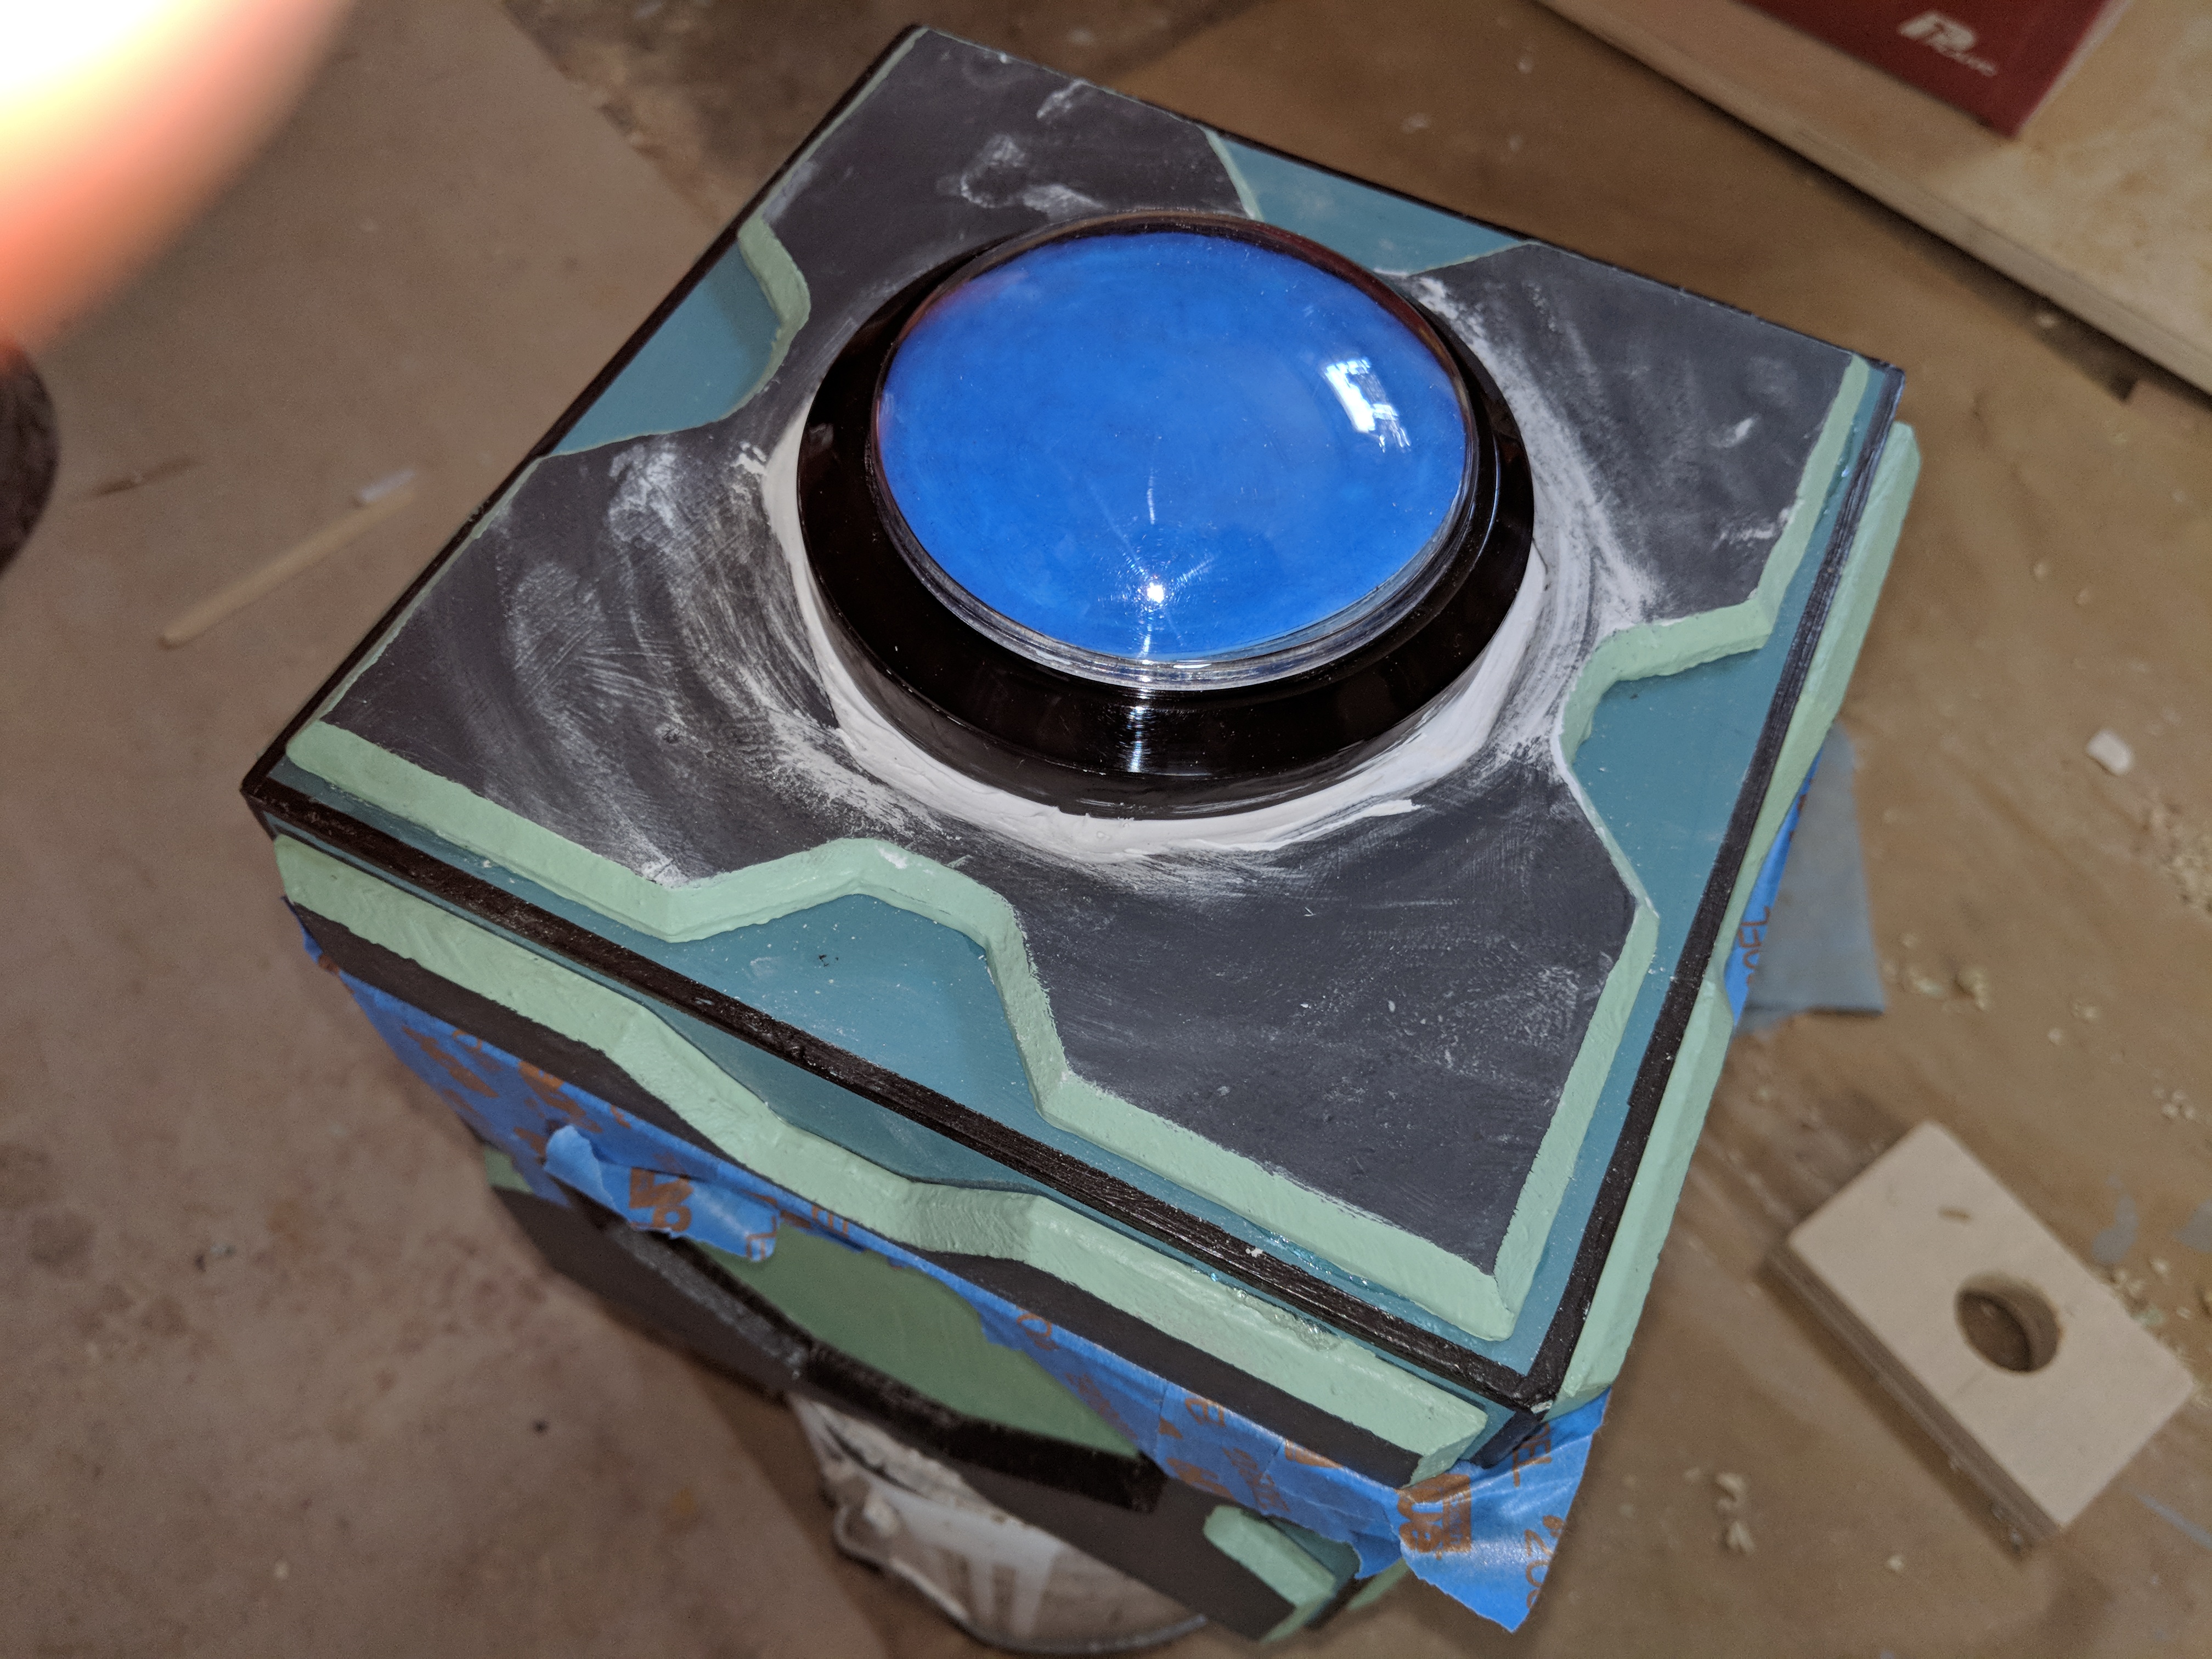
This is a mega sized arcade button from Adafruit, they didn’t actually have blue in stock, this is white and I made it blue…ish
Meeseeks 26
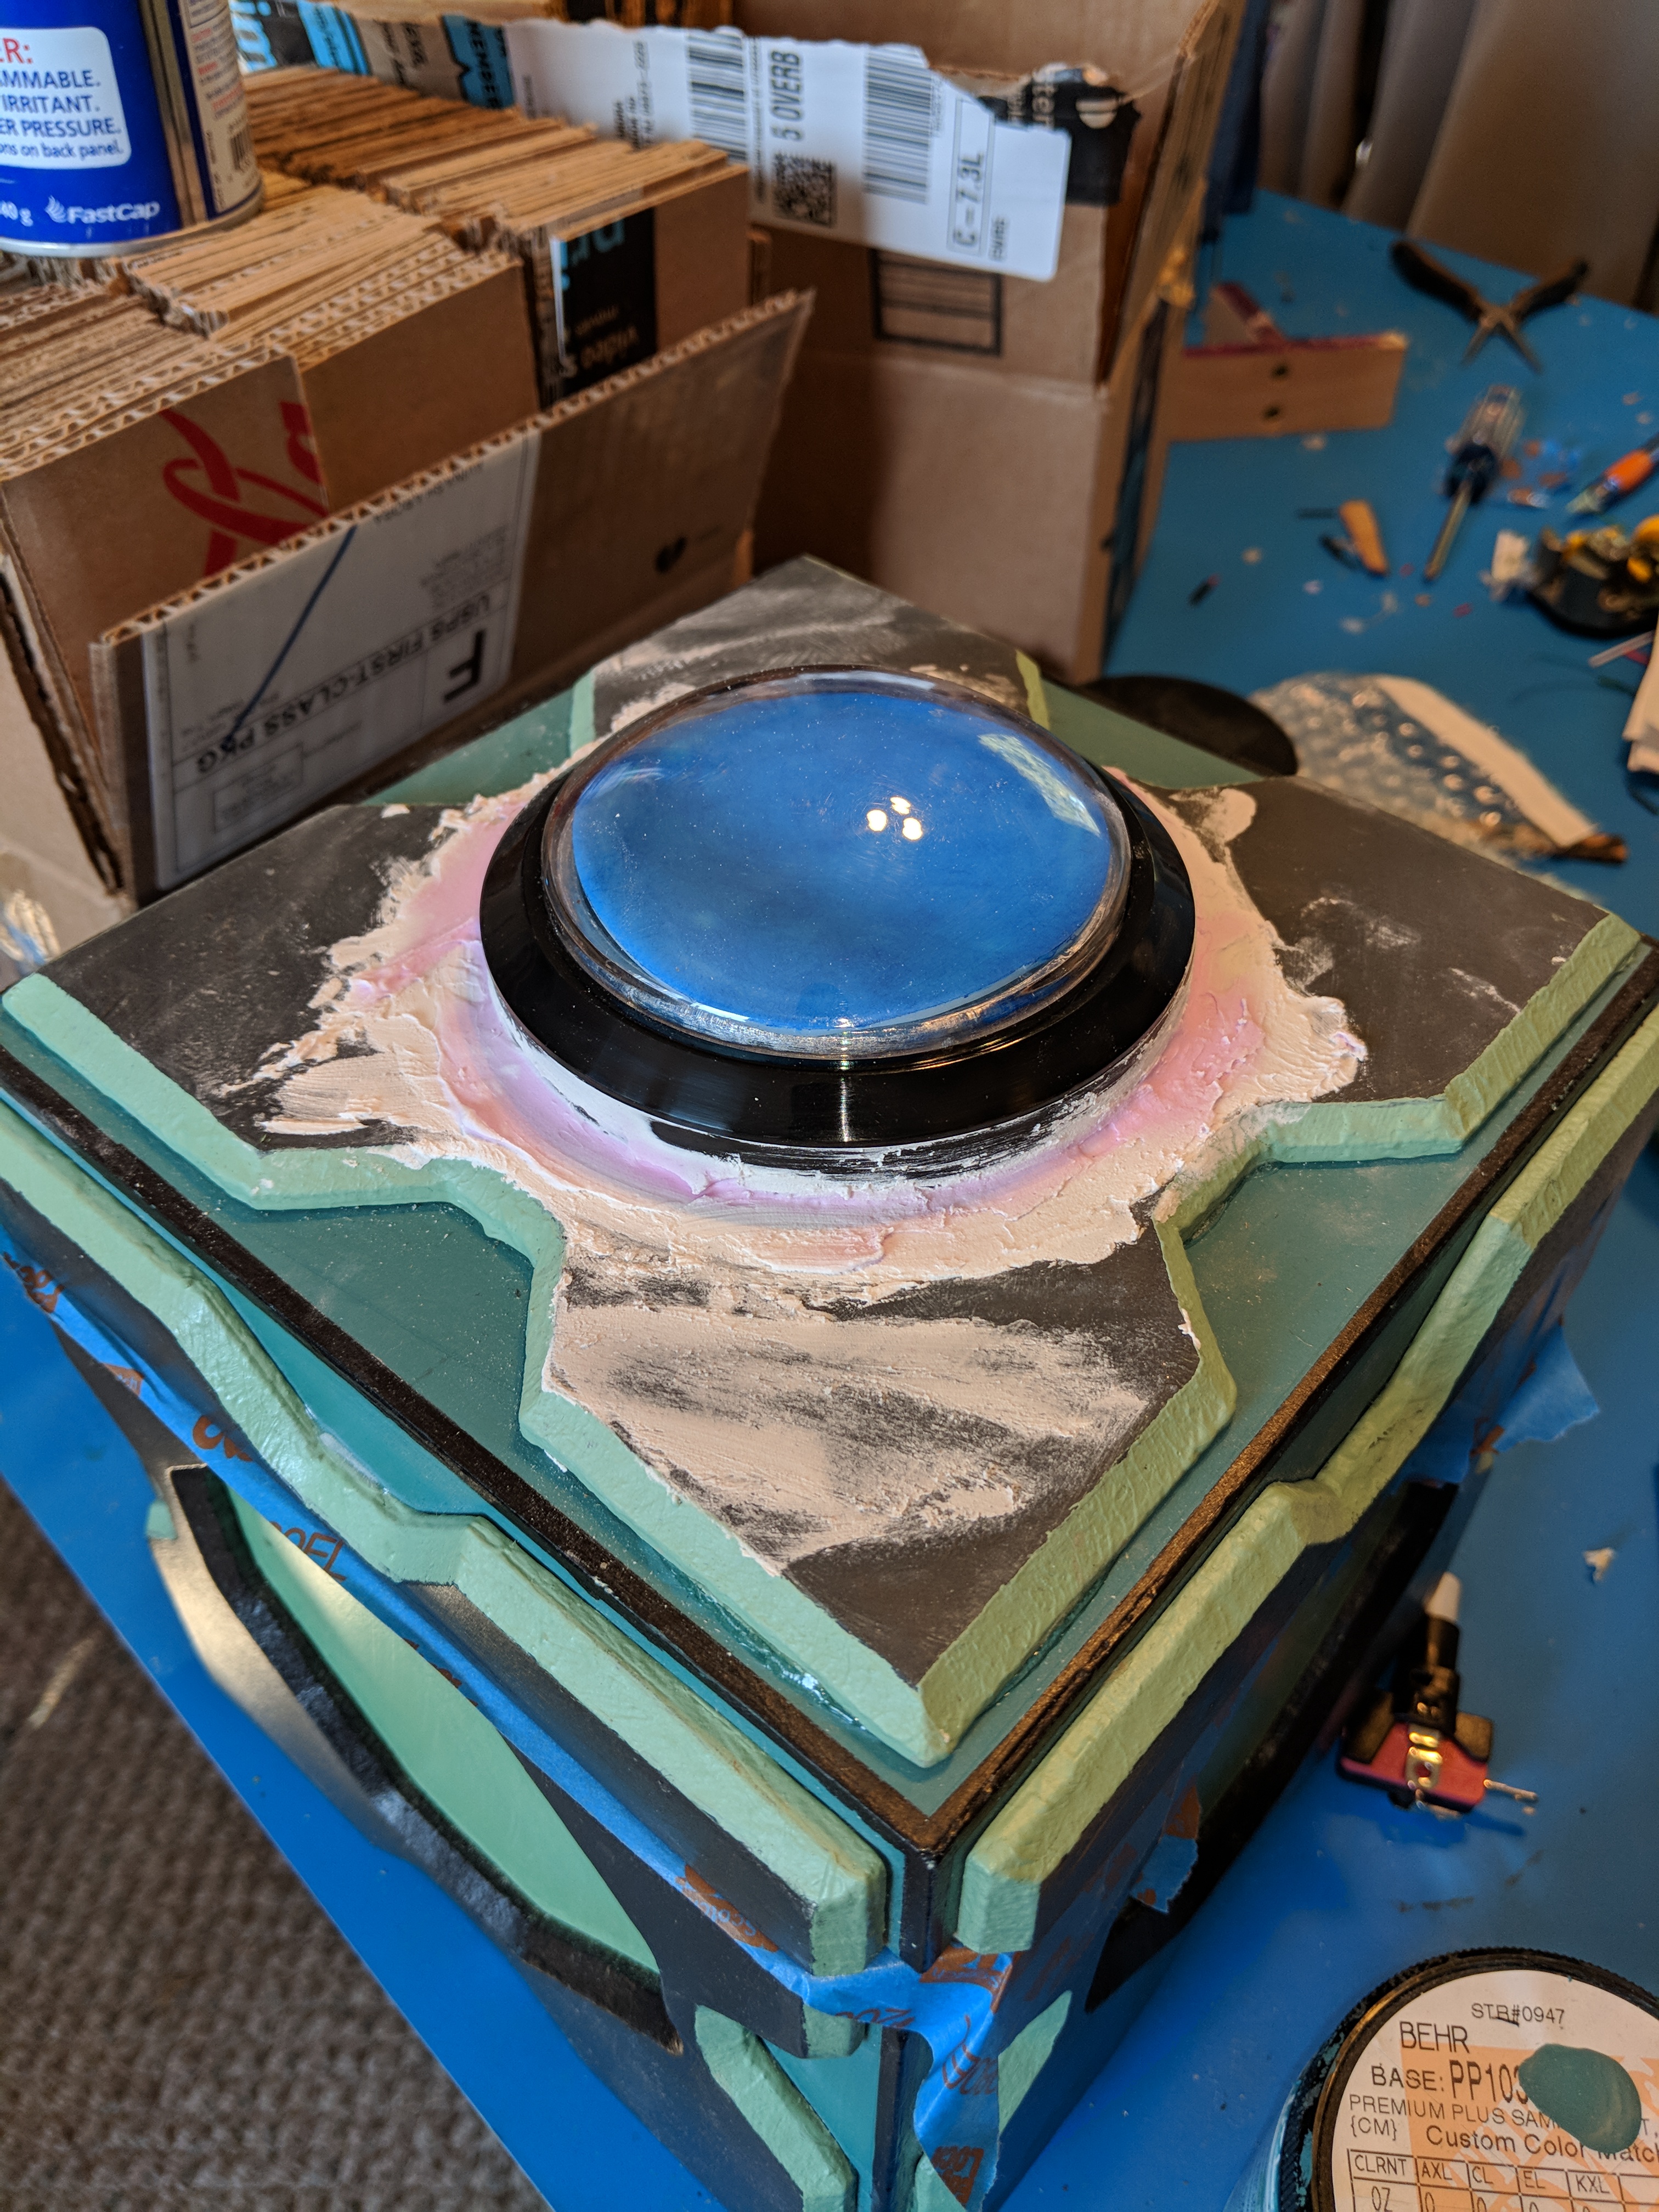
Plaster to fill in the small gaps
Meeseeks 27
Holy crap that worked
Meeseeks 28
Starting in on the electronics now
Meeseeks 29
This pocket is for batteries
Meeseeks 30
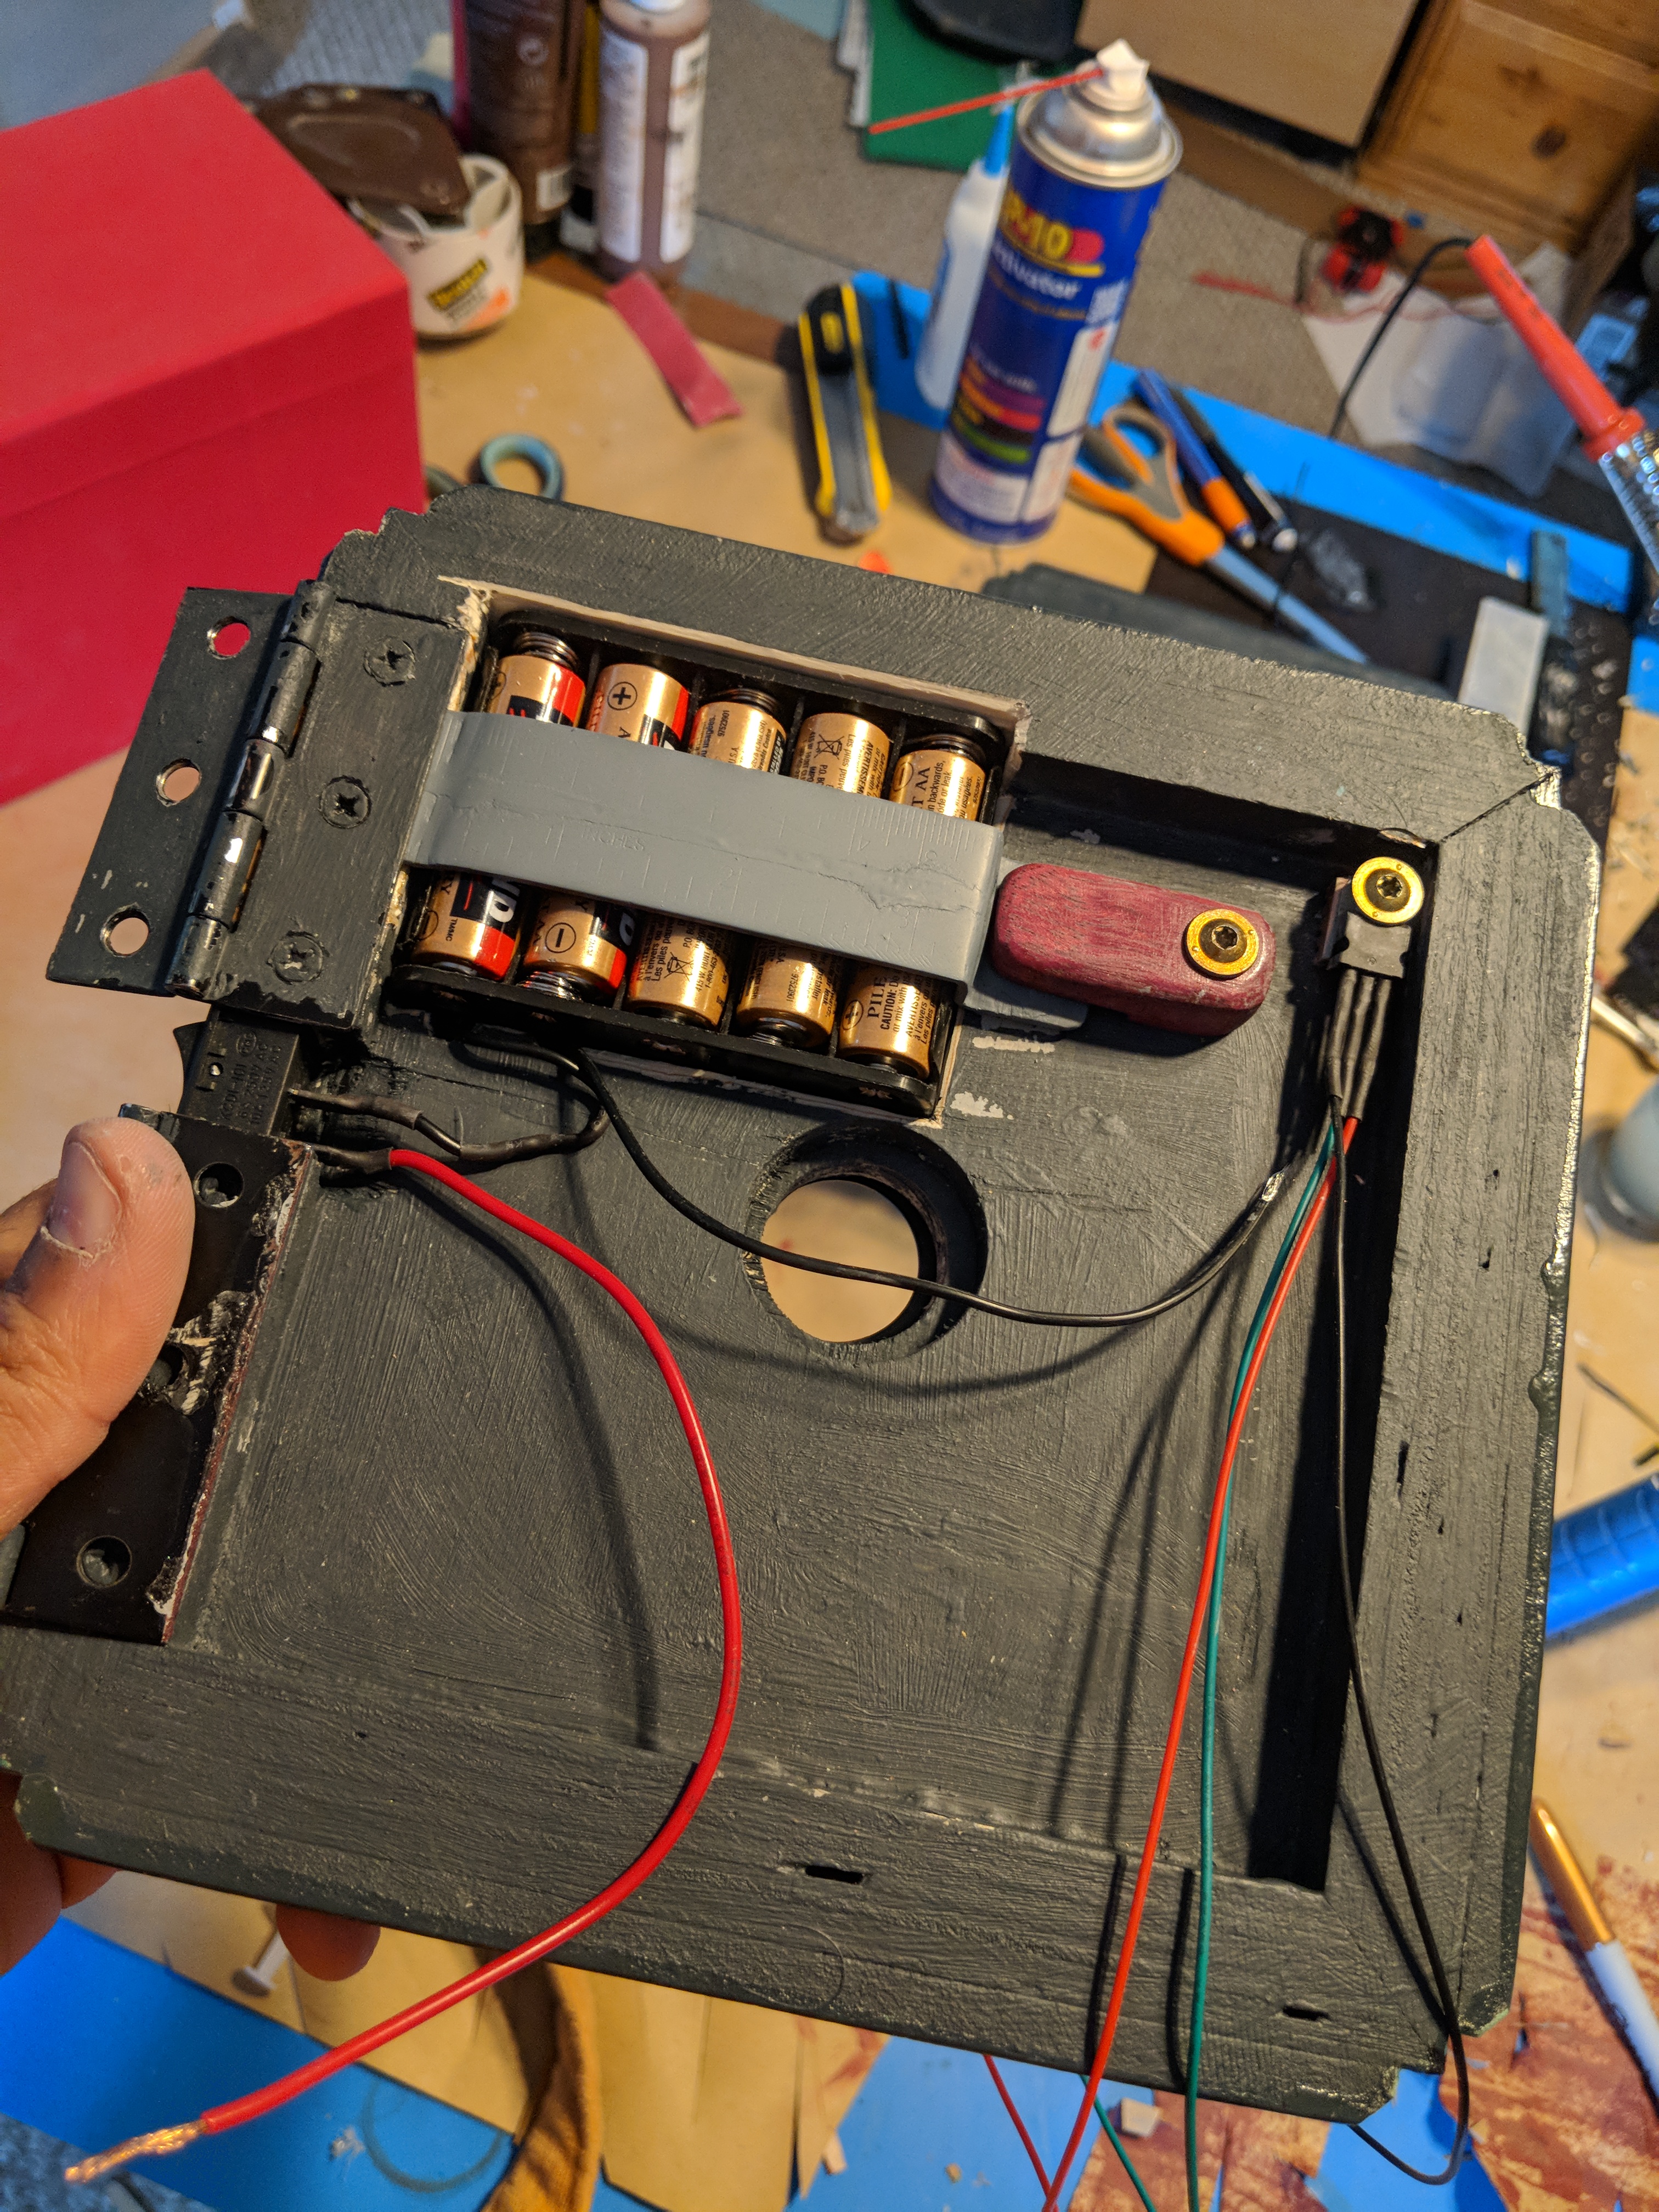
See? Batteries! They go to a power switch that will be between the two hinges, and in addition to line voltage there’s a voltage regulator for the ISD 1820

Meeseeks 31
ISD 1820 and everything all wired up, testing it out

Meeseeks 32
And all installed with the cherry arcade button and all! basically, just wired two leads off the button on the board into the switch, and the rest is just power lines and the speaker wire that’s plugged in.
Meeseeks 33
Bonus….screen printed this on the inside of the box.